Job List
Job List gives you a fast, filterable snapshot of every job in DreamzFSM so dispatch, tracking, and updates are effortless. From a single screen you can switch views, filter by facility or date range, review key job details at a glance, and take action on individual or multiple jobs at once.
- Switch views from the Table View dropdown (Table / Kanban / Calendar / Map) and use This Month's Jobs + Filter by Facility to narrow results.
- Each row shows key details at a glance: Type, Start/End, Status, Amount, Description, Requester, Assignee, Problem Reported, Category, and Created By.
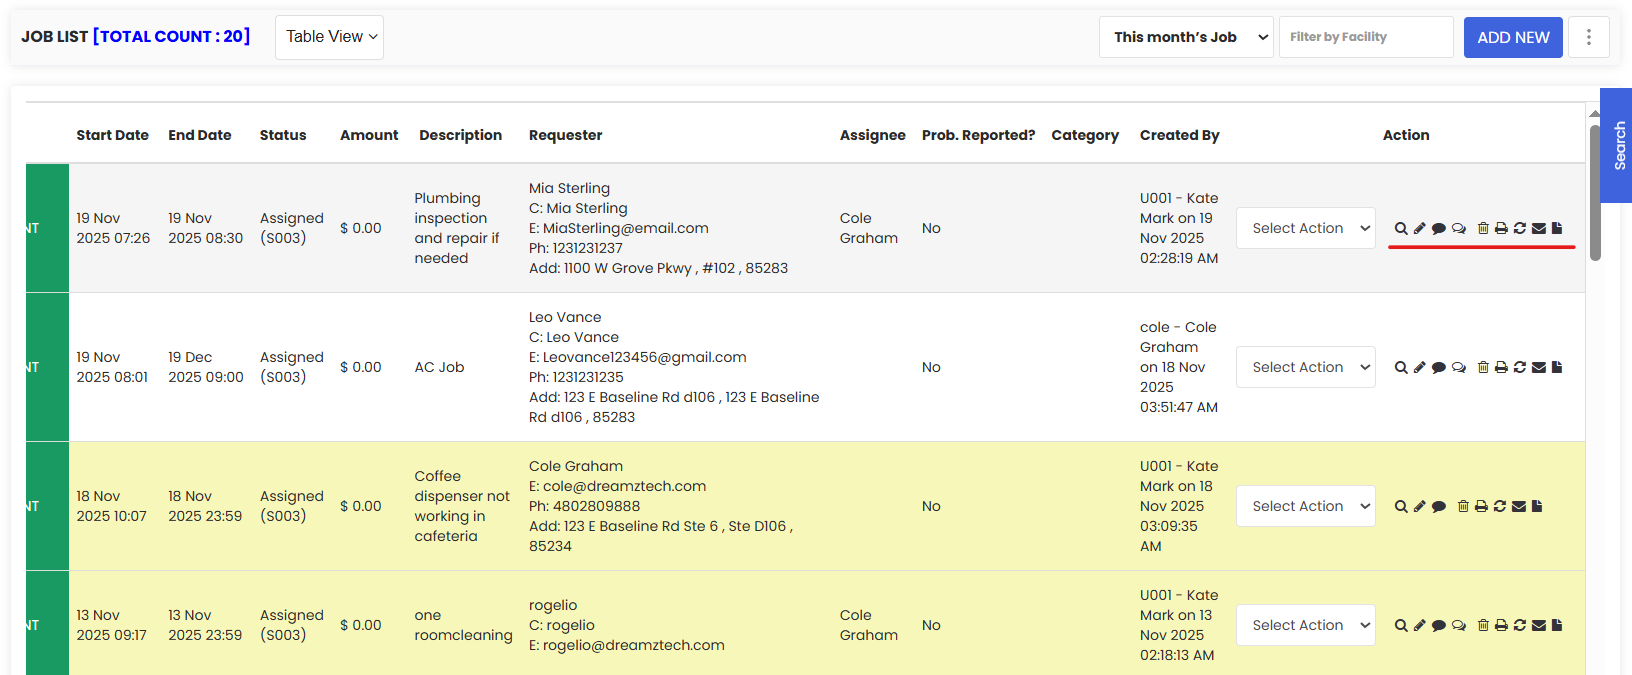
- Use the row Actions (icons / "Select Action") to view, edit, comment, attach files, print, or delete a job.
- Checkboxes enable bulk selection, while ADD NEW creates an ad-hoc job instantly.
- The right Search panel and top counters (total jobs) help you quickly find and manage current workloads.
Overview
The Job List is the central hub for managing all jobs in DreamzFSM. Whether you need to check the status of an active job, search for a specific work order, filter by facility, or take bulk action across multiple jobs, the Job List gives you everything in one place. It works hand-in-hand with the other job views — Calendar, Kanban, and Map — and switching between them does not affect your underlying data.
Here is a reference video:
How to Access the Job List
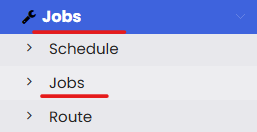
Step 1 – Navigate to Jobs
From the main menu, click Jobs, then click Jobs from the sub-menu. This opens the Job List page.
Step 2 – Review the Job List
The Job List displays all jobs in a table format. Each row shows the key details of a job including its type, start and end dates, status, amount, description, requester, assignee, and more. Use the Table View dropdown at the top to switch between Table, Kanban, Calendar, and Map views at any time.
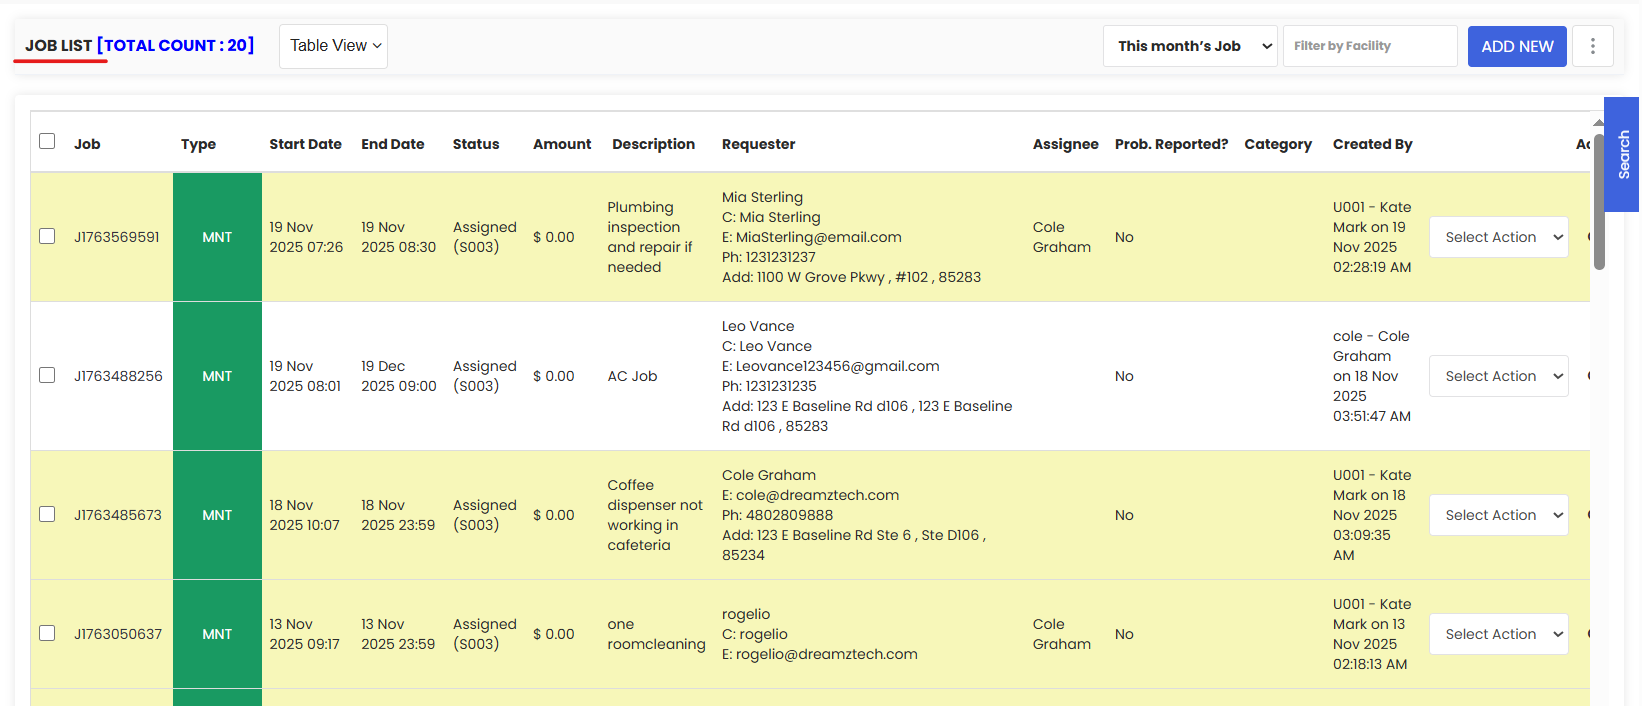
Step 3 – Search and Filter Jobs
Use the Search panel on the right and the filter options at the top — including This Month's Jobs and Filter by Facility — to quickly narrow down the list to the jobs you need. You can also use the top counter to see the total number of jobs matching your current filters.
Tips for Using the Job List
- Use the Filter by Facility option to focus the list on a specific site or location — especially useful for multi-site operations.
- Use bulk selection via the checkboxes to take action on multiple jobs at once, such as bulk status updates or exports.
- Click ADD NEW directly from the Job List to create a new ad-hoc job without navigating away from the list.
- Use the row Actions menu to quickly view, edit, comment, attach files, print, or delete a job without opening it fully.
- Switch to Kanban or Calendar view from the Table View dropdown when you need a visual overview of job progress or scheduling.
Frequently Asked Questions
What information is shown for each job in the list?
Each row in the Job List displays: Type, Start/End dates, Status, Amount, Description, Requester, Assignee, Problem Reported, Category, and Created By — giving you a full snapshot without needing to open the job.
Can I switch to Kanban or Calendar view from the Job List?
Yes. Use the Table View dropdown at the top of the page to switch between Table, Kanban, Calendar, and Map views. Switching views does not affect your job data in any way.
How do I search for a specific job?
Use the Search panel on the right side of the Job List to search by job details. You can also apply filters such as This Month's Jobs and Filter by Facility to narrow the results further.
Can I perform bulk actions on multiple jobs at once?
Yes. Use the checkboxes on the left of each row to select multiple jobs, then use the bulk action options that appear to apply changes across all selected jobs simultaneously.
How do I create a new job from the Job List?
Click the ADD NEW button on the Job List page. This opens the job creation form where you can fill in all the required details and save the new job directly.
Related Articles
- How to Create Jobs
- Job Views in DreamzFSM
- Assign Jobs to Technicians
- Job Status Management
- Create User/Employee