How to Create Jobs
The Create Job feature in DreamzFSM lets you manually open a new job from scratch for any ad-hoc or planned task. You can set key details such as timezone, start and end date and time, priority, facility, category, and job type — and optionally flag a job as an emergency, assign a technician or sub-contractor, attach checklists, parts, and files, and link the job to a project. Once saved, the job is immediately visible across all views — Calendar, Kanban, Map, and List — ready for dispatch and tracking.
Overview
Jobs in DreamzFSM represent individual work tasks assigned to technicians or teams. Each job captures everything needed to execute and track a task — from the requester and location to the assigned technician, checklist, and completion requirements. The job creation form is comprehensive but only a small number of fields are mandatory, giving you the flexibility to add detail progressively as the job evolves.
Here is a reference video:
Before You Begin
- You must have the appropriate permissions to create jobs in DreamzFSM.
- Ensure the facility, category, and technician you intend to assign are already set up in the system.
- If you plan to attach a checklist, confirm that the relevant checklist has already been created. See Manage Checklists if needed.
- Have the start and end date/time confirmed before creating the job to avoid scheduling conflicts.
How to Create a New Job
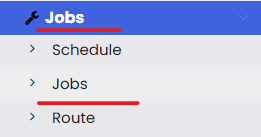
Step 1 – Navigate to Jobs
From the main menu, click Jobs, then click Jobs from the sub-menu. This opens the Jobs listing page showing all existing jobs.
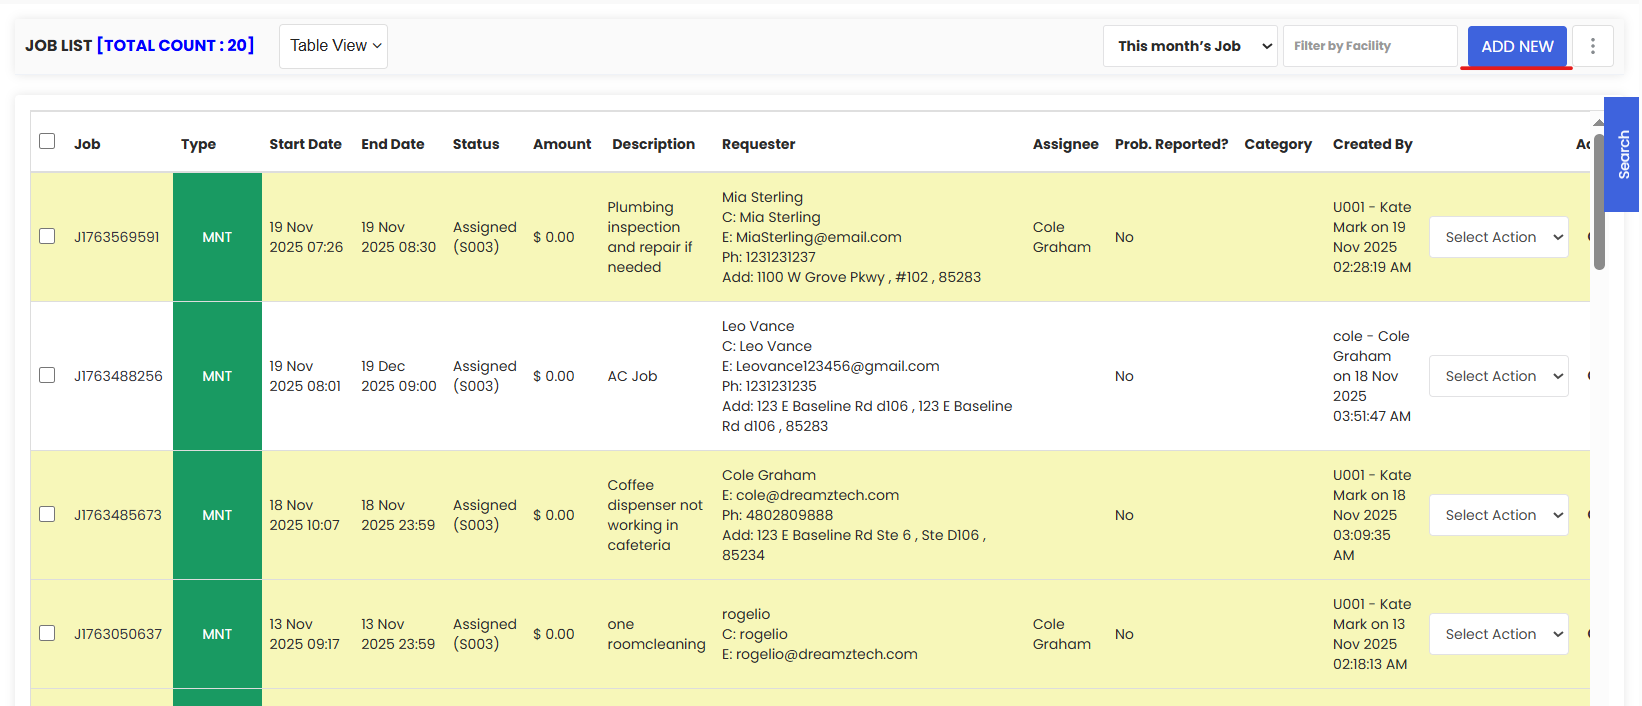
Step 2 – Click "Add New"
From the Jobs listing page, click the Add New button. This opens the job creation form.
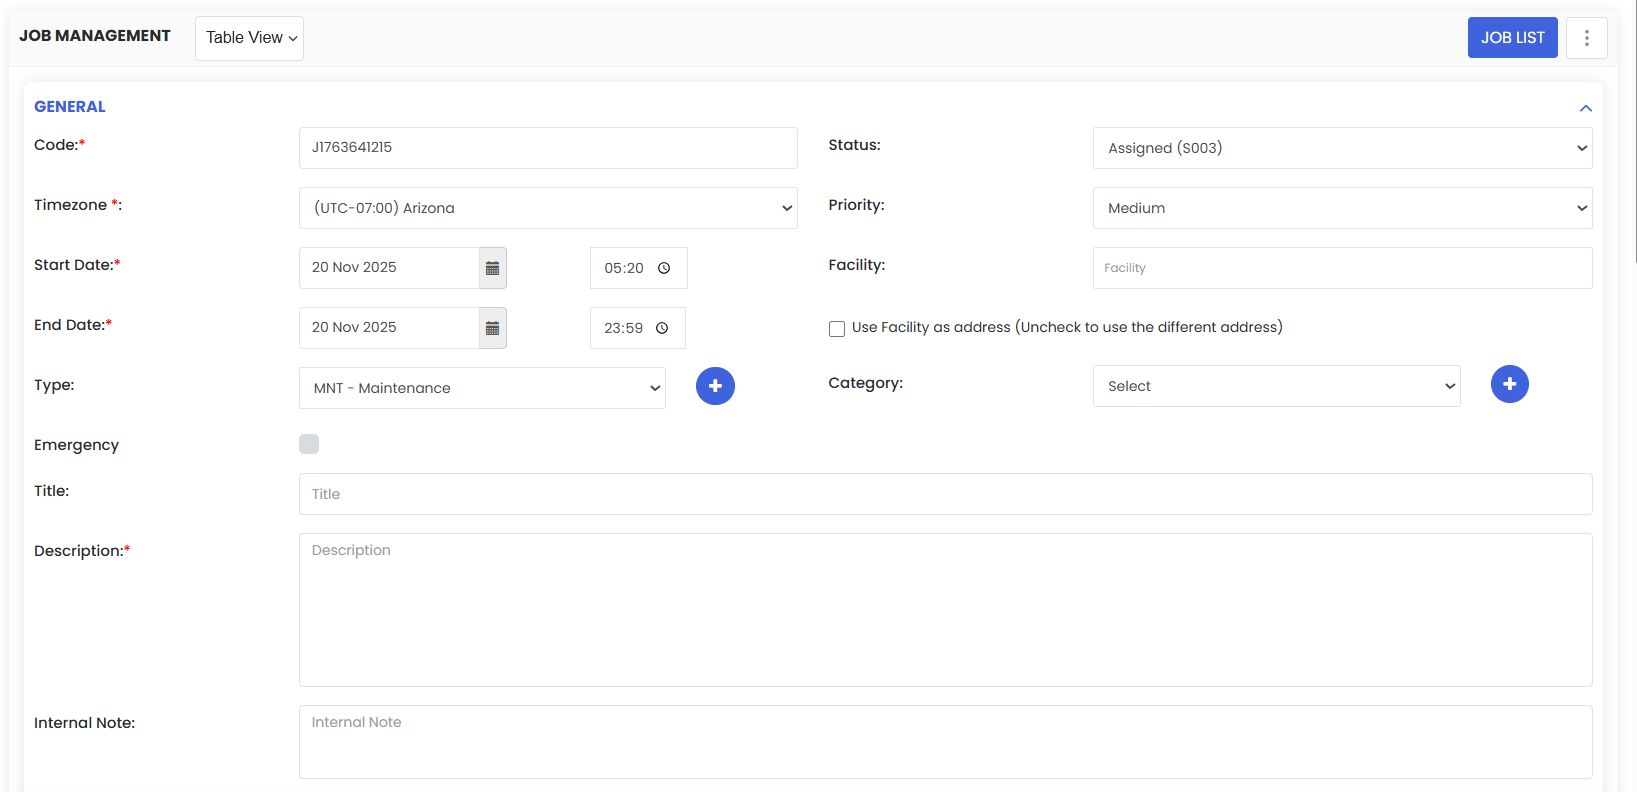
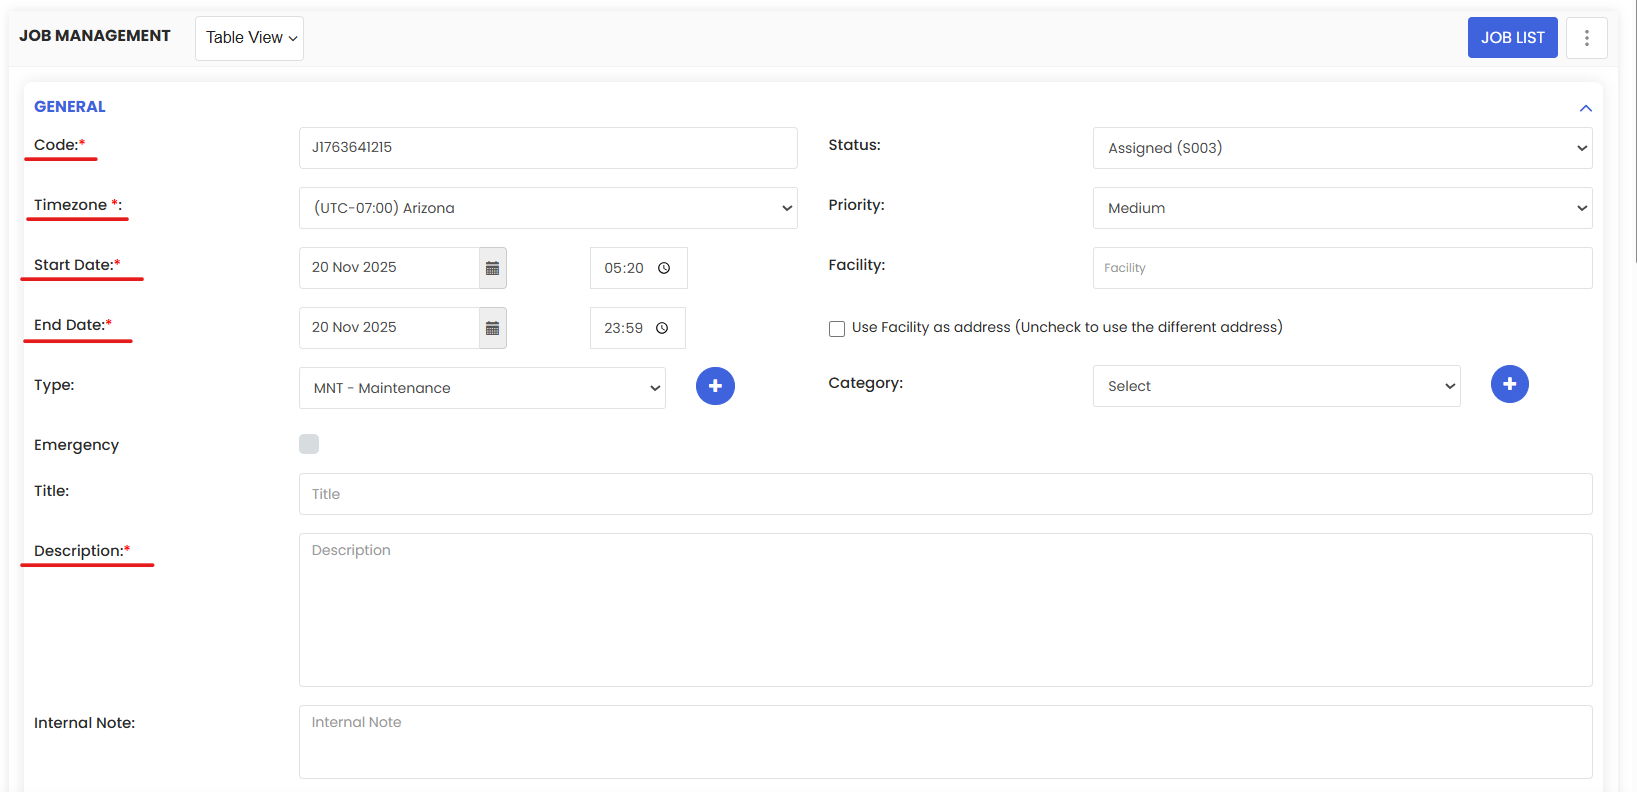
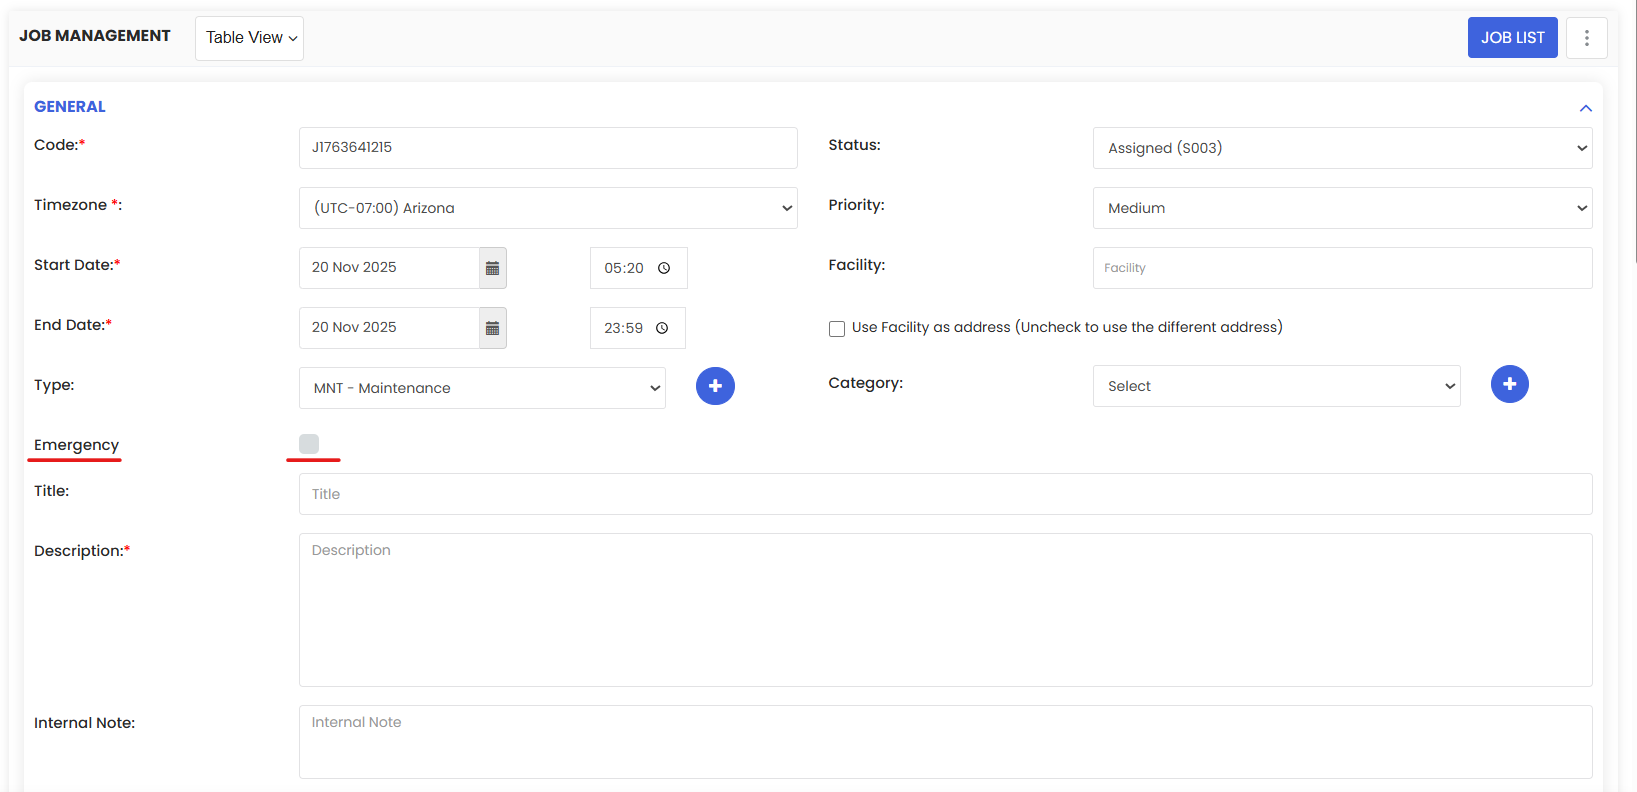
Step 3 – Fill In the Mandatory Job Details
The following fields are mandatory and must be completed before saving the job:
- Code — Auto-generated by the system. No input required.
- Timezone — Select the timezone relevant to the job location.
- Start Date & Time — Set when the job is scheduled to begin.
- End Date & Time — Set when the job is expected to be completed.
You can also fill in the following optional fields at this stage:
- Job Type — Select the type of work being performed.
- Category — Classify the job under the appropriate category for reporting and filtering.
- Priority — Set the urgency level of the job (e.g., Low, Medium, High).
- Facility — Select the facility or location where the job will be carried out.
Step 4 – Flag as Emergency (Optional)
If the job requires urgent attention, click the Emergency option. The job will be highlighted in red on screen and flagged as a priority to the on-field technician in their app.
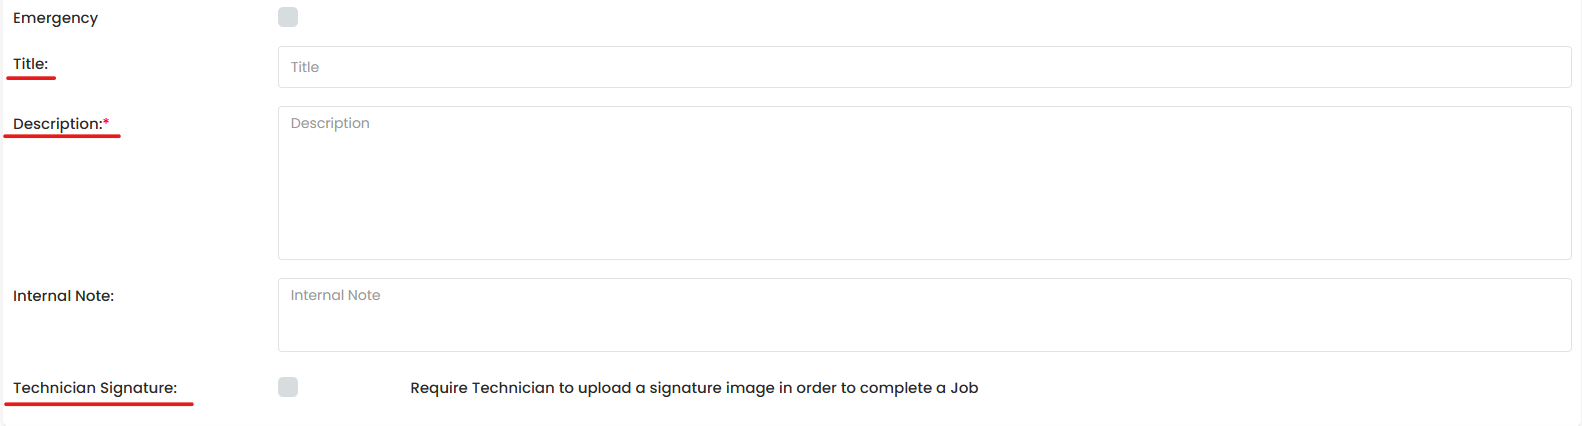
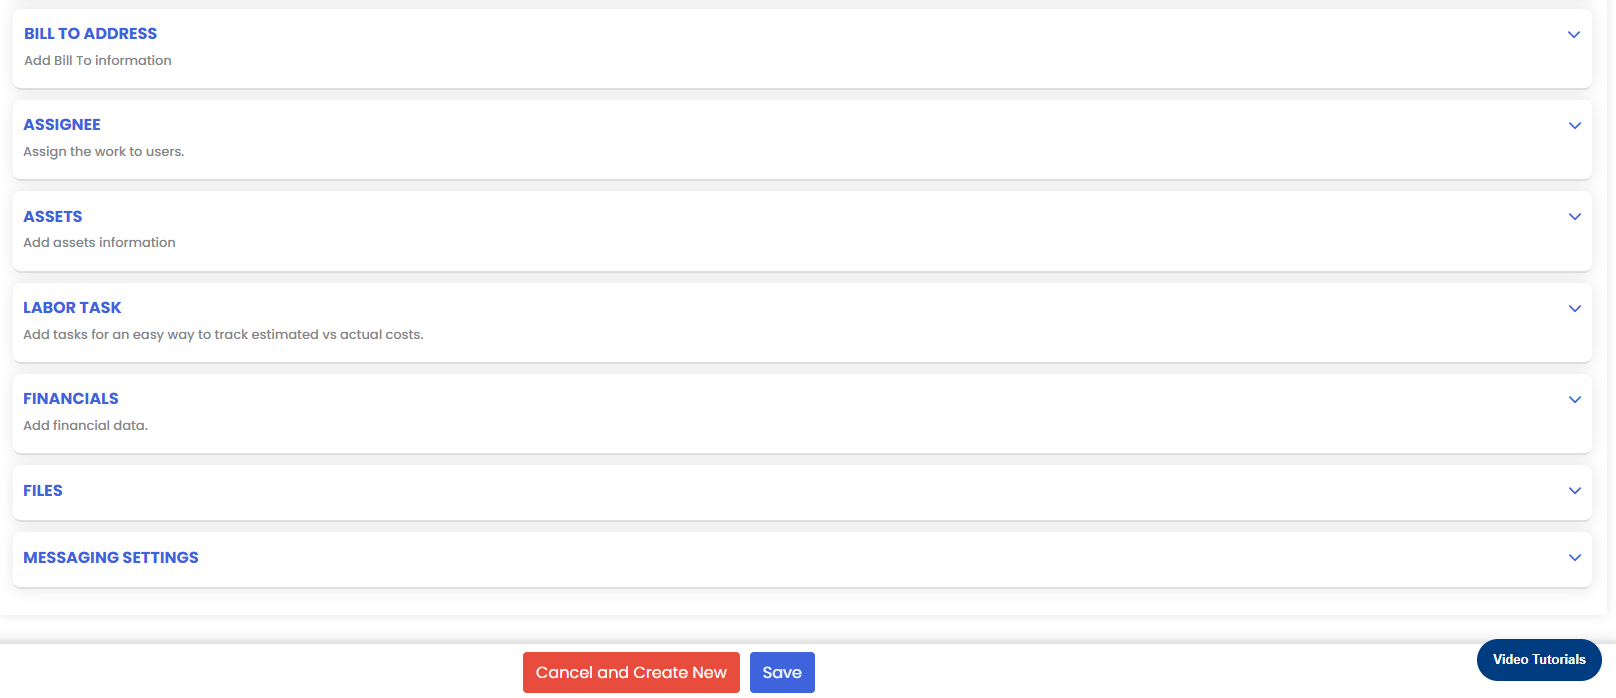
Step 5 – Add Title, Description and Internal Notes
Enter a clear Title for the job so it is easy to identify at a glance across all views. Optionally add:
- Description — A detailed explanation of the work to be done.
- Internal Note — A private note visible only to internal staff, not the technician on the field.
- Technician Signature on Completion — Enable this checkbox if the technician must upload a signature when marking the job complete.
Step 6 – Link to a Project (Optional)
If this job is part of an ongoing project, use the Project dropdown to link it to the relevant project. This allows the job to be tracked within the project's progress and reporting.
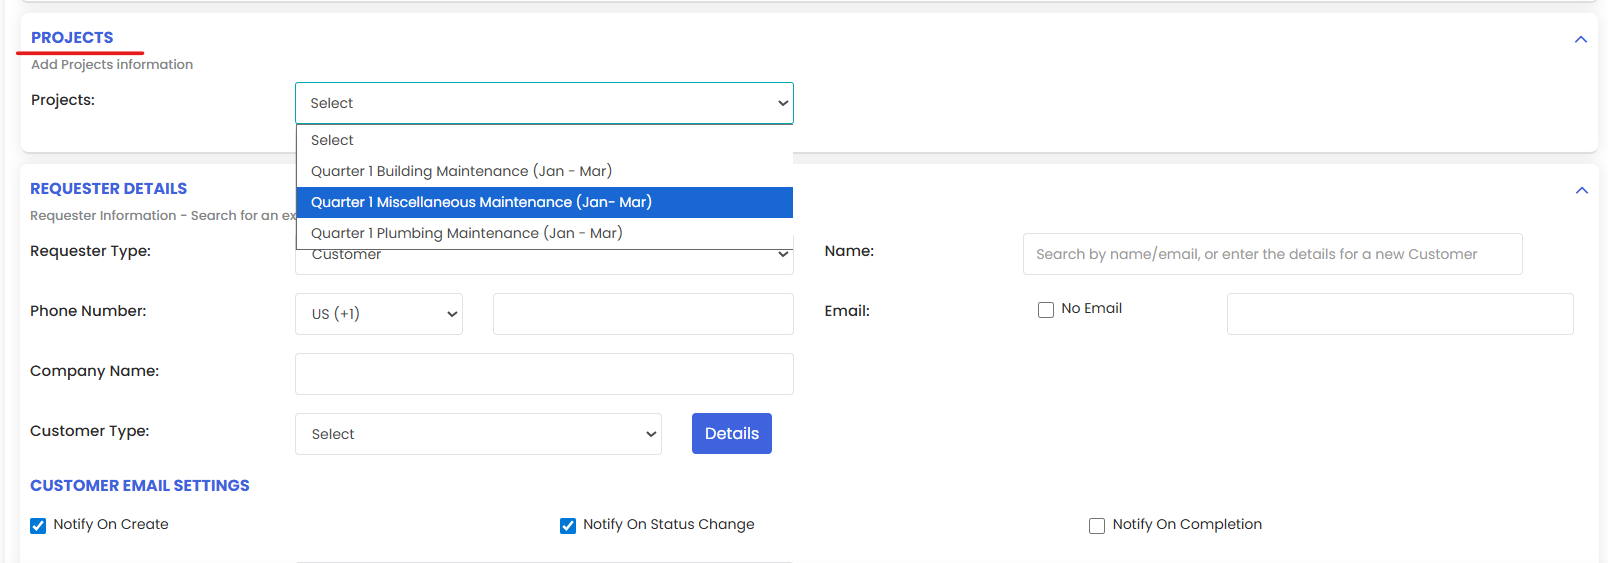
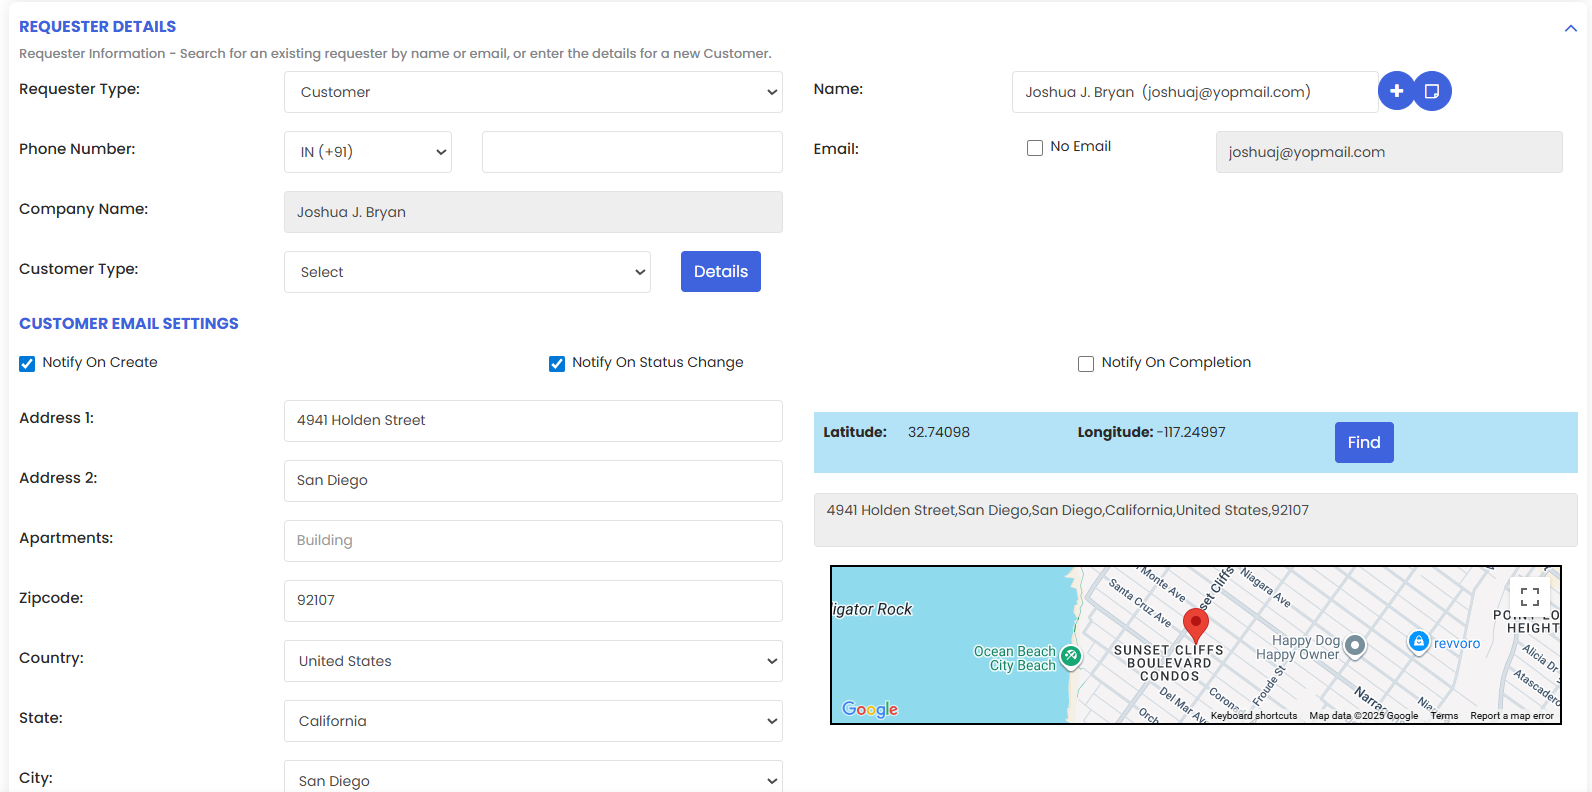
Step 7 – Add Requester Details and Service Agreement (Optional)
Use the Requester dropdown to select or enter the details of the person who requested the job. If a service agreement applies, add it in the Service Agreement field to ensure the job is carried out in accordance with the agreed terms.
Step 8 – Assign a Technician or Sub-Contractor
Use the Technician dropdown to assign the job to a specific technician from your team. Alternatively, if the work is being outsourced, select the appropriate Sub-Contractor from the sub-contractor dropdown.
Note: A job can be assigned to either a technician or a sub-contractor, but not both simultaneously. Ensure the correct person or party is selected before saving.

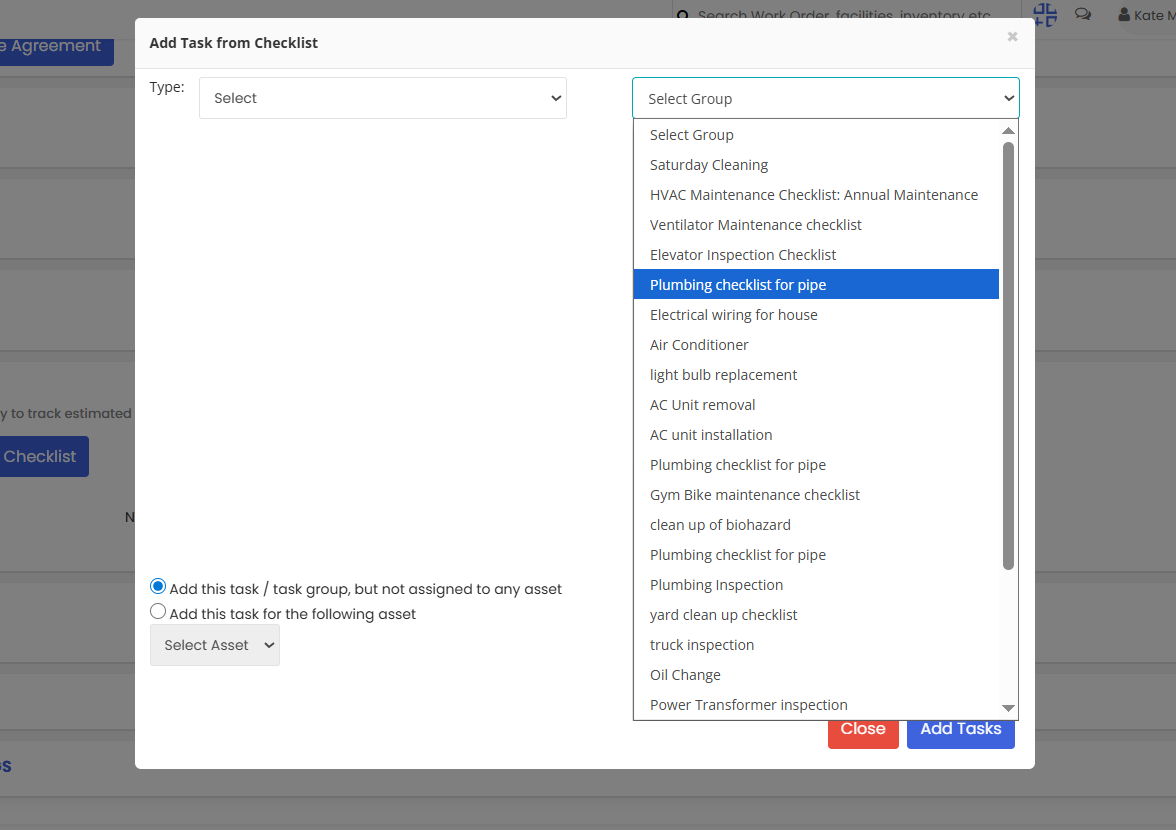
Step 9 – Attach a Checklist, Parts, Files and Save
If specific steps must be followed during the job, click the Labour Task from Checklist button. Use the dropdown to select the relevant checklist, then click Add Task to attach it to the job. You can also attach any relevant parts or files at this stage.

Once all details are entered, click Save. The job will be created immediately and will appear across the Calendar, Kanban, Map, and List views for dispatch and tracking.
After Creating a Job — What's Next?
- Notify the assigned technician if auto-notifications are not enabled, so they are aware of the new job and its scheduled time.
- Track the job from the Calendar, Kanban, Map, or List view to monitor its progress from dispatch through to completion.
- Update job details as needed — you can edit the job at any time before or during execution to reflect changes in scope, timing, or assignment.
Tips for Creating Jobs
- Always enter a clear, descriptive title. The job title is what technicians and managers see at a glance in the Calendar and Kanban views — make it meaningful.
- Use the Emergency flag only when genuinely urgent. Overuse reduces its effectiveness and can affect how field technicians prioritise their workload.
- Attach a checklist wherever possible to ensure consistency in how jobs are executed and to provide technicians with clear step-by-step guidance.
- Link jobs to a project when they form part of a larger body of work. This improves project-level visibility and reporting accuracy.
- Set the correct priority level at the time of creation so that dispatchers can schedule and assign jobs in the right order.
Frequently Asked Questions
What fields are mandatory when creating a job?
The mandatory fields are: Timezone, Start Date & Time, and End Date & Time. The job Code is auto-generated. All other fields are optional and can be filled in at creation or edited later.
Can I assign a job to both a technician and a sub-contractor?
No. A job can be assigned to either a technician or a sub-contractor, not both at the same time. Choose the appropriate assignee based on whether the work is being handled internally or outsourced.
Can I edit a job after it has been saved?
Yes. Jobs can be edited at any time from the Jobs listing or from within any view (Calendar, Kanban, Map, or List). Open the job and update the relevant fields as needed.
What happens when I flag a job as Emergency?
The job is highlighted in red on the screen and flagged as a priority in the assigned technician's mobile app. This ensures urgent jobs are immediately visible and actioned first.
Can I attach multiple checklists to a single job?
Yes. You can add multiple checklists to a job by using the Labour Task from Checklist button multiple times, selecting a different checklist each time.
Related Articles
- Job Views in DreamzFSM
- Manage Checklists
- Assign Jobs to Technicians
- Sub-Contractor Creation & List
- Create User/Employee