How to Create a Metered Scheduled Maintenance
Not all equipment should be serviced on a fixed calendar schedule. For assets where usage drives wear — such as engines, compressors, vehicles, or production machinery — it makes more sense to trigger maintenance based on actual usage rather than the passage of time. A metered maintenance schedule ensures your team services equipment at exactly the right point in its usage cycle, reducing both over-maintenance and under-maintenance.
Overview
Metered Scheduled Maintenance in DreamzCMMS triggers preventive maintenance work orders based on real asset usage — such as hours run, kilometres travelled, production cycles, or energy consumed — rather than fixed calendar dates.
You define a meter threshold (e.g., every 500 hours), and as meter readings are logged manually, via mobile, or through IoT integrations, the system tracks usage, predicts the next due point, and automatically generates a work order when the threshold is reached. After each PM, the counter resets according to your defined rule, and the cycle continues.
How is this different from a time-based PM Scheduler?
A time-based PM Scheduler generates work orders at fixed calendar intervals (e.g., every month). A Metered Scheduler generates work orders based on actual usage — making it ideal for assets whose wear is driven by how much they are used, not how much time has passed.
How to Create a Metered Scheduled Maintenance
Step 1 – Navigate to Metering Scheduled Maintenance
From the left-hand navigation menu, click on Scheduled Maintenance, then select Metering Scheduled Maintenance from the submenu. This will show the list of all existing metered PM schedulers.

Step 2 – Click "Add New Scheduler"
At the top-right corner of the page, click the Add New Scheduler button to open the metered scheduler creation form.

Step 3 – Enter the Scheduler Name and Order Type
- Scheduler Name — Enter a clear, descriptive name for this scheduler (e.g., "Every 500 Hours – Engine Oil Change", "Every 10,000 km – Vehicle Service", "Every 1,000 Cycles – Press Maintenance"). This name will automatically populate the work order title.
- Order Type — Select Work Order from the dropdown to specify that this scheduler will generate standard maintenance work orders.

Step 4 – Configure the Meter Reading Settings
This is the core of the metered scheduler. You can configure meter thresholds for one or multiple pieces of equipment or tools in a single scheduler.
For each asset, set the following:
- Equipment / Tool (required) — Select the specific asset this meter threshold applies to.
- Meter Type / Unit (required) — Select the unit of measurement for this meter (e.g., Hours, Kilometres, Cycles, kWh). This must match the meter type being logged on the asset.
- Metering Frequency (required) — Enter the usage interval at which a work order should be triggered (e.g., every 500 hours, every 10,000 km, every 1,000 cycles).
- Current Meter Reading (required) — Enter the asset's current meter reading at the time of setting up the scheduler. This is the baseline from which the system begins tracking toward the next threshold.
- Stop Reading (optional) — Enter the meter value at which the scheduler should stop generating work orders entirely (e.g., stop scheduling service after 50,000 km total mileage). Leave blank if the scheduler should run indefinitely.
Tip: If you are unsure of the current meter reading, check the Metering/Events tab on the asset's detail page.

Step 5 – Set Scheduler End and Overdue Settings
- Scheduler End (optional) — Set a date on which the scheduler should automatically stop, regardless of meter readings. Useful if the asset is due for replacement or disposal by a certain date.
- Overdue Settings — Define how long after the threshold is reached before the generated work order is flagged as overdue. For example, flag as overdue if not completed within 3 days of the work order being generated. This ensures time-sensitive meter-triggered tasks are not delayed without visibility.

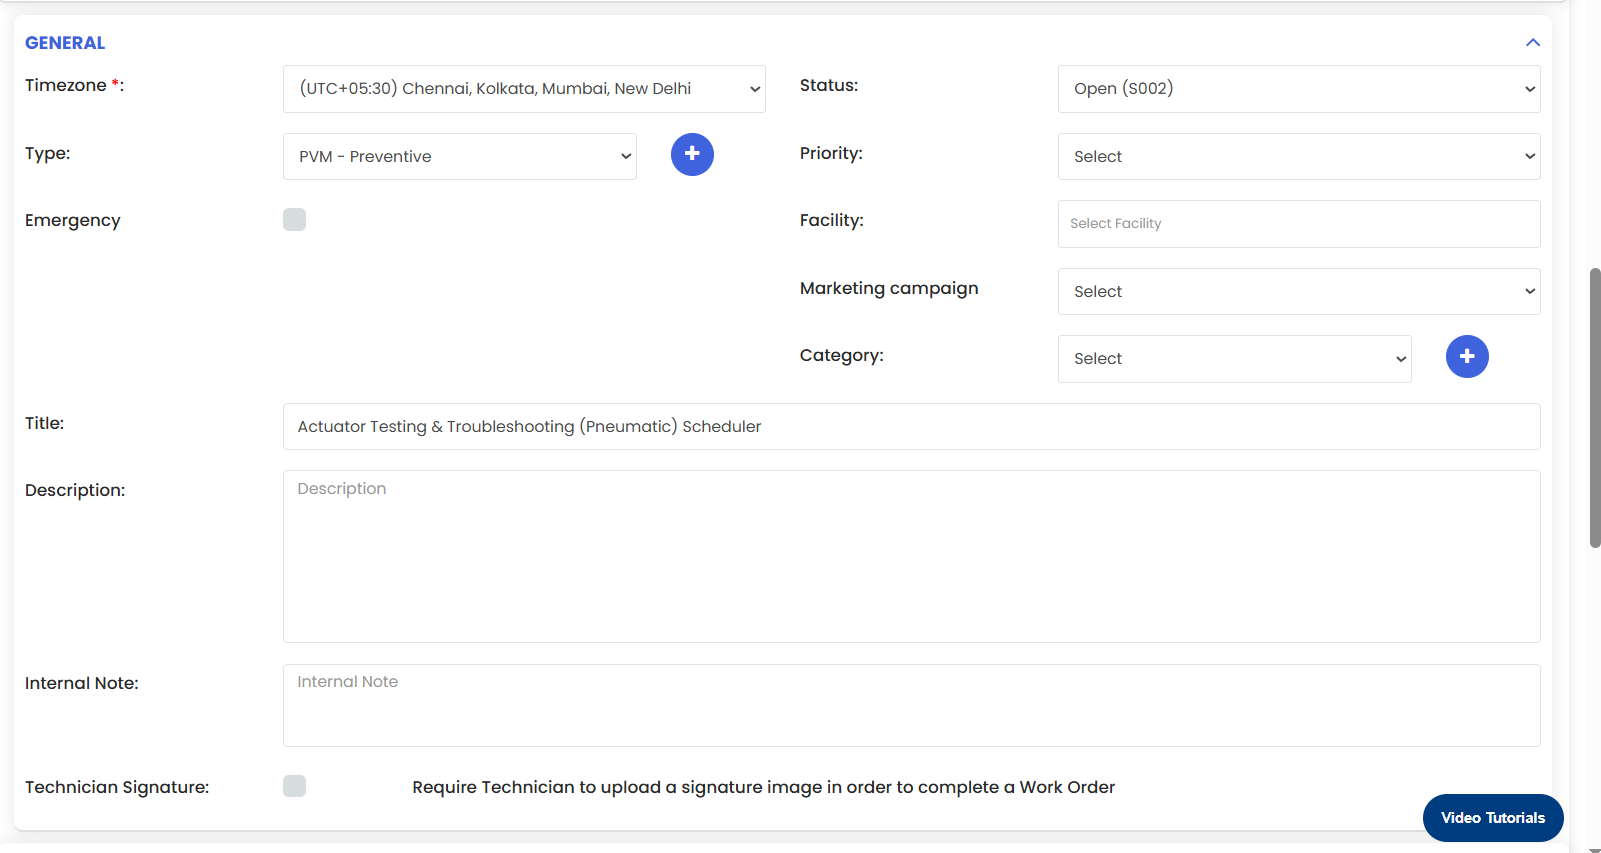
Step 6 – Fill in the Work Order Details
The remainder of the form mirrors the standard work order creation page. Complete the relevant fields, including:
- Description — Describe the maintenance task in detail so technicians know exactly what needs to be done when the work order is generated.
- Asset / Location — Confirm the asset and facility location.
- Assigned To — Select the technician or team responsible for completing generated work orders.
- Priority — Set the appropriate priority level.
- Checklist — Attach a task checklist for step-by-step guidance during the PM.
- Parts / BOM — Link any parts or materials required for the maintenance task.
- Estimated Duration — Enter the expected time to complete the task.
Step 7 – Click Save
Once all details are complete, click Save. The metered scheduler is now active. As meter readings are logged for the assigned assets, DreamzCMMS will track usage against the defined threshold and automatically generate a work order when the threshold is reached.
Tips for Metered Maintenance Scheduling
- Match the meter type to the asset's actual usage driver — Hours are best for engines and motors; kilometres for vehicles; cycles for presses and production equipment; kWh for electrical systems.
- Enter an accurate current reading at setup — An incorrect starting reading will cause the first work order to trigger too early or too late, throwing off the entire schedule.
- Log readings consistently — Irregular or infrequent meter logging reduces the system's ability to predict due dates accurately. Set a reading schedule (e.g., end of every shift) and stick to it.
- Use Stop Reading for assets nearing end of life — If an asset is due for replacement at a defined usage point, set a stop reading to automatically retire the scheduler when that point is reached.
- Review metered work order history to identify patterns — if an asset consistently fails before the threshold, shorten the interval. If maintenance is always unnecessary at the threshold, consider extending it.
Frequently Asked Questions
What is the difference between a Metered Scheduler and a time-based PM Scheduler?
A time-based PM Scheduler generates work orders at fixed calendar intervals (e.g., every month). A Metered Scheduler generates work orders based on actual asset usage (e.g., every 500 hours). Metered scheduling is more accurate for assets where wear is driven by usage, not time.
Can I set up a metered scheduler for multiple assets at once?
Yes. A single metered scheduler can include multiple pieces of equipment or tools, each with its own meter type and threshold. This is useful for managing a fleet of similar assets under one scheduler.
What happens when the threshold is reached?
DreamzCMMS automatically generates a work order for the assigned asset when the cumulative meter reading reaches the defined threshold. The counter then resets and begins tracking toward the next threshold.
What if meter readings are not logged regularly?
The scheduler relies on meter readings to track progress toward the threshold. If readings are not logged, the system cannot accurately predict or trigger the next PM. Consistent logging is essential for metered scheduling to work correctly.
Can I use both a metered scheduler and a time-based scheduler for the same asset?
Yes, and this is recommended for critical assets. Running both ensures maintenance is triggered by whichever condition — time or usage — is reached first, providing maximum protection.
Can I edit the threshold after the scheduler has been created?
Yes. Edit the scheduler from the Metering Scheduled Maintenance listing page to update the metering frequency, stop reading, or any other setting. Changes apply to future work order generations only.
Related Articles
- Create and Manage Work Orders
- How to Add Meter Readings and Event Details for Equipment
- How to Manage Various Asset Information
- Create Asset Locations
- How to Add BOM to a Facility/Location