Print QR Code or Barcode of Equipment
Labelling your physical assets with barcodes or QR codes is one of the simplest ways to speed up maintenance workflows. Once printed and attached, technicians can scan an asset tag with a mobile device to instantly pull up its full record — including location, maintenance history, work orders, and more — without any manual searching.
DreamzCMMS automatically generates a unique barcode and QR code for every asset, making it easy to print and deploy labels across your facility at any time.
Overview
The Print Tags feature allows you to select one or more pieces of Equipment or Tools and print their barcodes or QR codes in bulk. You can choose your preferred tag format, configure the print layout, preview the output, and send it directly to your printer — all from within DreamzCMMS.
Before You Begin
- You must have Admin or Manager permissions to access and print asset tags.
- The equipment or tools you want to label must already exist in DreamzCMMS. Barcodes and QR codes are automatically generated when an asset is created — no setup required.
- Have a label printer or standard printer ready. For best results, use adhesive label sheets sized to match your tag layout.
How to Print QR Codes or Barcodes for Equipment
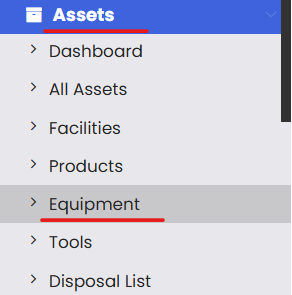
Step 1 – Navigate to Equipment or Tools
From the left-hand navigation menu, click on Assets, then select either Equipment or Tools depending on which assets you want to label.
Step 2 – Open the Print Tags Option
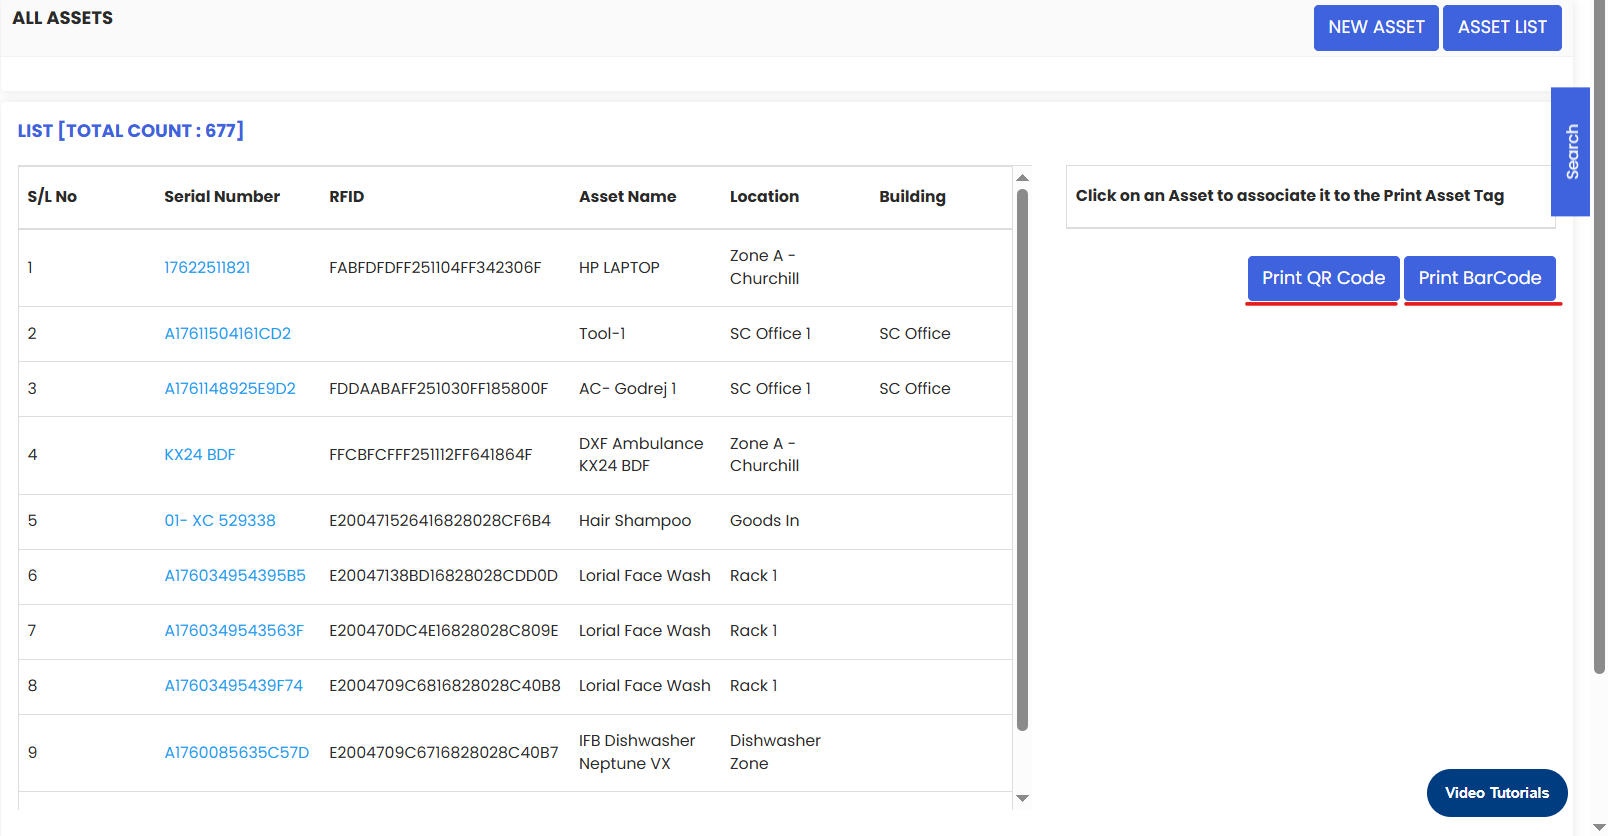
On the listing page, click the More button in the top-right corner. From the dropdown menu, select Print Tags.

Step 3 – Choose Tag Format and Select Assets
A selection screen will appear. Here you need to:
- Choose your tag format — Select either Barcode or QR Code depending on your labelling requirements and scanner type.
- Select the assets you want to print tags for. You can select individual assets or choose multiple assets at once for a bulk print run.
Barcode vs. QR Code — which should I use?
- Barcodes are simpler and work with standard barcode scanners. Best for warehouse or inventory environments with dedicated scanning hardware.
- QR Codes store more information and can be scanned with any smartphone camera. Best for field technicians using mobile devices.

Step 4 – Configure Print Details
A pop-up will appear to set the printing details for your tags. This may include:
- Label size — Match this to your label sheet dimensions.
- Number of copies — How many copies of each tag to print.
- Layout options — Adjust the arrangement of tags on the page to fit your label format.
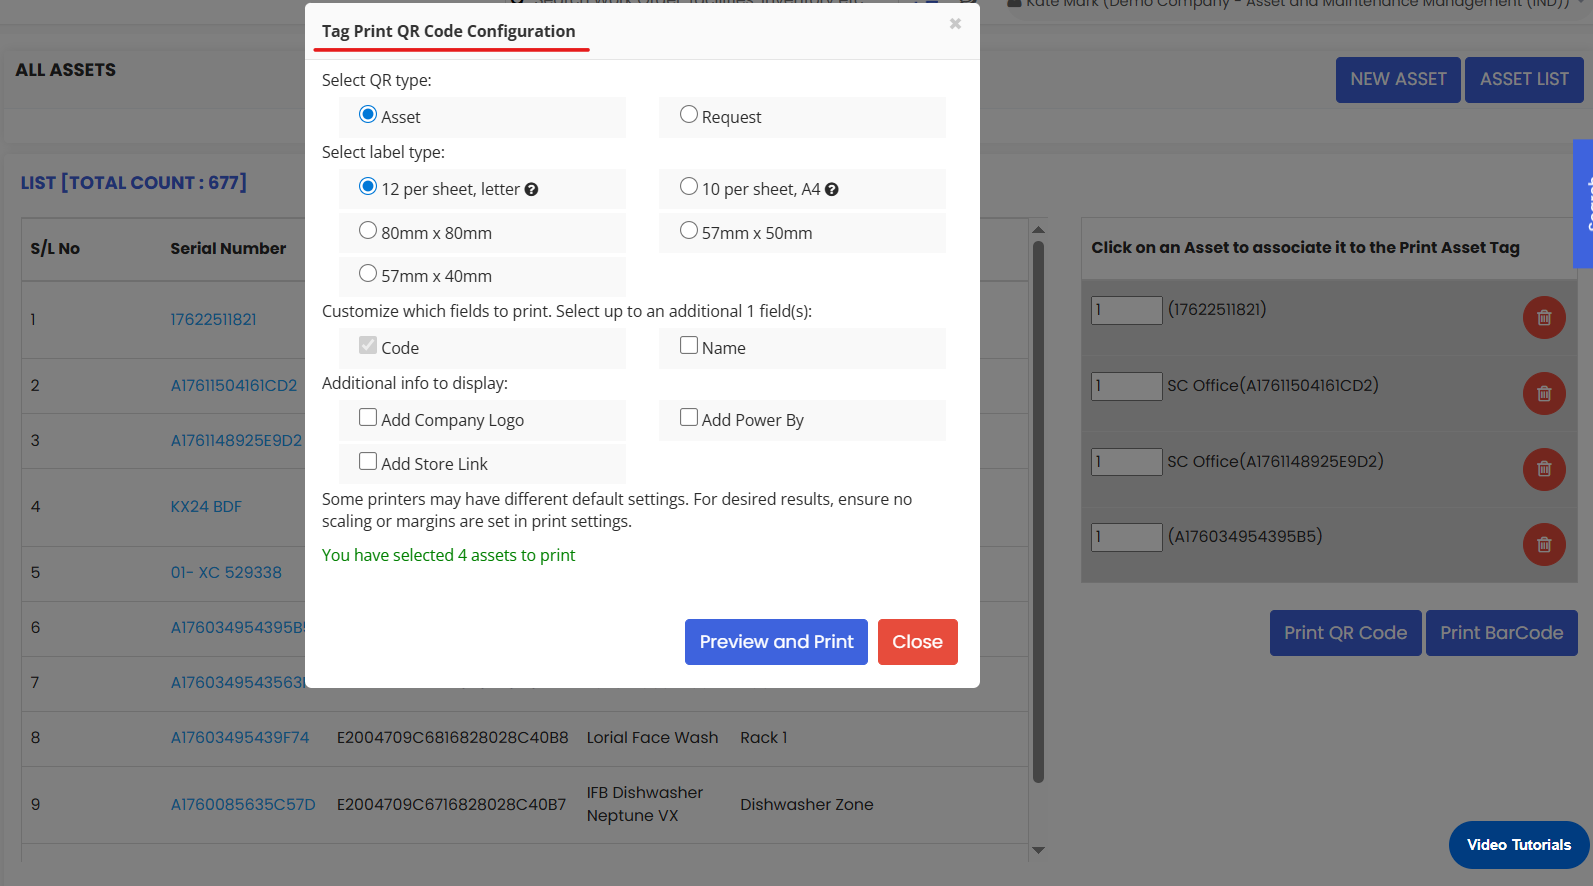
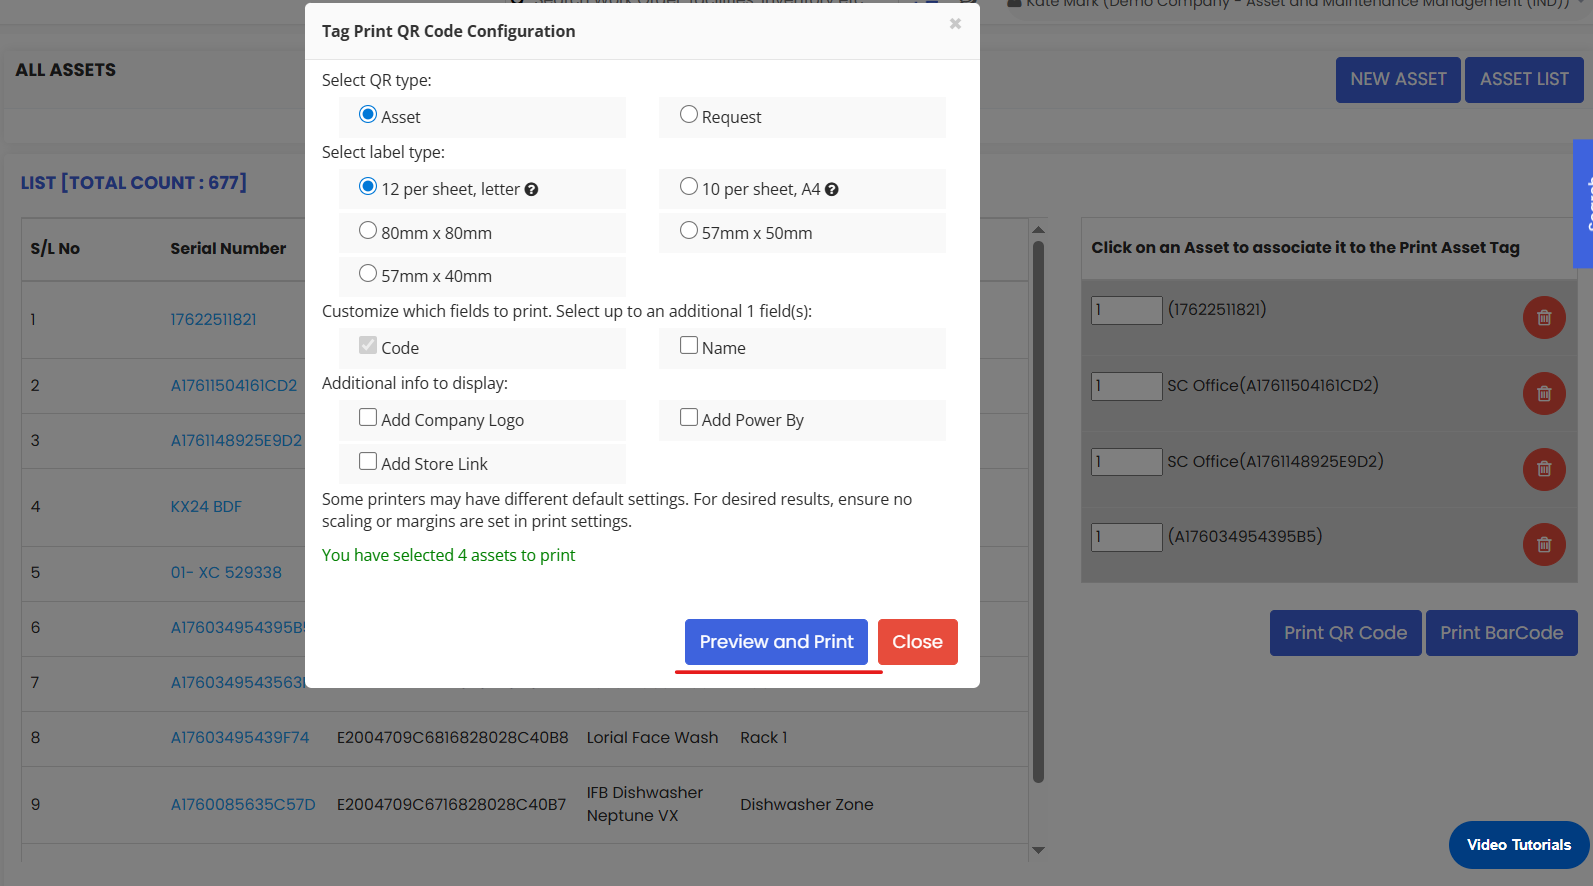
Step 5 – Preview and Print
Click the Preview and Print button in the pop-up to open the print preview. Review the layout to confirm the tags look correct, then send the job to your printer.
Once printed, attach the labels to the corresponding physical assets in your facility.

After Printing — What's Next?
Once your asset tags are printed and attached:
- Train your team to scan tags when accessing asset information in the field — this eliminates manual searching and reduces errors.
- Scan tags to log meter readings directly from the asset location — see How to Add Meter Readings and Event Details of an Equipment
- Scan tags to raise work orders quickly from the field
- Re-print tags any time an asset is moved, relabelled, or if an existing tag is damaged or lost.
Tips for Asset Labelling
- Print tags in bulk during initial setup — do a full facility labelling run when first going live with DreamzCMMS to get everything tagged at once.
- Use durable label materials — for outdoor equipment or assets in harsh environments (heat, moisture, chemicals), use weatherproof or metal asset tags rather than standard paper labels.
- Place tags in a consistent, visible location on each asset — e.g., always on the front panel or top-left corner — so technicians always know where to look.
- Reprint immediately when tags are damaged — a missing or unreadable tag defeats the purpose of the labelling system.
- Print spare copies of each tag and keep them on file so replacements can be applied quickly without needing to reprint from the system.
Frequently Asked Questions
Are barcodes and QR codes automatically generated for every asset?
Yes. DreamzCMMS automatically generates a unique barcode and QR code for every Equipment and Tool record at the time of creation. You do not need to configure or generate them manually.
Can I print tags for both Equipment and Tools?
Yes. The Print Tags feature is available from both the Equipment and Tools listing pages. Follow the same steps for each.
Can I print tags for multiple assets at once?
Yes. On the tag selection screen in Step 3, you can select multiple assets for a bulk print run — saving time when labelling large numbers of assets.
What if an asset's tag is lost or damaged?
Simply return to the Equipment or Tools listing page, select the affected asset, and reprint its tag following the same steps. The unique identifier remains the same, so all linked data is preserved.
Can technicians scan QR codes on a mobile device?
Yes. QR codes can be scanned using any standard smartphone camera or mobile scanning
app. This makes them ideal for field teams who use DreamzCMMS on mobile devices.
What printer should I use for asset tags?
For high-volume or professional label printing, a dedicated label printer (such as a Zebra or Brother label printer) is recommended. For smaller quantities, standard A4 adhesive label sheets on a regular printer work well.
Related Articles
How to Manage Various Asset Information