Expense List

Created by Binita Goswami, Modified on Wed, 14 Aug at 12:23 PM by Binita Goswami

Hello, and welcome to this training session.
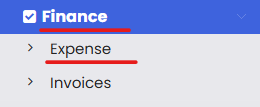
In this video, you will see how to navigate and utilize the expense list feature of the system. To access the expense list, you first need to click on "Field Service," and then select "Expense List," which will take you to the relevant screen.

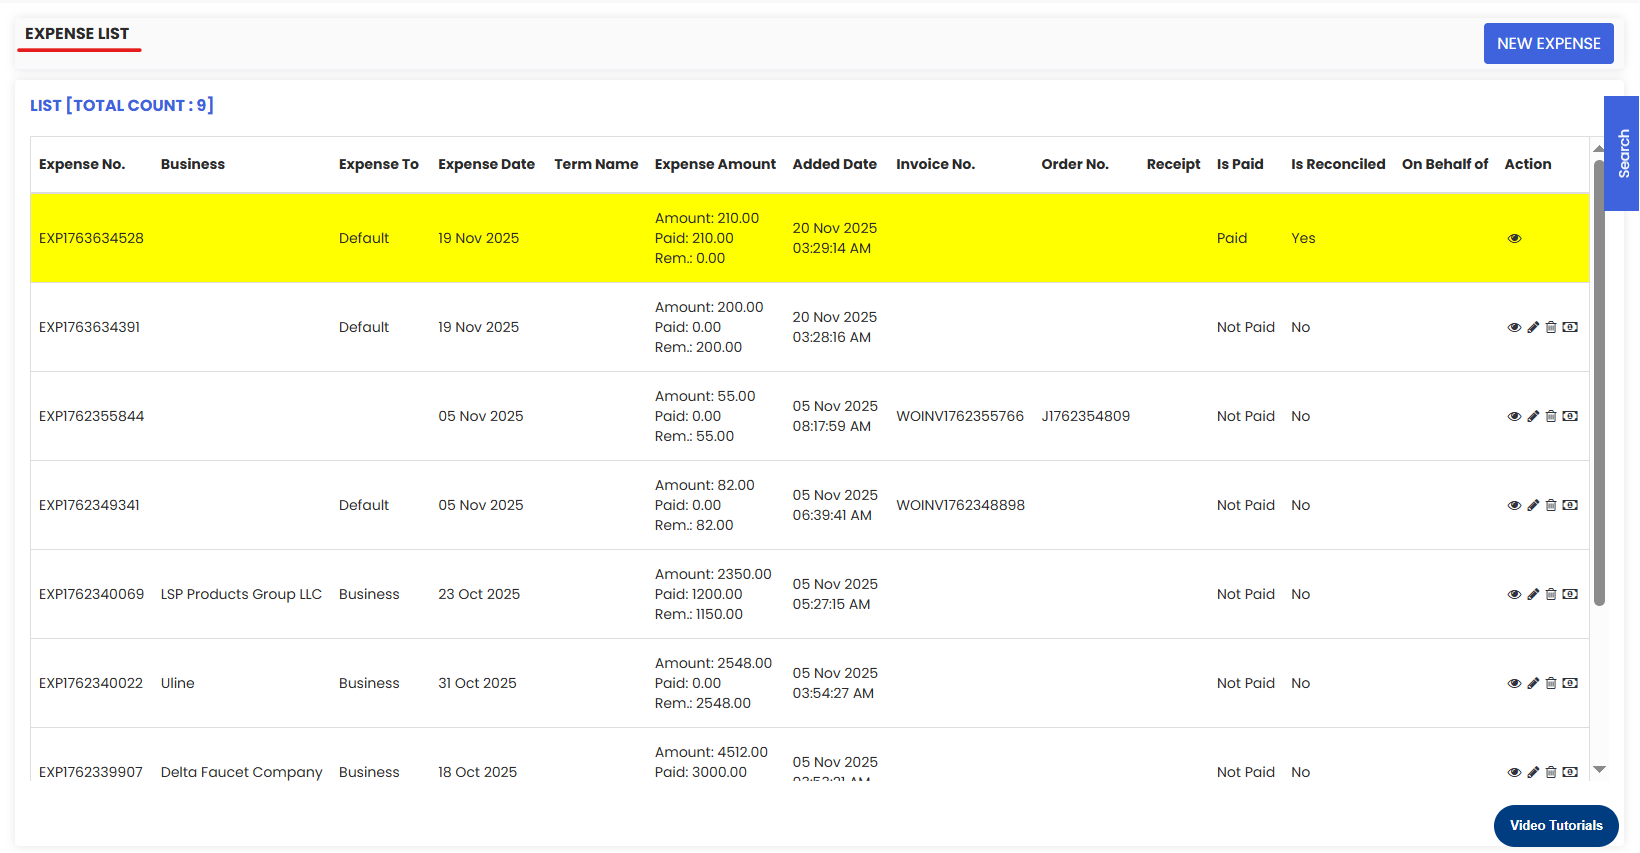
On this screen, you can view detailed information about each expense, including the expense number, business, recipient, date, term name, total amount, paid amount, remaining amount, added date, invoice number, order number, receipt, and payment status. 


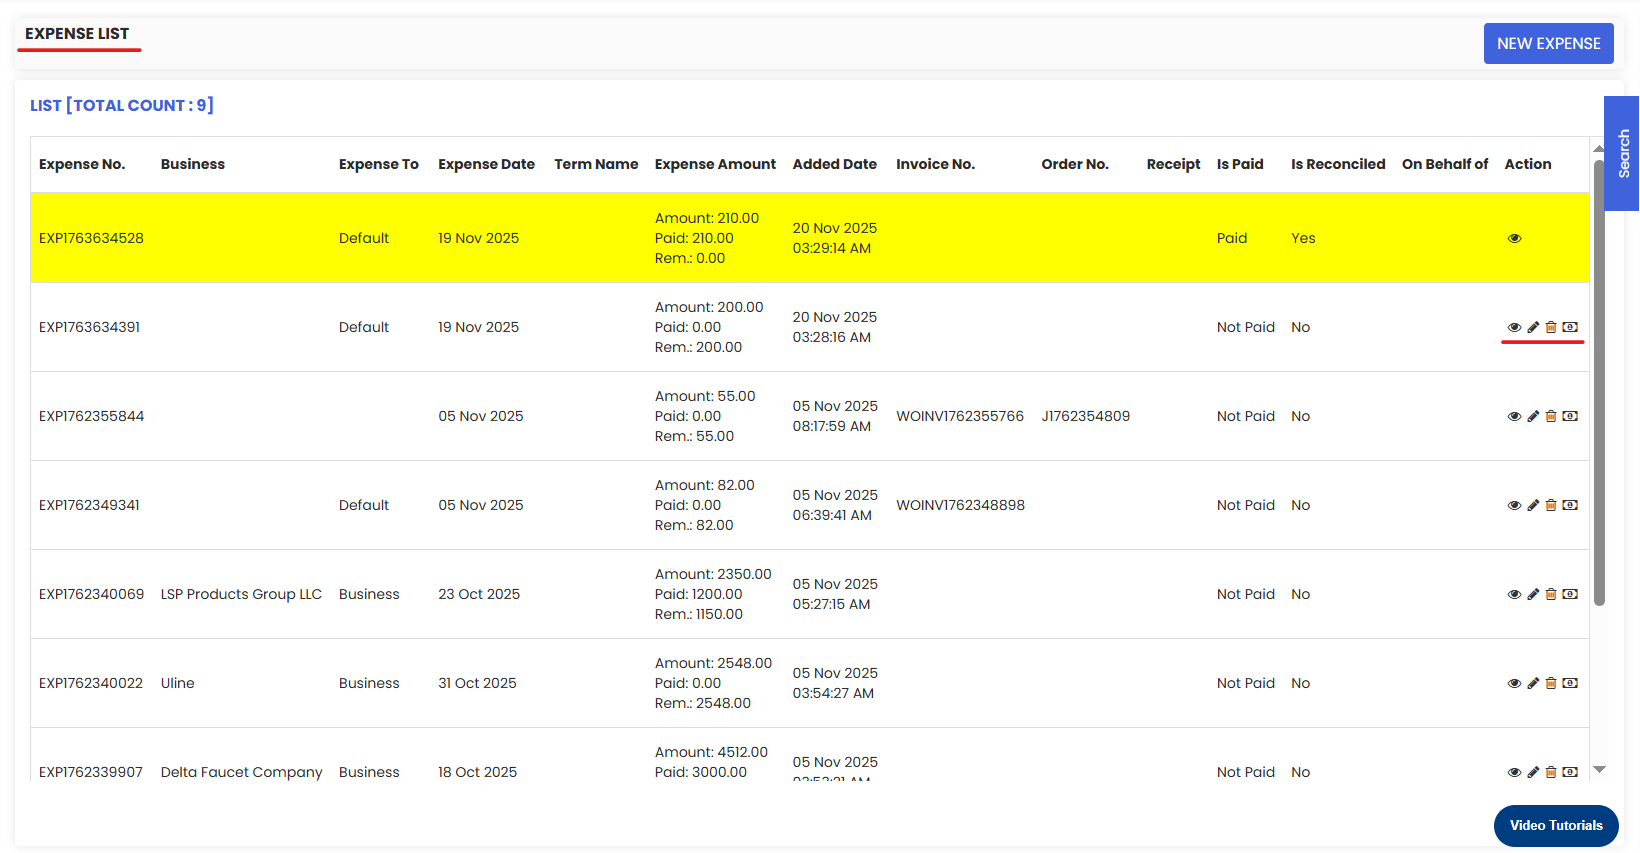
Additionally, there is an option for reconciliation. In the action section, there are four icons available.

The first icon is for viewing the details of an expense. Clicking on this icon will take you to the expense detail screen. At the top of this screen, you'll see the quote and expense date. The basic information and any associated files are also displayed here.


There is an edit option for modifying existing expenses. You can also delete an expense by clicking the delete icon. To record a payment for an expense, use the offline payment section. Here, you need to select the payment method and enter the reference number. 


The bill will be automatically selected if you navigate from the expense list. You can set the payment date to today’s date. If you wish to make a full payment, that option is available. You can also add a receipt number and reconcile the expense from this section. If you want to add a note, you can do so in the notes section. Once you click save, the payment will be successfully recorded. The amount section will update to show that the full amount has been paid, and the remaining amount will be zero. 


The expense will be marked as reconciled, highlighted in yellow. For any paid or reconciled expense, the edit and delete options will no longer be available, nor will the option to take offline payments. If you need to search for a specific expense, there is a search button with various parameters such as expense quote, created by, reconciliation status, invoice number, receipt number, business, and more. Fill in the desired parameters and click the search icon to find specific expenses.


Additionally, from the expense list, you can add a new expense. This covers all the features available in the expense list.

Thank you for watching this training session. We hope this guide helps you efficiently use the expense list feature in our FSM application. If you have any questions, feel free to reach out to our support team. Have a great day.


Was this article helpful?

That’s Great!

Thank you for your feedback

Sorry! We couldn't be helpful

Thank you for your feedback

Let us know how can we improve this article!

Select at least one of the reasons

Feedback sent

We appreciate your effort and will try to fix the article