FMCG Ticketing: Managing Requests, Work Orders, Purchasing & Inventory in DreamzCMMS
In FMCG operations, a single missed maintenance ticket can stall a production line or leave a store shelf unstocked. DreamzCMMS gives your team one connected system to route incoming requests to the right technician automatically, track every work order from creation to close, and keep the parts and purchases behind them under control.
Overview
DreamzCMMS starts with your facility hierarchy — every location and sub-location your business operates, viewable in a tree structure. Category mapping then decides who gets notified automatically whenever a ticket comes in for a given category and location, whether that's a single technician or a full team across multiple sites. From there, requests can be raised from the mobile app or the web platform, and each one that matches a mapped category instantly becomes an assigned work order. Technicians work the ticket through to completion — logging inventory used, adding expenses, and closing it out — while purchasing and inventory modules keep parts stocked and purchase requests moving through approval to receipt. Reports then tie it all together with exportable, filterable views across work orders, assets, purchasing, and inventory.
Here is a reference video:
Before You Begin
- You must have access to the Location, Category Mapping, Work Order, Purchasing, Inventory, and Reports modules in DreamzCMMS.
- Your facilities and sub-locations should already be set up in the Location module so category mapping and requests can reference them correctly.
- Technicians who'll raise or work tickets from the field should have the DreamzCMMS mobile app installed and be logged in.
Facility Setup and Category Mapping
Step 1 – Facility Hierarchy Overview
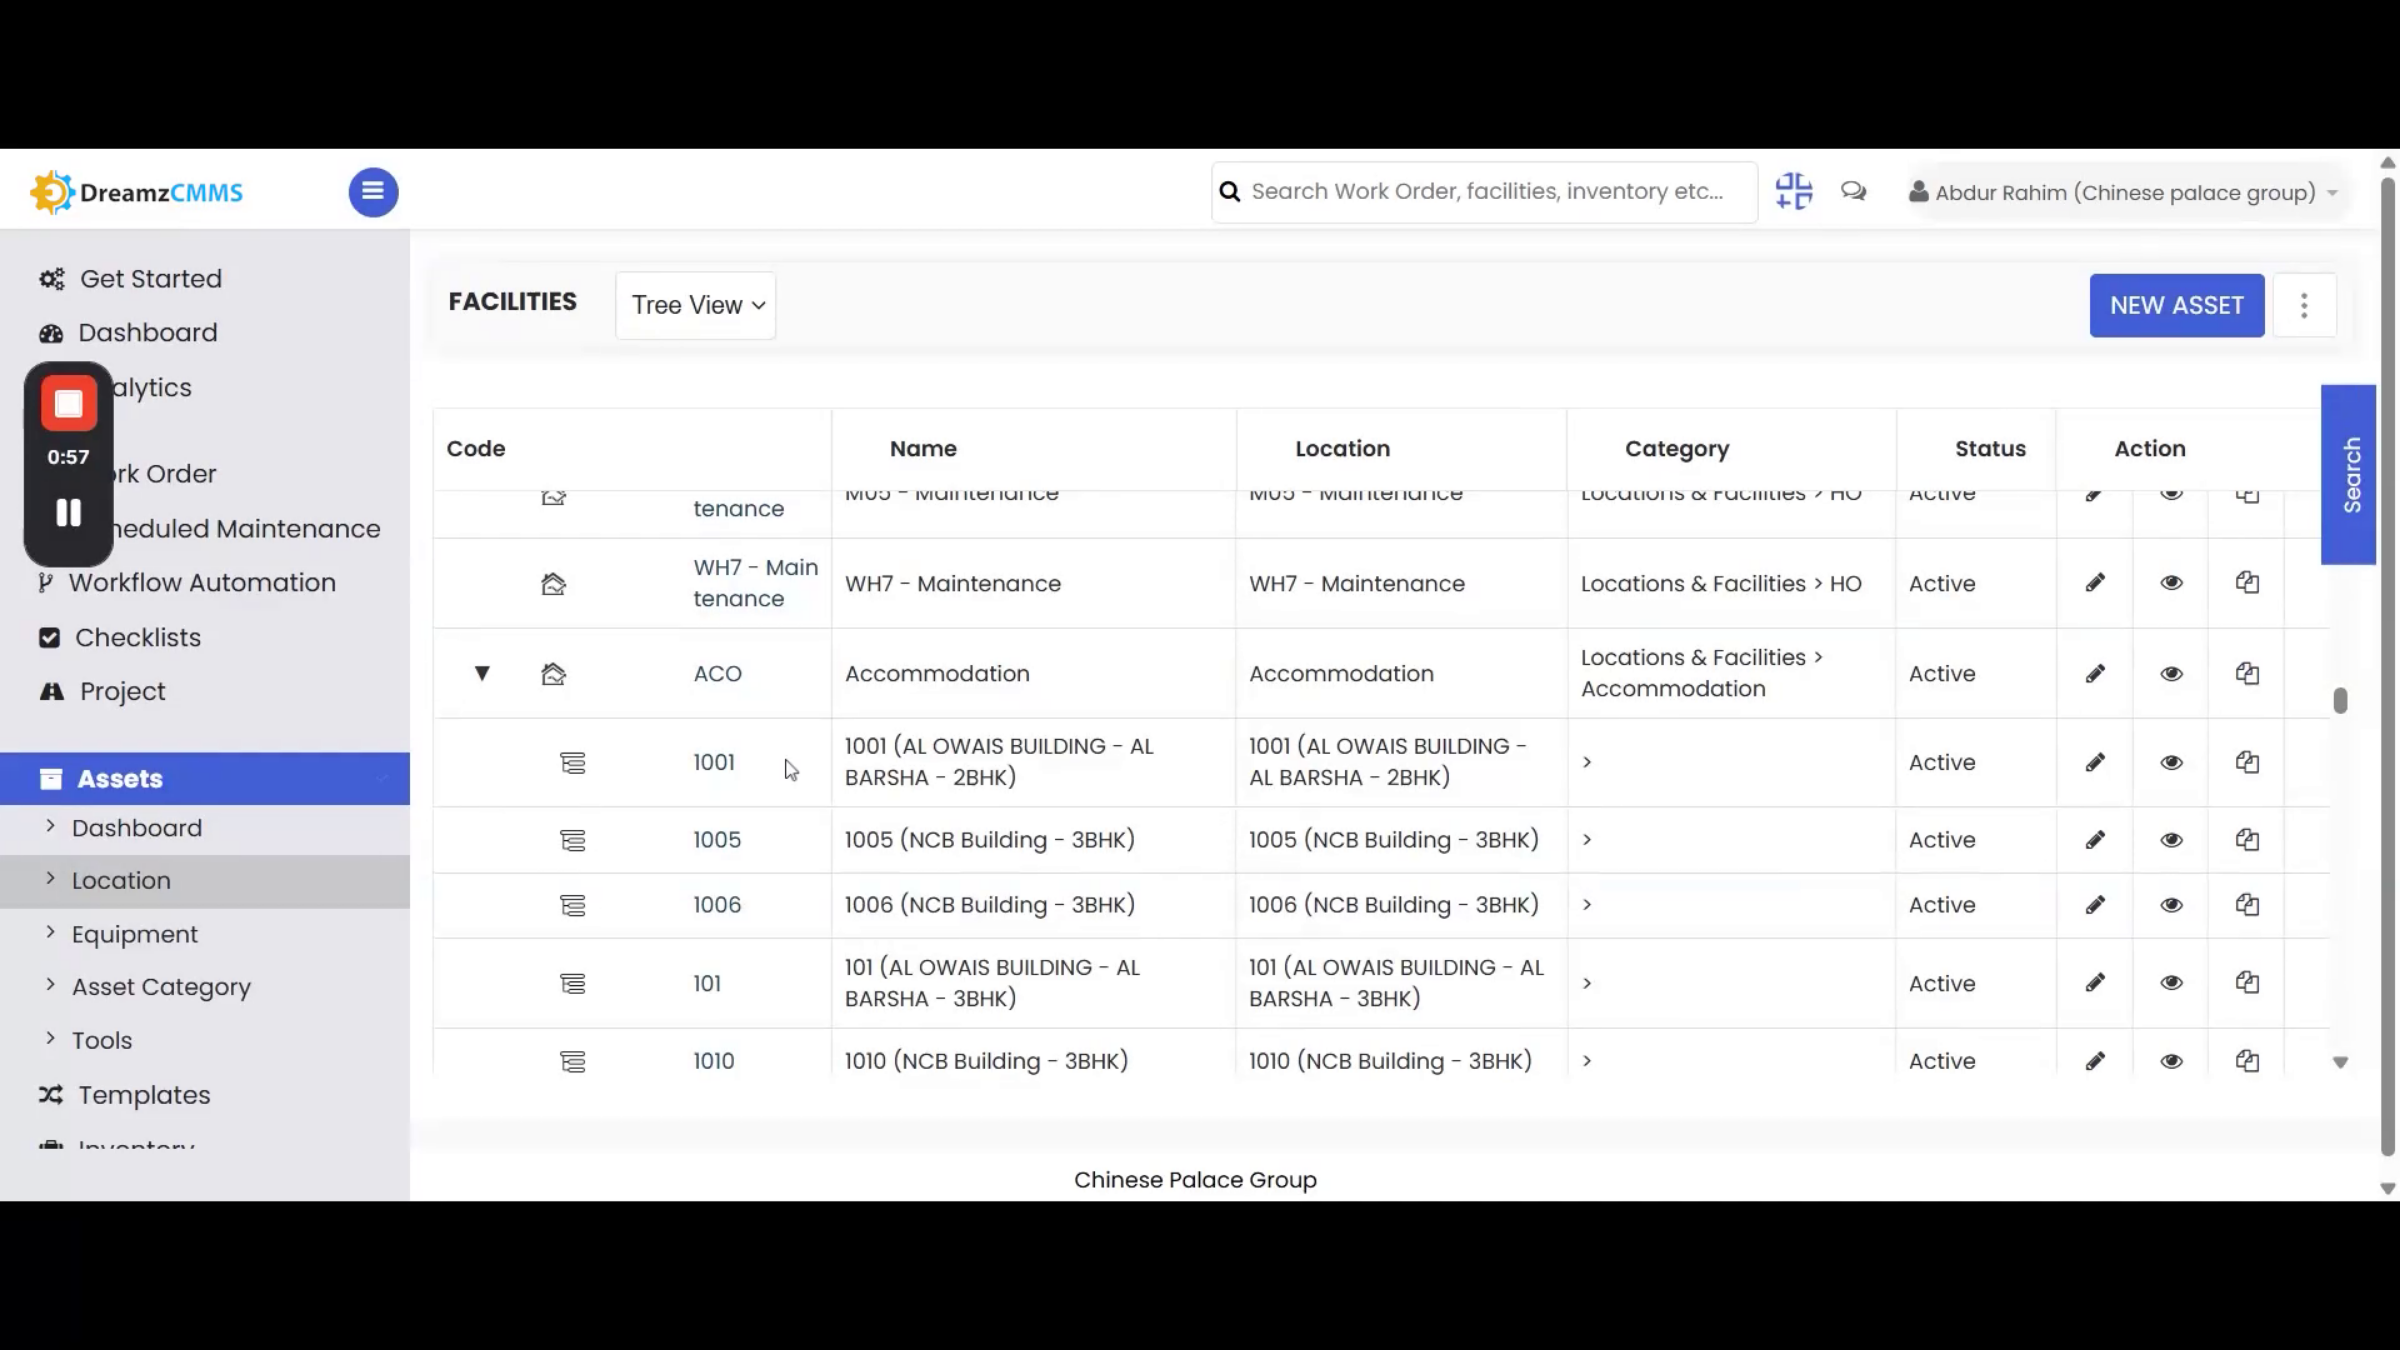
On the DreamzCMMS web platform, you can add facilities and their sub-facilities, listing every store, warehouse, or business location your organization operates. Access them from the Location section, and switch to tree view to see the full parent-child hierarchy, including every sub-location nested under a parent location.
Step 2 – Configuring Category Mapping
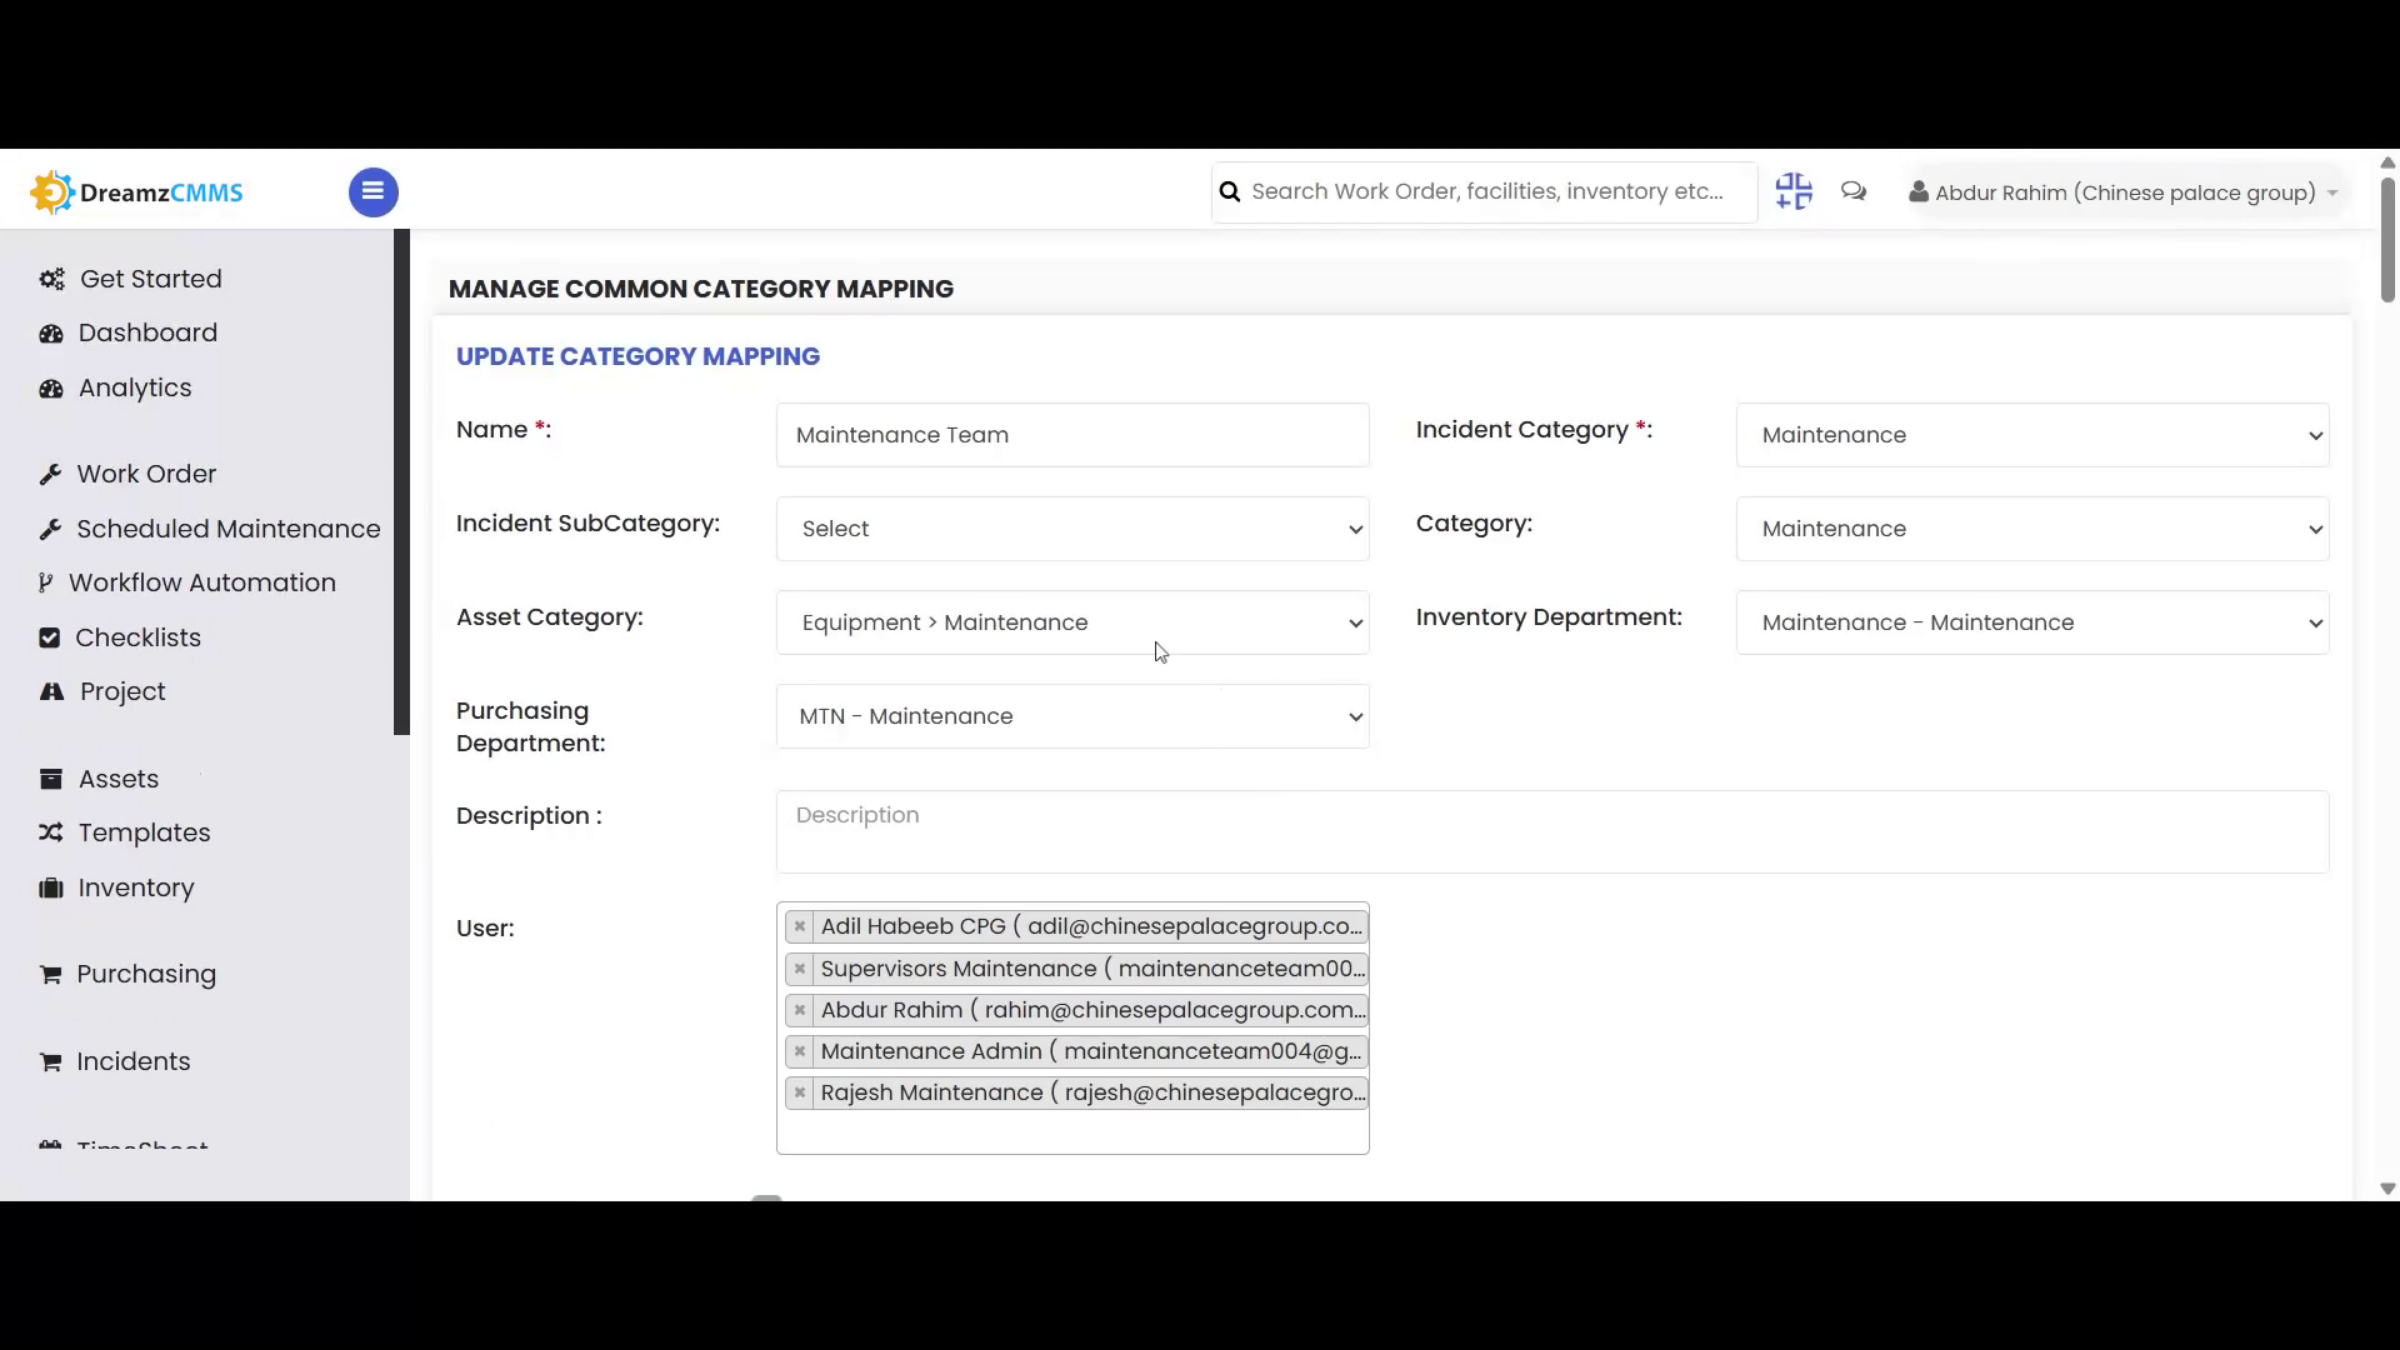
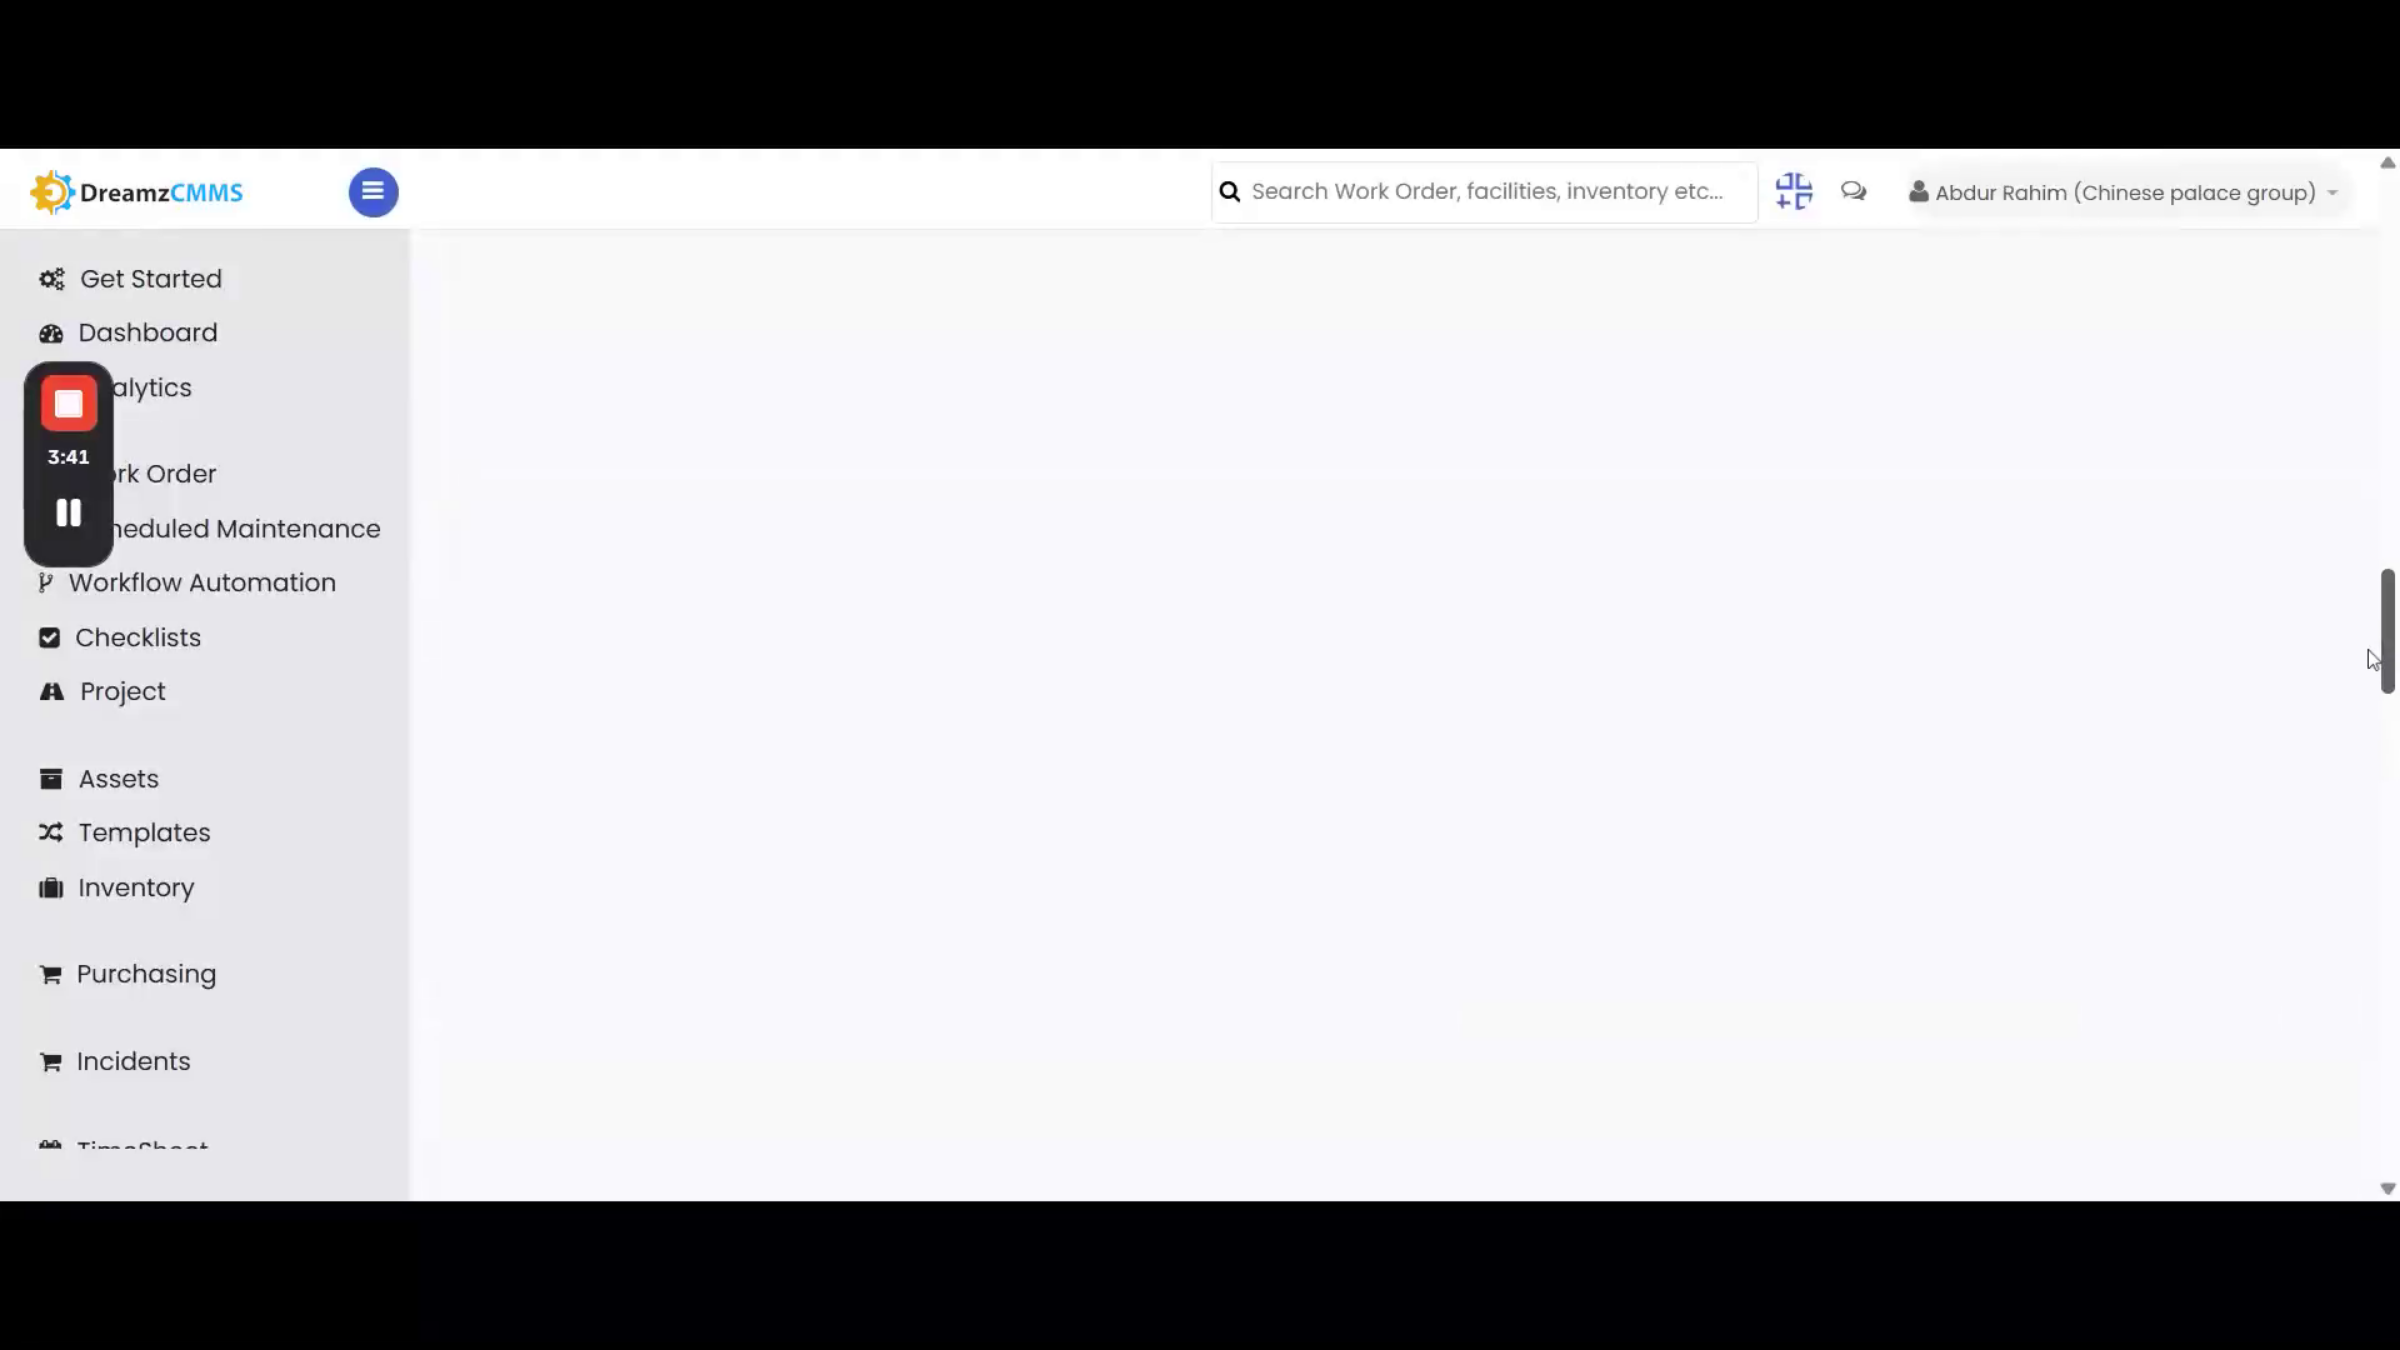
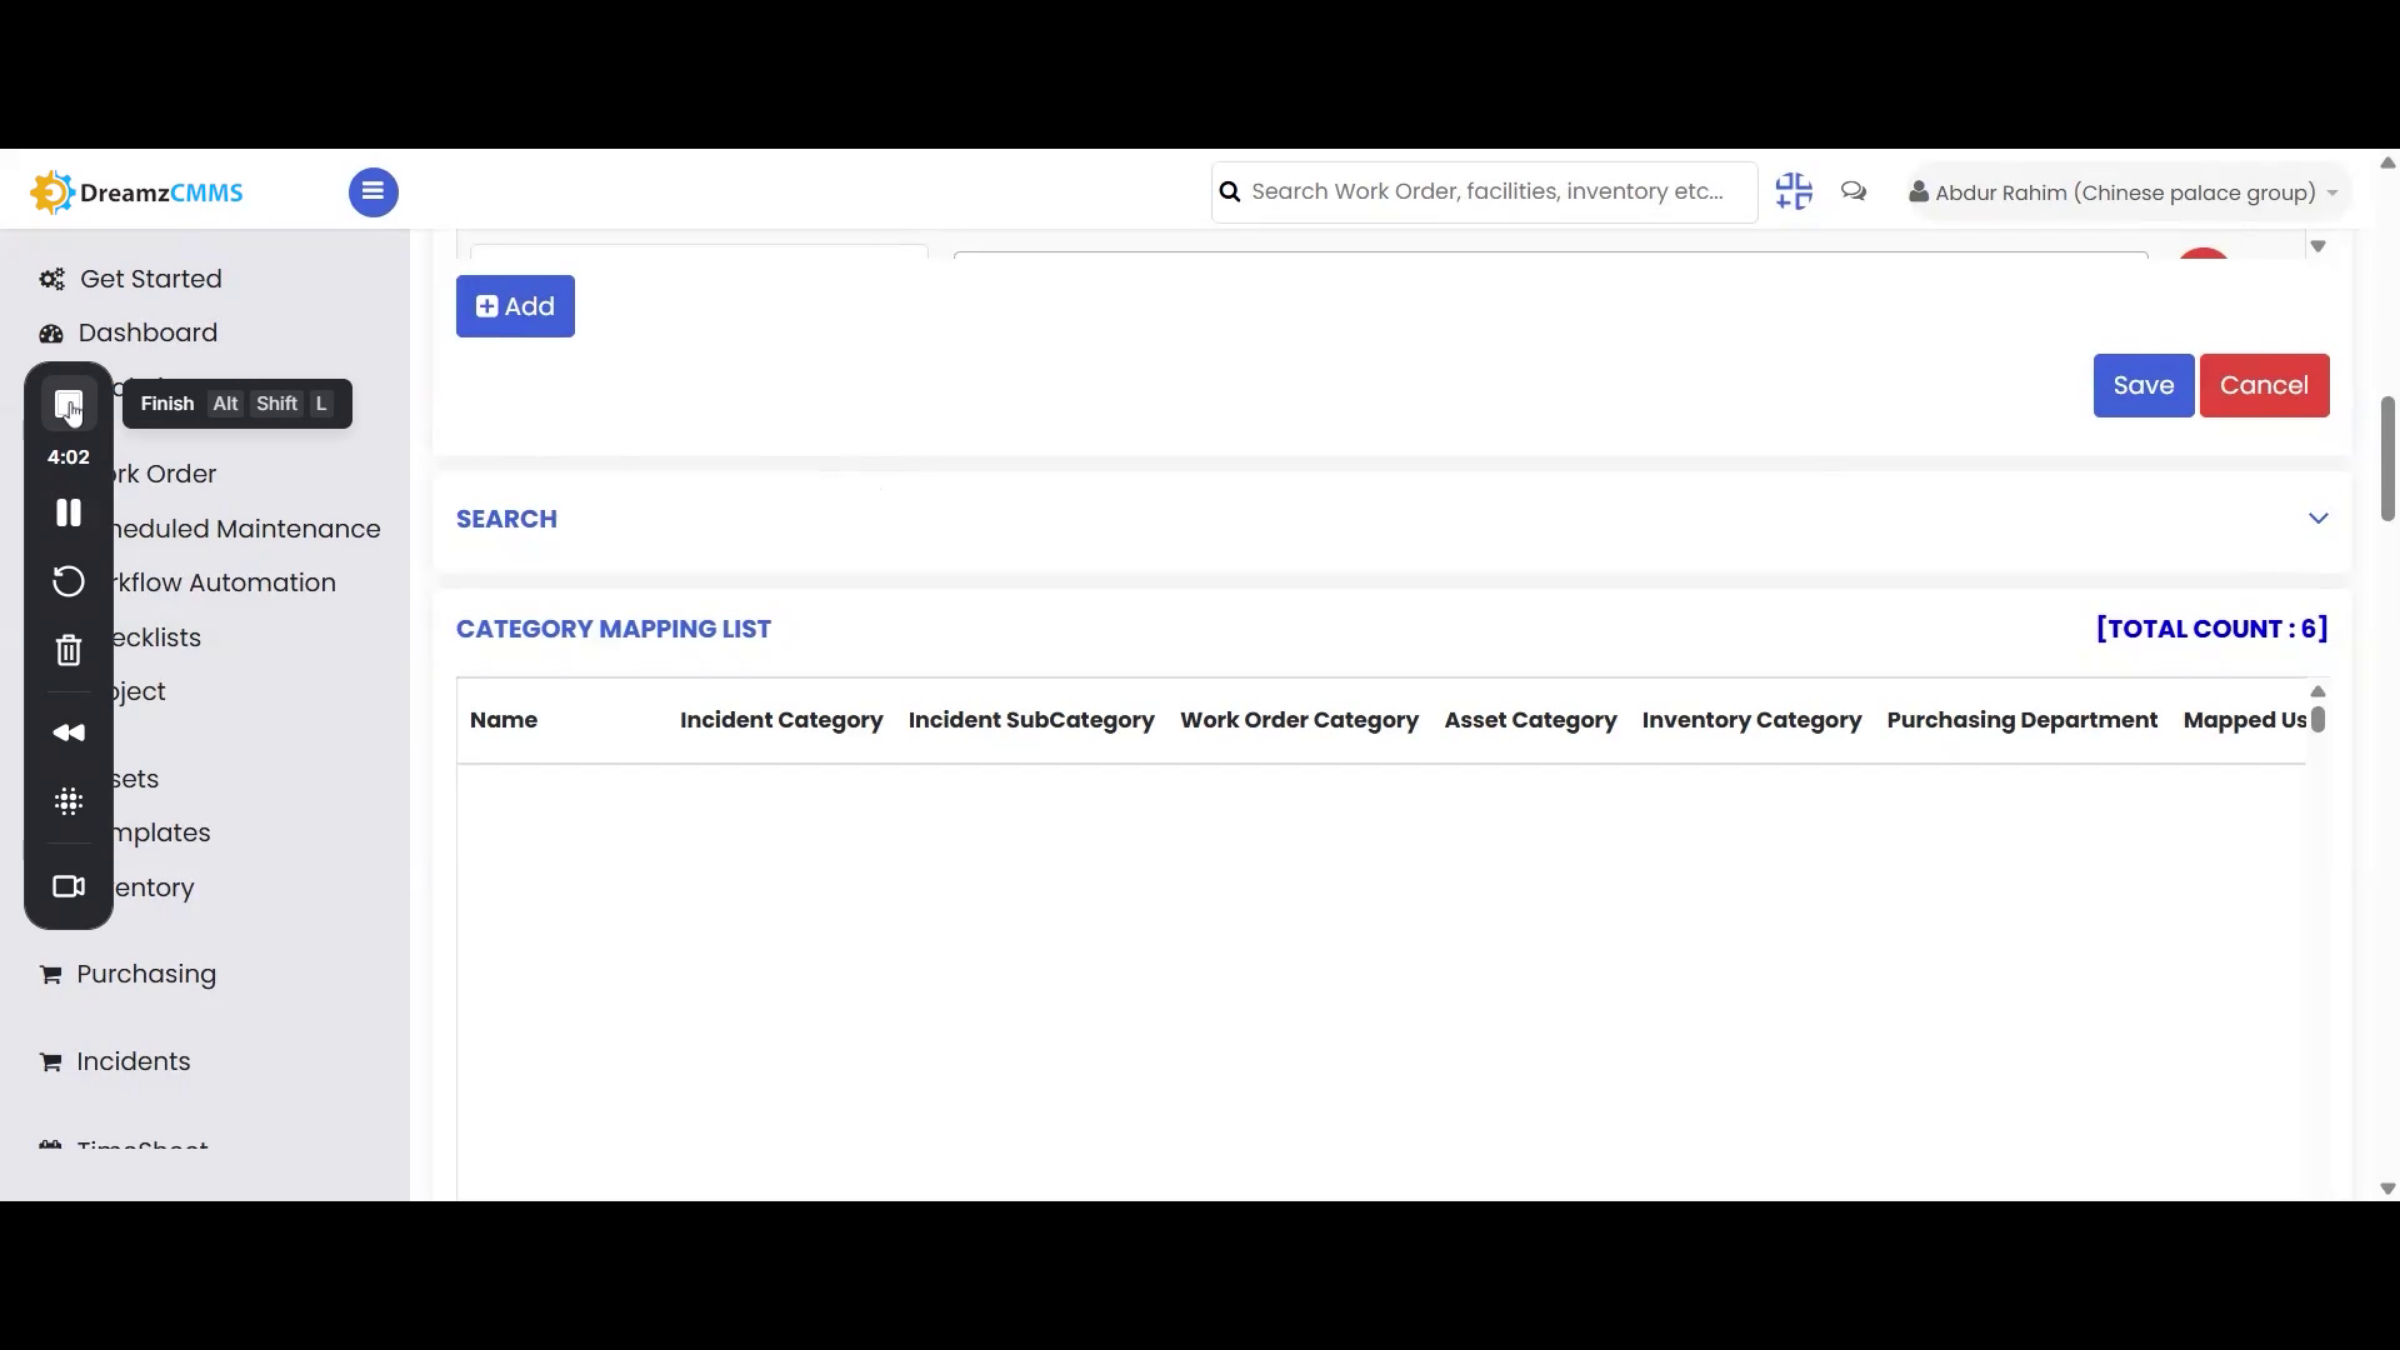
To configure location and category mapping, go to Settings from the left menu, then select Category Mapping under the Common section. This is where you decide which team or technician gets automatically assigned whenever a request is created. Click Add, or open an existing mapping to edit it.
Step 3 – Mapping Mandatory Fields and Users
Fields marked with a red asterisk are mandatory. Start by entering a name for the mapping, such as "Maintenance Team," and select the incident category it applies to, for example Maintenance — you can also select an incident subcategory. If this category is tied to a specific department, such as IT or Maintenance, it helps keep requests routed consistently. A description field lets you note the mapping's purpose. In the User field, add every technician, supervisor, or administrator who should be associated with this category, then enable Auto-Assign User so the system automatically assigns new requests in this category to one of the selected users instead of leaving them unassigned.
Step 4 – Multi-Location User Mapping Setup
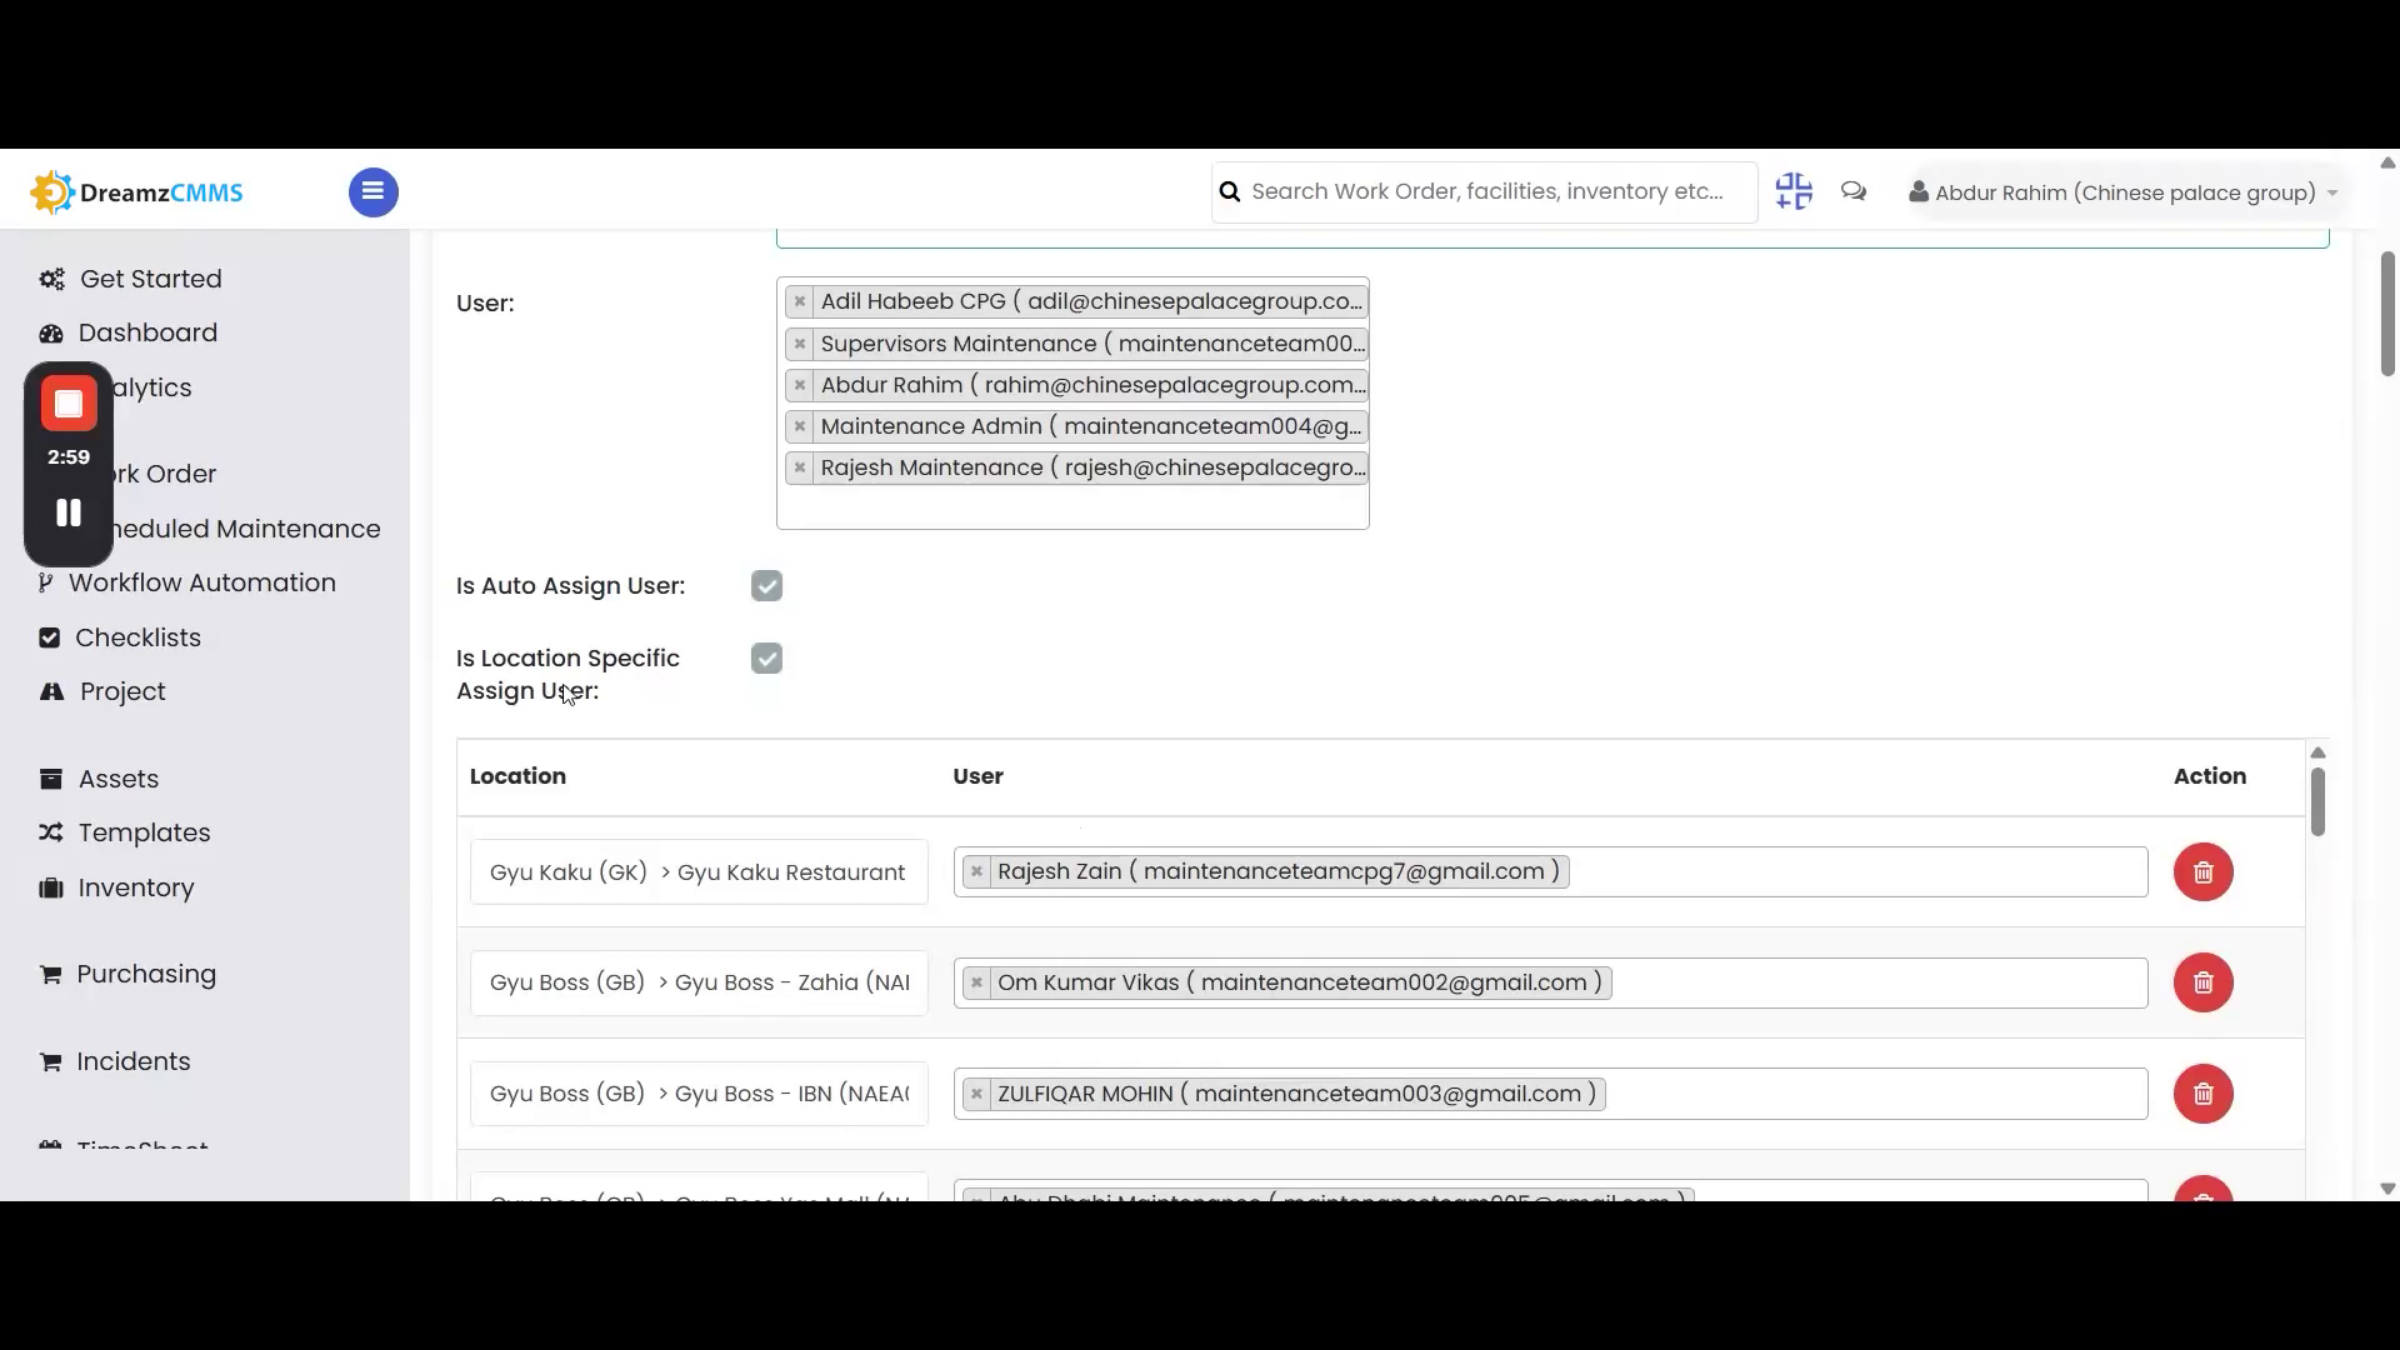
Note: For multi-location businesses, enable the IS toggle instead of the standard user mapping. A location-user table will appear, letting you map each location to the technicians responsible for it. Add as many rows as needed, and remove any row using the delete icon in the Action column — you can assign one or multiple technicians to a single location. Once everything is configured, click Save.
Step 5 – Auto-Assignment Work Order Creation
From this point on, any request created under a mapped category and location automatically generates a work order assigned to the appropriate technician, eliminating the need for manual assignment. This completes the location and category mapping configuration in DreamzCMMS.
Creating and Assigning Requests
Step 6 – Creating a Request via the Mobile App
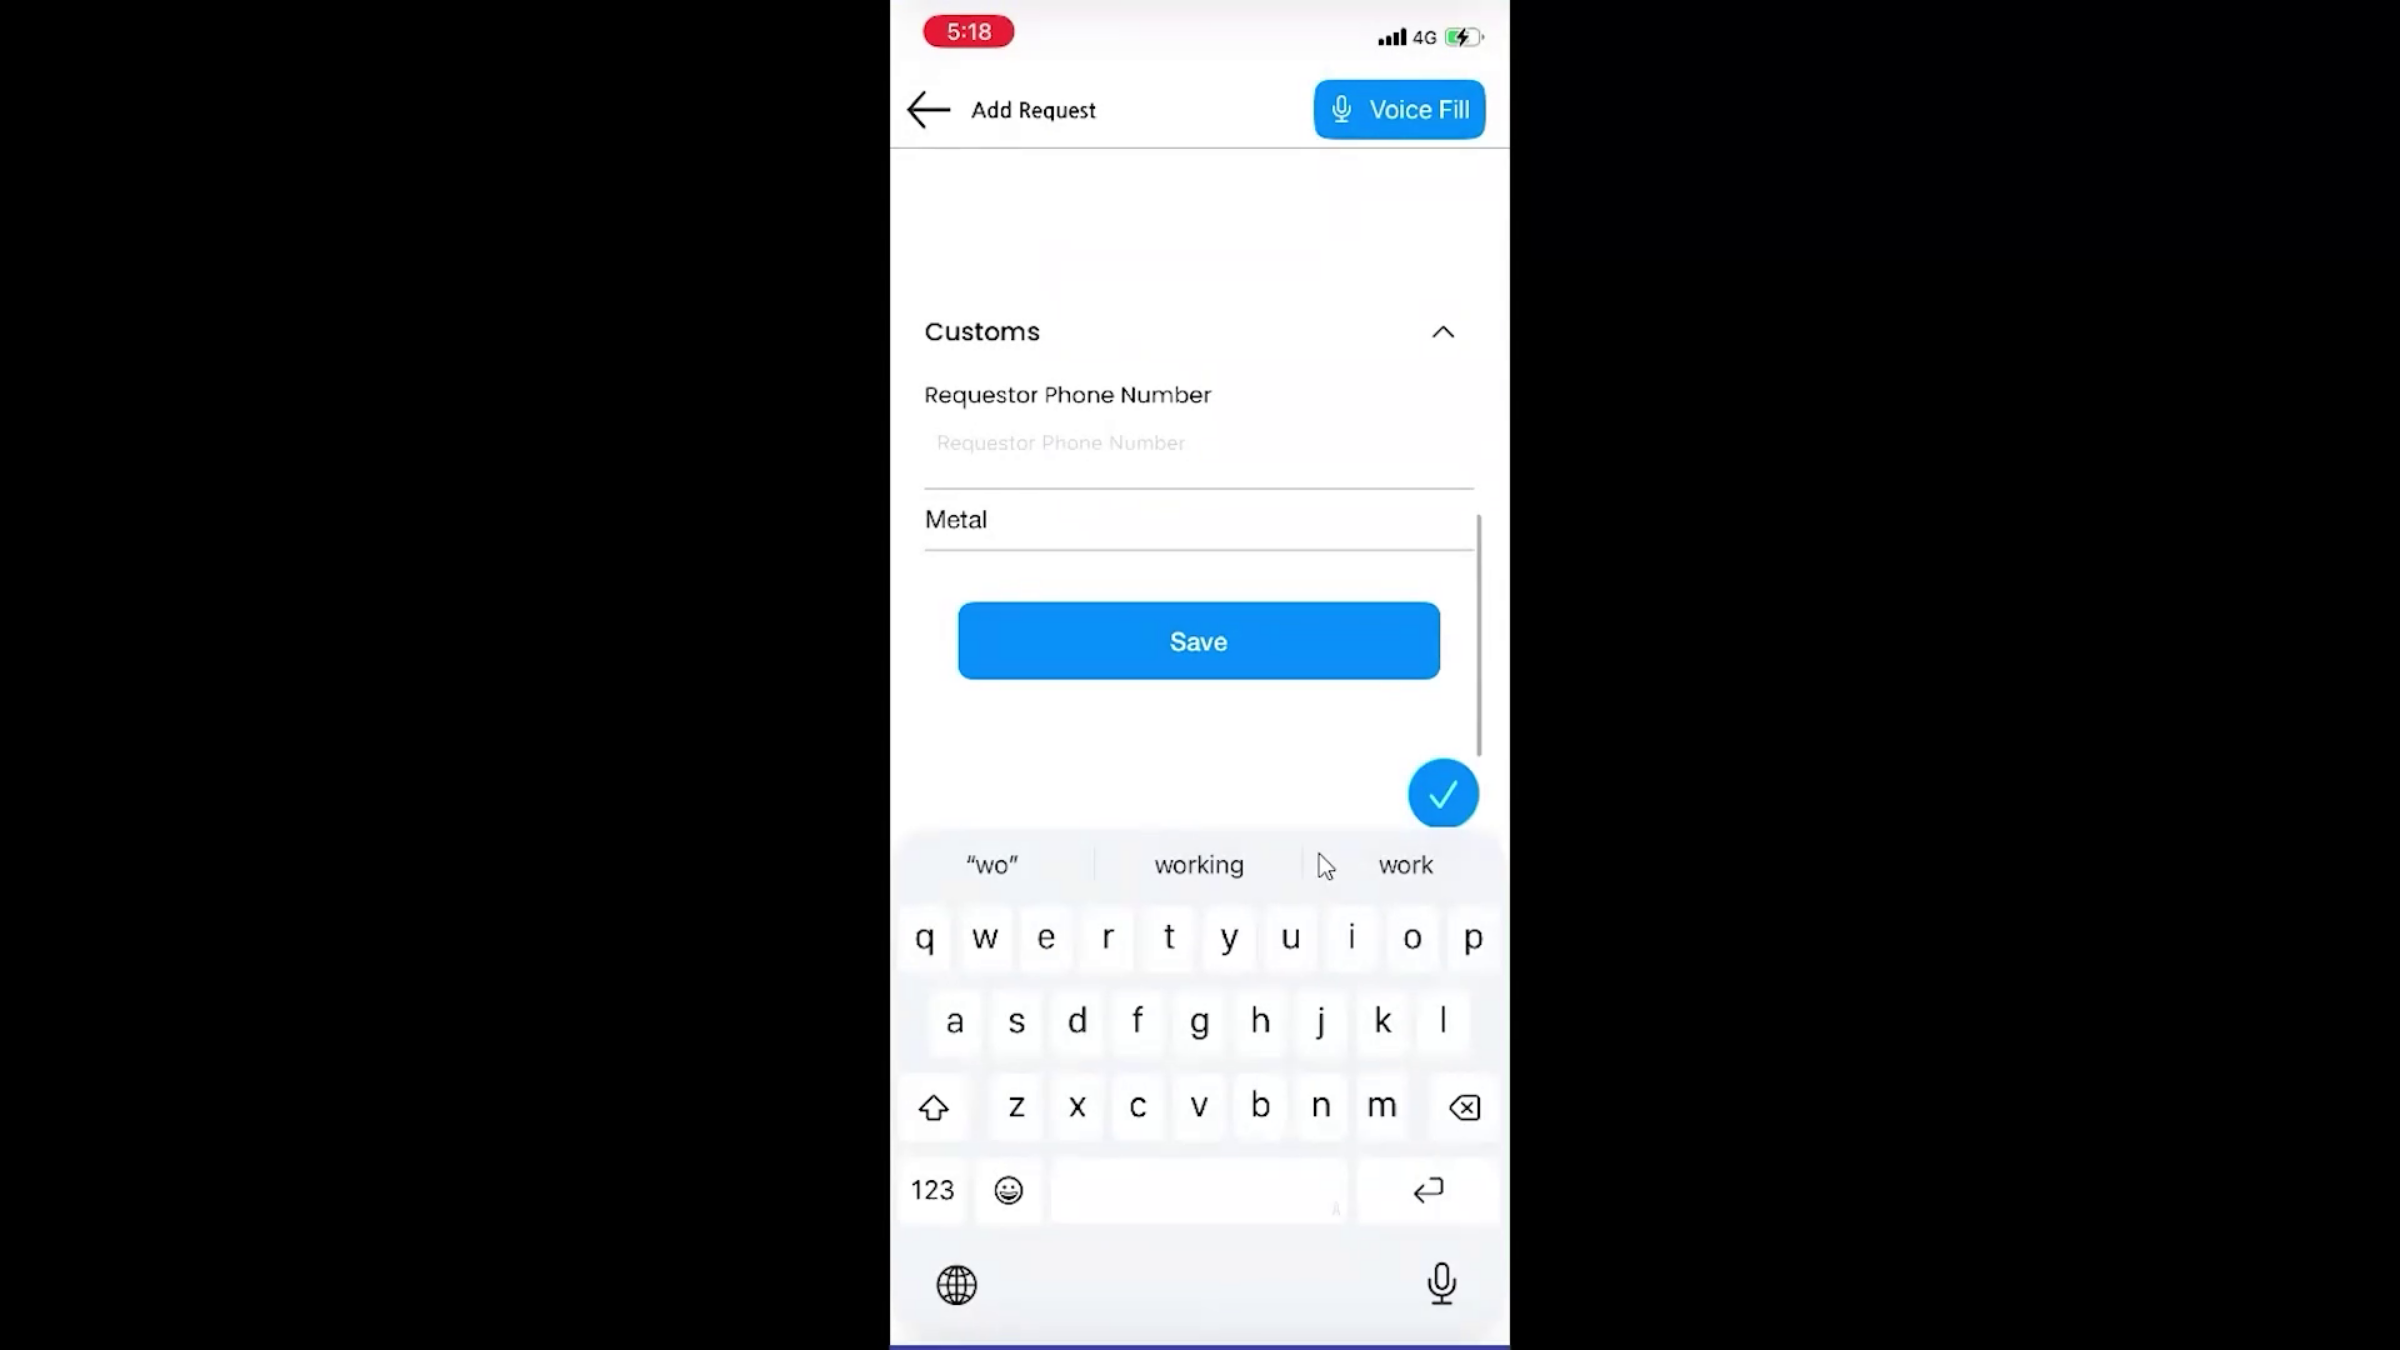
To create a request from the DreamzCMMS mobile app, log in and you'll land on the home screen. Tap the plus icon at the bottom, then tap Request to open the Add Request screen. Fields marked with a red asterisk are mandatory. Select the type as Request, enter a subject such as "AC is not working," select the priority as High, and choose a category. Select the incident location from the list and provide a detailed description — you can type it or record your voice in your preferred language, such as English, Arabic, or Hindi. You can optionally select an asset for the request to give the technician extra context, attach files by taking a photo, recording a video, or choosing one from your device's library, and add any custom information before saving.
Step 7 – Work Order Auto-Assignment Explained
Submitting the request also creates a work order and auto-assigns it to the appropriate technician based on the Category Mapping you configured earlier.
Step 8 – Creating a Request on the Web Platform
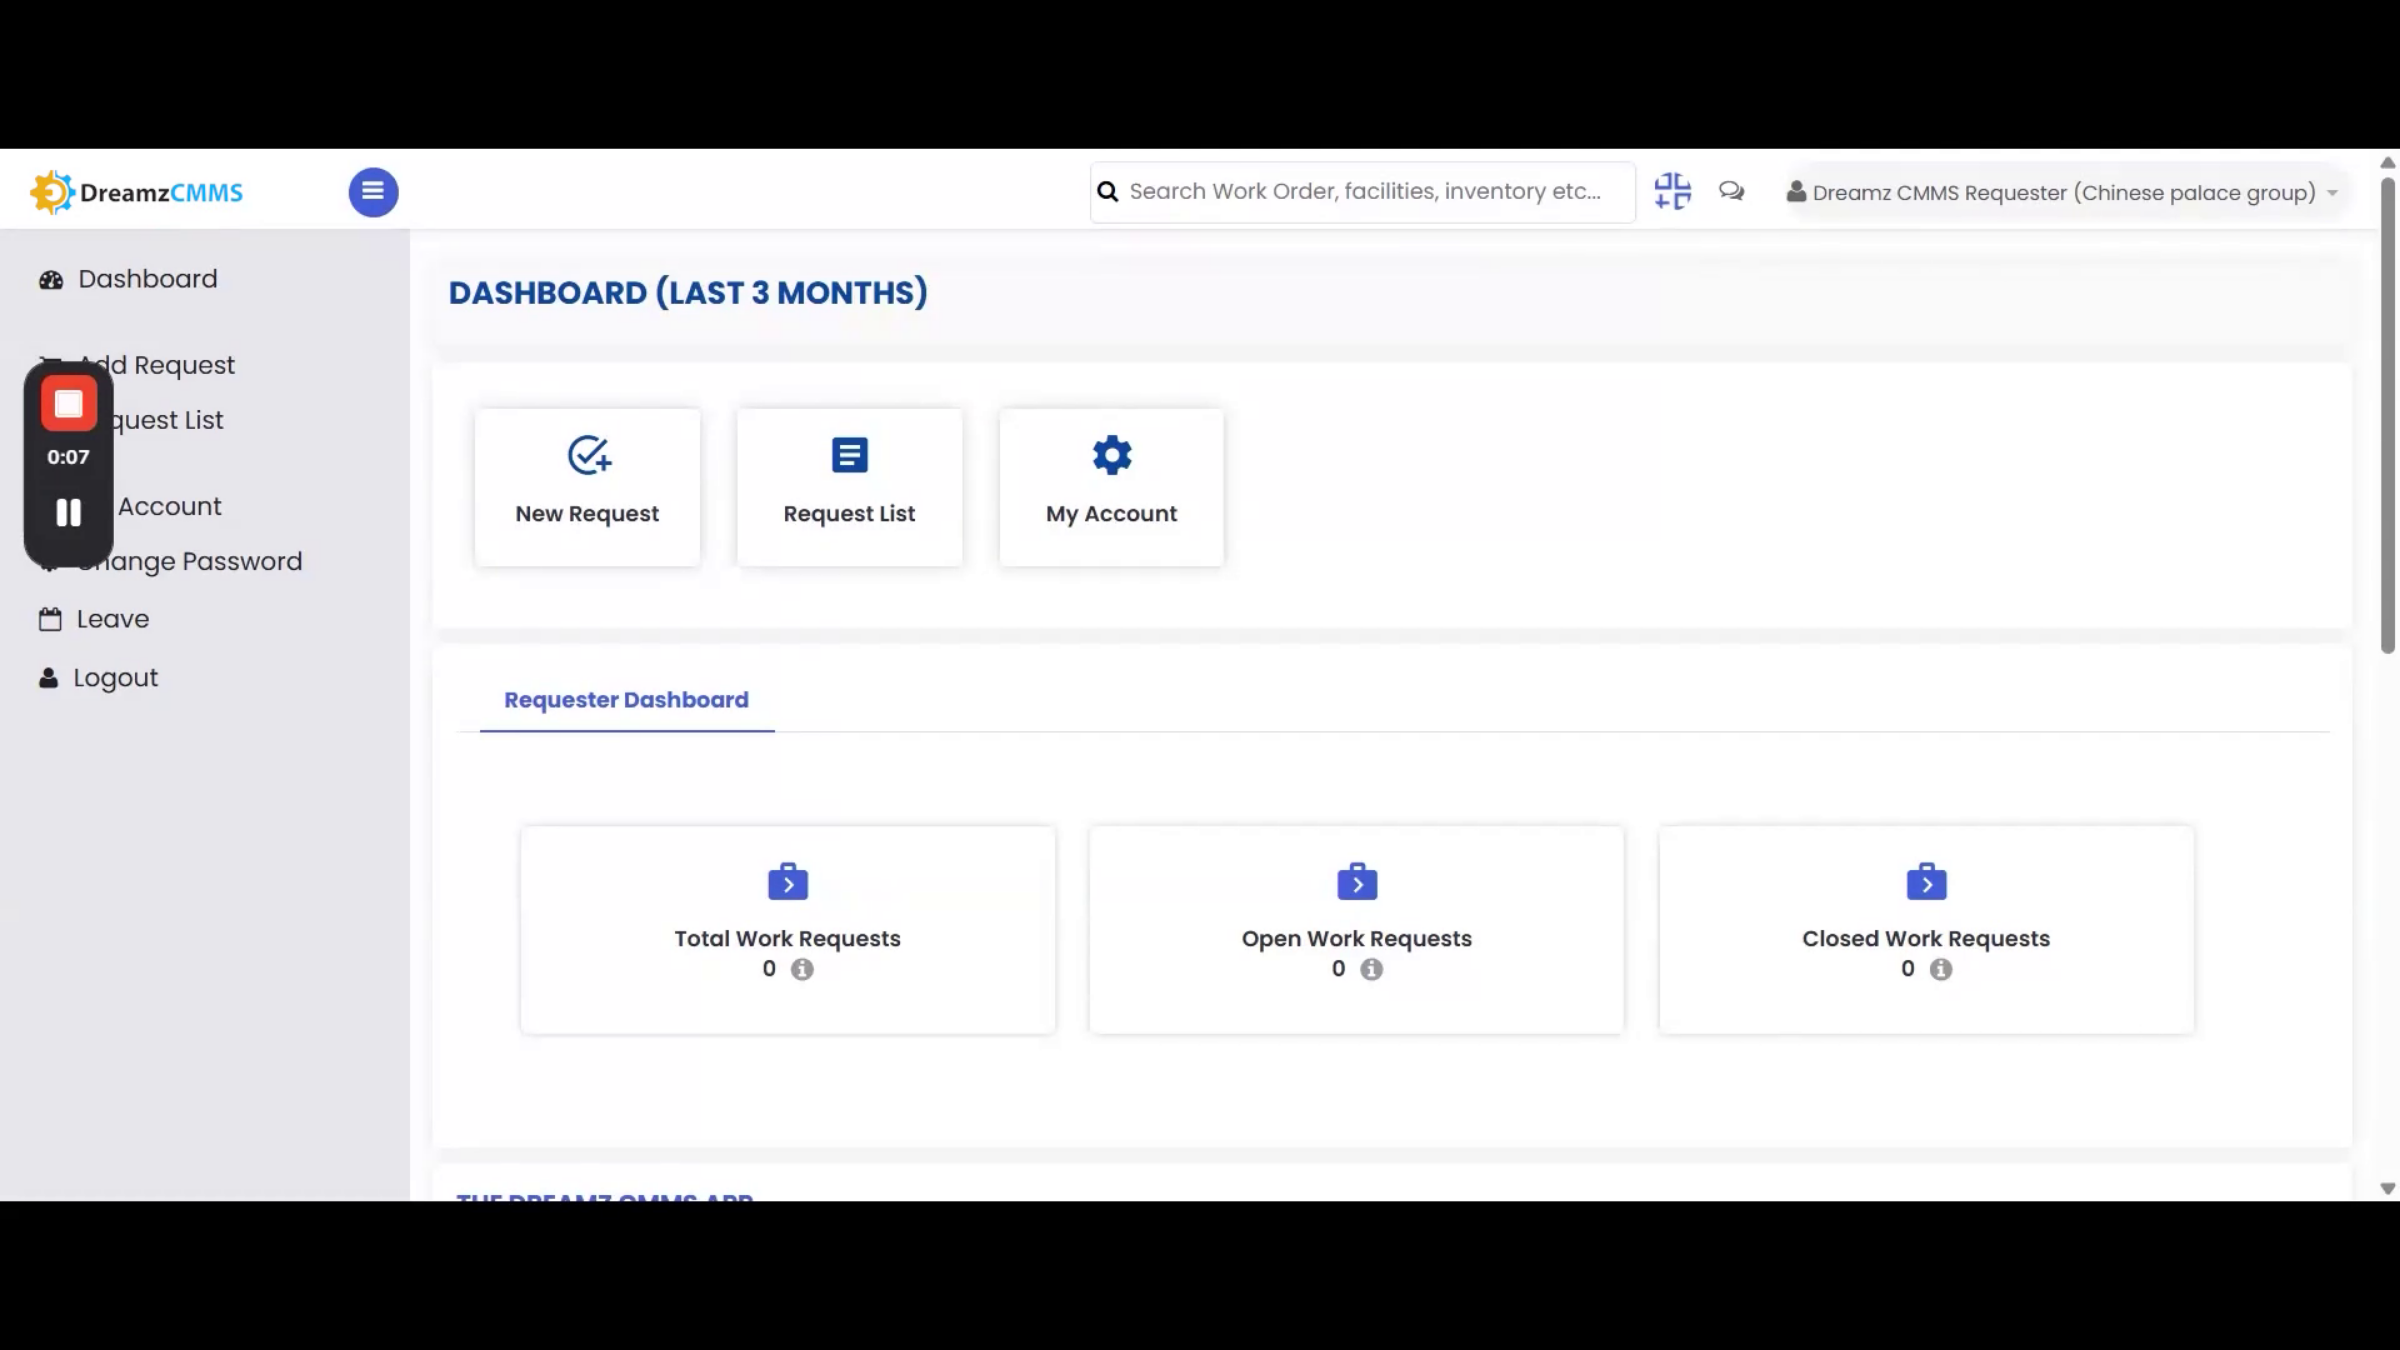
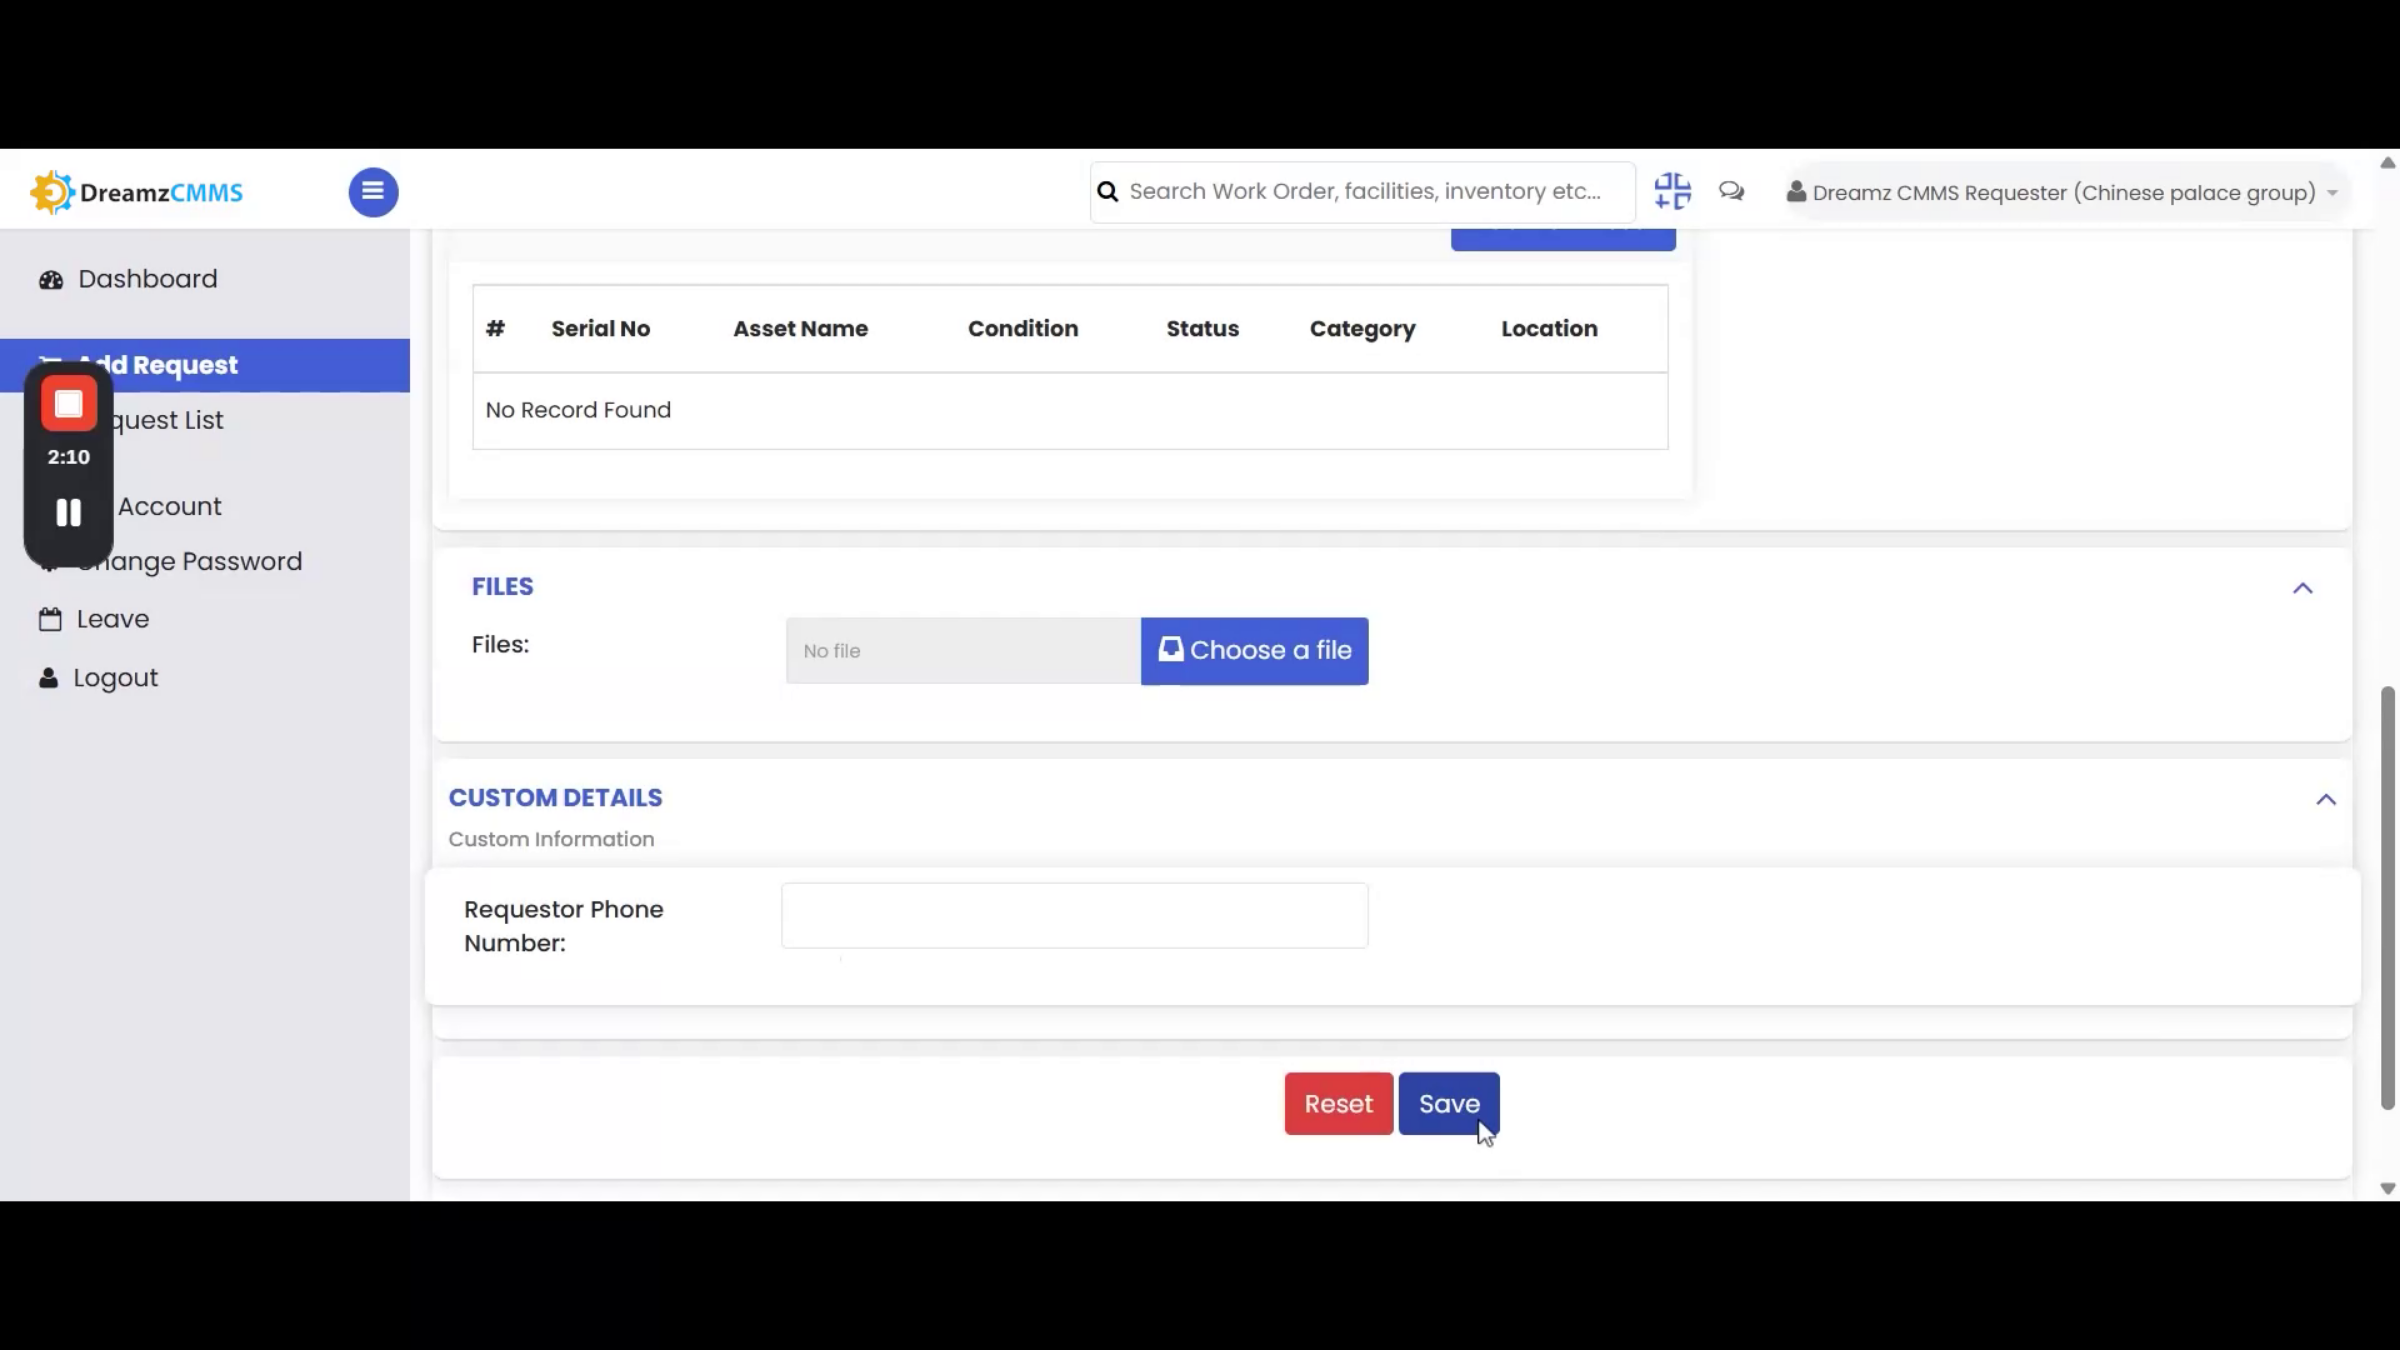
Log into the DreamzCMMS web platform and you'll land on the dashboard. Click the New Request card, or select Add Request from the left menu, to get started. On the Create Request page, fields marked with a red asterisk are mandatory. Fill in the Details section first — enter a short subject such as "AC is not working" and a clear description, using the voice-to-text option in English, Arabic, or Hindi if you prefer. Your requester type, name, phone number, and email address auto-fill based on your login. Under Incident Information, select the category and location (both mandatory); priority and incident subcategory are optional. You can also choose an asset from the Asset Details section to help the assigned technician, attach a file such as a photo or document, and add any custom information, such as a phone number. Click Save to submit the request.
Step 9 – Work Order Notification Process
As with the mobile flow, this also creates a work order and auto-assigns it based on category mapping. Once assigned, the technician receives a push notification on their device, and tapping it opens the work order directly. Technicians can also log into the mobile app and tap Work Order History to see every assigned work order, searchable by ID or name and filterable to narrow the list. Opening a work order and tapping Play or Start Working begins the job — the status updates automatically, and the administrator receives a notification when it changes.
Working and Completing Work Orders
Step 10 – Completing Work Order Steps
While working a job, you can add any inventory items used, along with any other expenses or miscellaneous costs related to the work order. To finish, tap Complete Work Order, add your signature, and enter a completion note, then tap Save. The work order status changes to Closed.
Step 11 – Accessing Work Orders on Browser
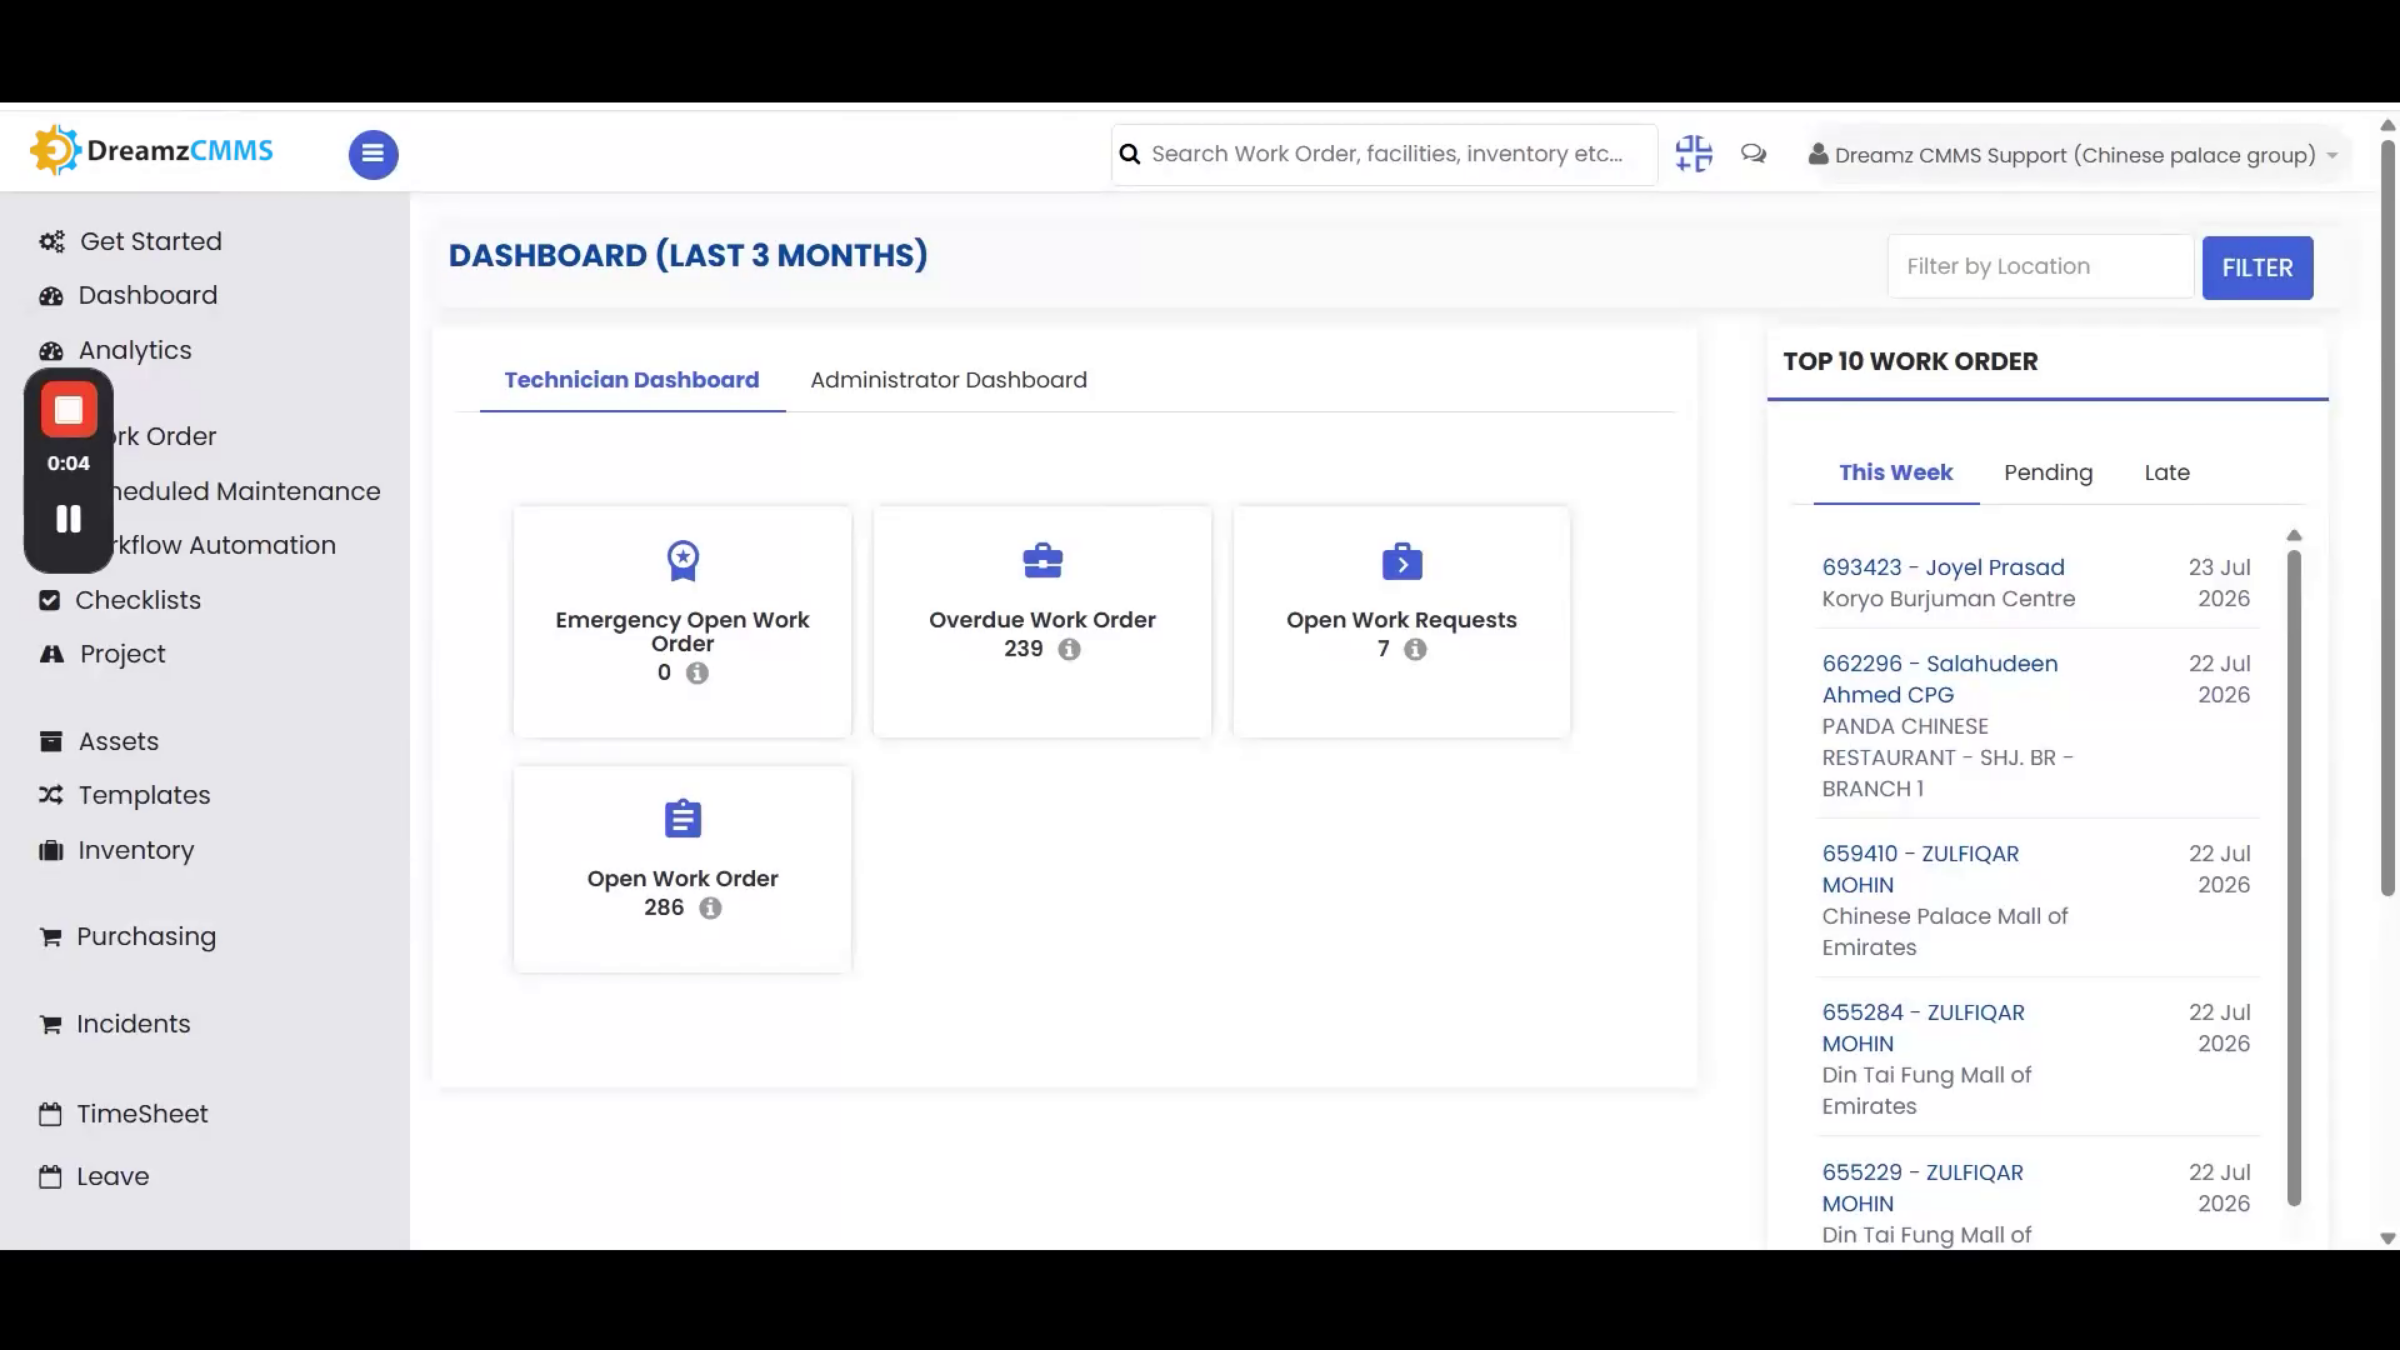
To access a work order from a browser, log in to the DreamzCMMS web platform, where you'll land on the Dashboard. Click Work Order from the left menu to open the Work Order List, showing all your assigned work orders. Search by ID or name, or use the available filters, to find the one you need, then click it to view its details.
Step 12 – Updating Work Order Status
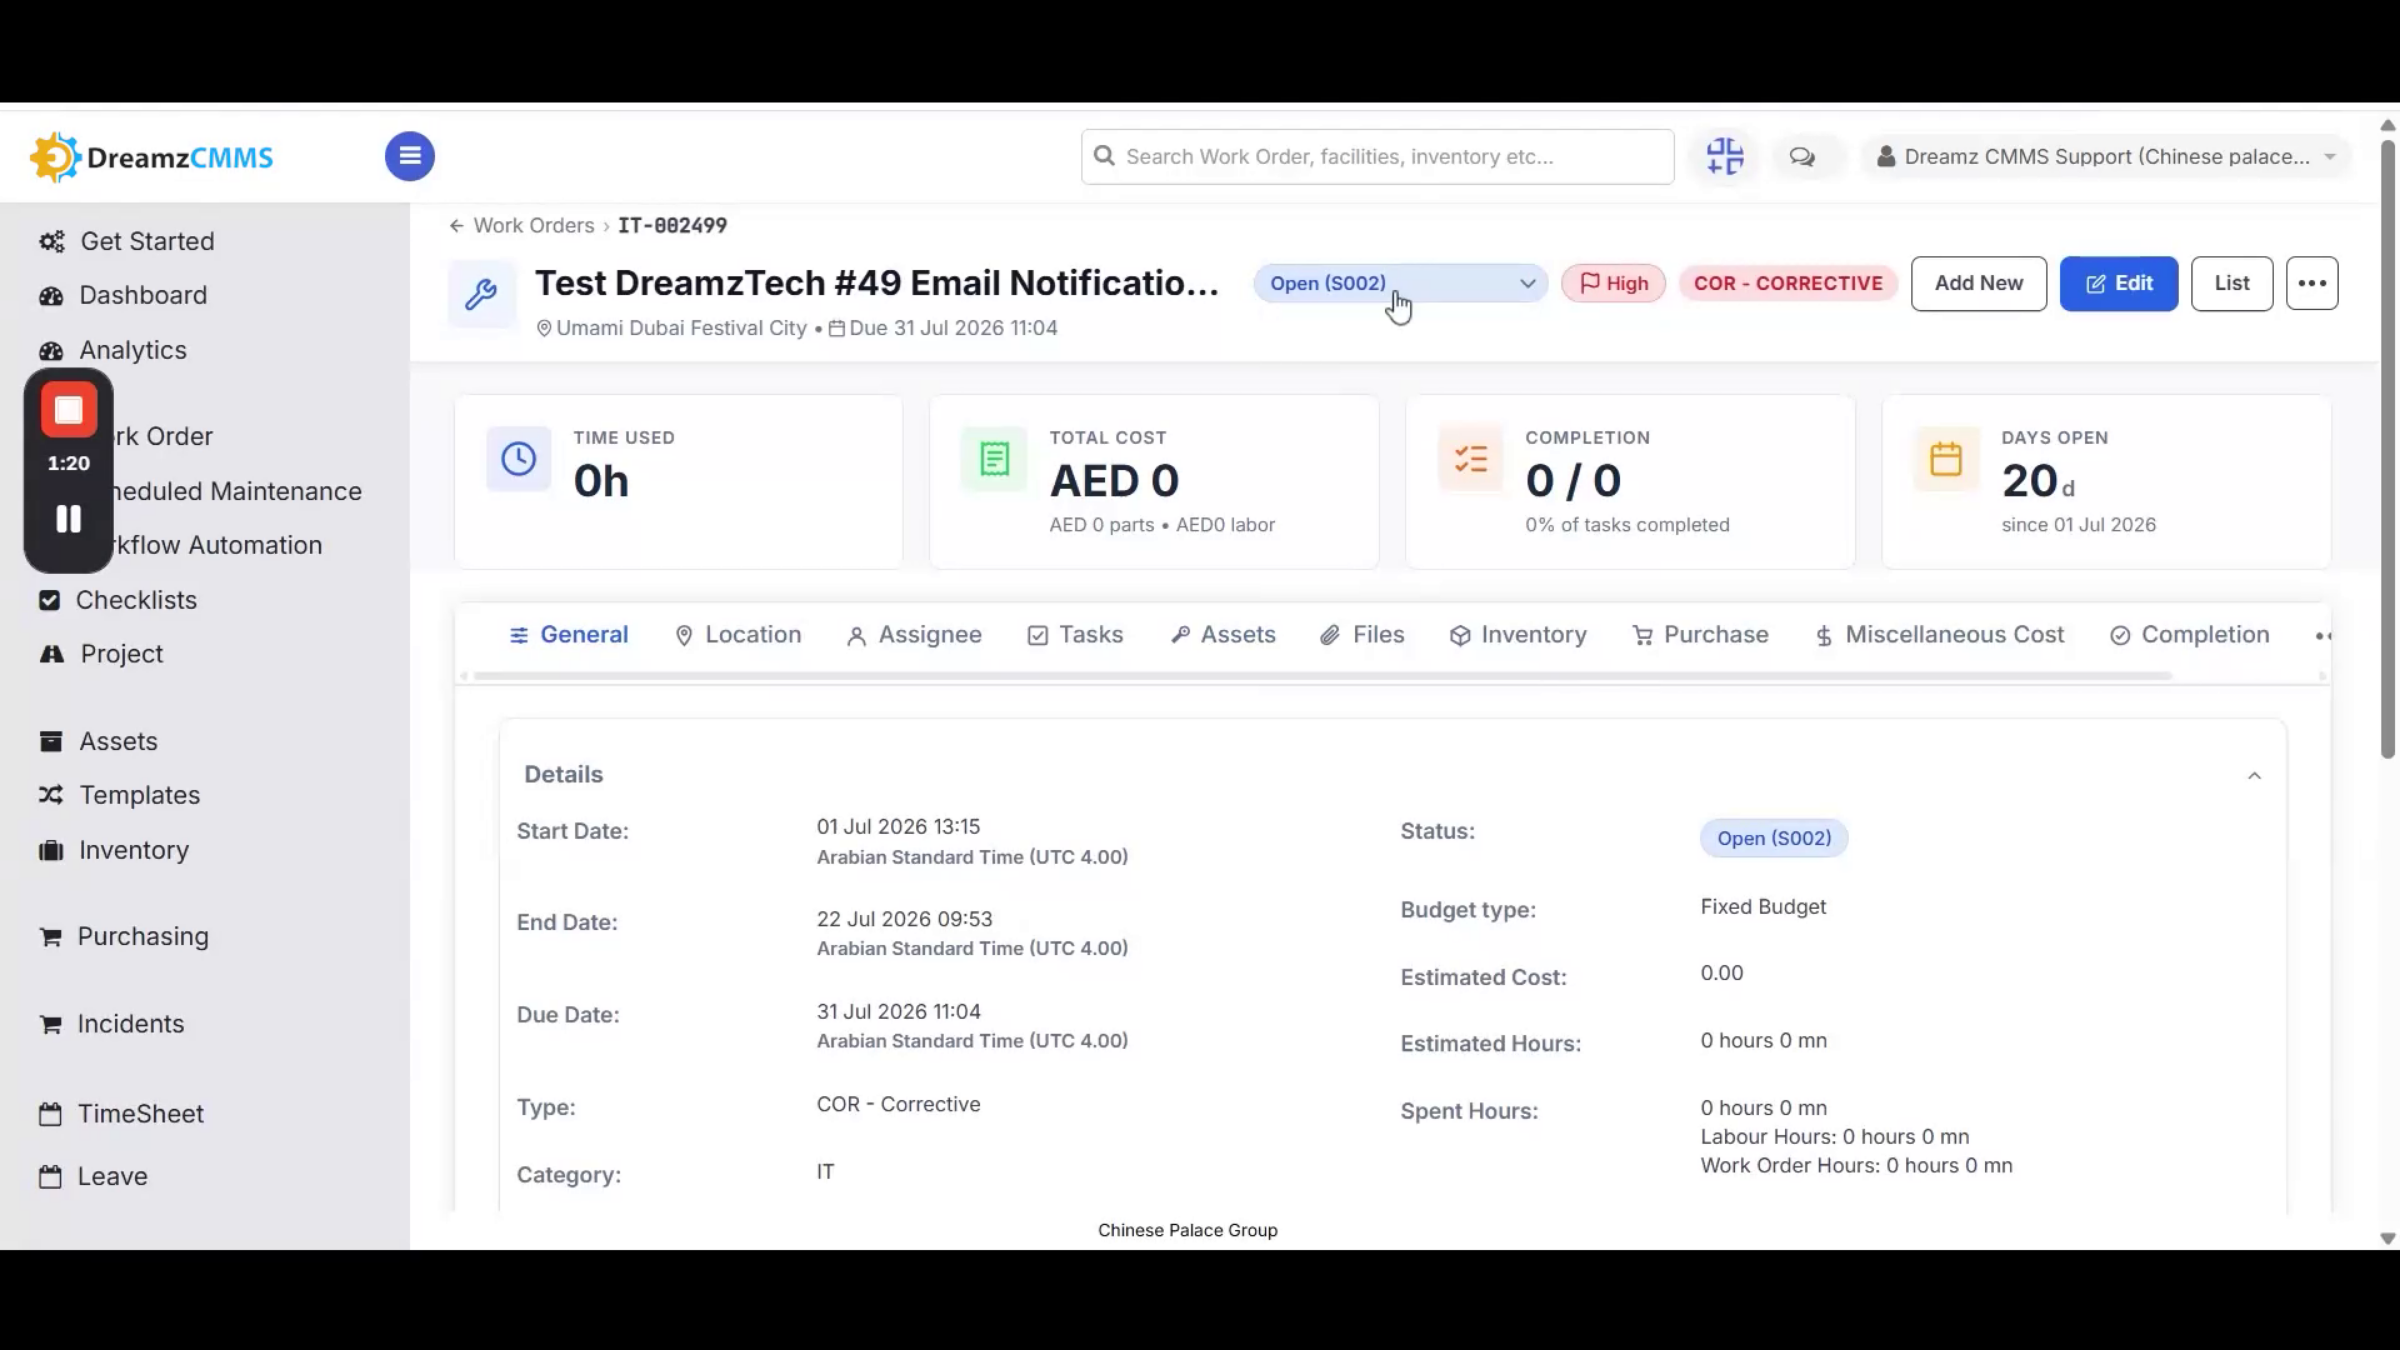
From the work order detail view, you can change the status from Open to Work in Progress. Once the status changes, the administrator receives a notification automatically.
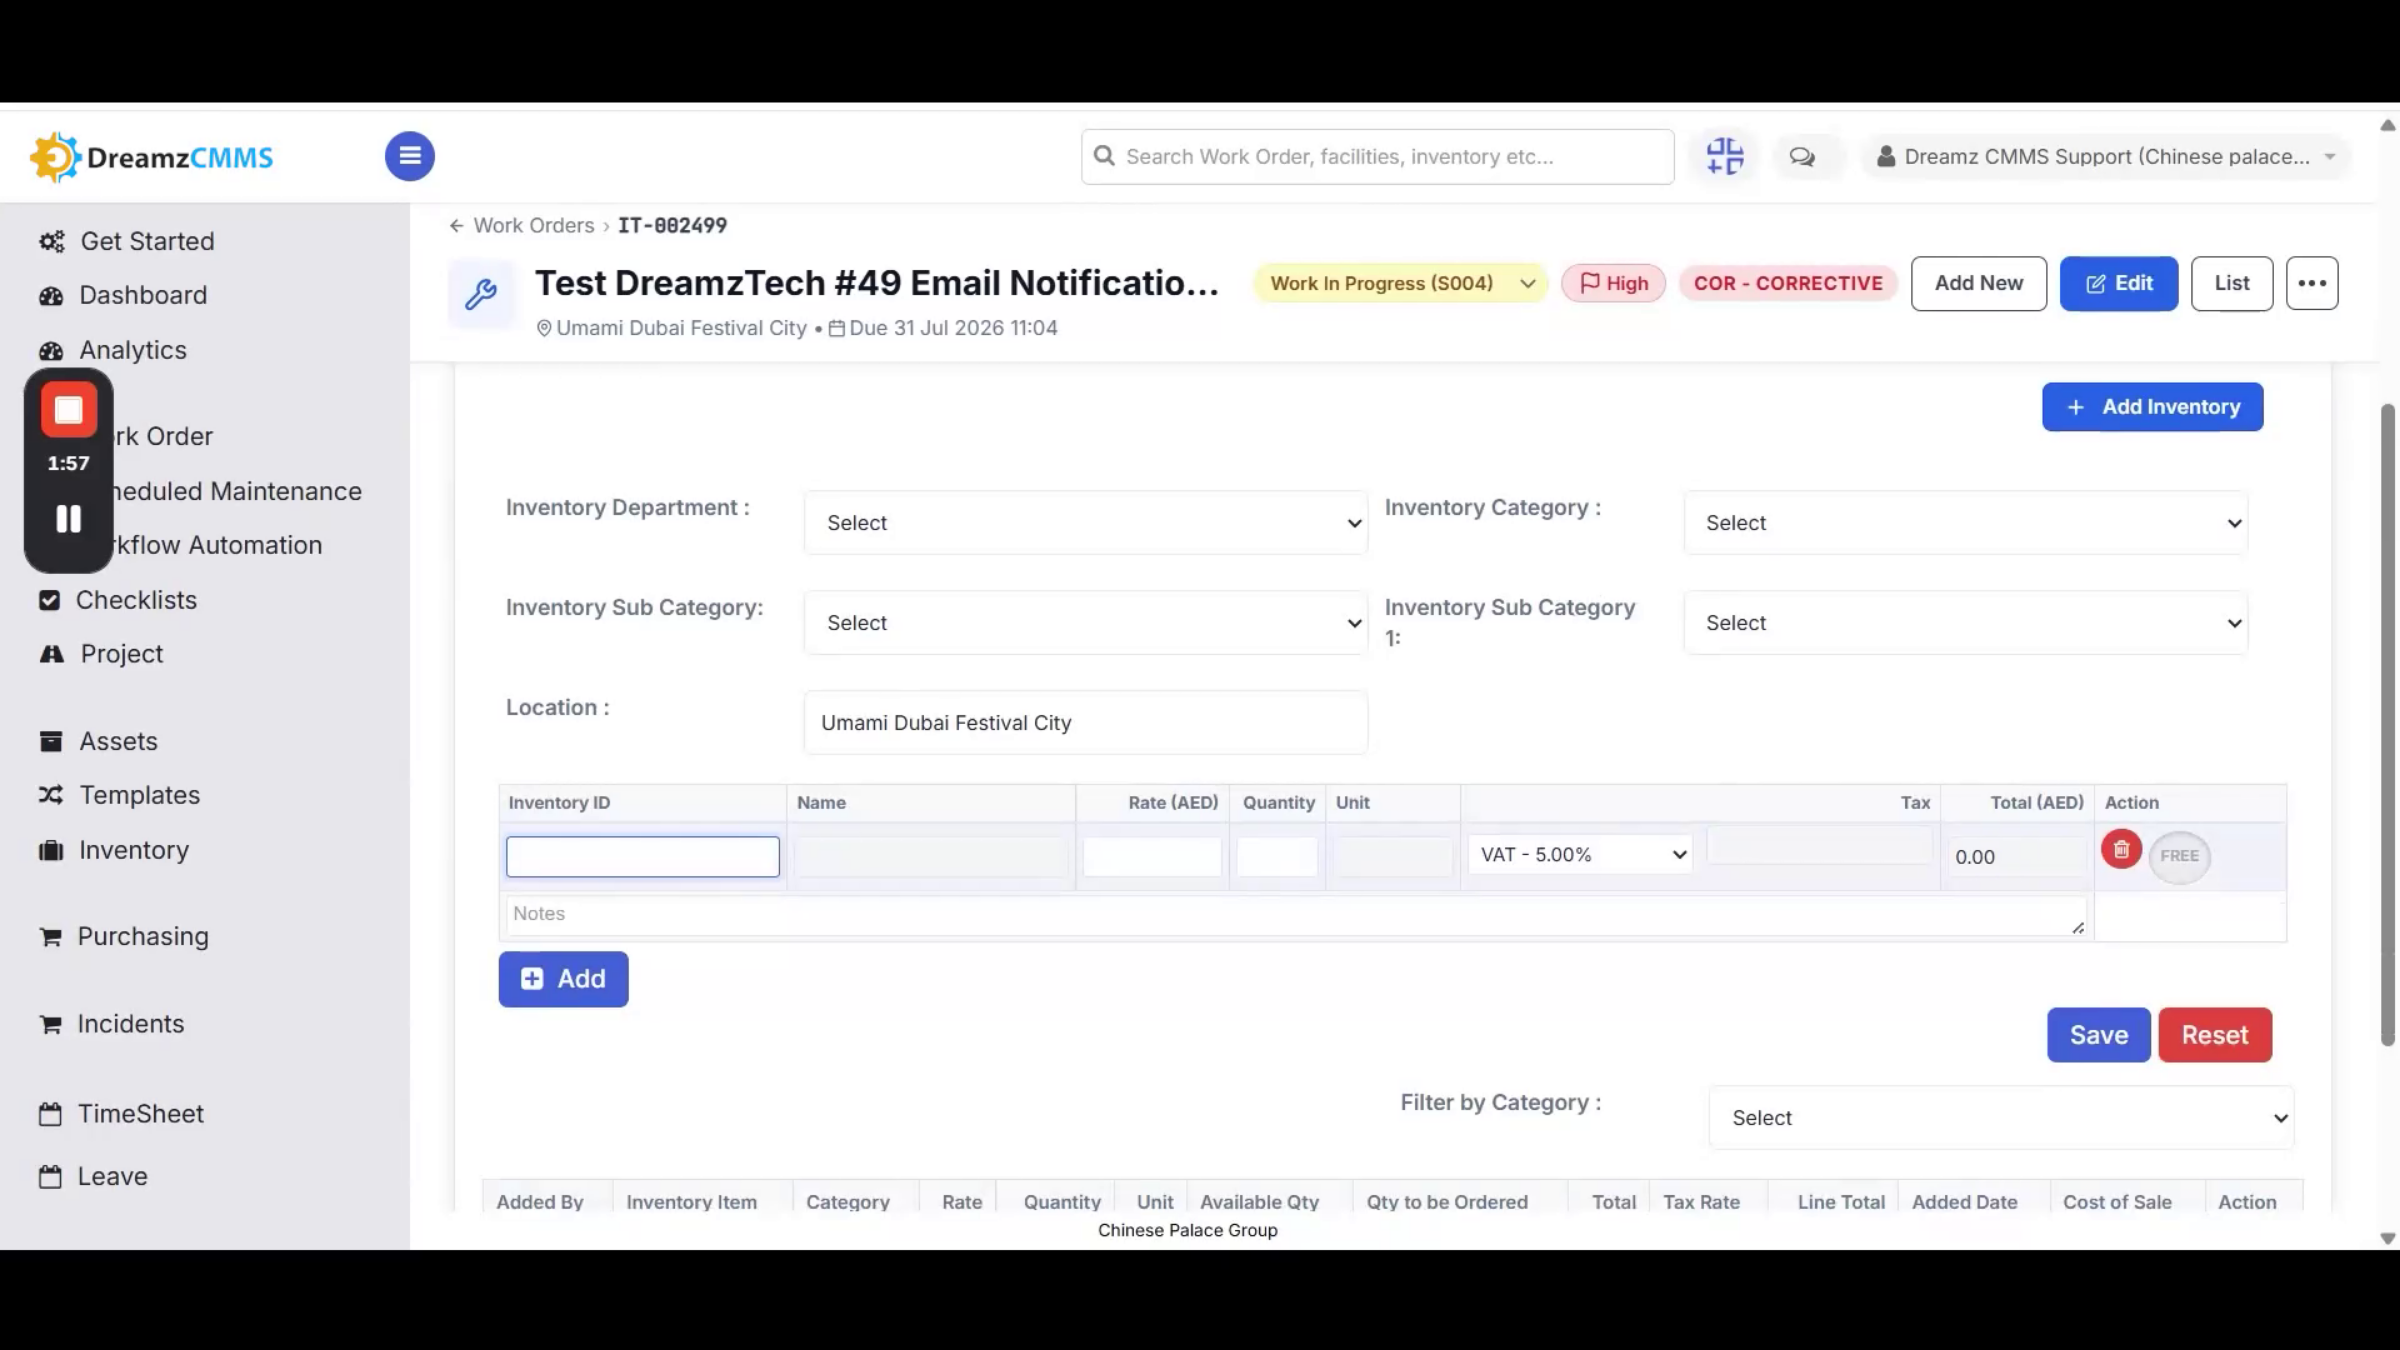
Step 13 – Adding Expenses to Work Order
You can add any inventory items used for the job from the Inventory section, along with any miscellaneous costs or other expenses associated with the work order.
Step 14 – Closing Work Order Procedure
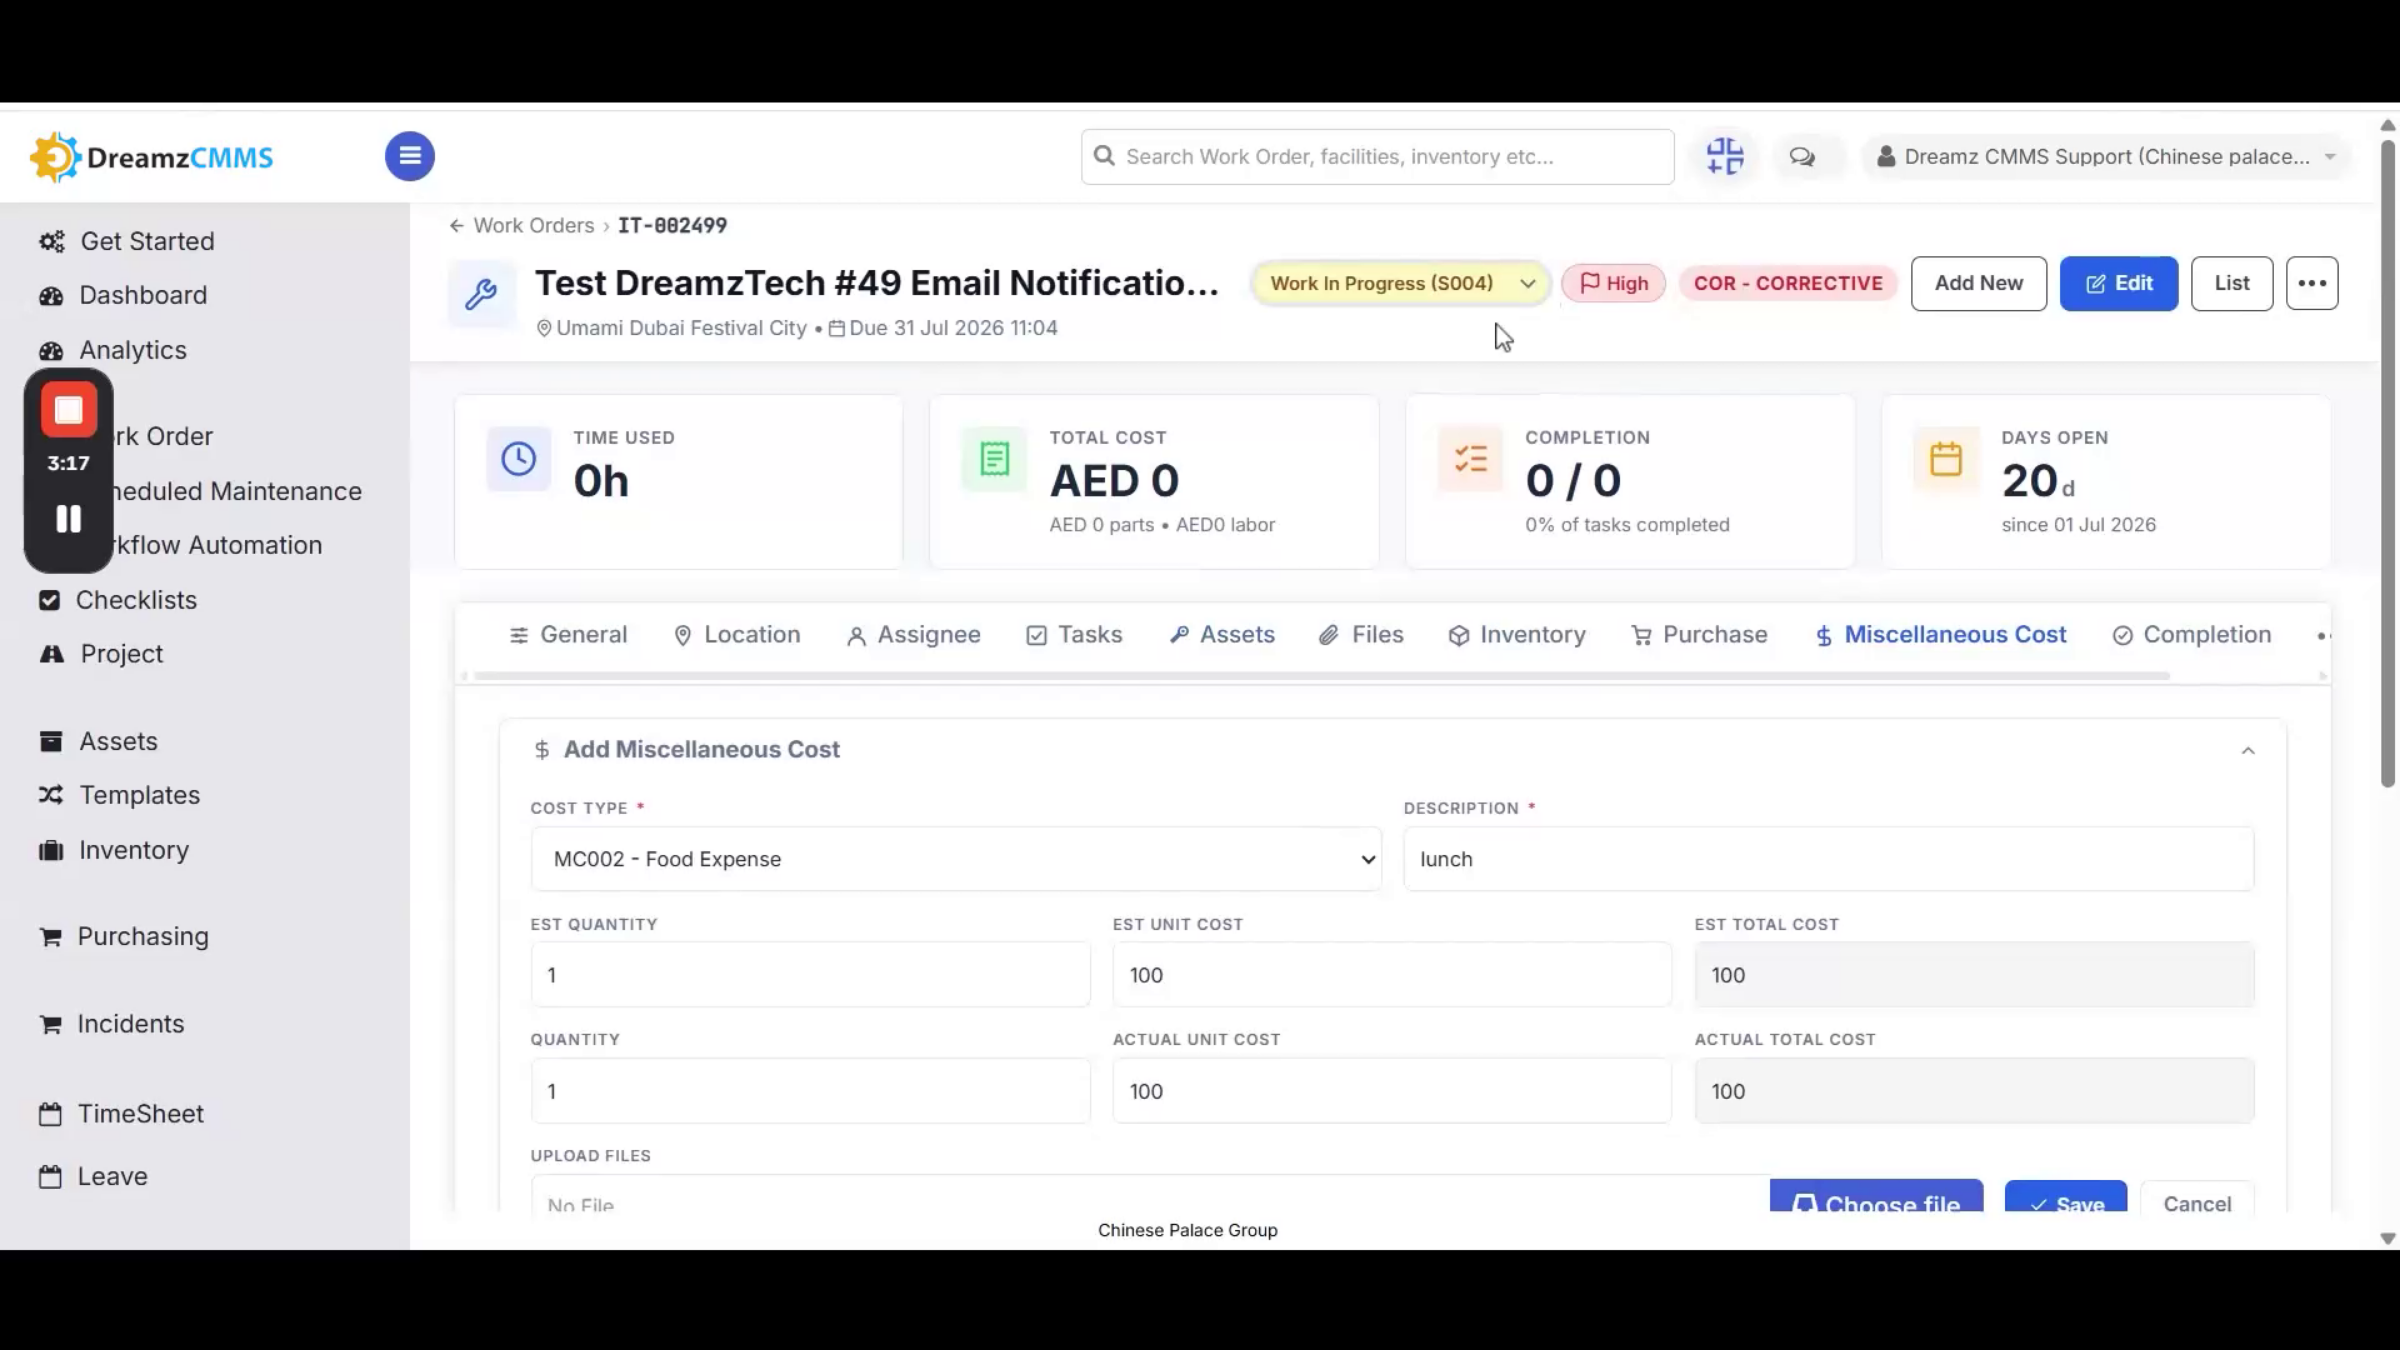
To complete the work order, select Closed Completed from the Status dropdown, add a completion note, and submit it. You can also change a work order's priority directly from the work order list by selecting the desired priority in the Priority column. Once the completion note is submitted, the work order's status displays as Closed Completed.
Purchasing Parts and Equipment
Step 15 – Starting the Purchase Request Process
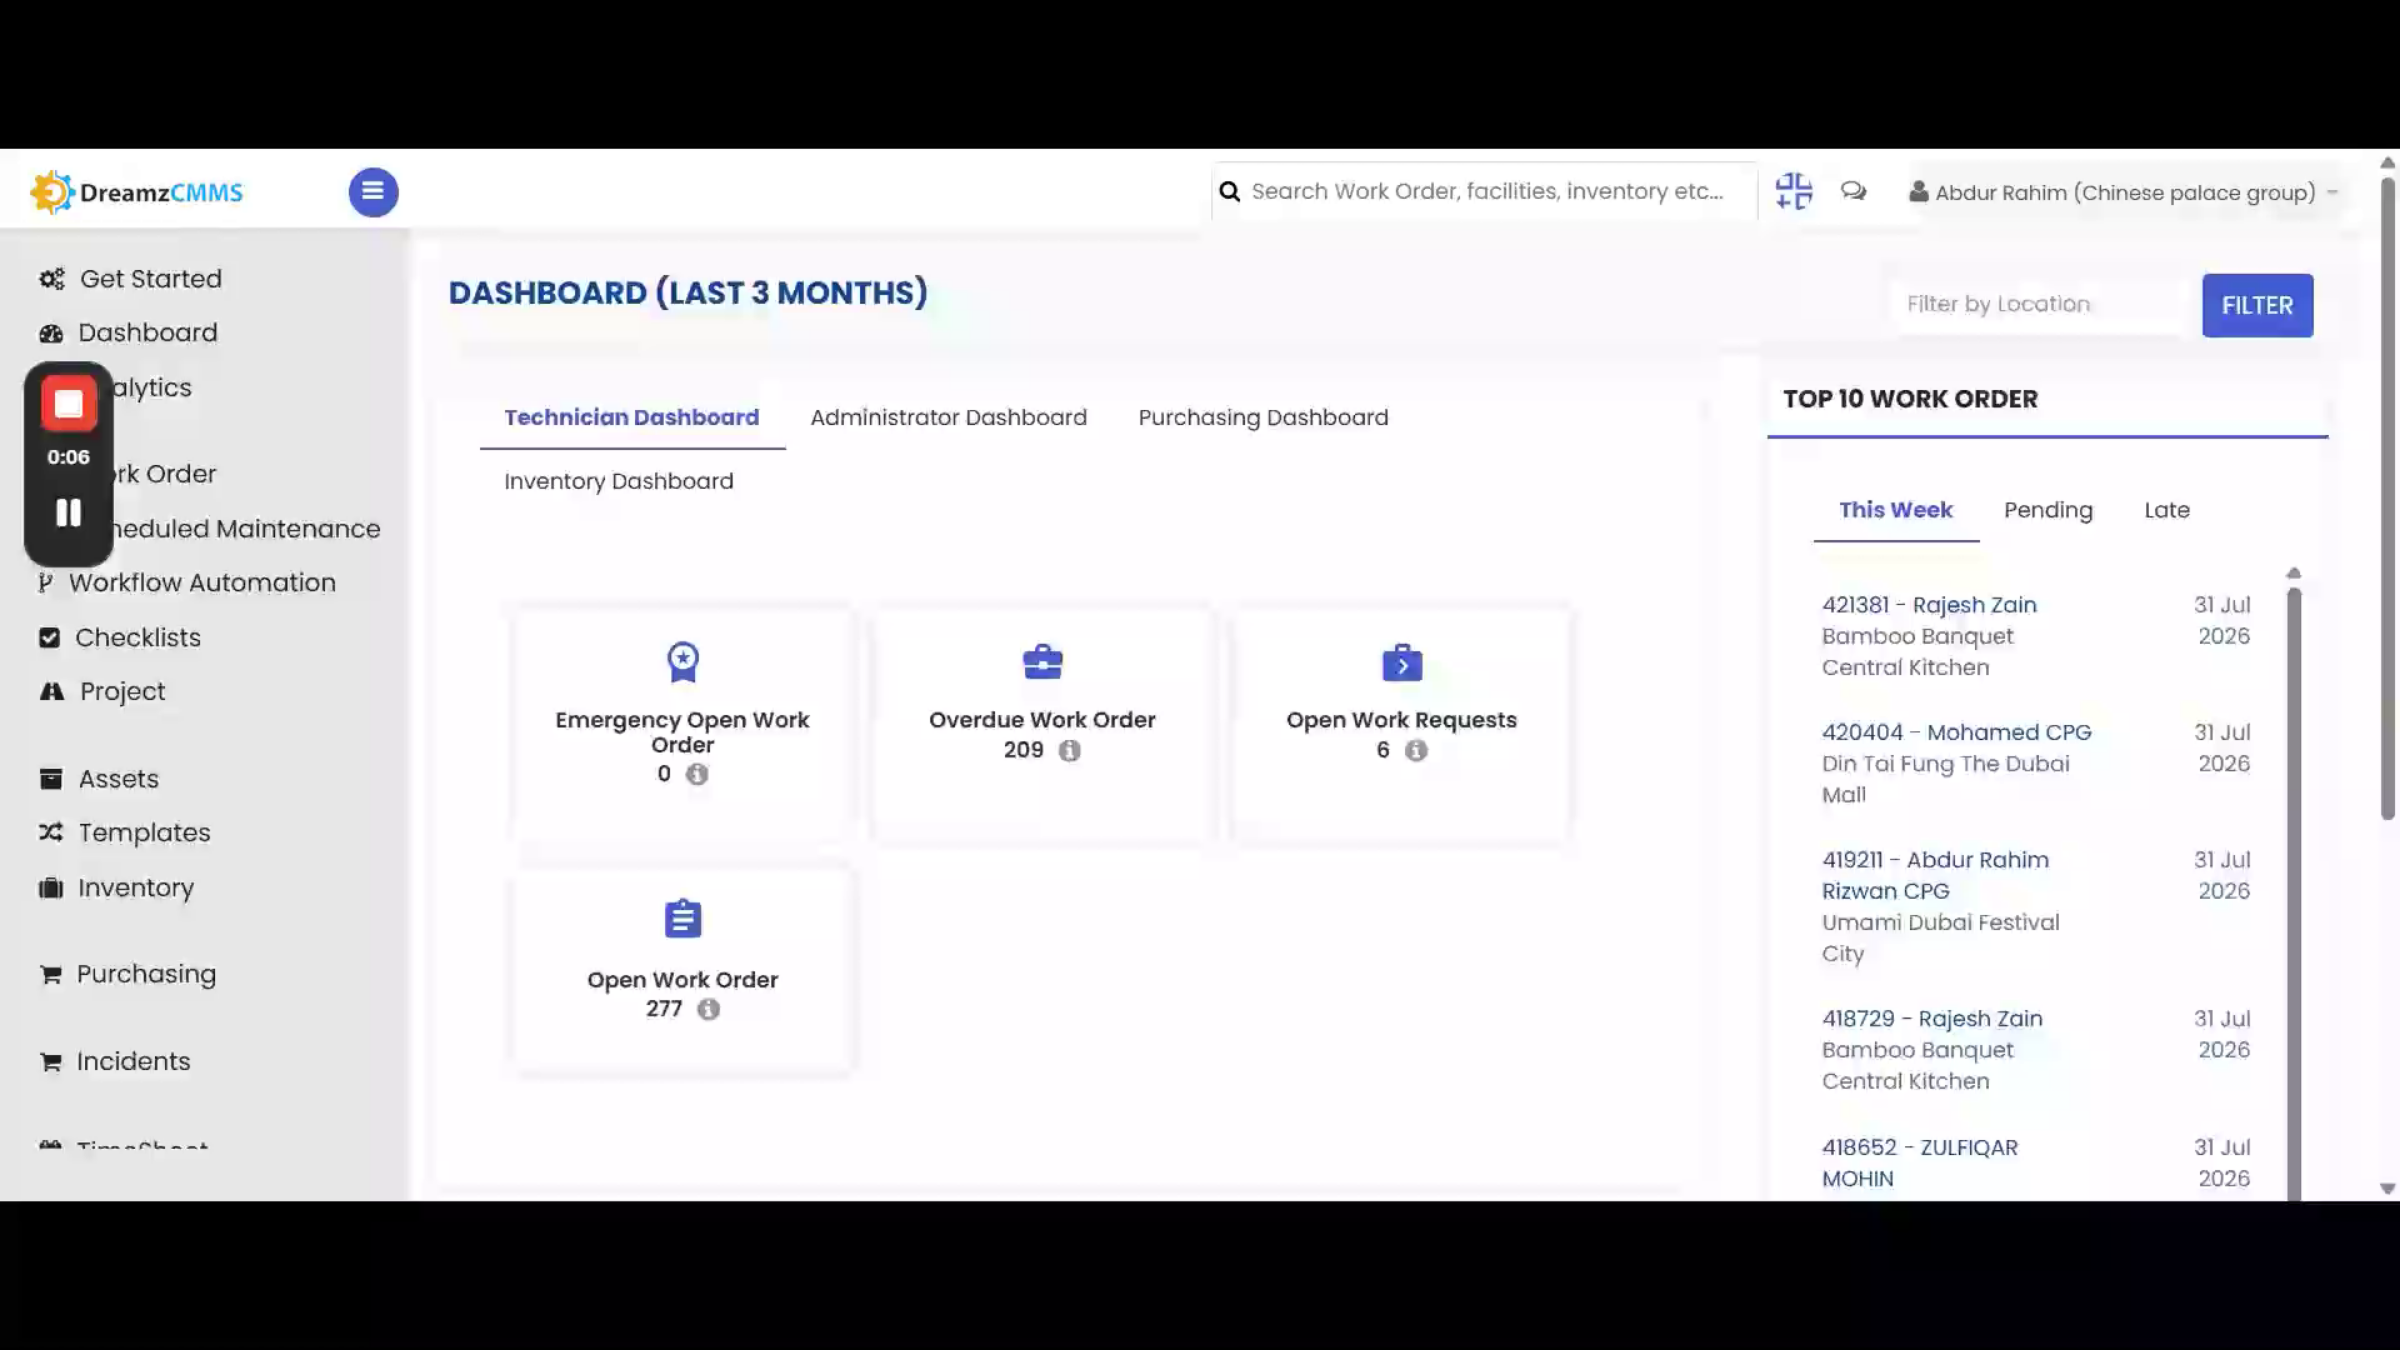
This completes the work order process in DreamzCMMS. To create a purchase request from the web portal, log in and you'll land on the Dashboard screen.
Step 16 – Navigating the Purchase Dashboard
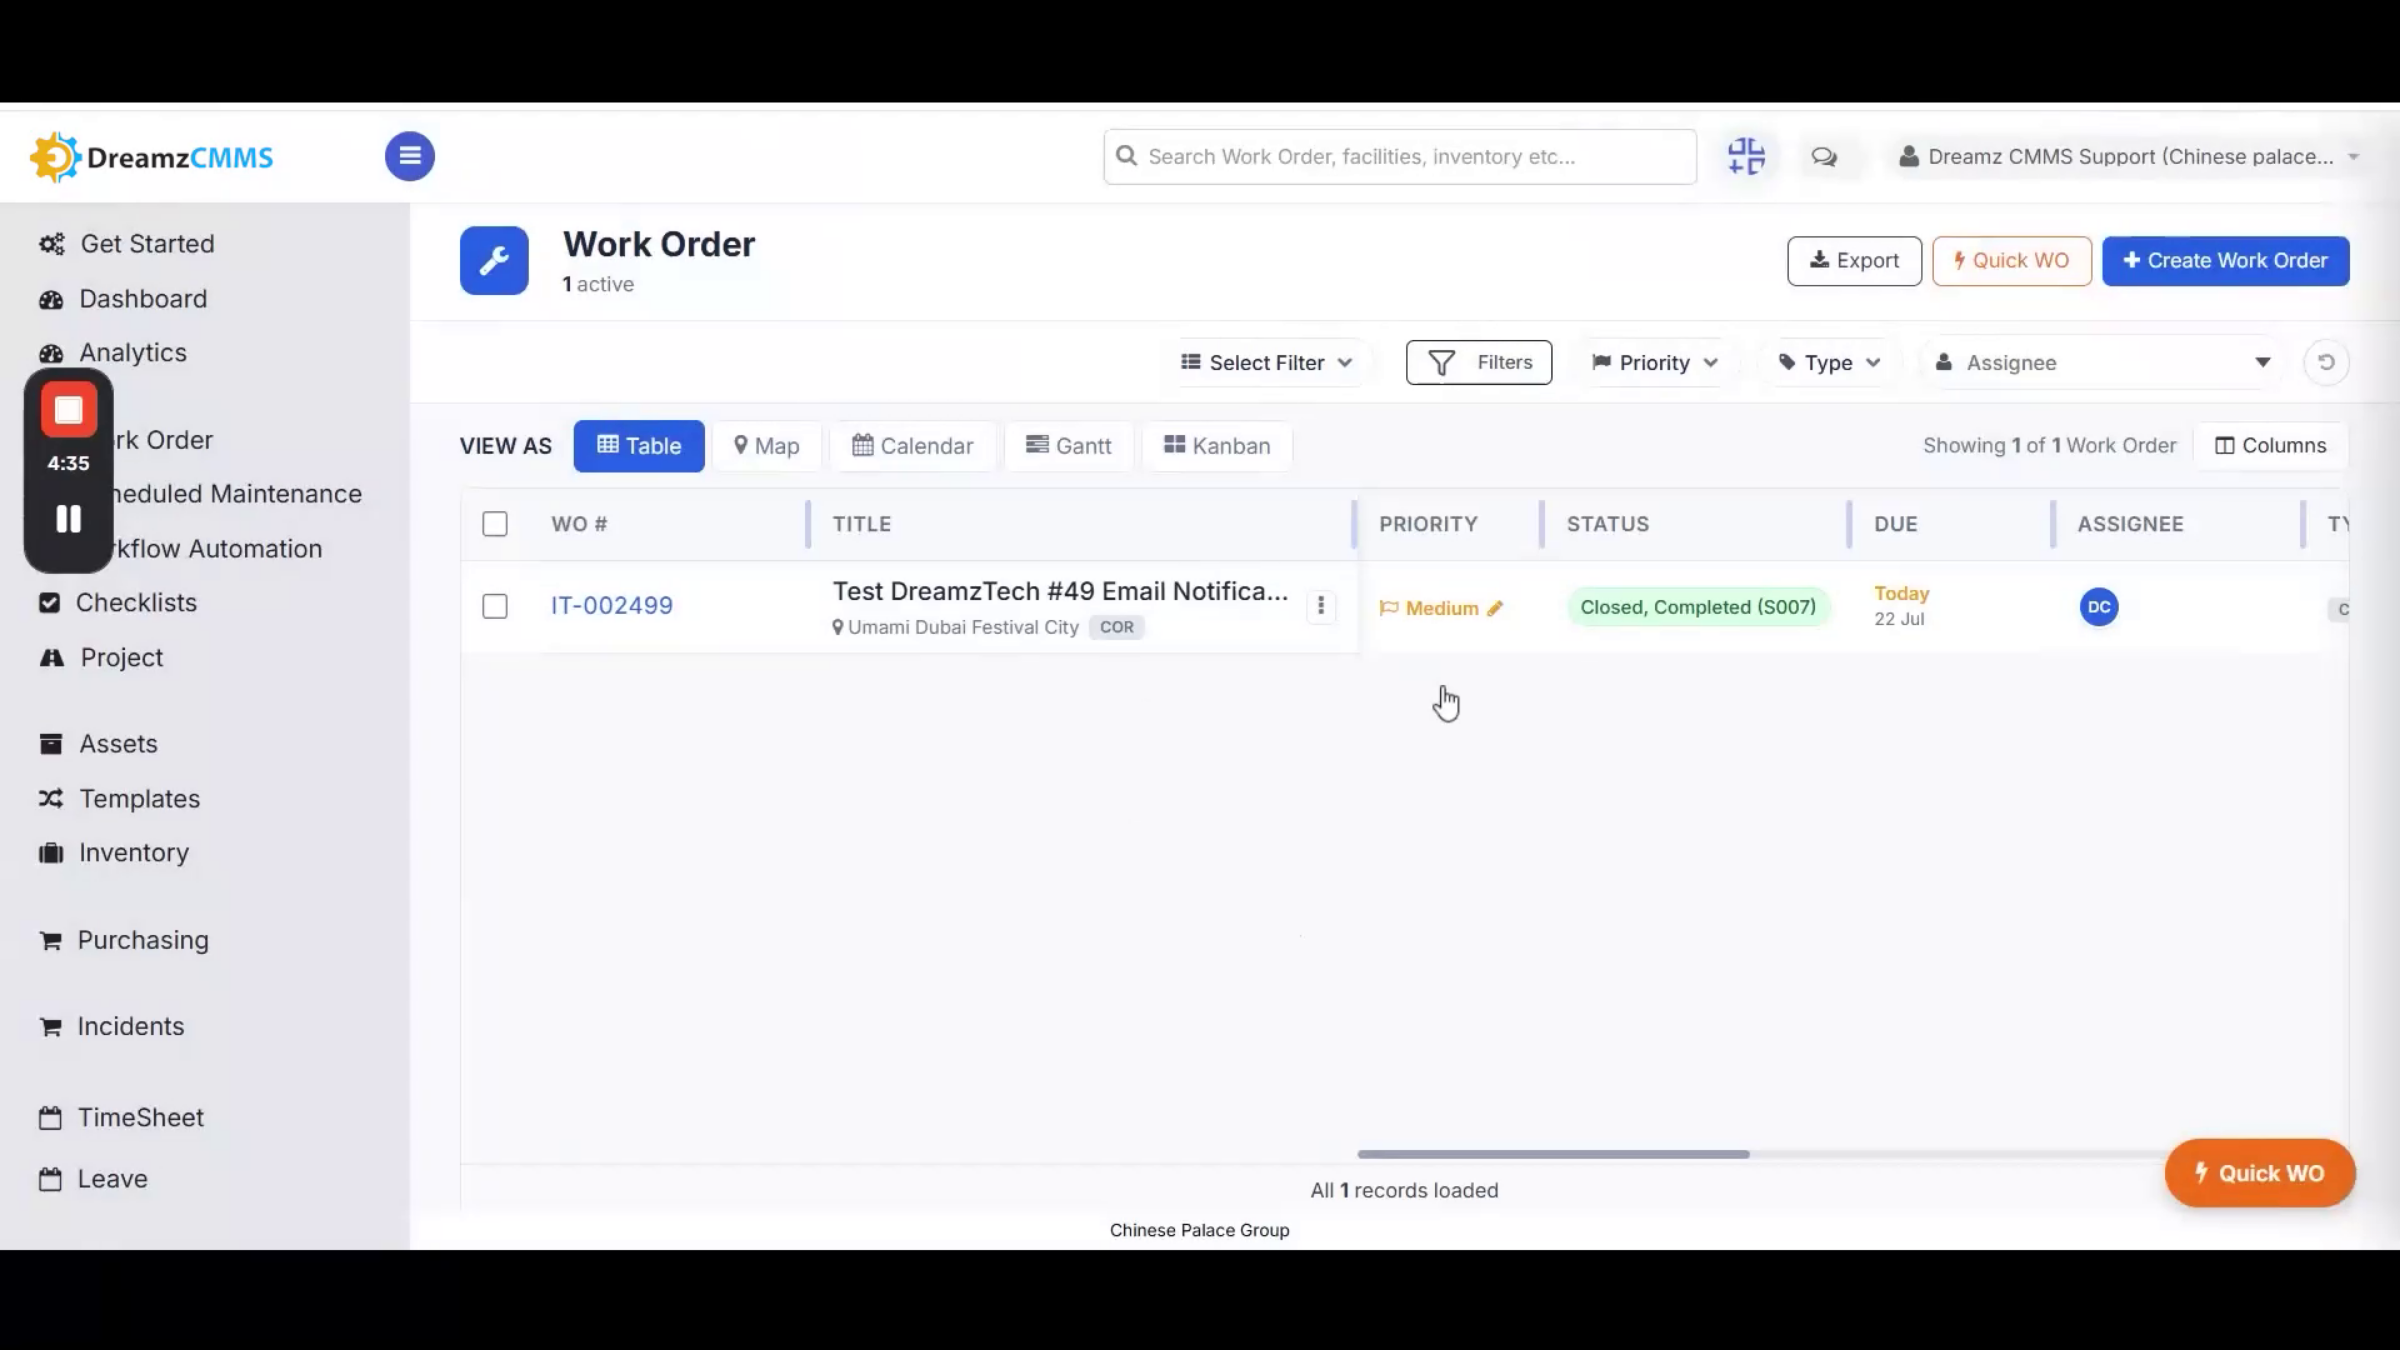
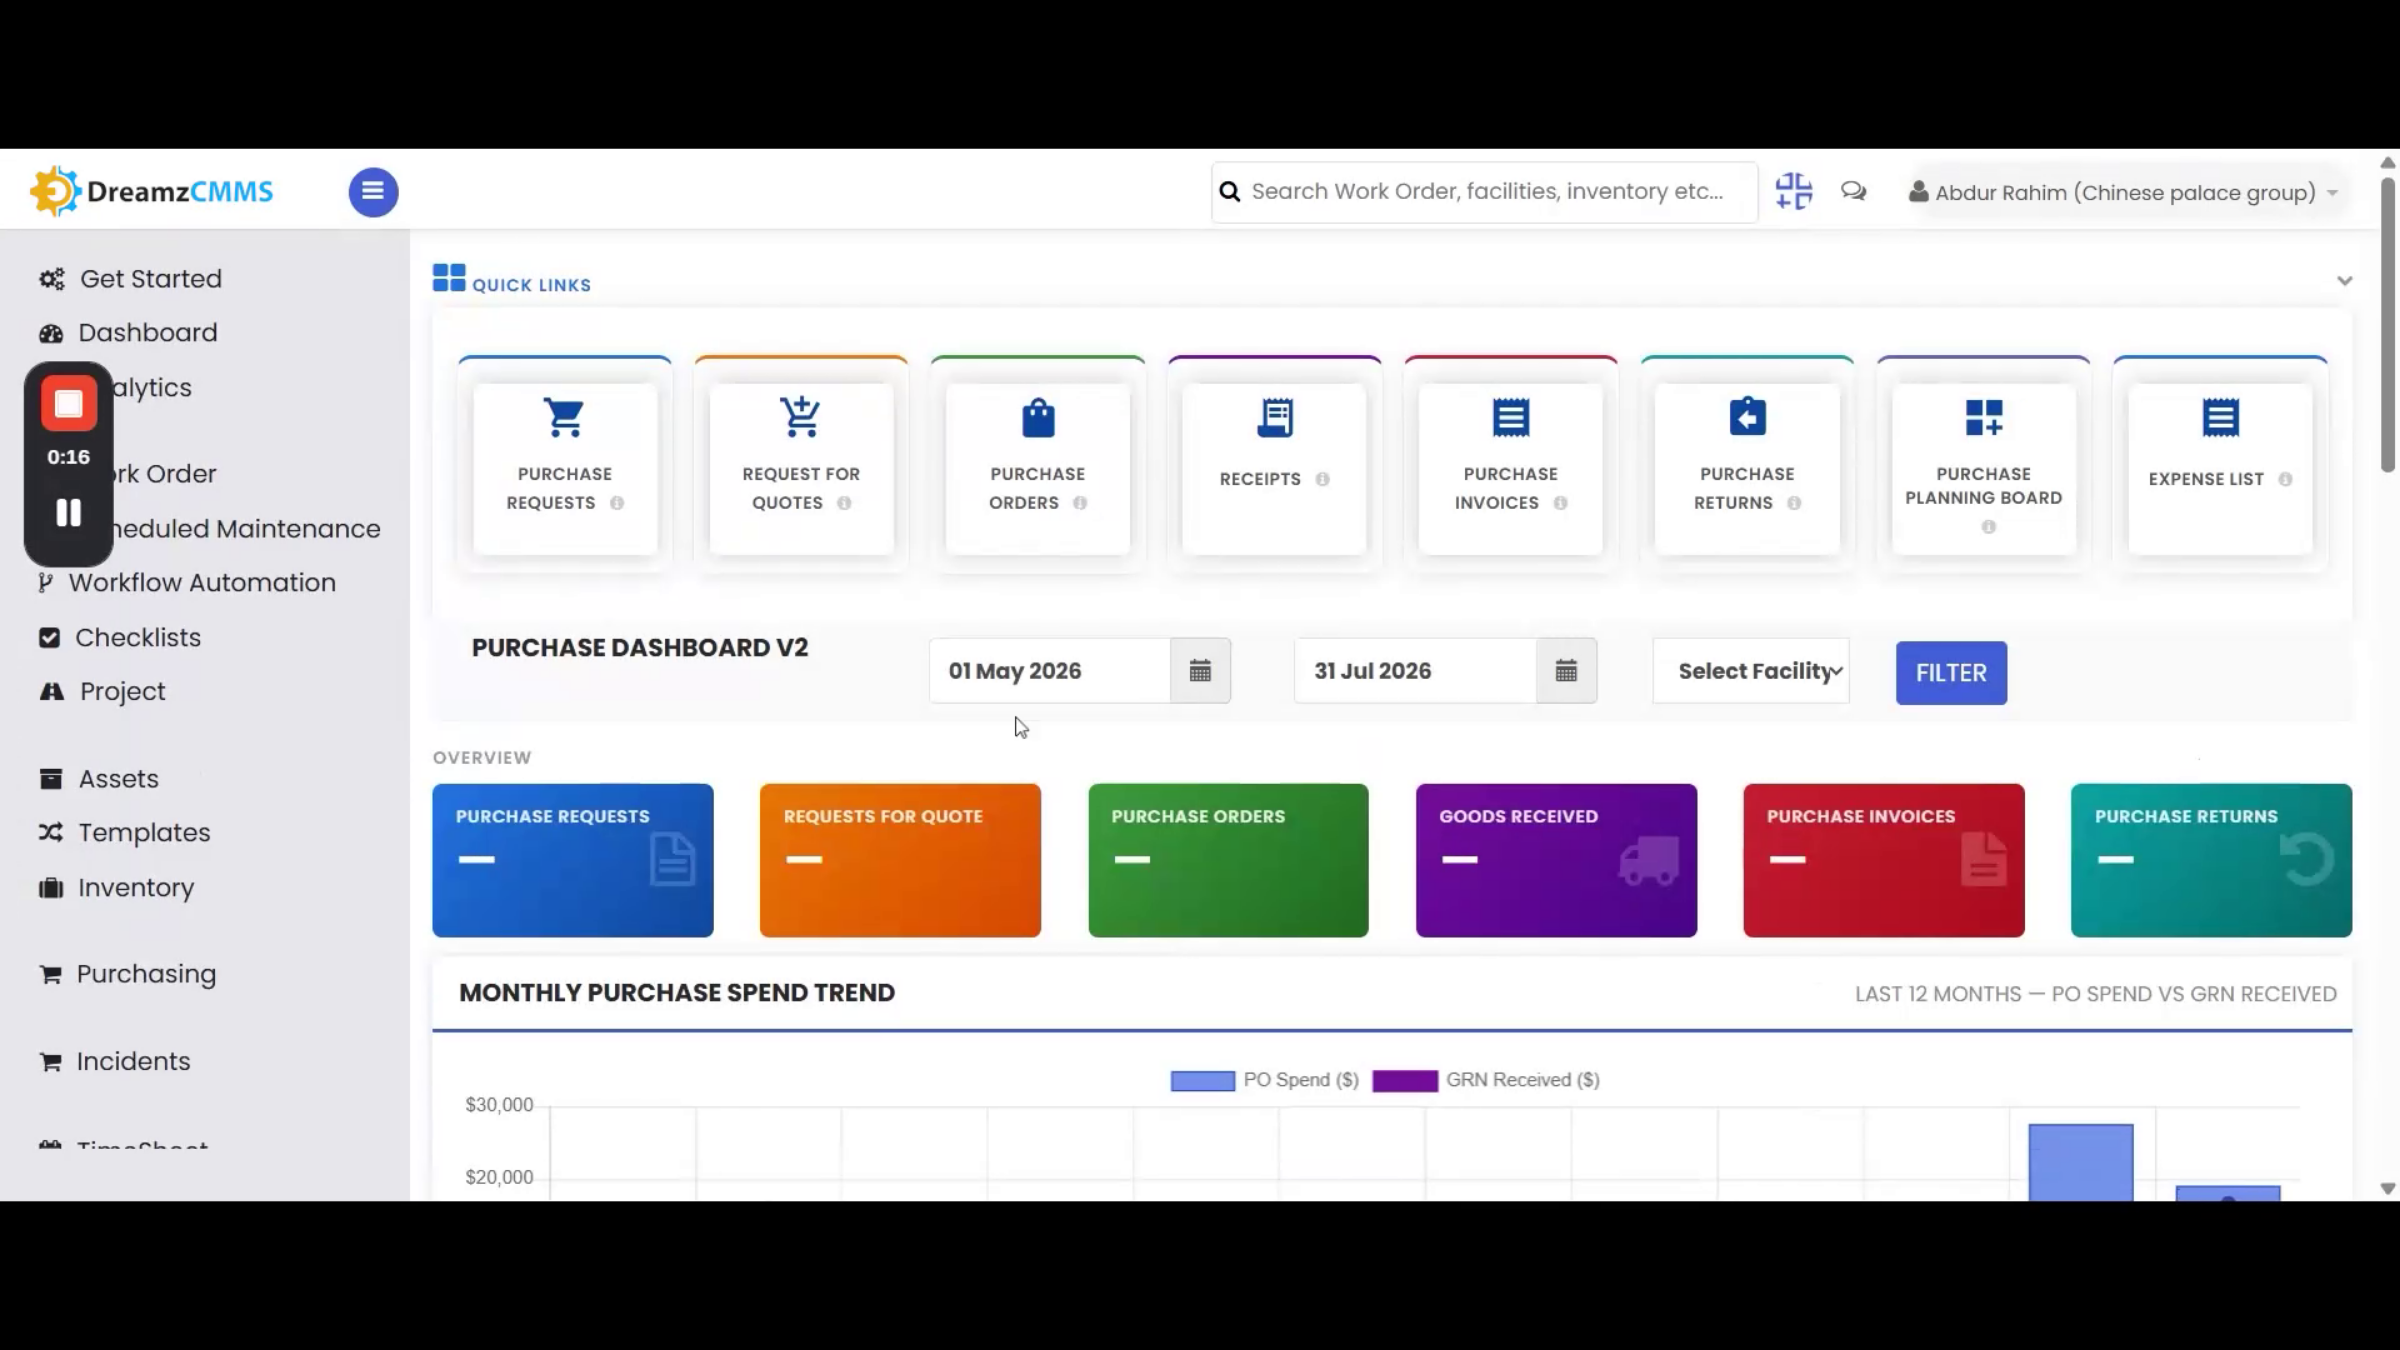
Click Purchasing from the left menu to open the Purchase Dashboard, then click the Purchase Request card to get started. This takes you to the purchase request list page, where clicking New Purchase Request creates a new one. On the purchase request page, the code, required date, and status auto-fill.
Step 17 – Associating Assets and Items
Add the location for the purchase request, and optionally associate an asset or a work order with it. Select the item type — equipment, tools, product, or inventory — that you want to purchase. If the item isn't already listed, select Non-Inventory Item and send the request for approval.
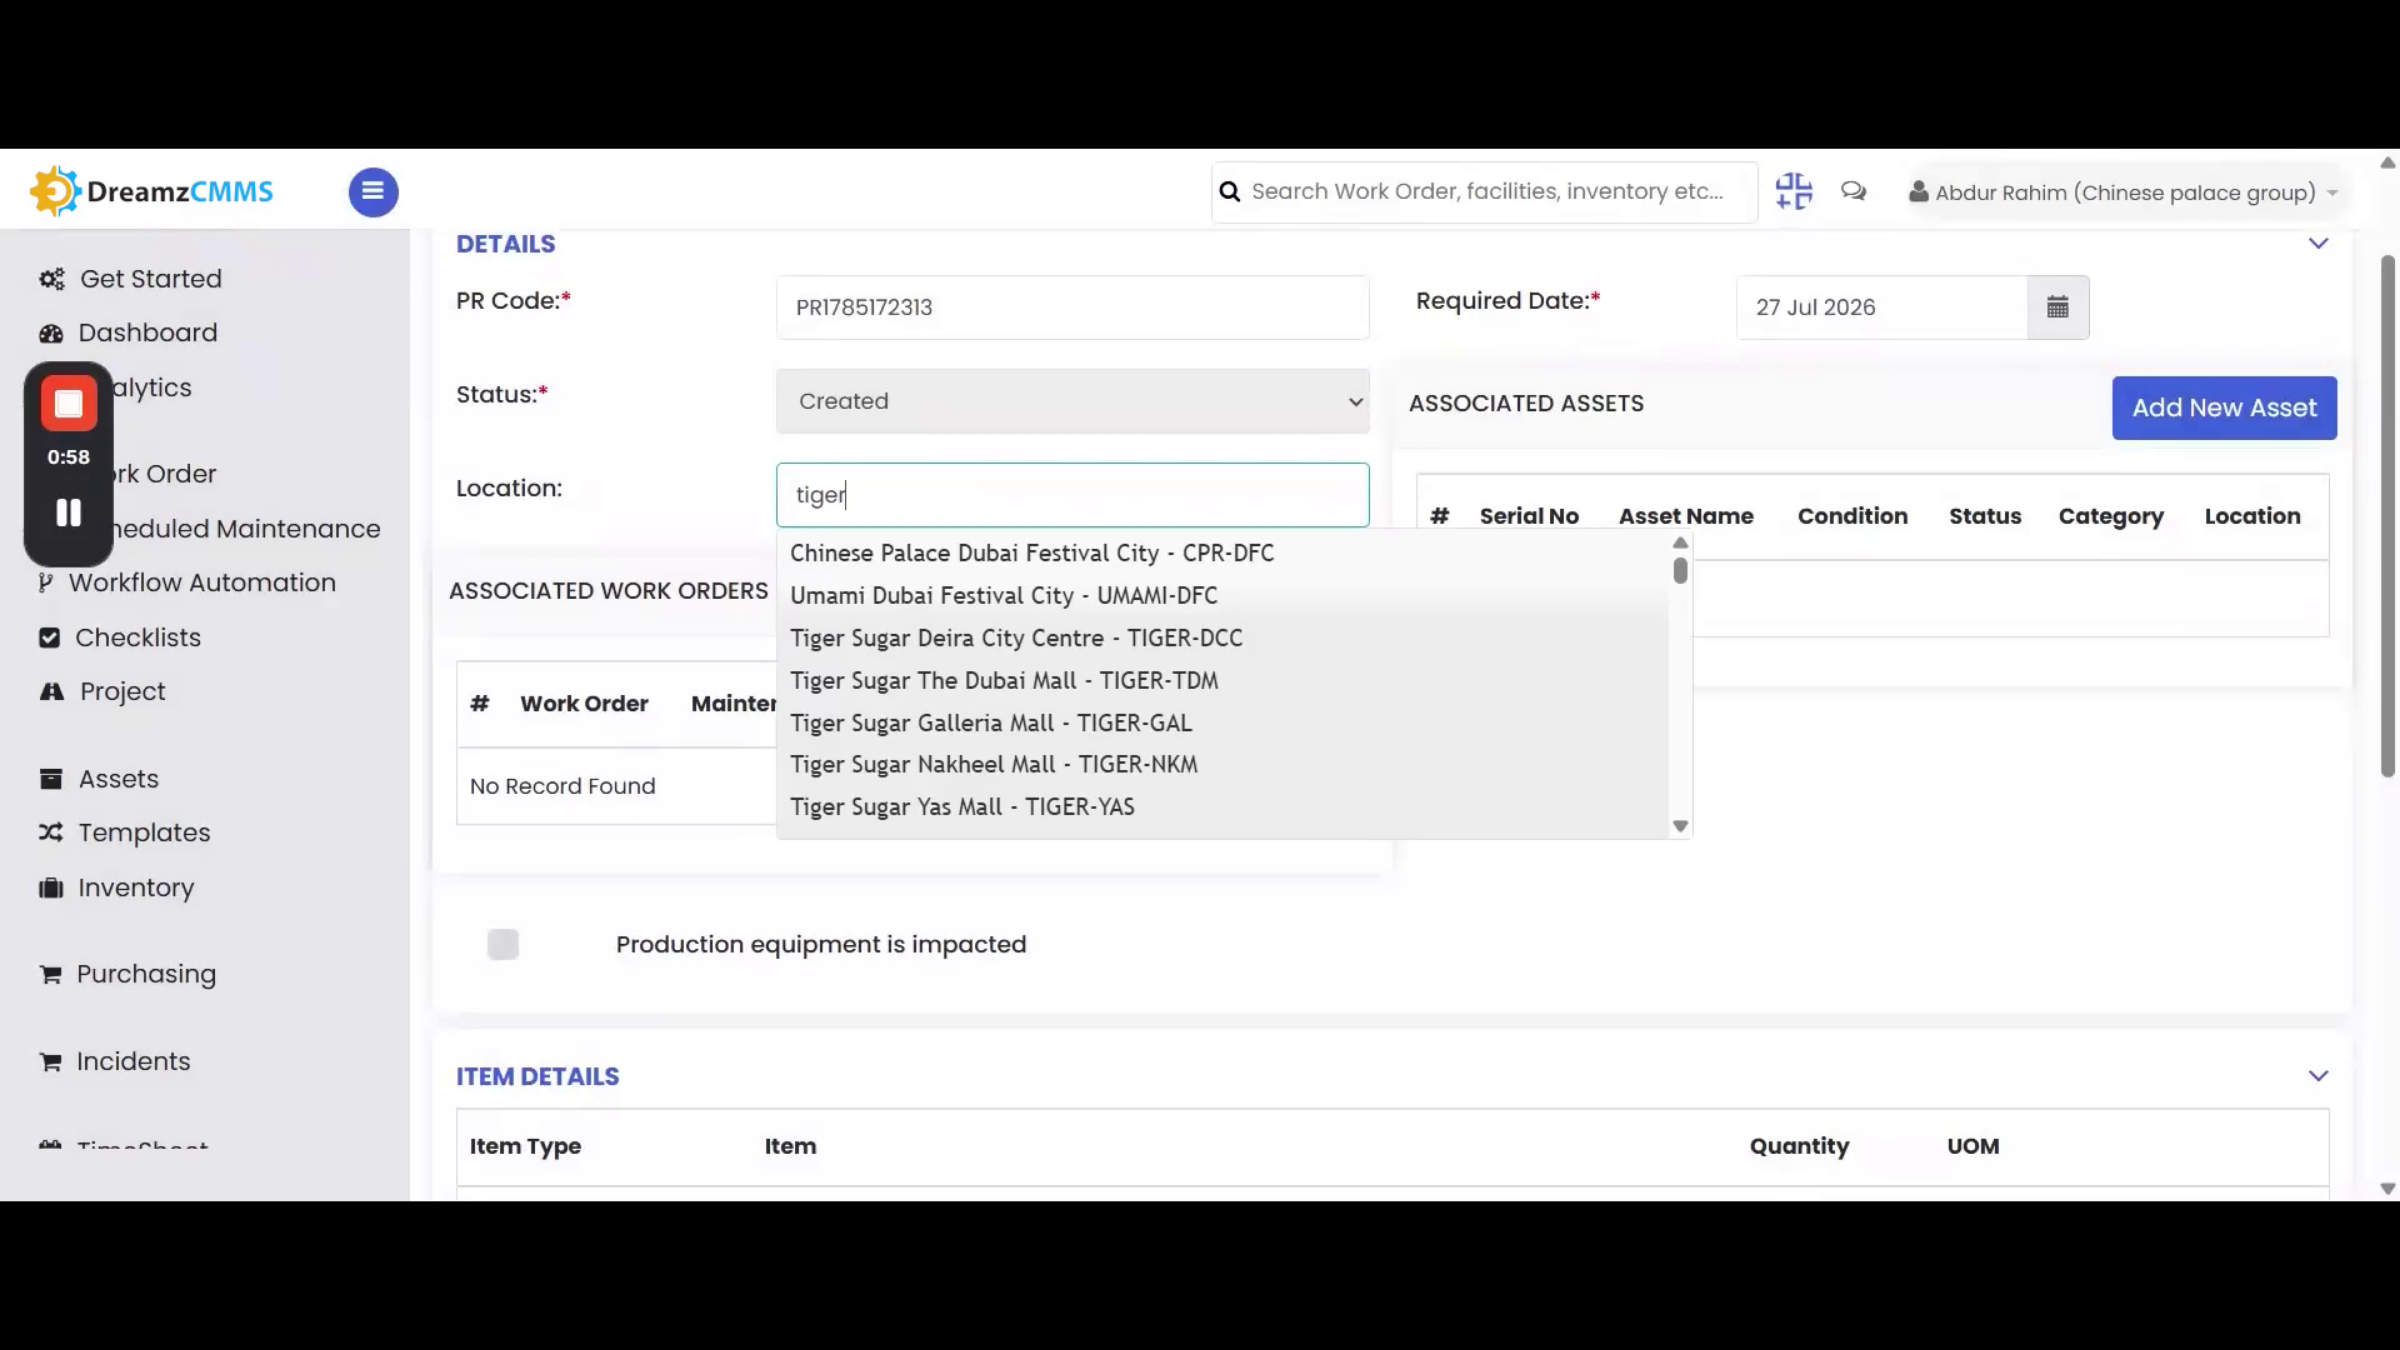
Step 18 – Purchase Order Creation and Receipt
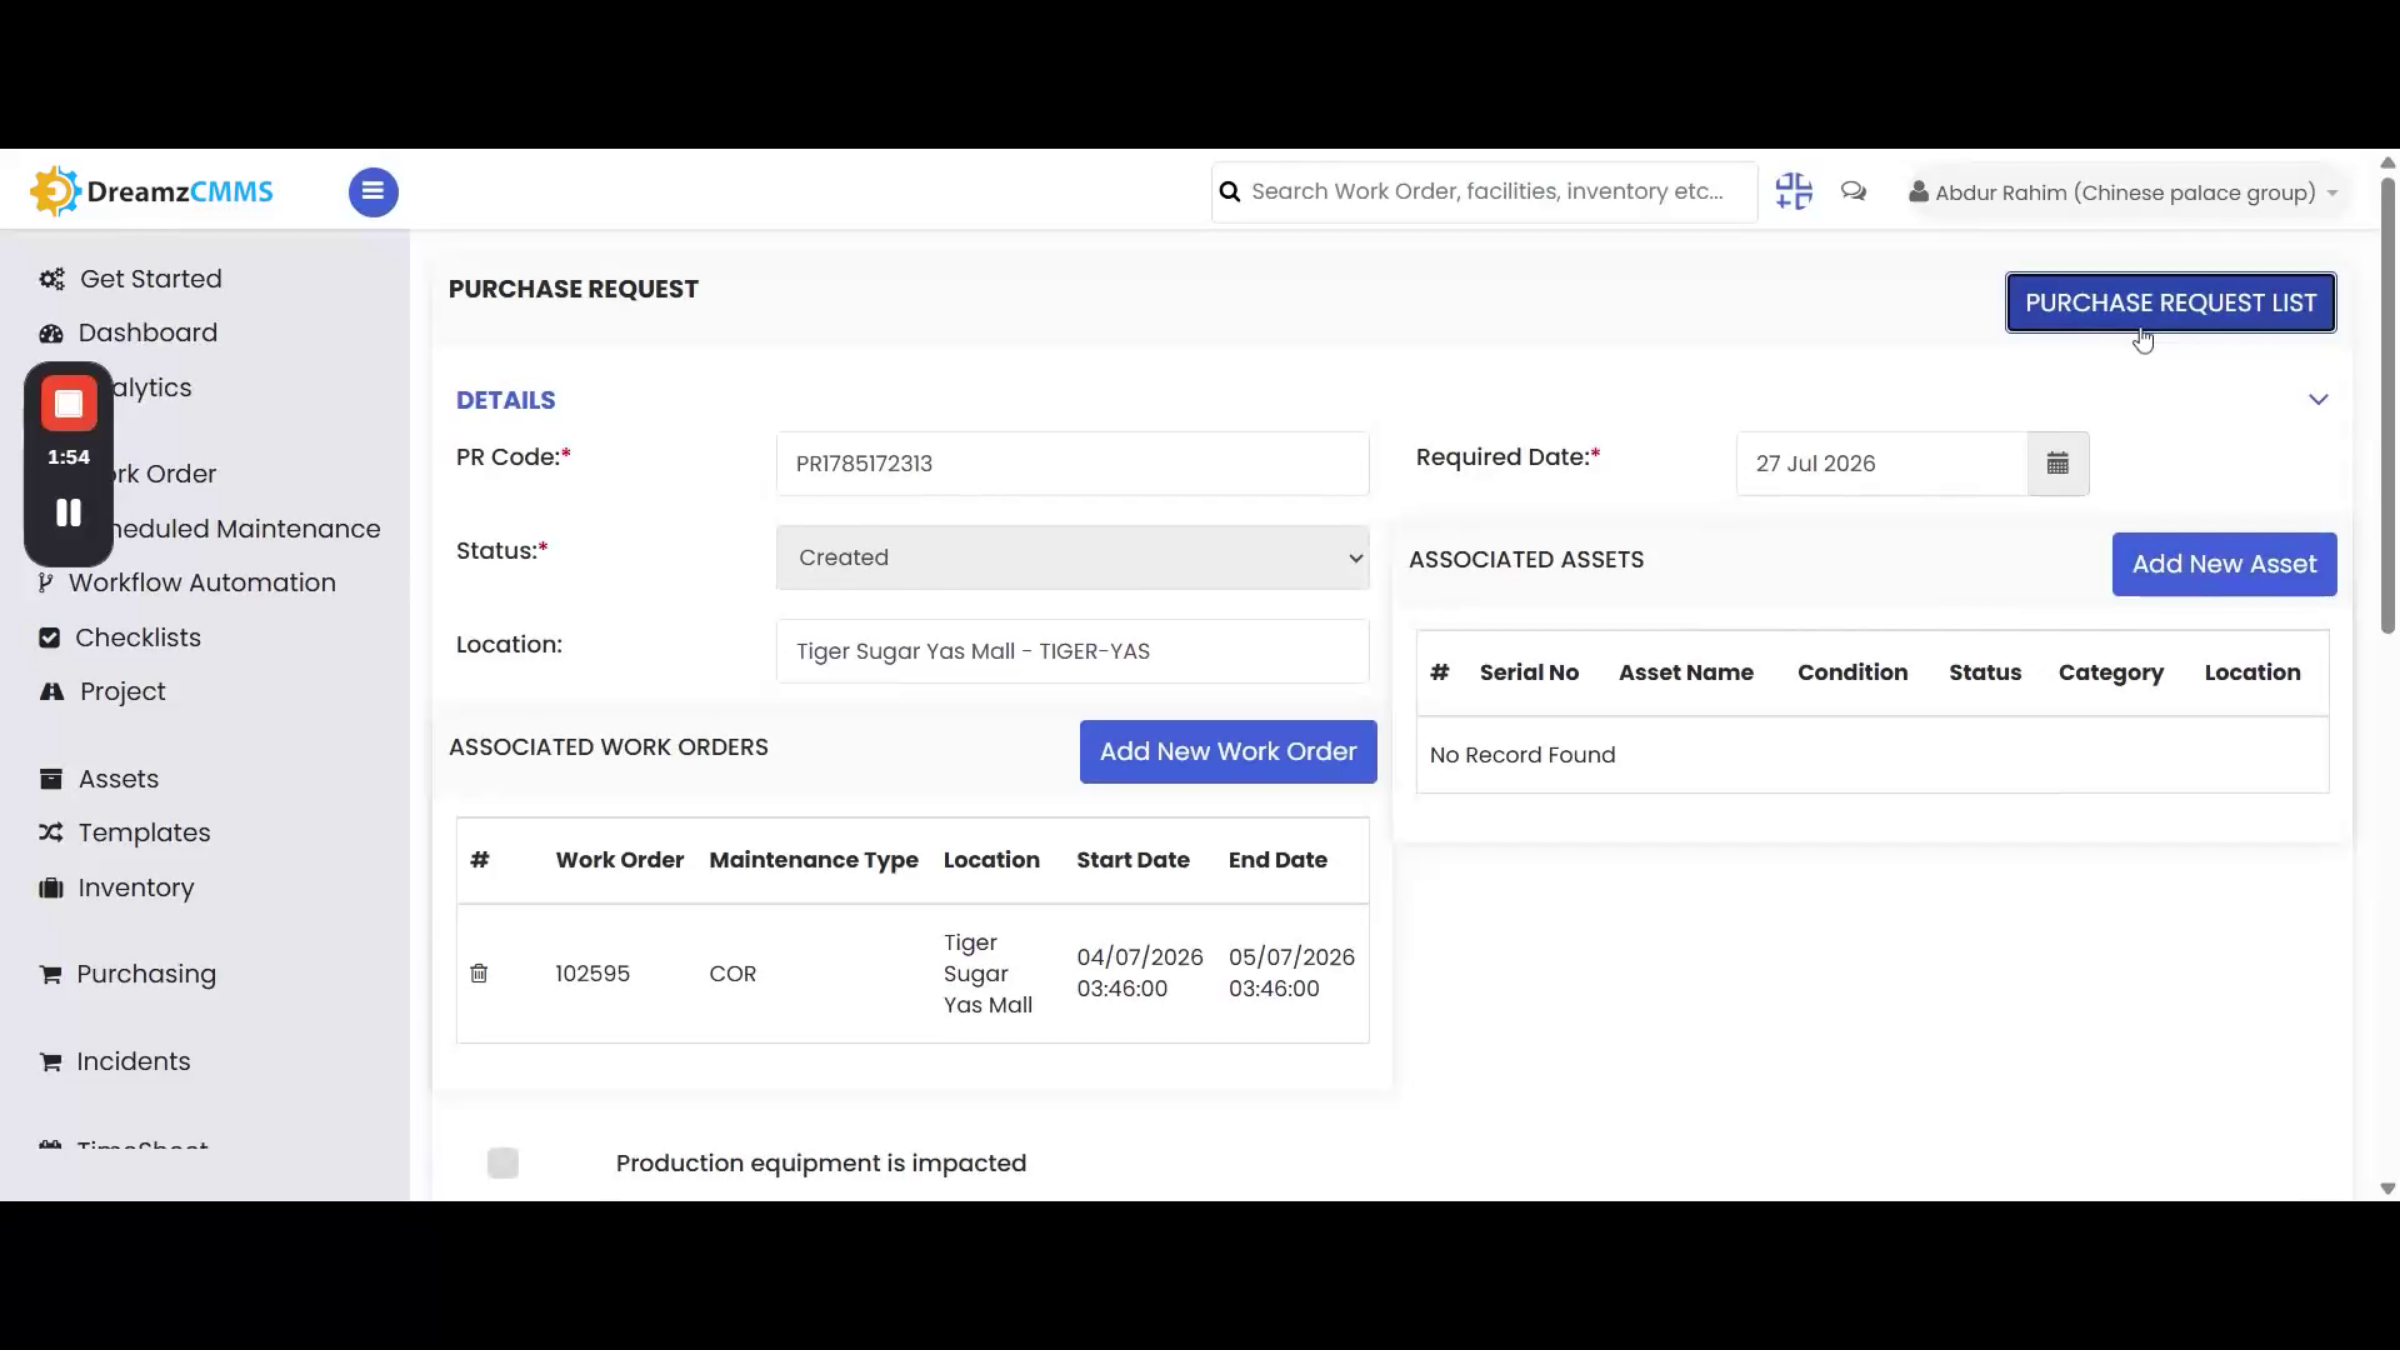
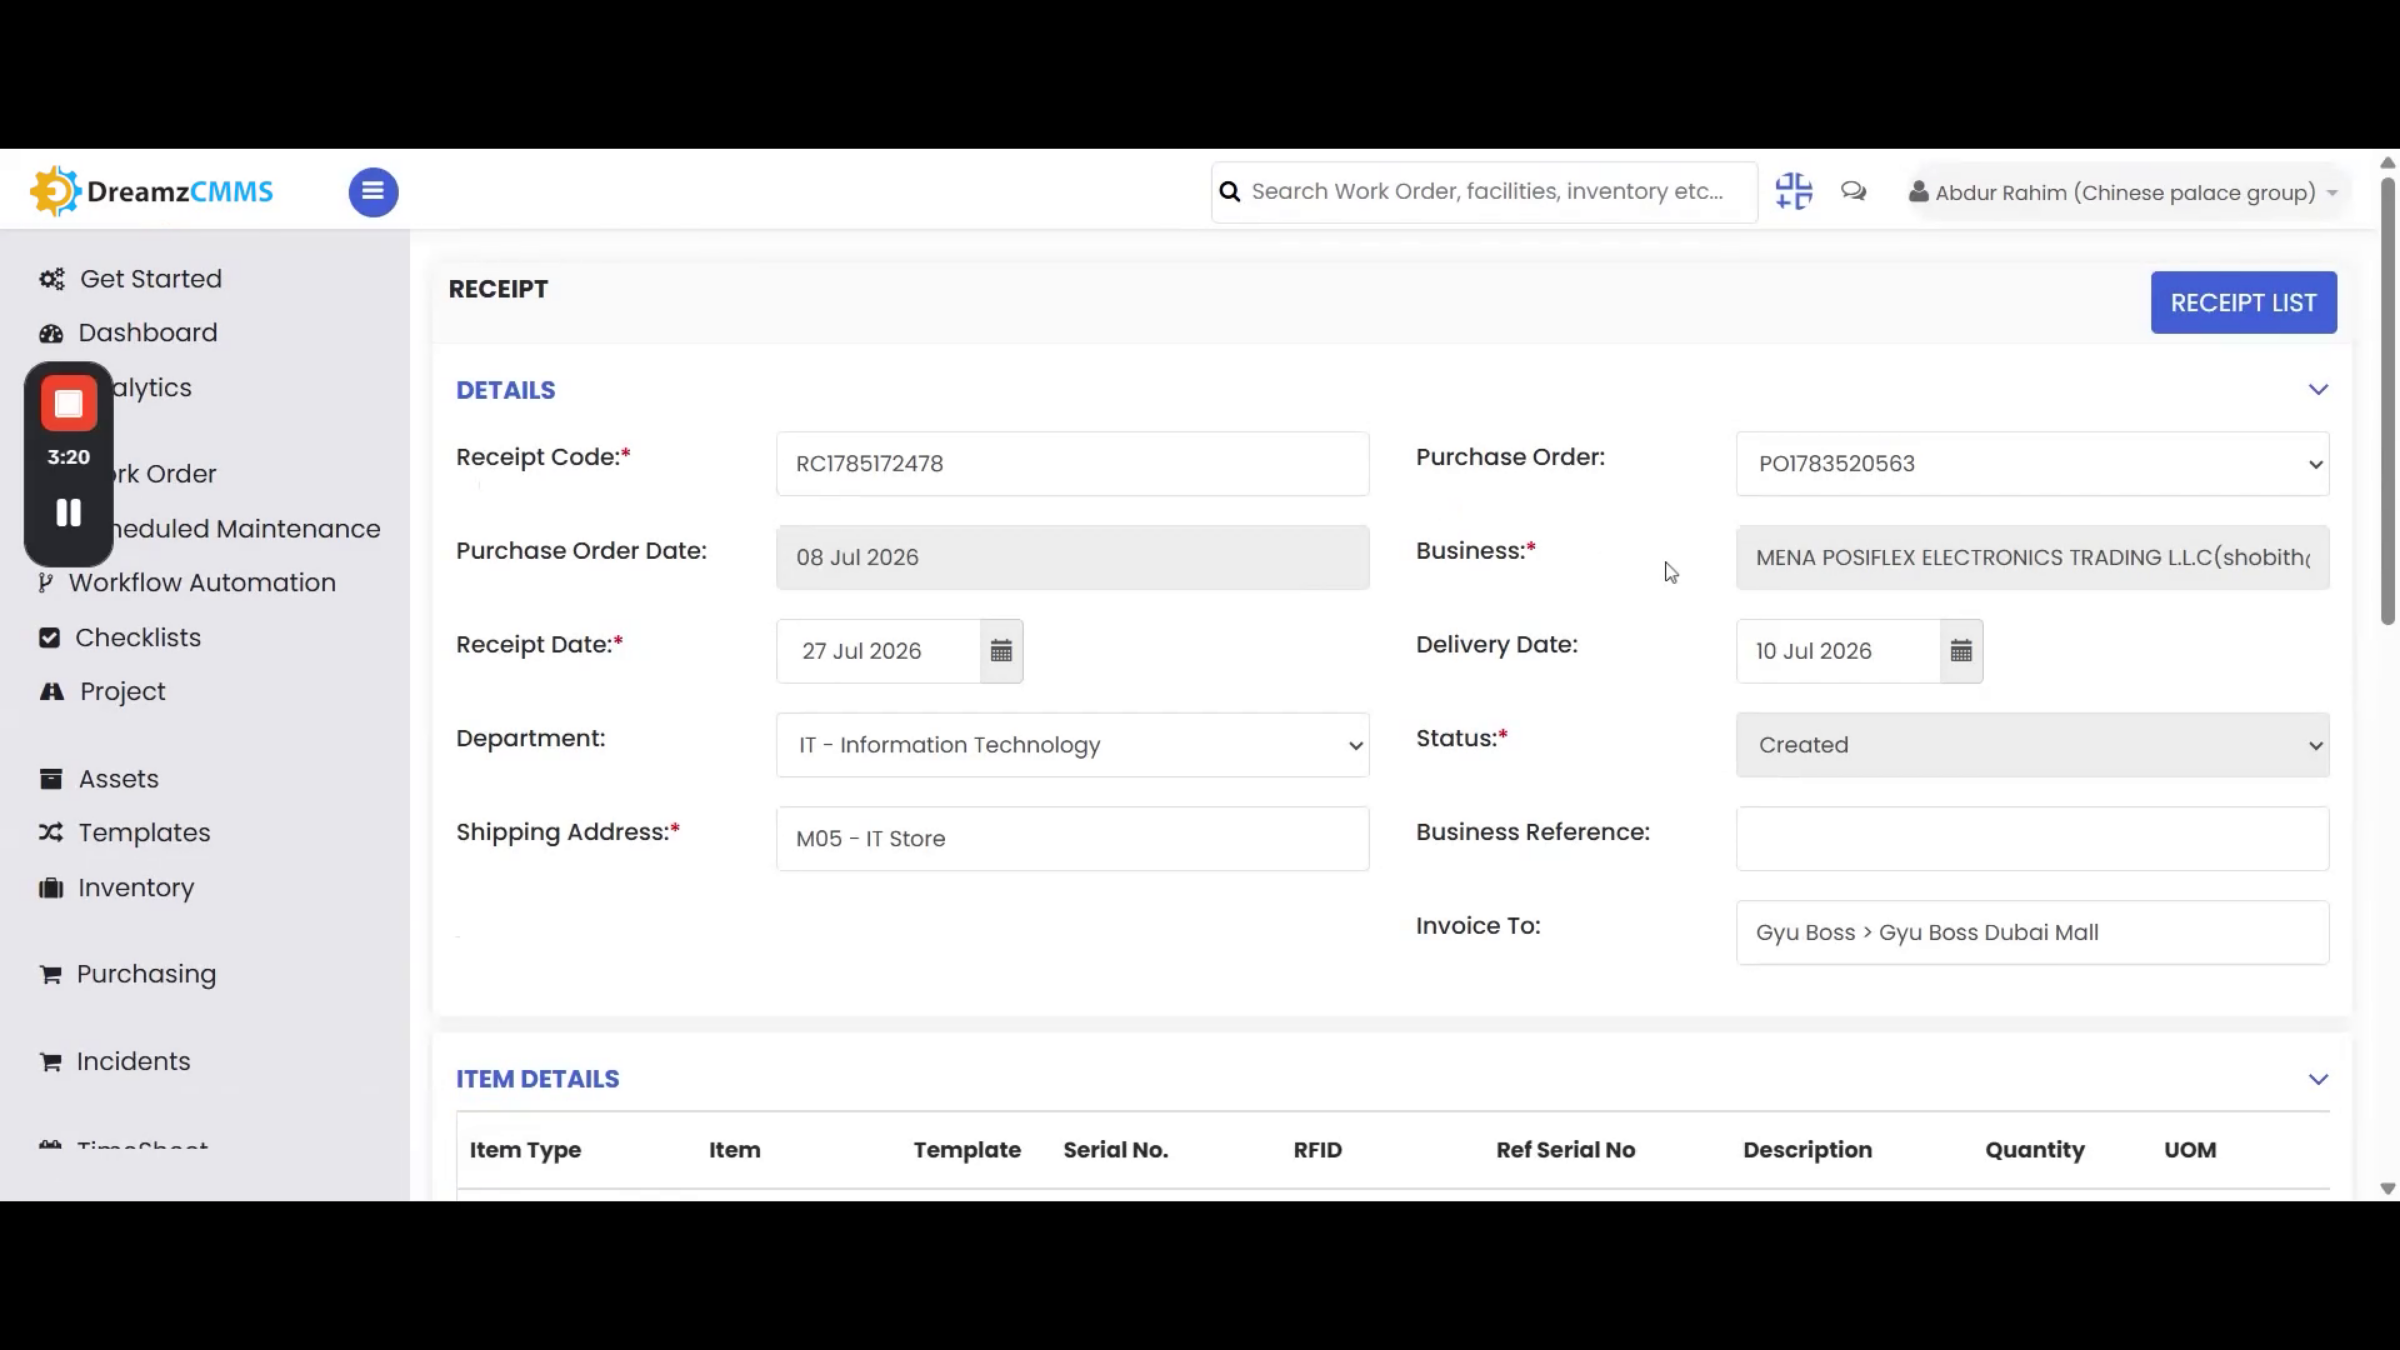
Once a purchase request is approved, create a purchase order for it from the Purchase Request List. Clicking Add PO takes you to the Purchase Order Creation page, where the information auto-populates based on the purchase request. Non-inventory items need to be added to inventory first, then selected as inventory items from the list; you can also add any additional items before sending the purchase order for approval. Once approved, receive it from the purchase order list by clicking the receipt option — this opens the receipt page with details auto-populated from the PO. You can add or remove items before the final receipt; clicking Save submits it and adds the item quantities to inventory.
Managing Inventory
Step 19 – Inventory Section Access and Item Addition
To access the inventory section, log in to the DreamzCMMS website and click Inventory from the left menu to open the Inventory List, showing all inventory items. To add a new one, click New Inventory. Fields marked with a red asterisk are mandatory: provide an inventory item name, such as "Fire Blanket," and select the inventory department, such as Maintenance. You can also choose the status and provide a detailed description; all other fields are optional, including financial details, the item's location, uploaded files or an image, and any custom information. Click Save to submit, and the item will appear in the inventory list, where you can search for it by name, code, or other details.
Step 20 – Inventory Item Management
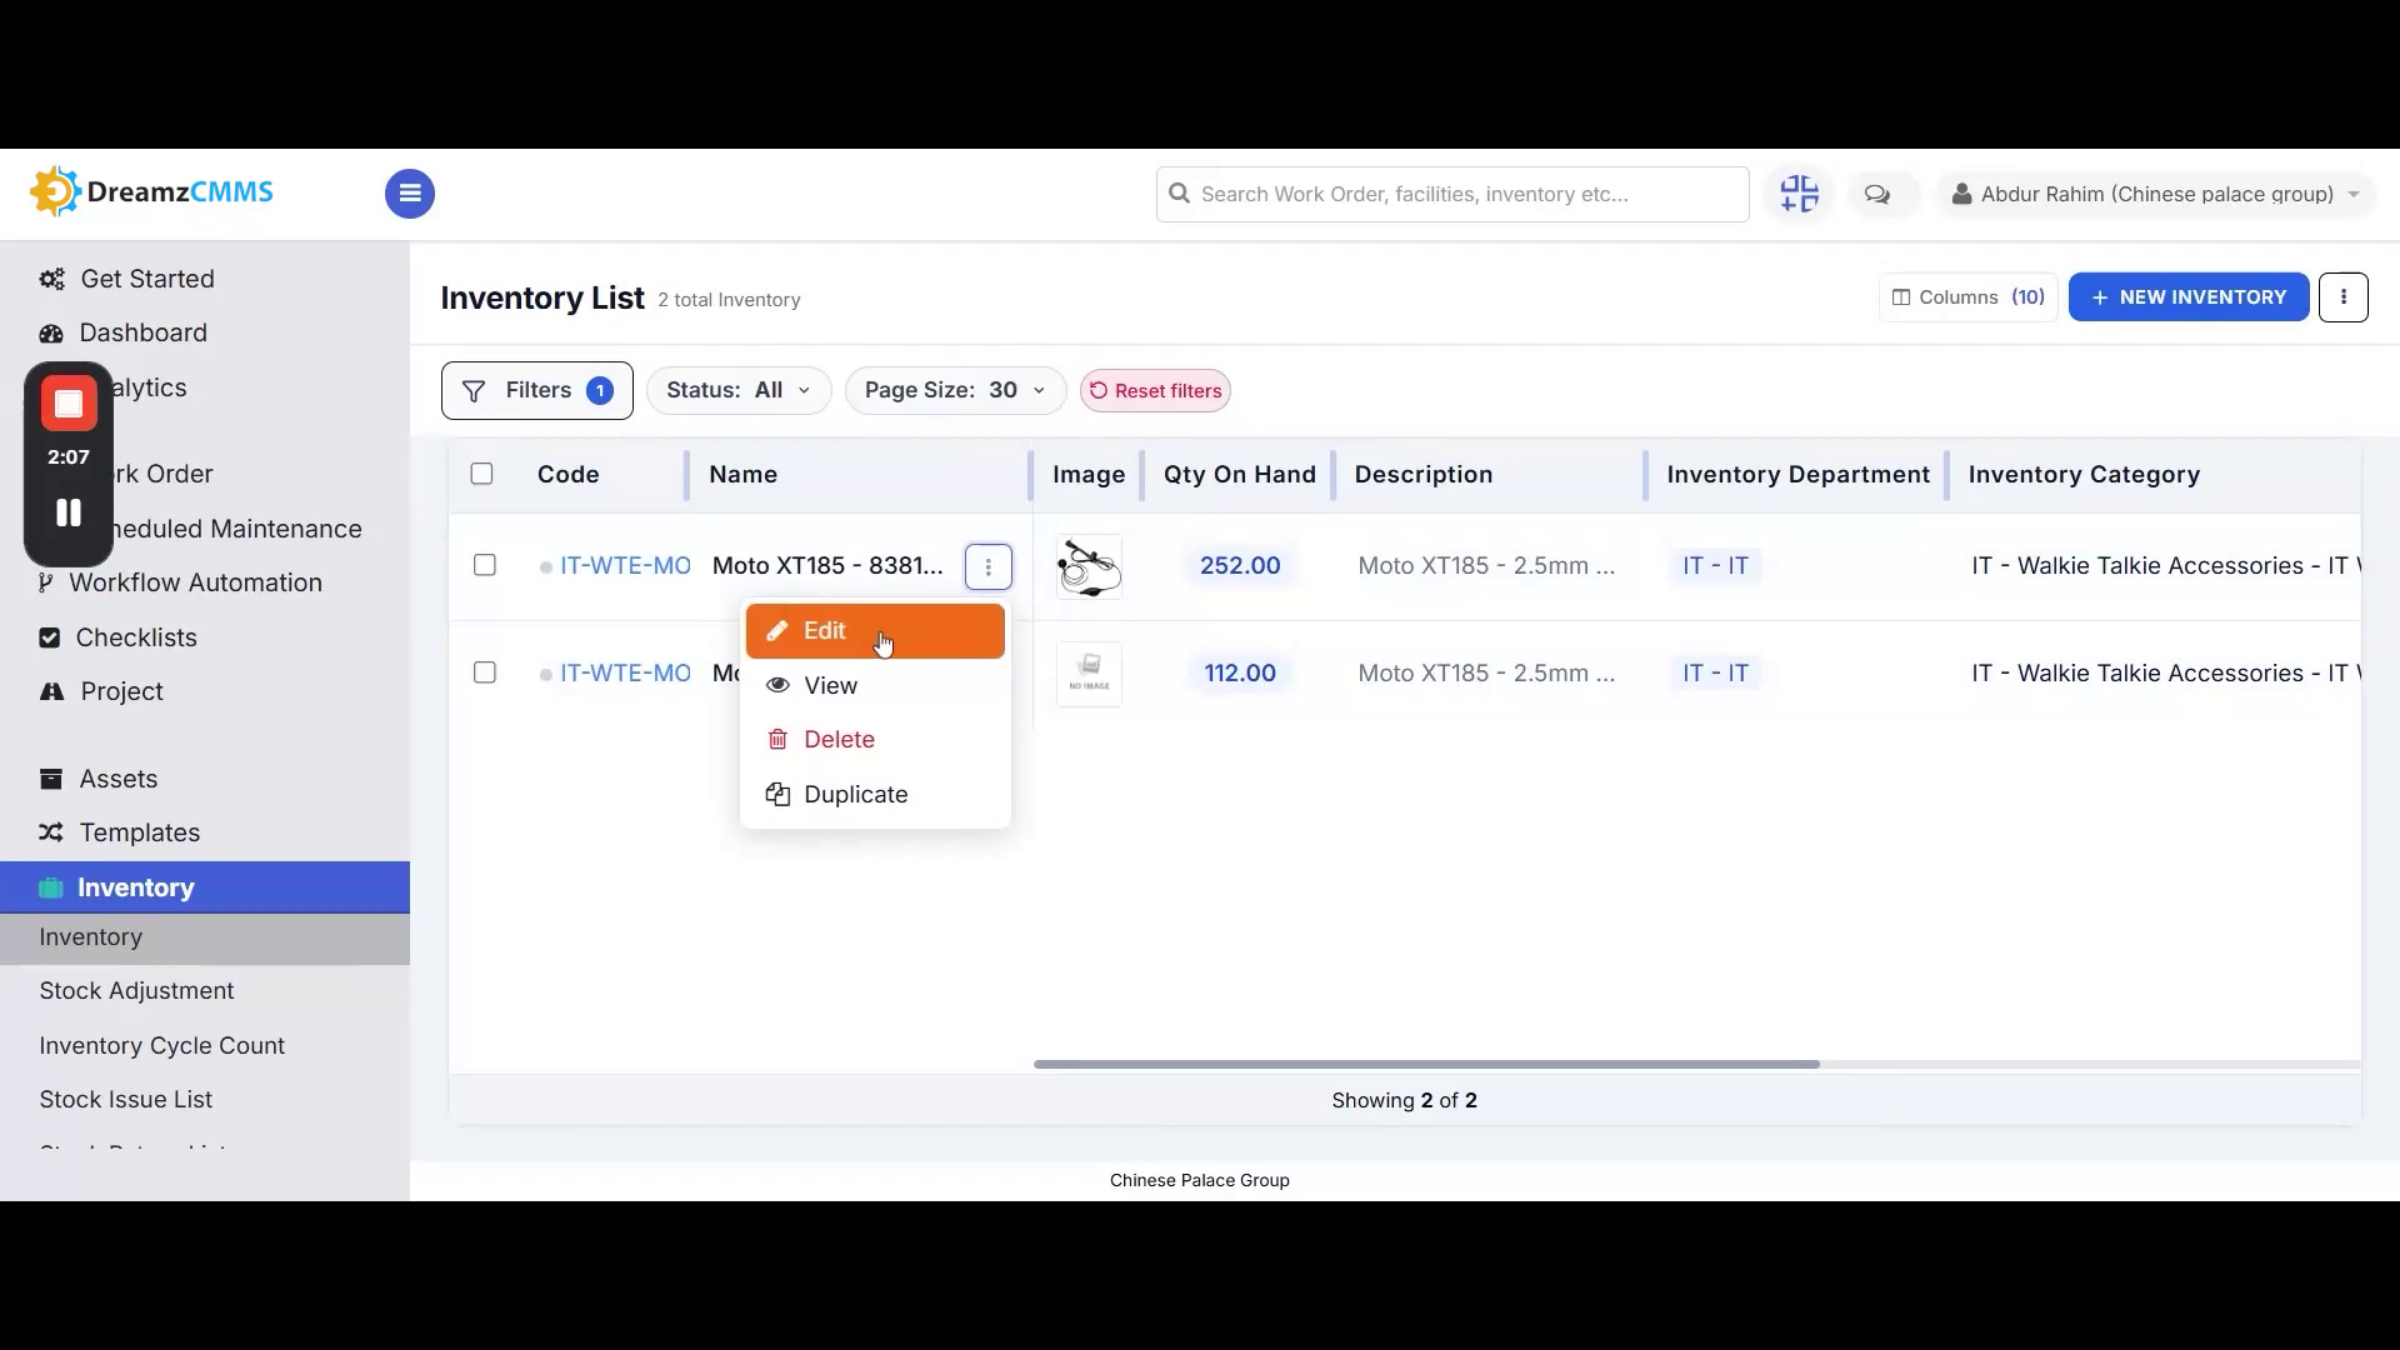
Use the Edit option to modify an item's information, or click View to see its detailed transaction history, including location-wise quantity, cycle count details, and stock movement history. You can also delete or duplicate any item directly from the inventory list.
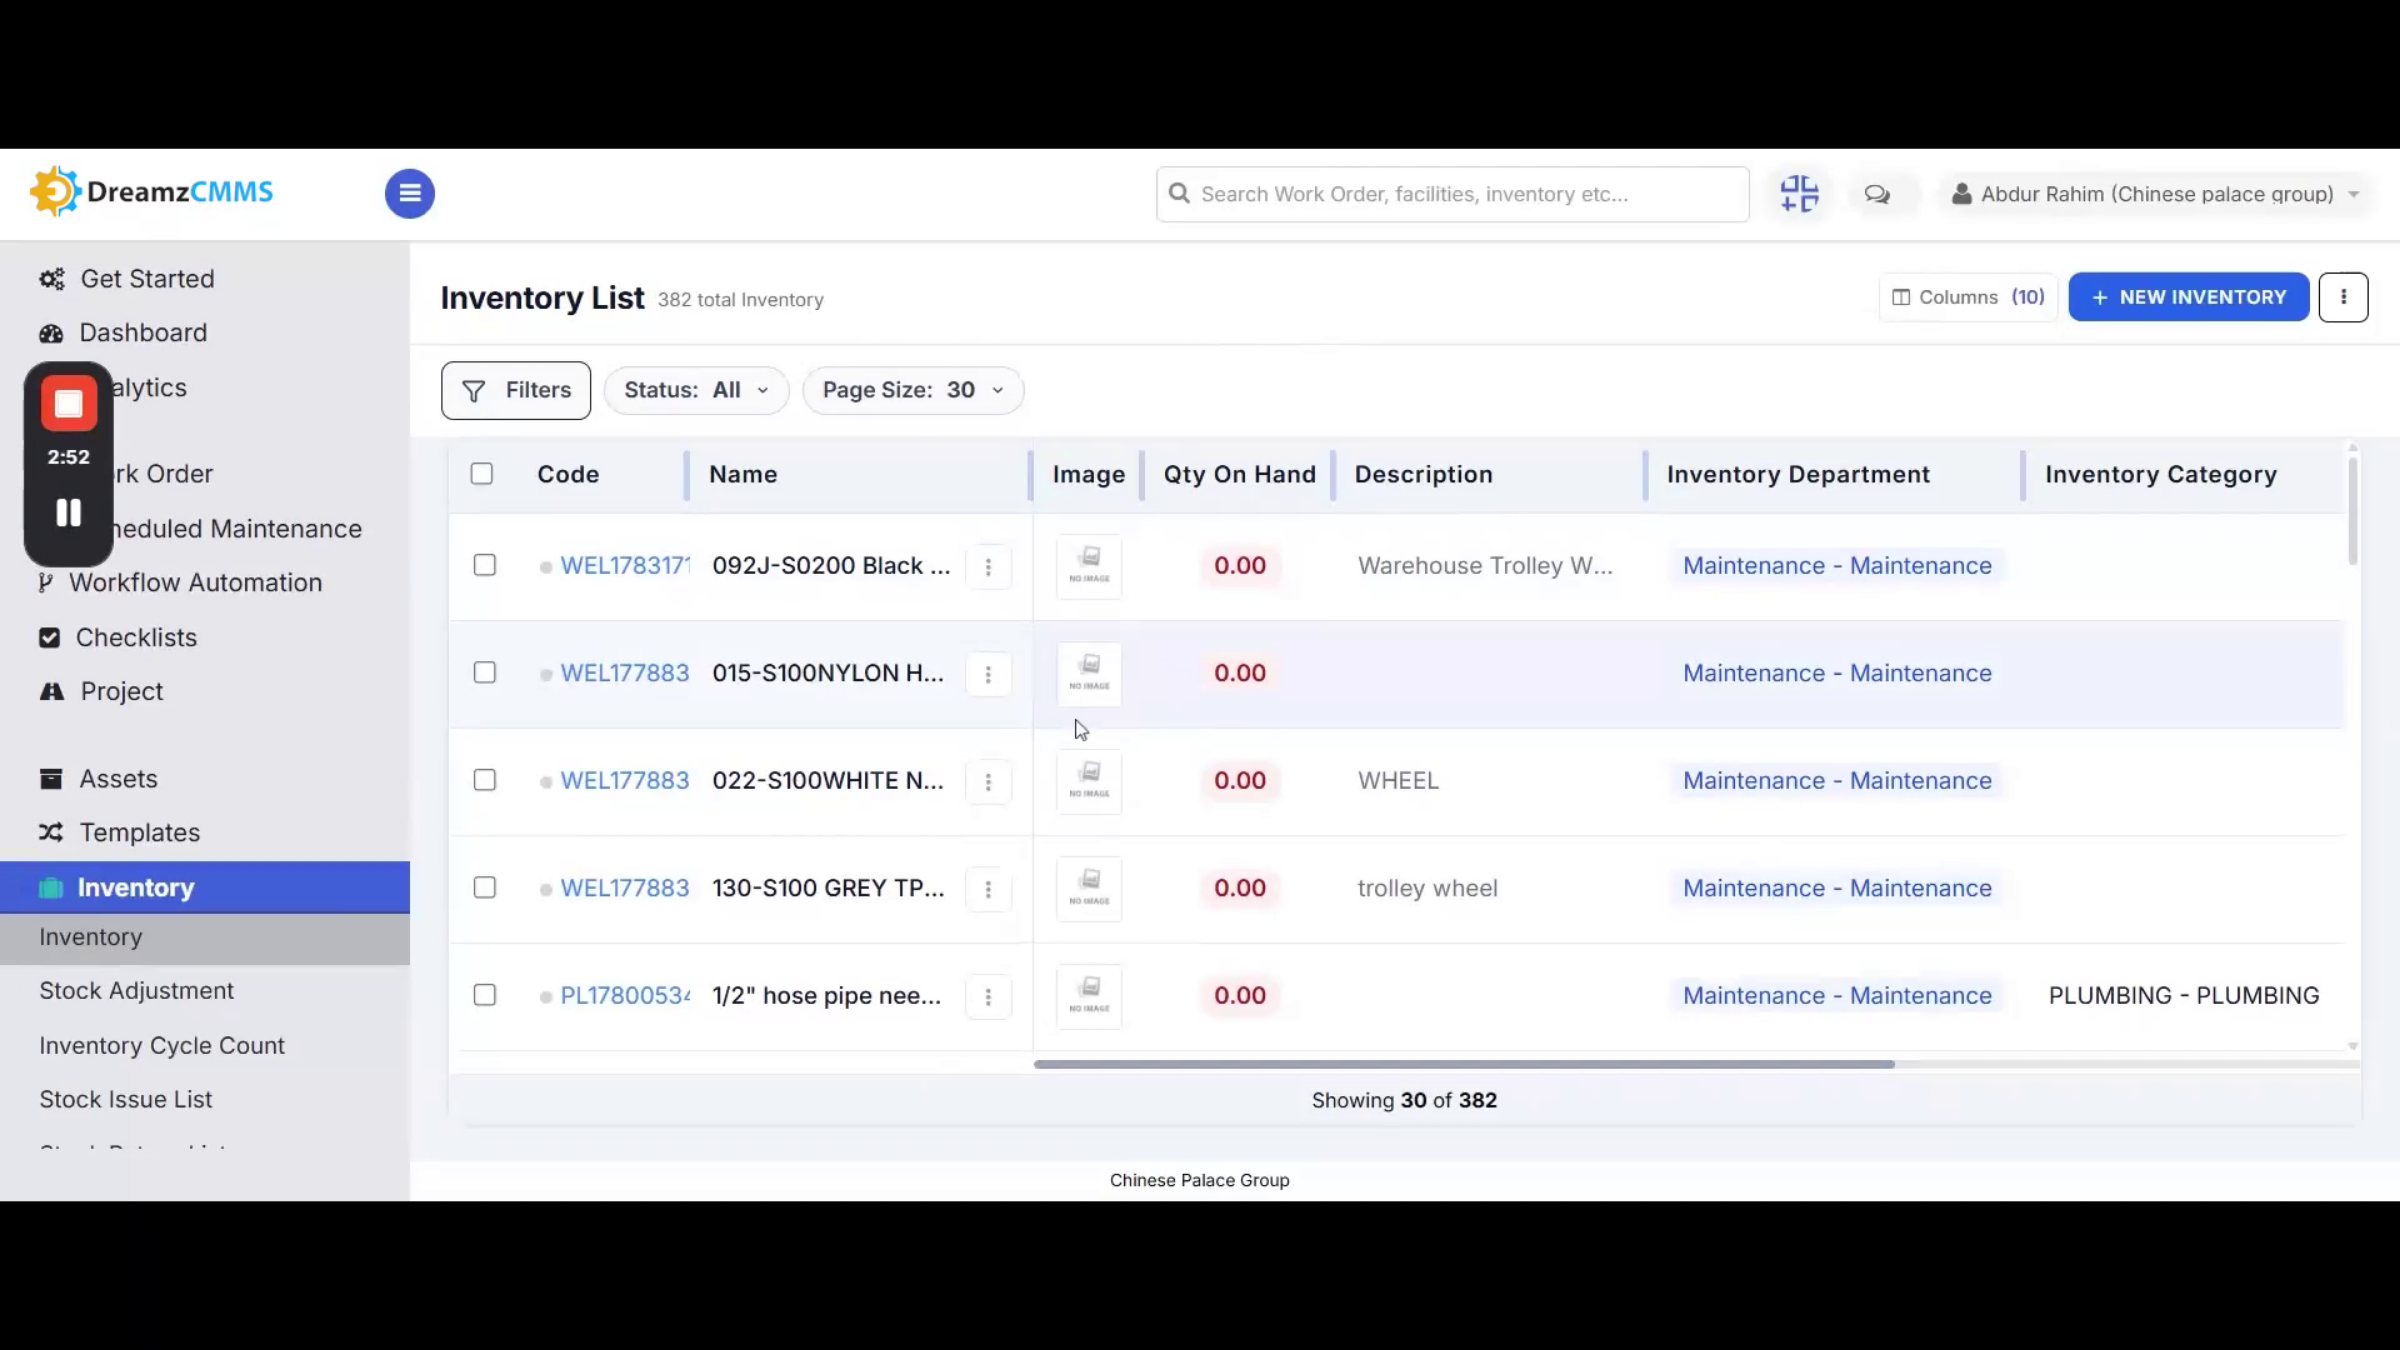
Step 21 – Stock Adjustment Module Access
To maintain accurate inventory levels, use the Stock Adjustment module. Click Stock Adjustment from the left menu to open the Stock Adjustment list page.
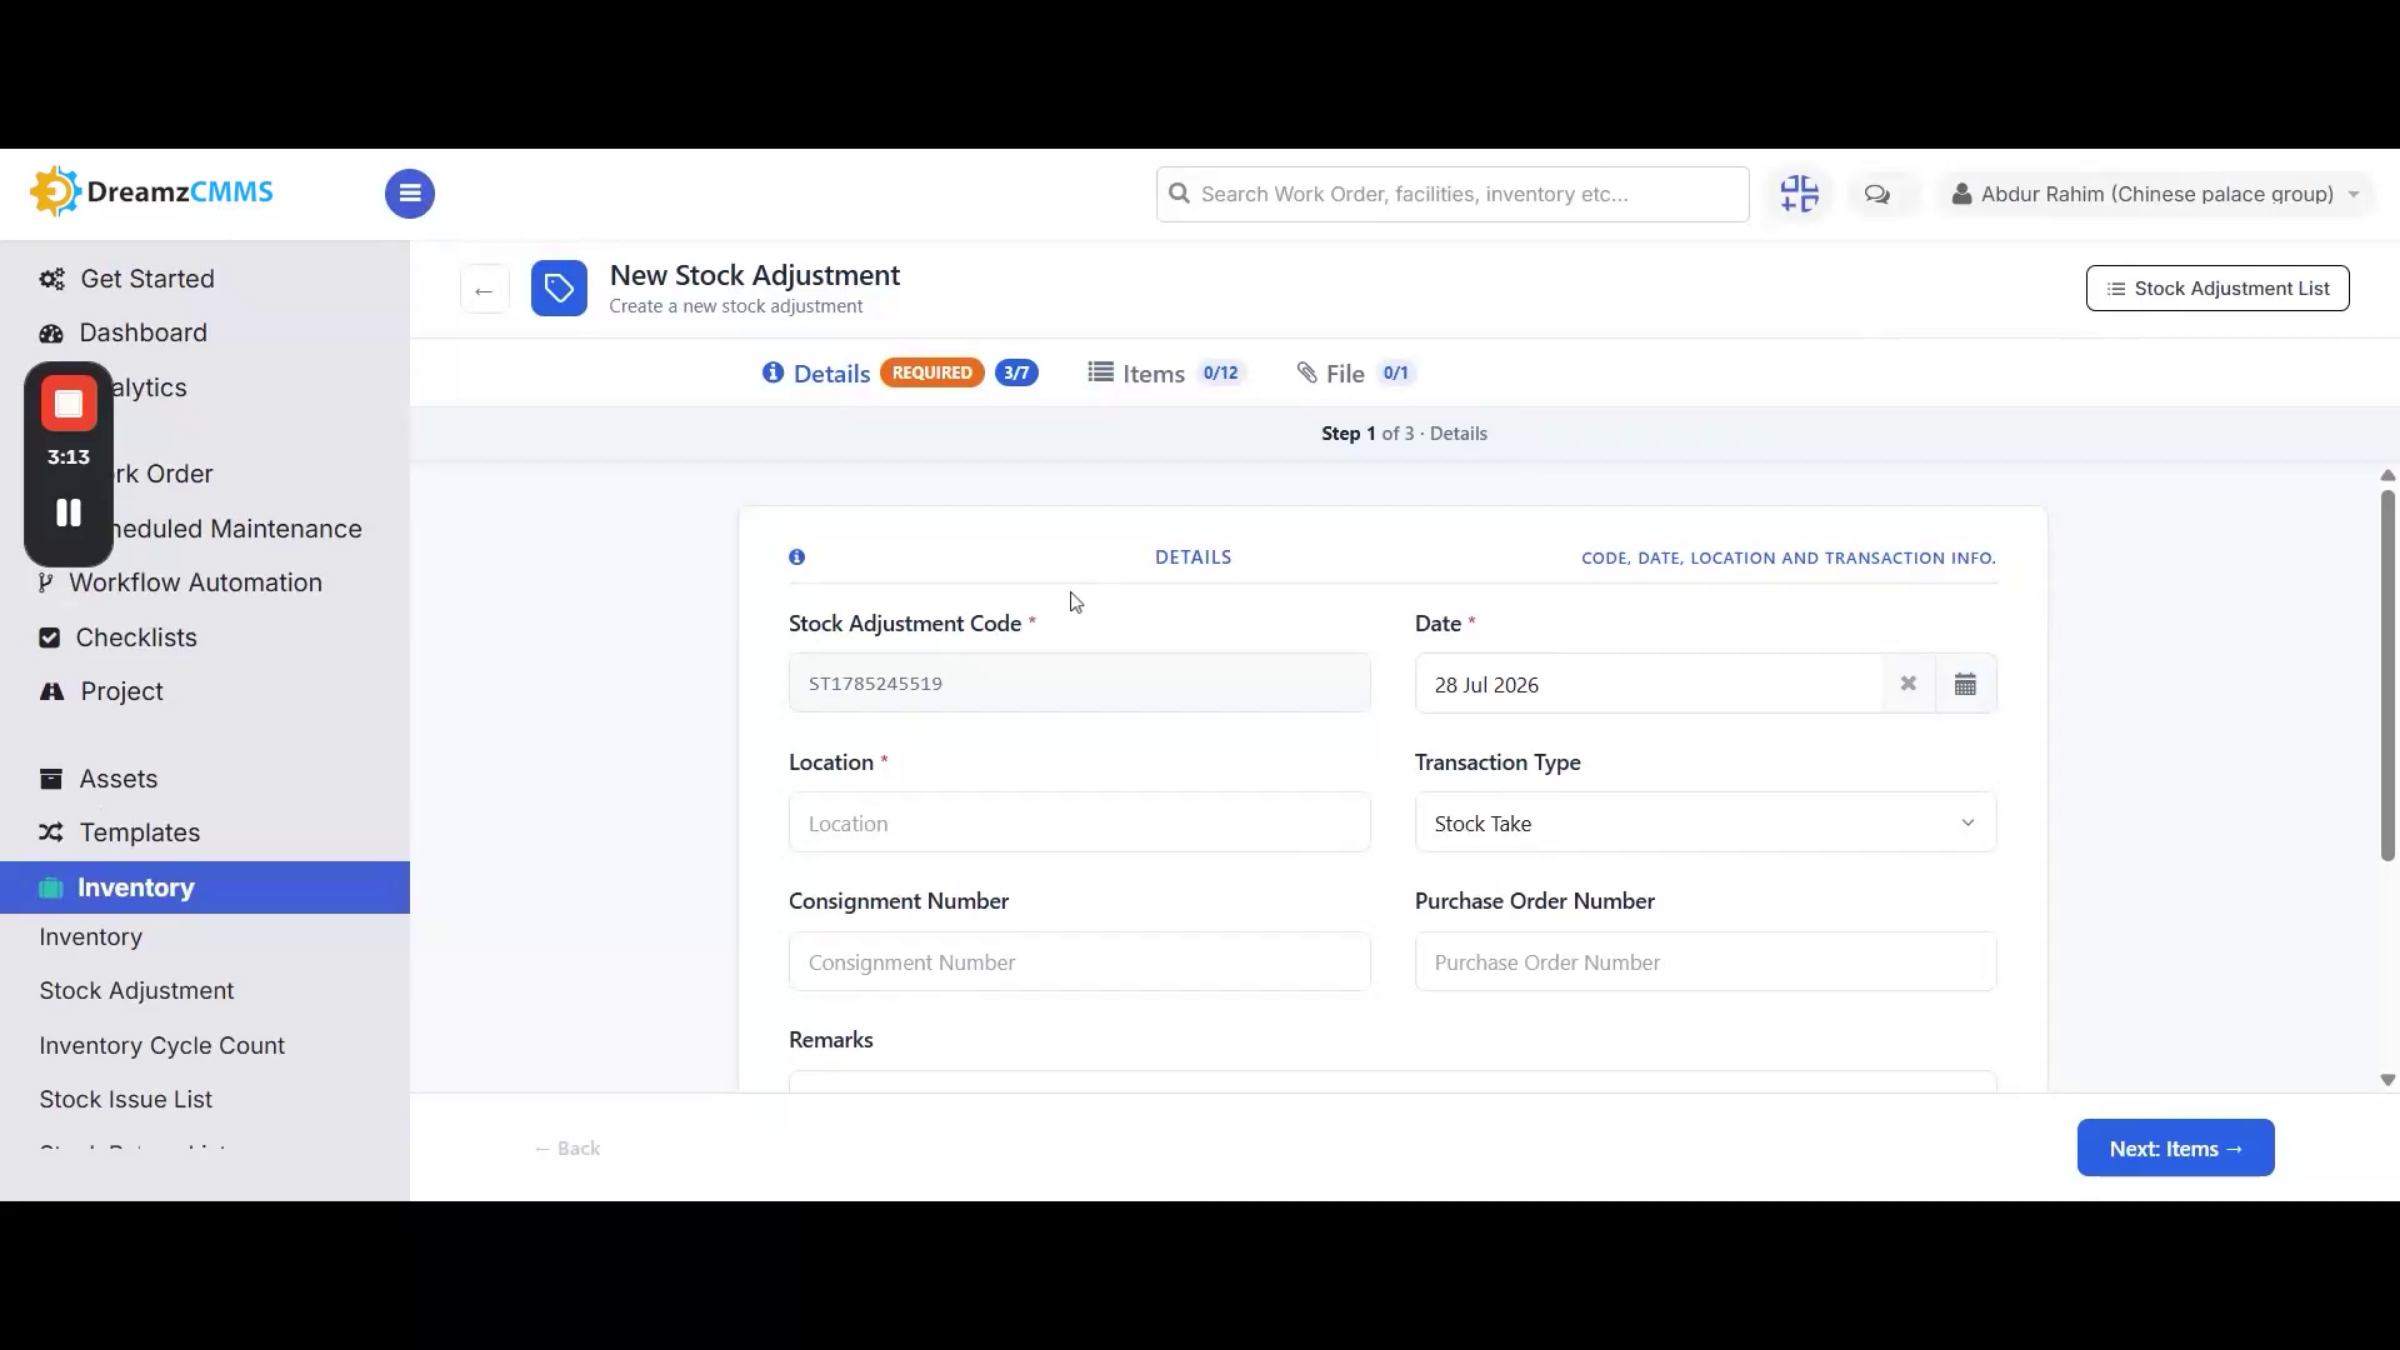
Step 22 – Performing the Stock Adjustment Process
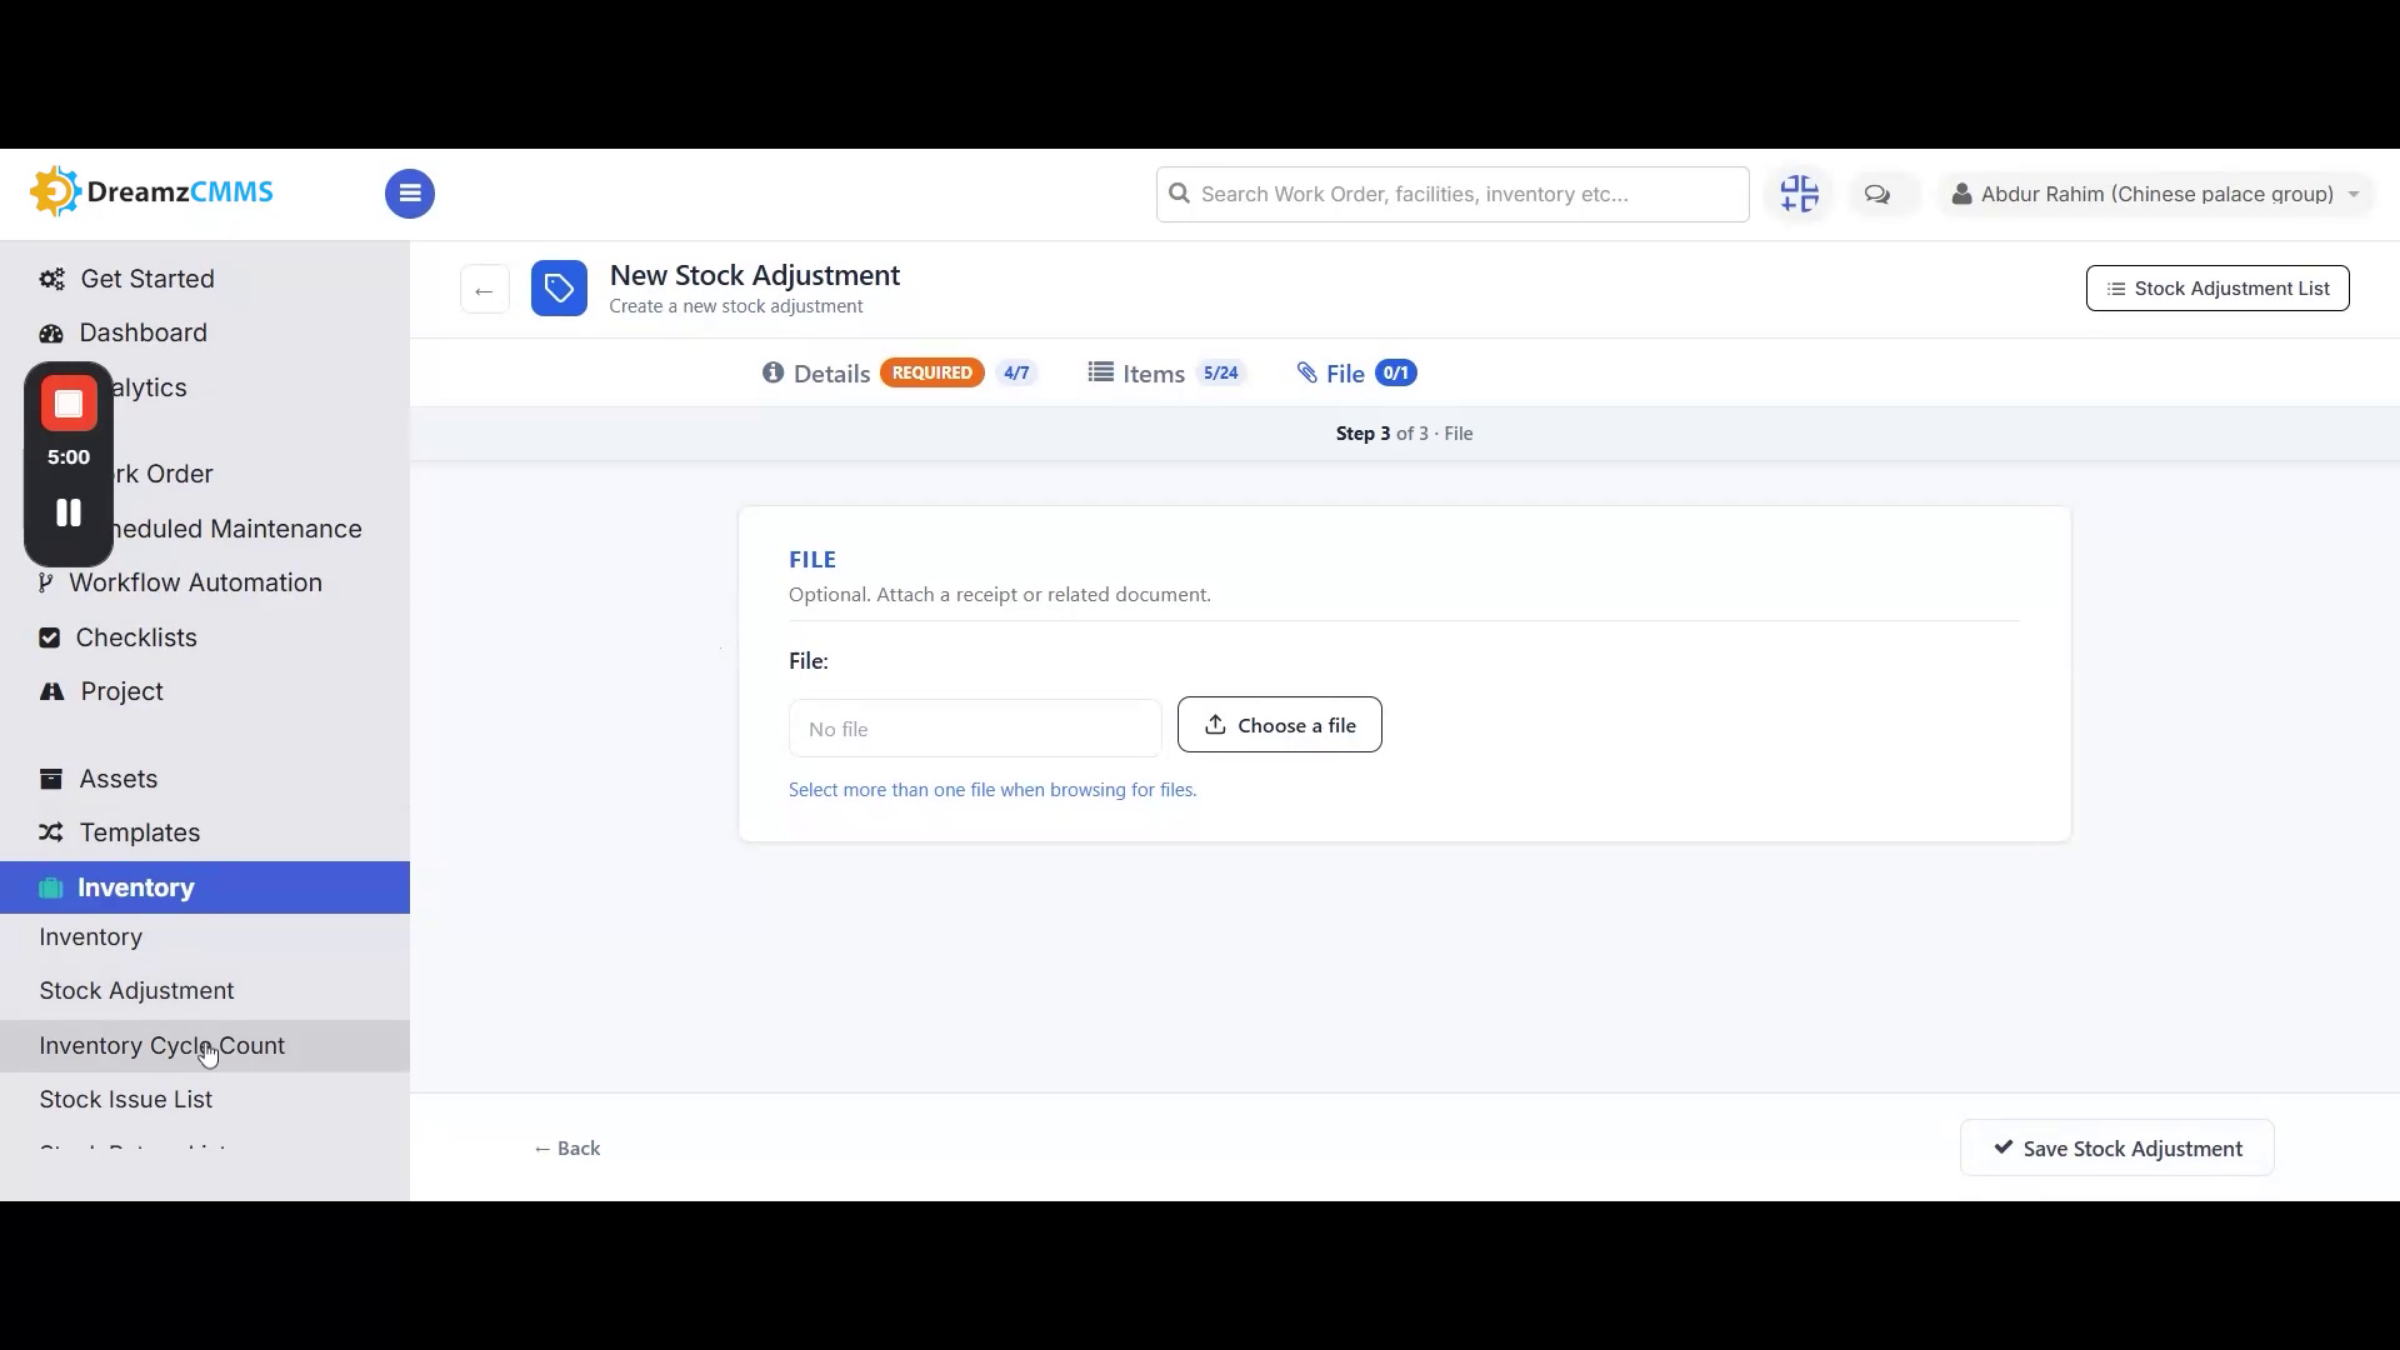
Click New Stock Adjustment to start a new inventory adjustment. Complete all mandatory fields, including the location this adjustment is associated with and the type of stock adjustment. From the Items section, select the specific items involved and enter the received or issued quantity to specify the adjustment amount; click Add to include additional items. From the Files section, attach any related documents. Click Save to submit the adjustment and update your inventory records.
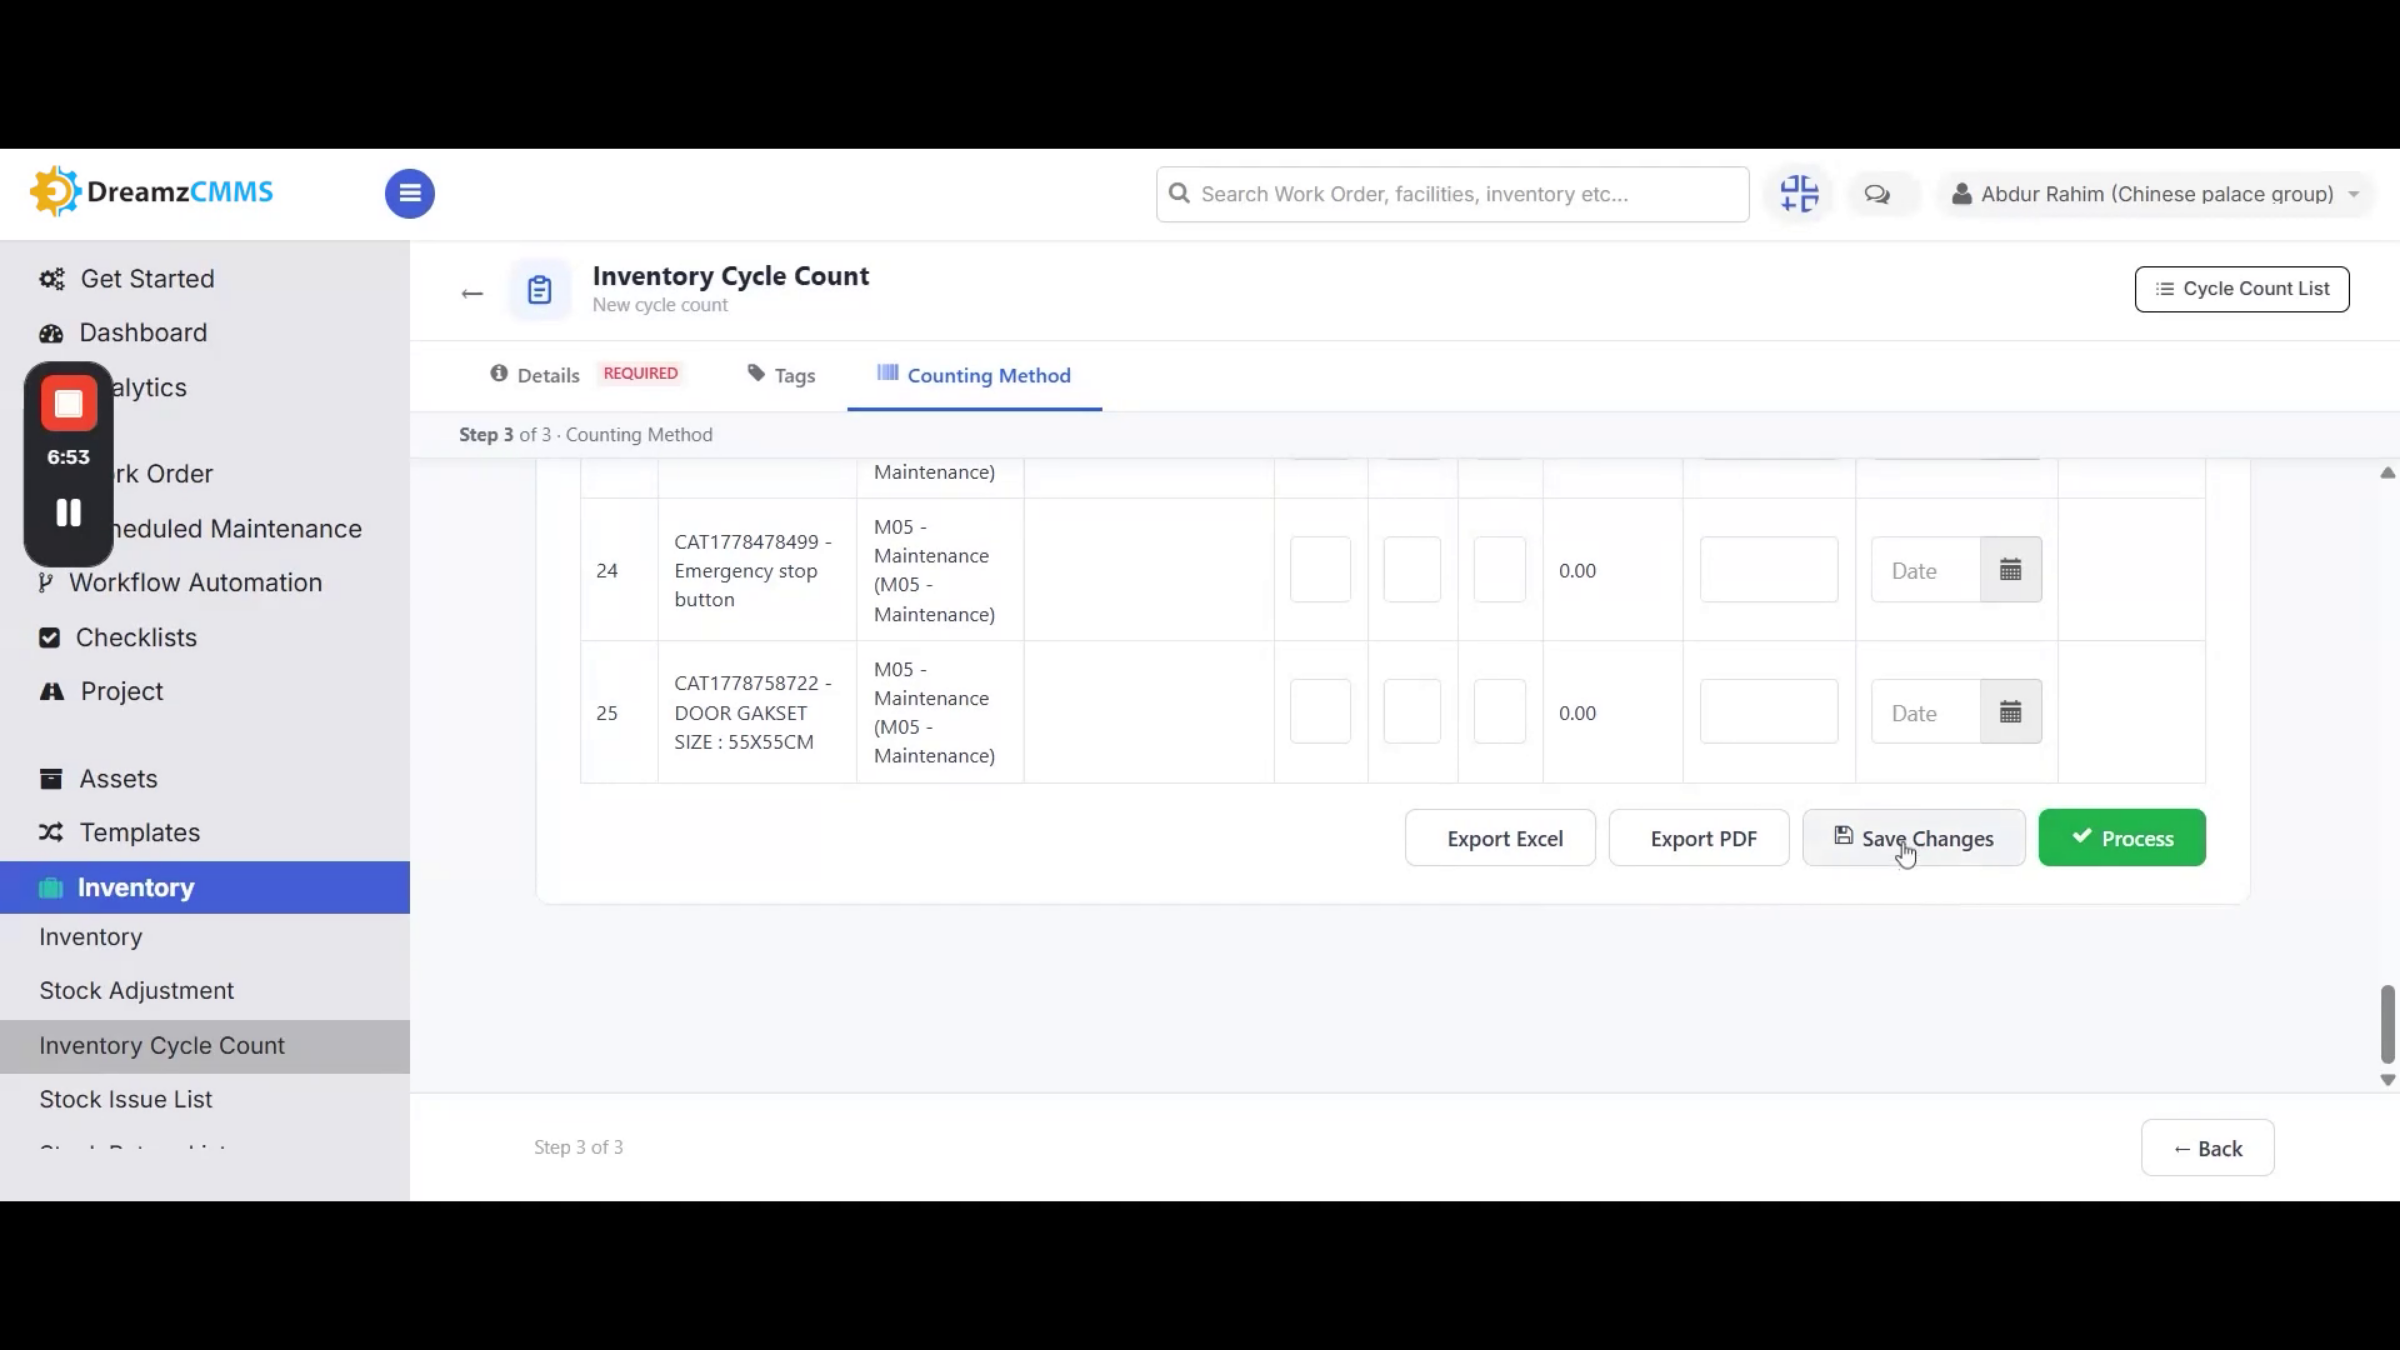
Step 23 – Inventory Cycle Count Procedure
You can also maintain inventory levels using Inventory Cycle Count. Click Inventory Cycle Count from the left menu, then click New Cycle Count to create a new record. Select the location for the cycle count and the user who will perform it, then choose the appropriate sort method — you can also add tags. Click the counting method to choose how the count will be performed; Manual Entry loads all products from the selected location into one place for counting. Provide the stock quantity, select the date, and click Process to execute the cycle count.
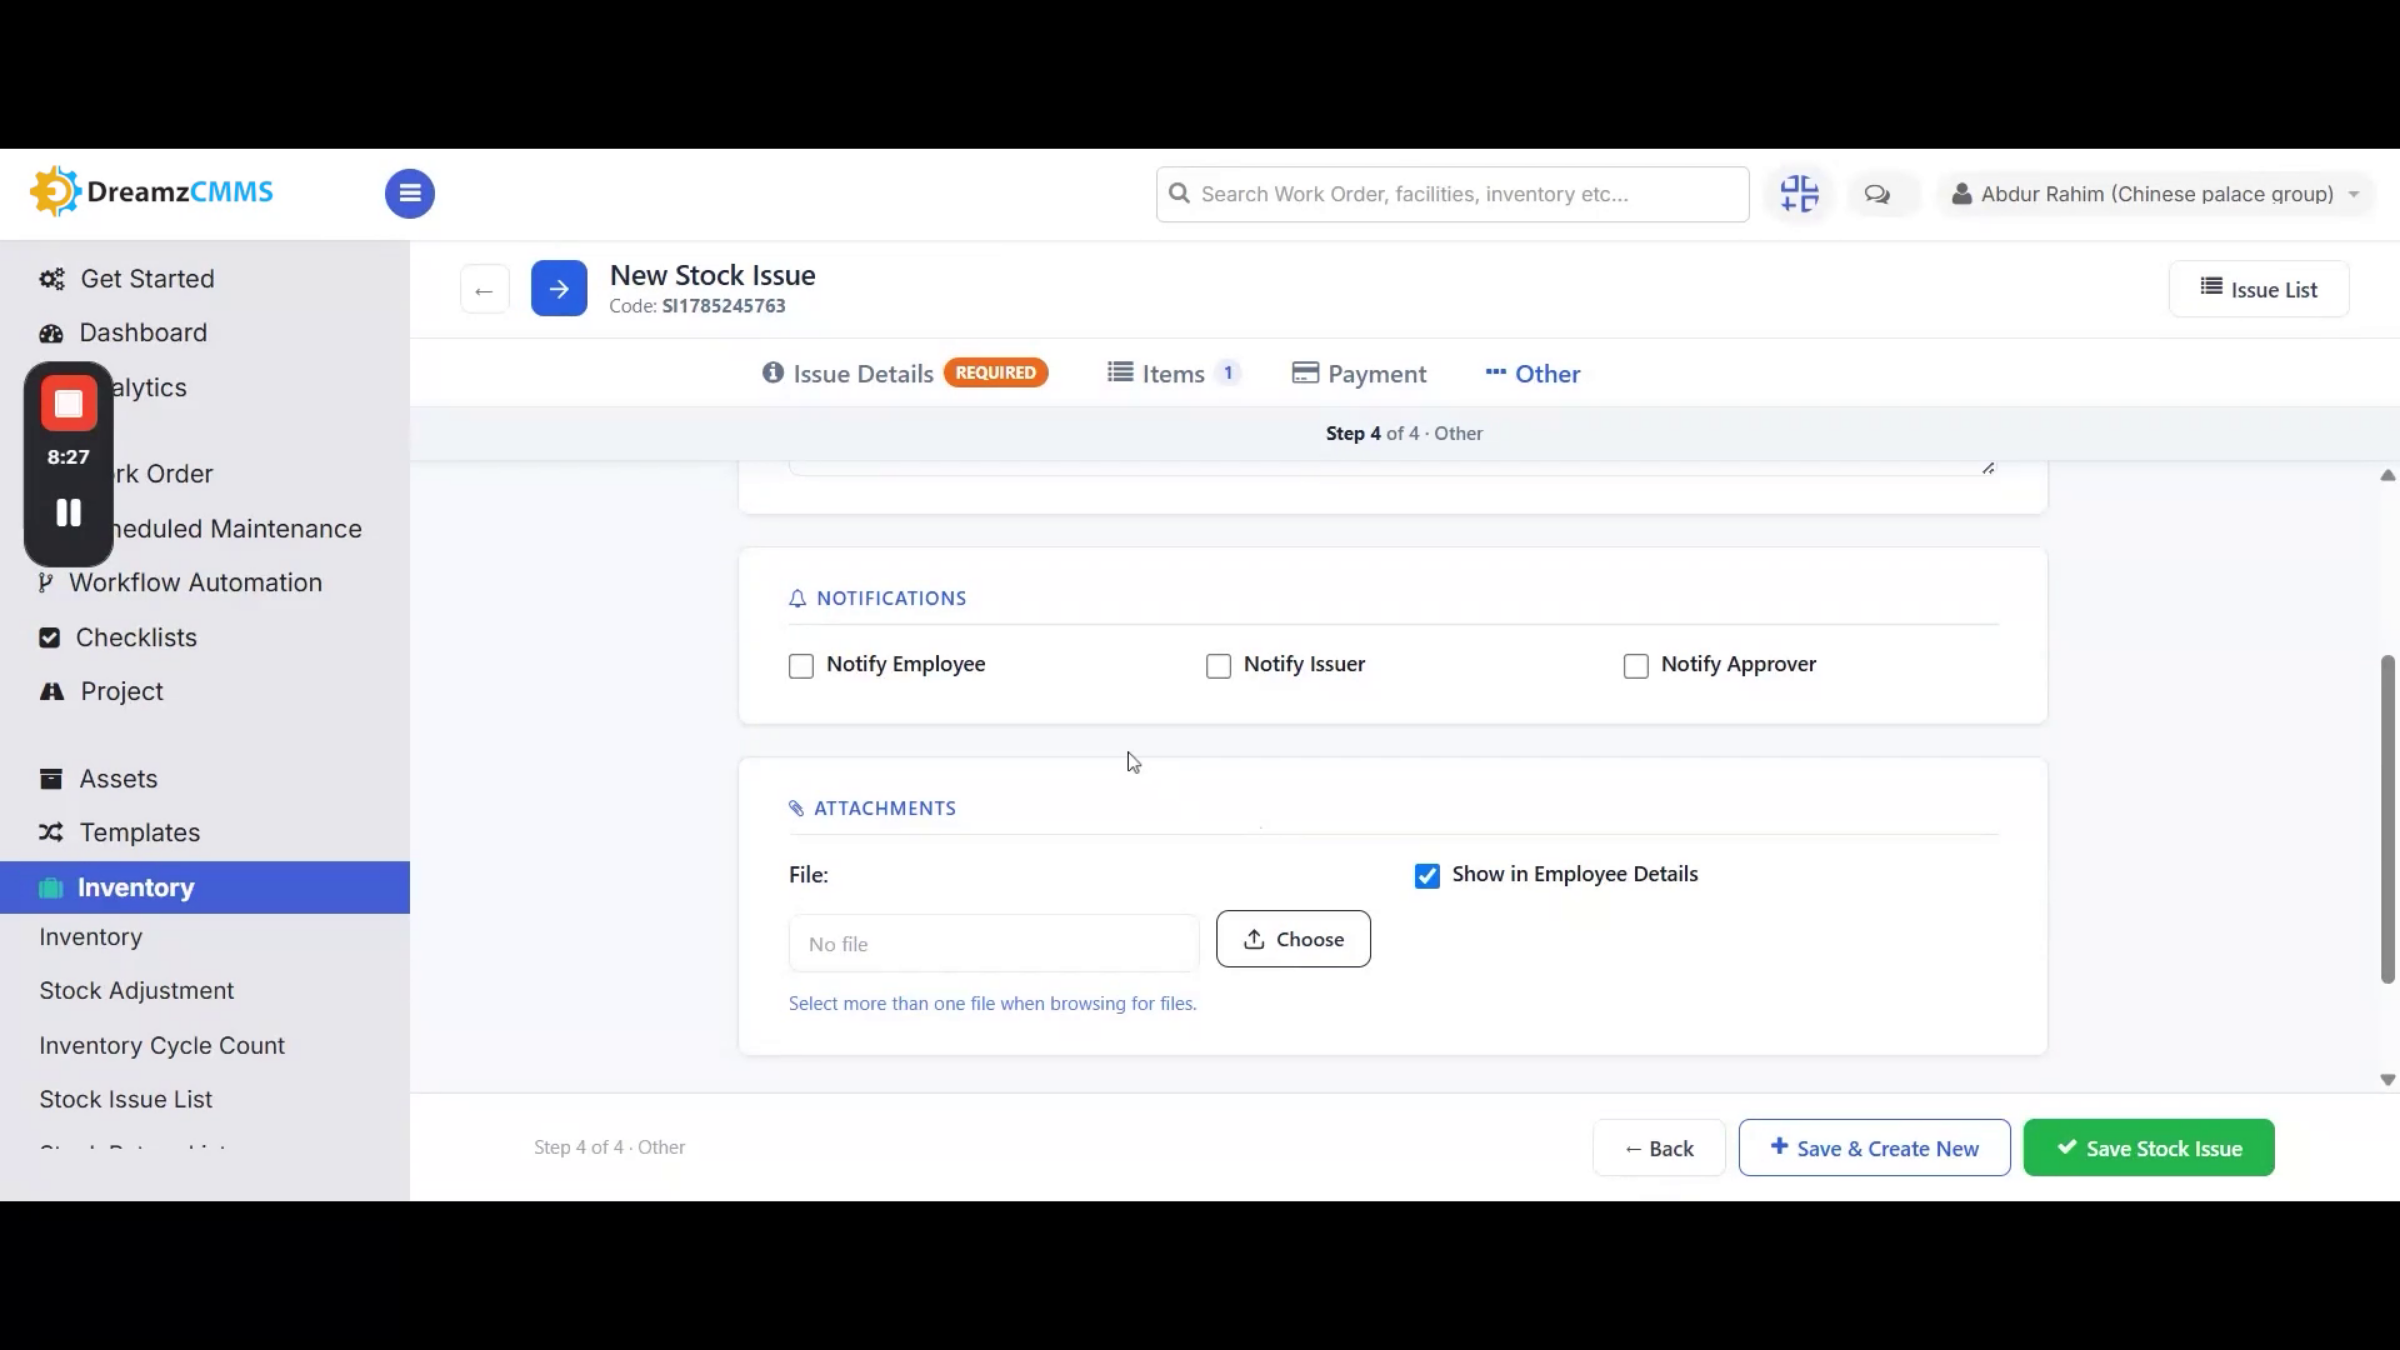
Step 24 – Stock Issue Creation and Submission
You can issue inventory items to an employee or a work order from the Stock Issue section. Click Stock Issue from the left menu, then click New Stock Issue to create a new record. Select the location the inventory is being issued from and the stock issue type to specify what the stock is being issued against — if you select Employee, choose the employee associated with the issue. Under Items, select the items you want to issue and provide the quantity and payment method. From the remaining section, add remarks, choose notification settings, and attach related files. Click Save Stock Issue to submit the record.
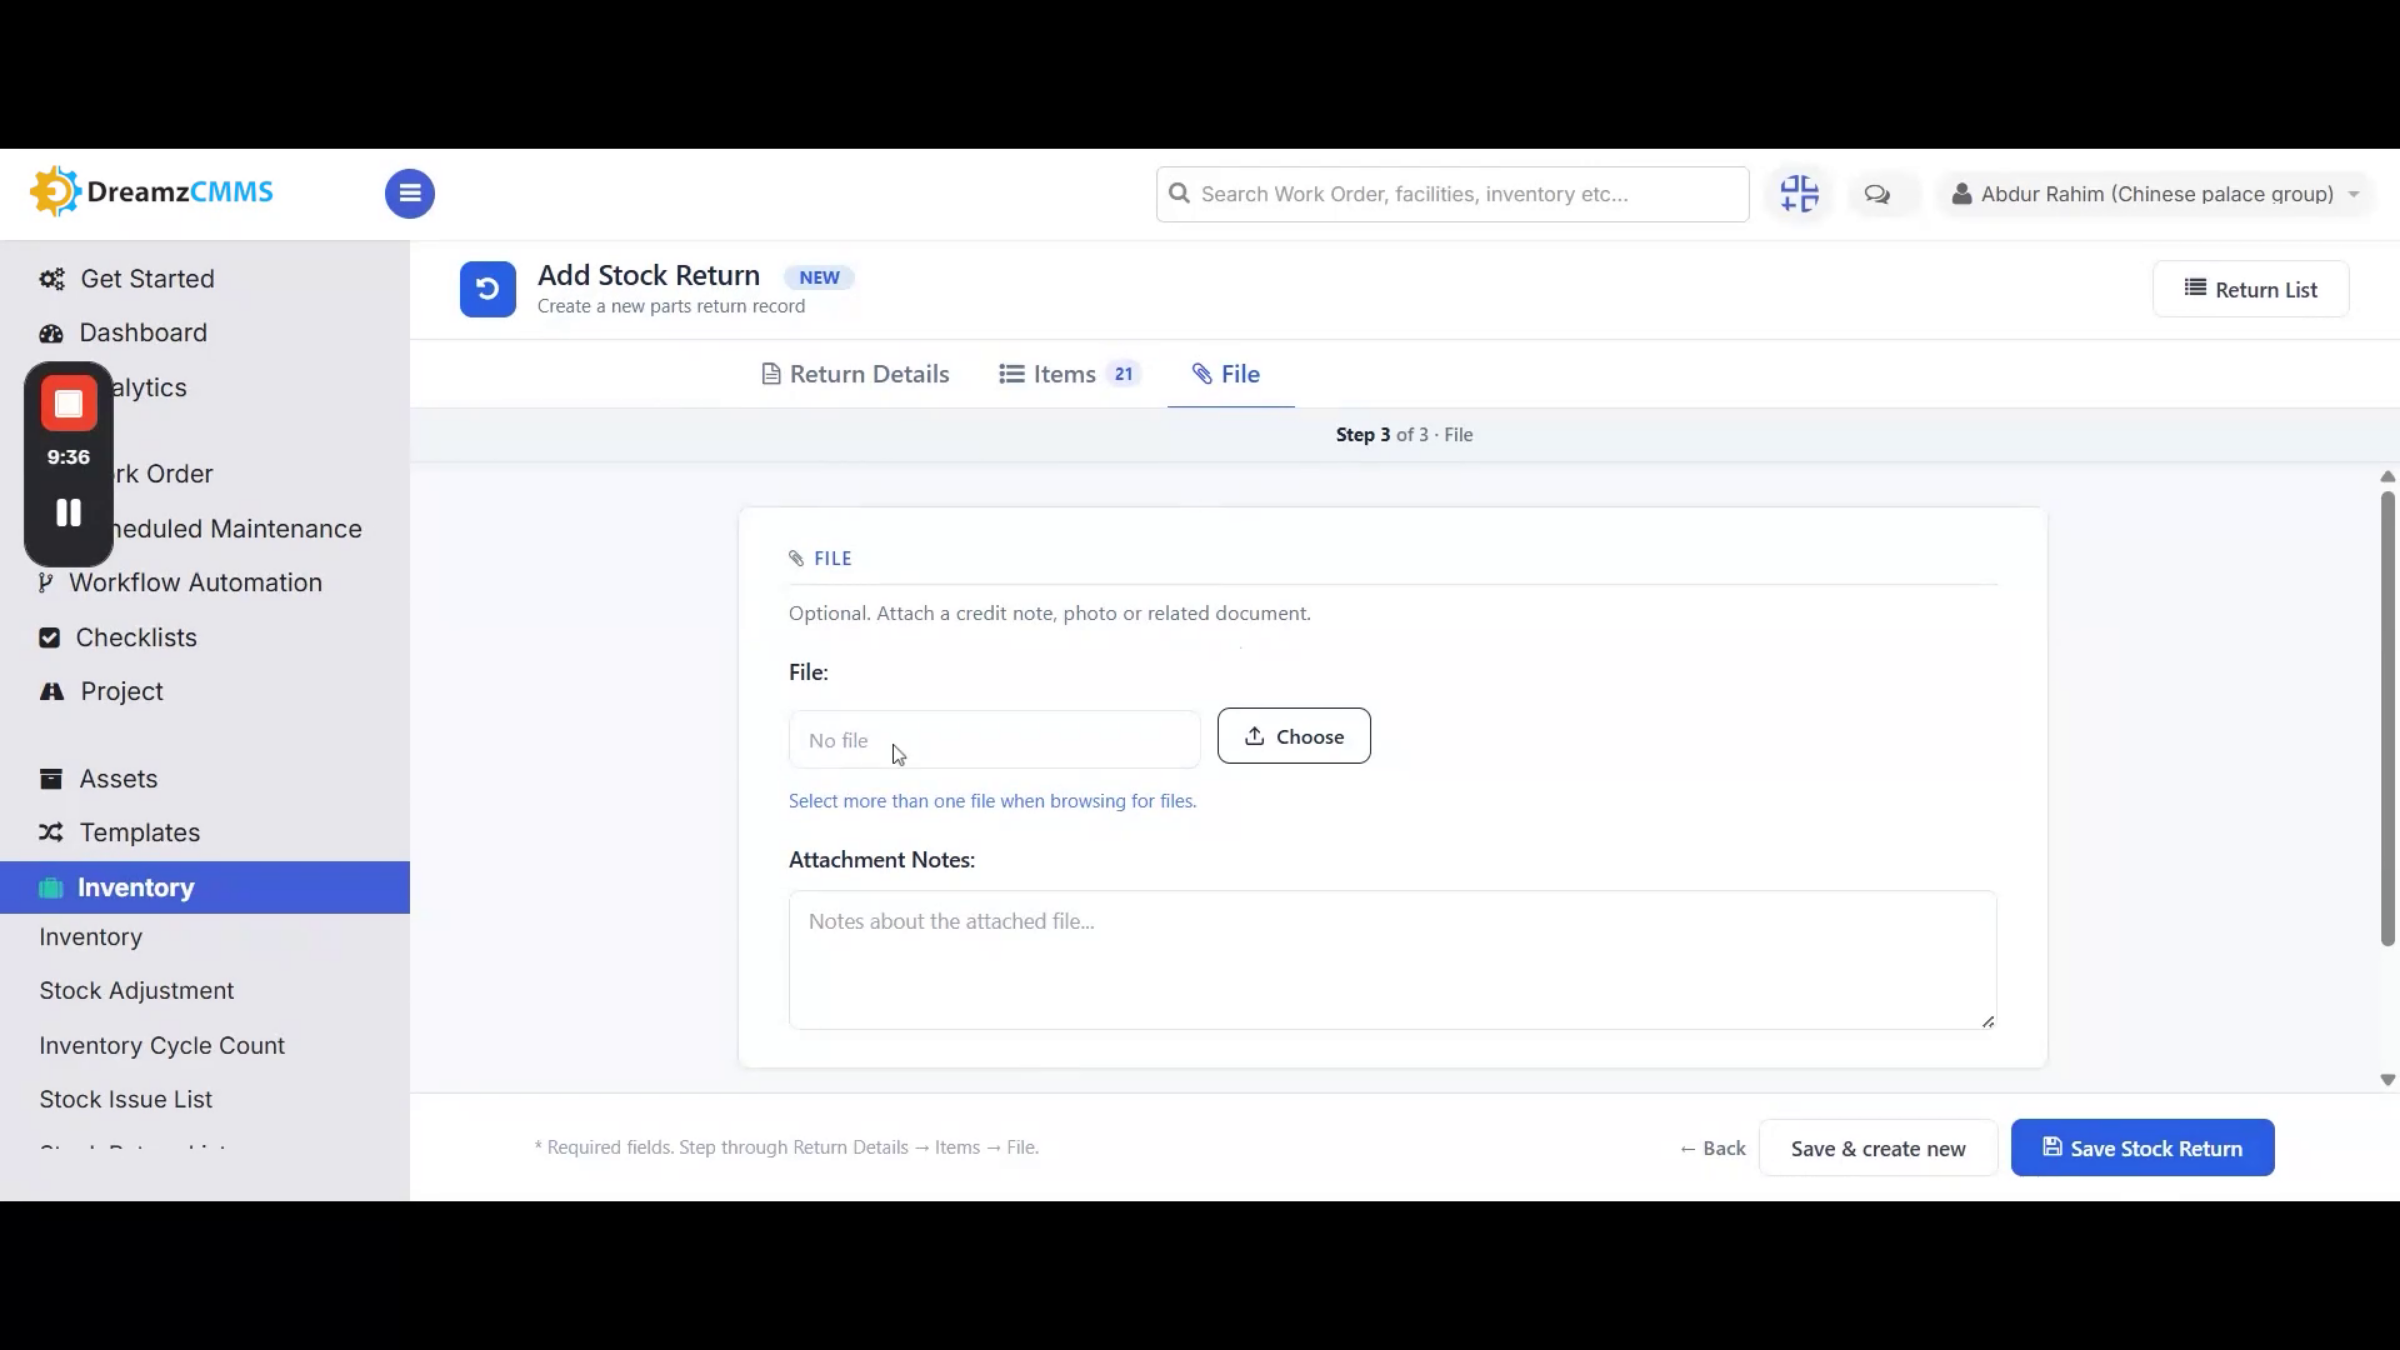
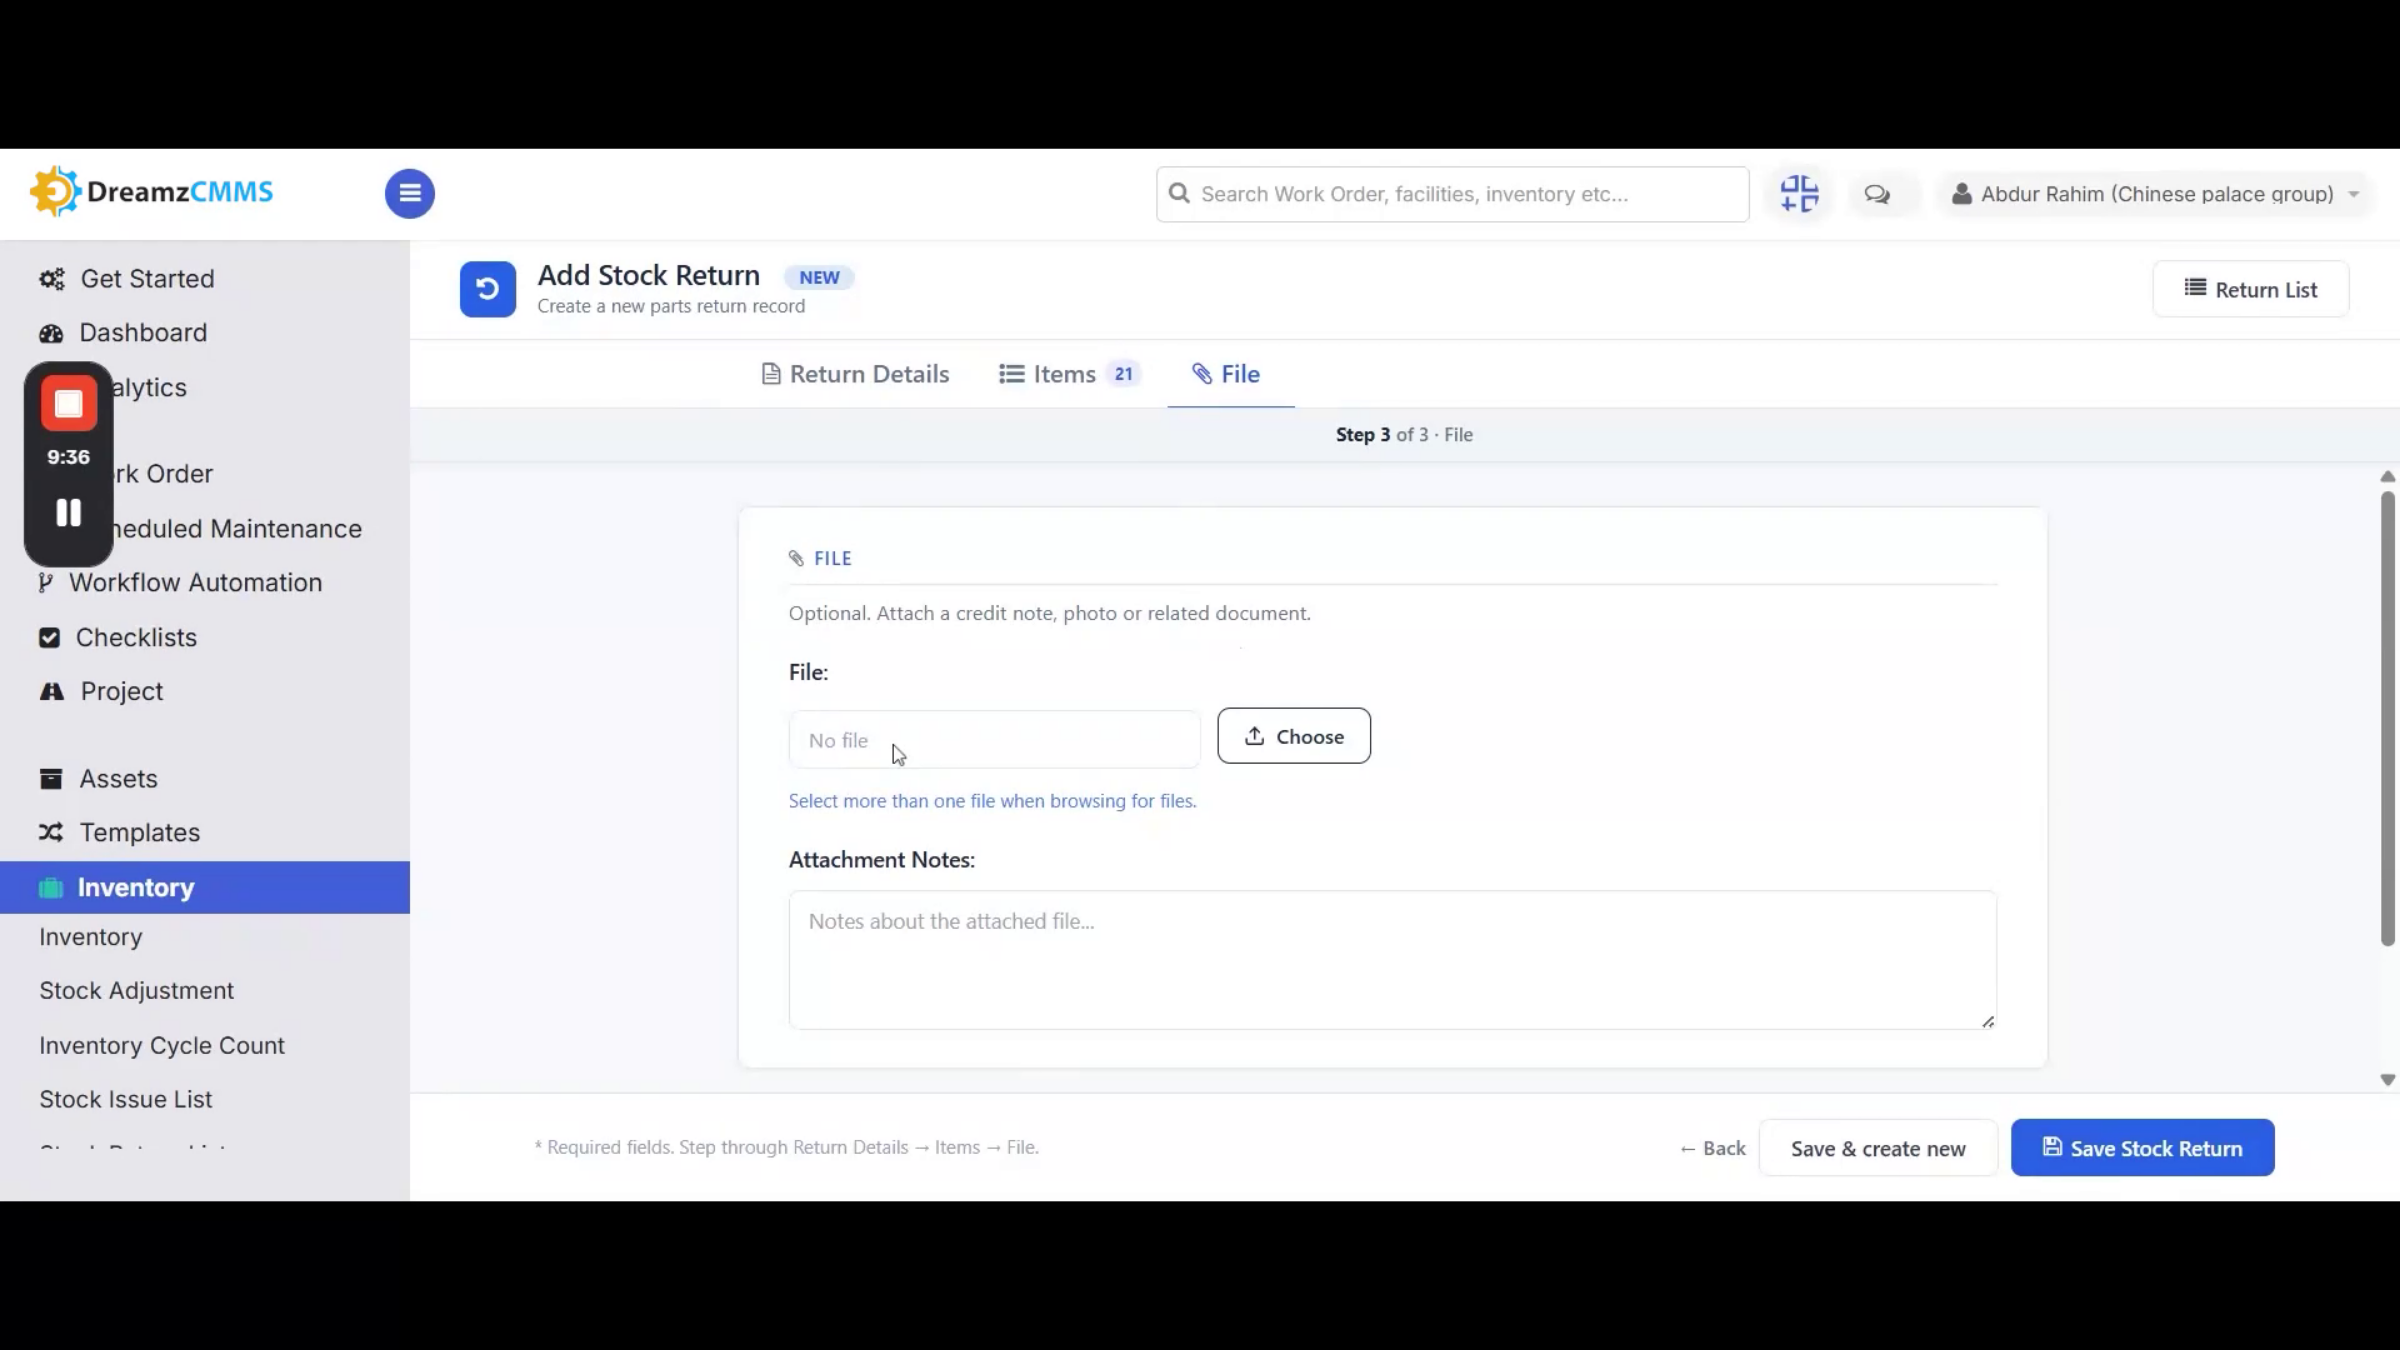
Step 25 – Stock Return Workflow
You can return issued items back into inventory using the Stock Return section. Click Stock Return from the left menu, then click New Stock Return to create a new record. Select the issue reference number you want to return stock against — related information auto-populates based on the selected issue number. Select the return reason, then go to the Items section to specify the quantity of each item being returned. Add any related documents from the file section, then click Save Stock Return to submit the record.
Step 26 – Inventory Workflow Completion
This completes the entire inventory workflow in DreamzCMMS.
Reviewing Reports
Step 27 – Accessing the Reports Section
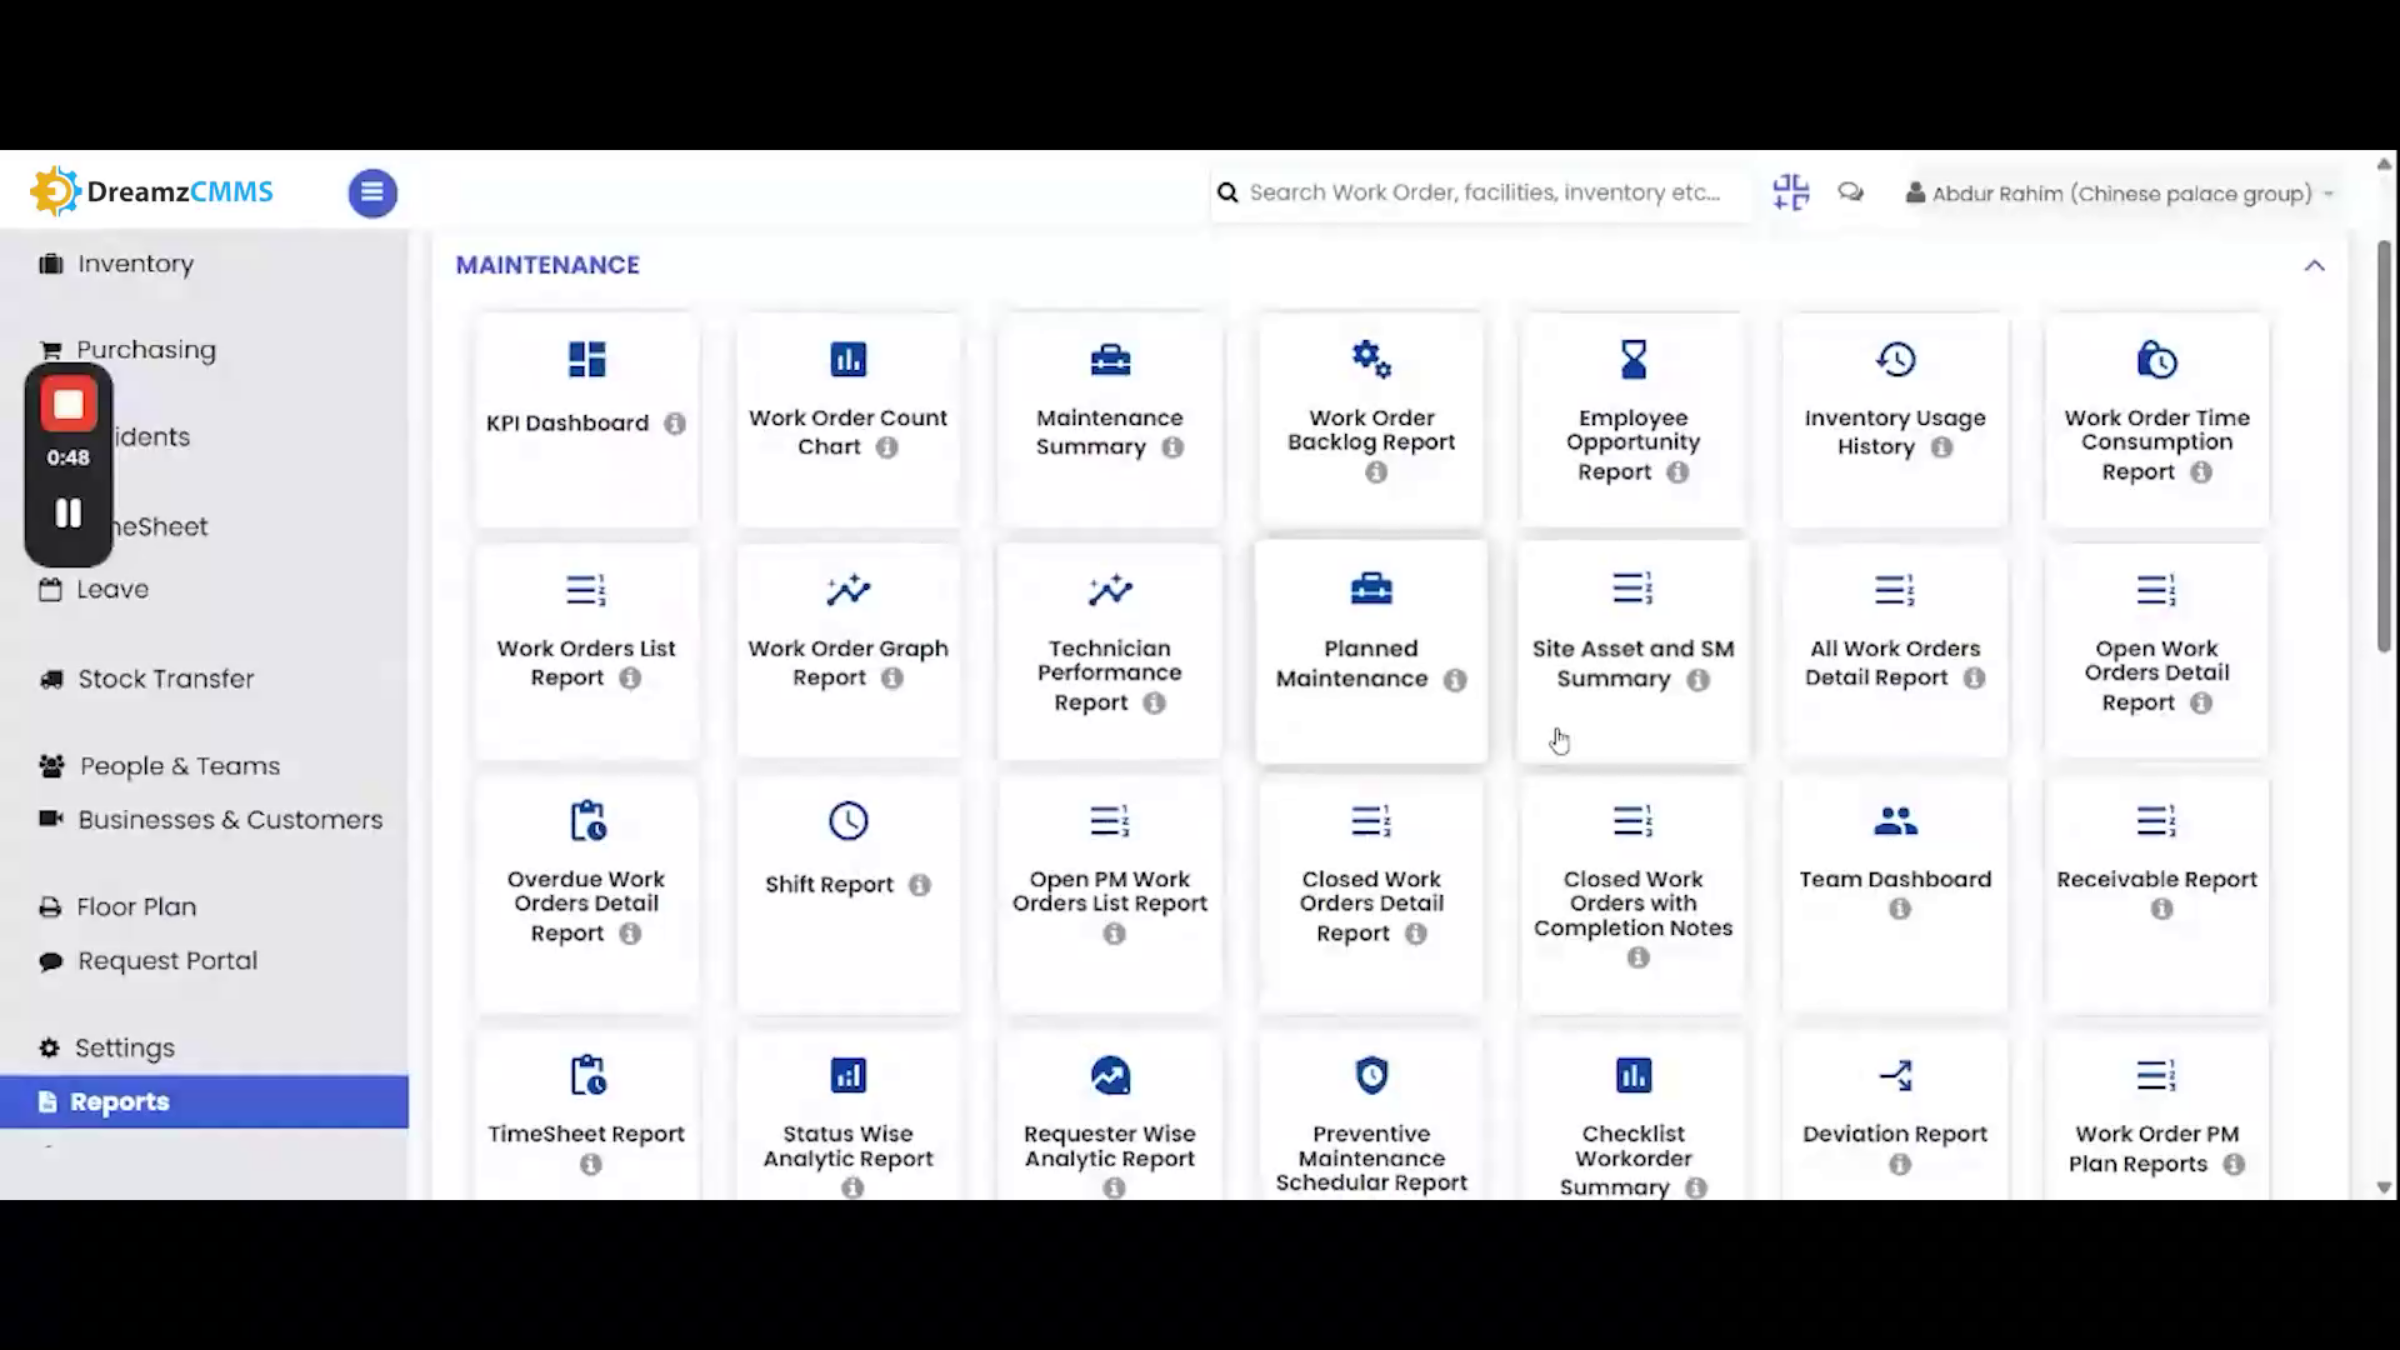
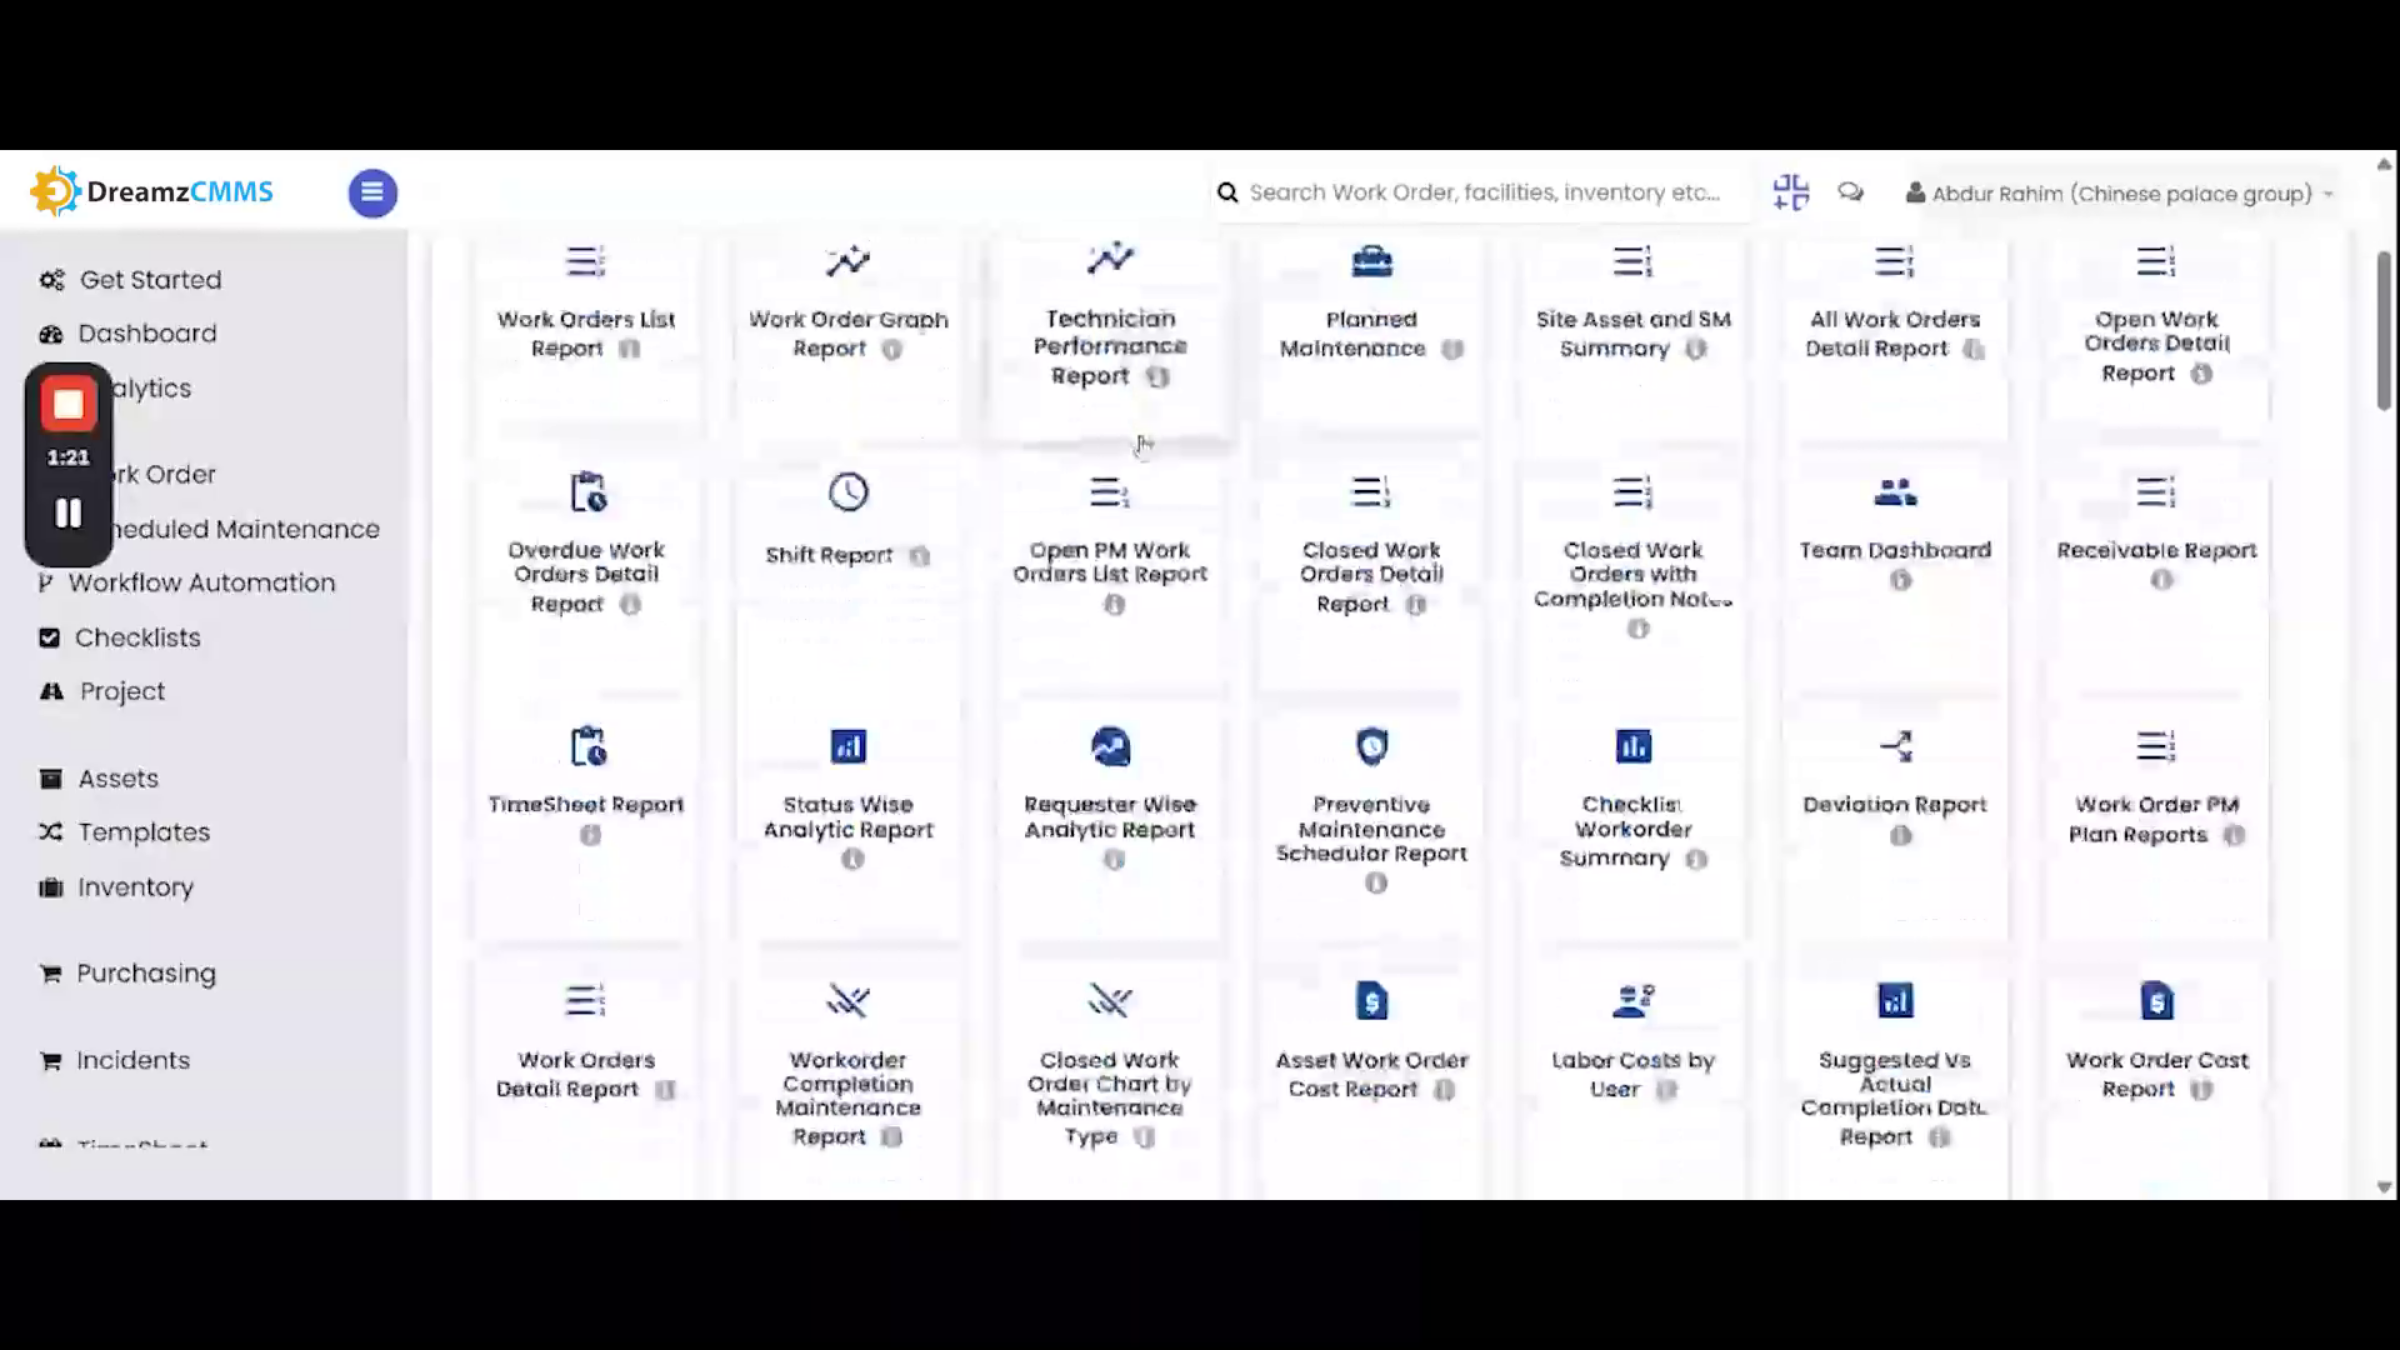
You can access the reports section by clicking Reports from the left menu. This opens the reports page, where you'll find various module-wise reports. To view work-order-related reports, go to the Maintenance section.
Step 28 – Work Order Reports Overview
Clicking each report card generates reports such as the Work Order Details report, Closed Work Order Details report, Shift report, Status-Wise Analytics report, and Work Order Cost report, among others.
Step 29 – Additional Reports Generation
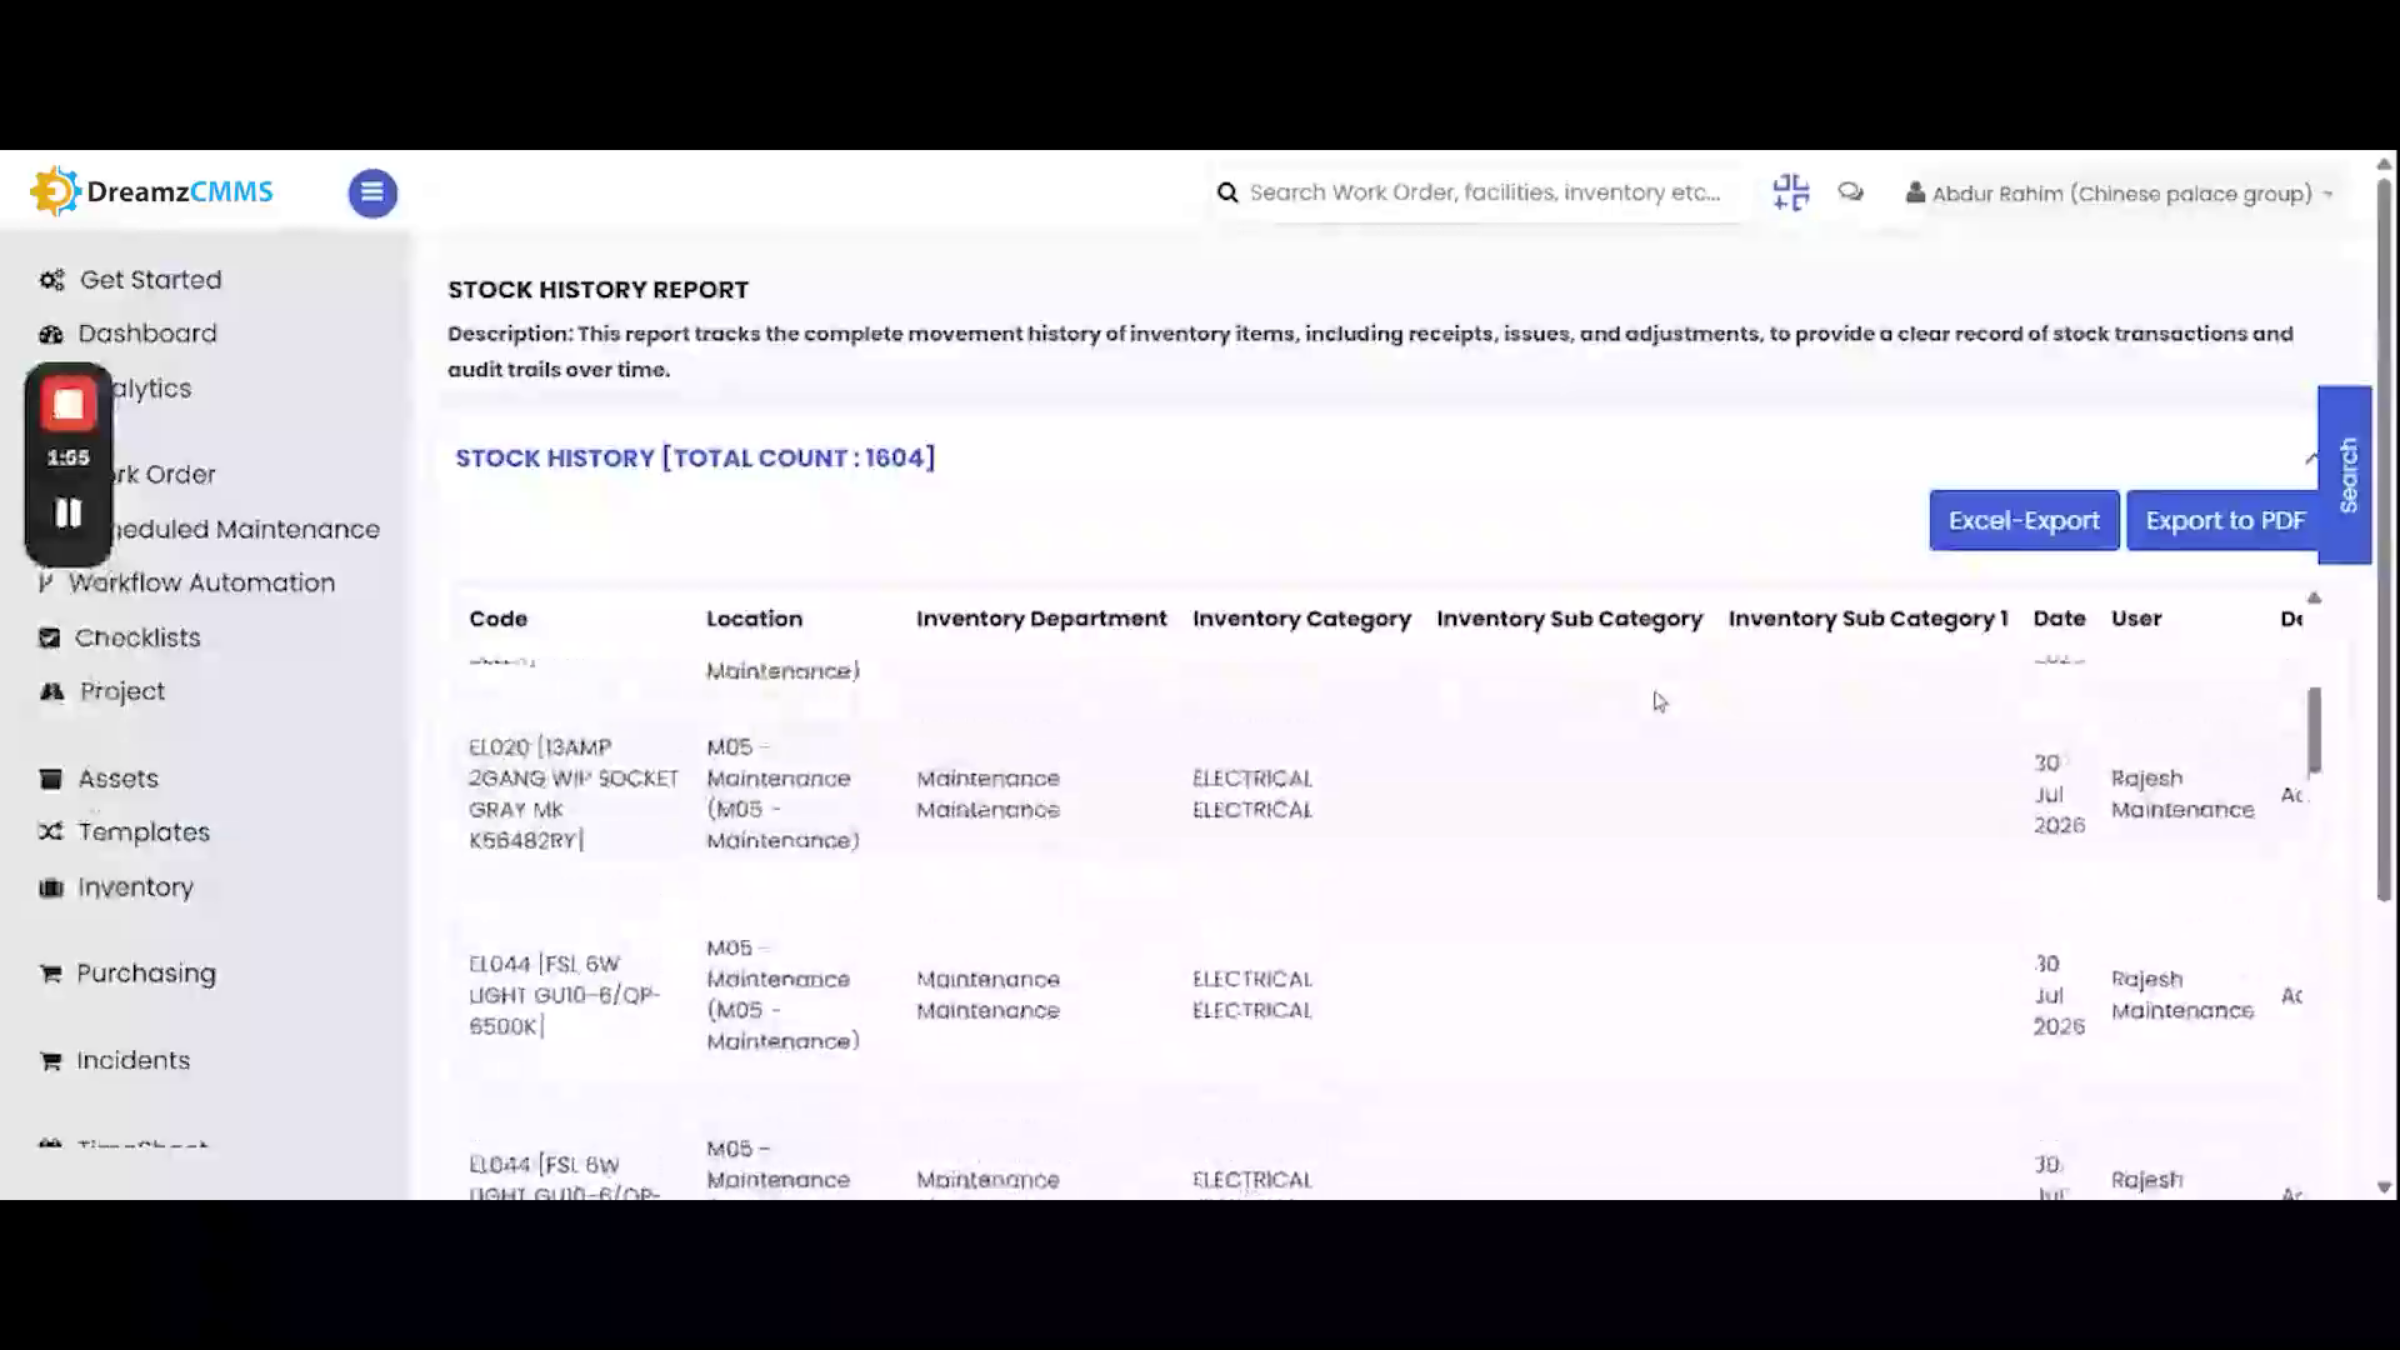
You can also generate reports for Assets, Purchase, Incident, and Inventory. Under the Inventory section, you can generate the Current Inventory report and the Inventory History report.
Step 30 – Report Export and Filtering
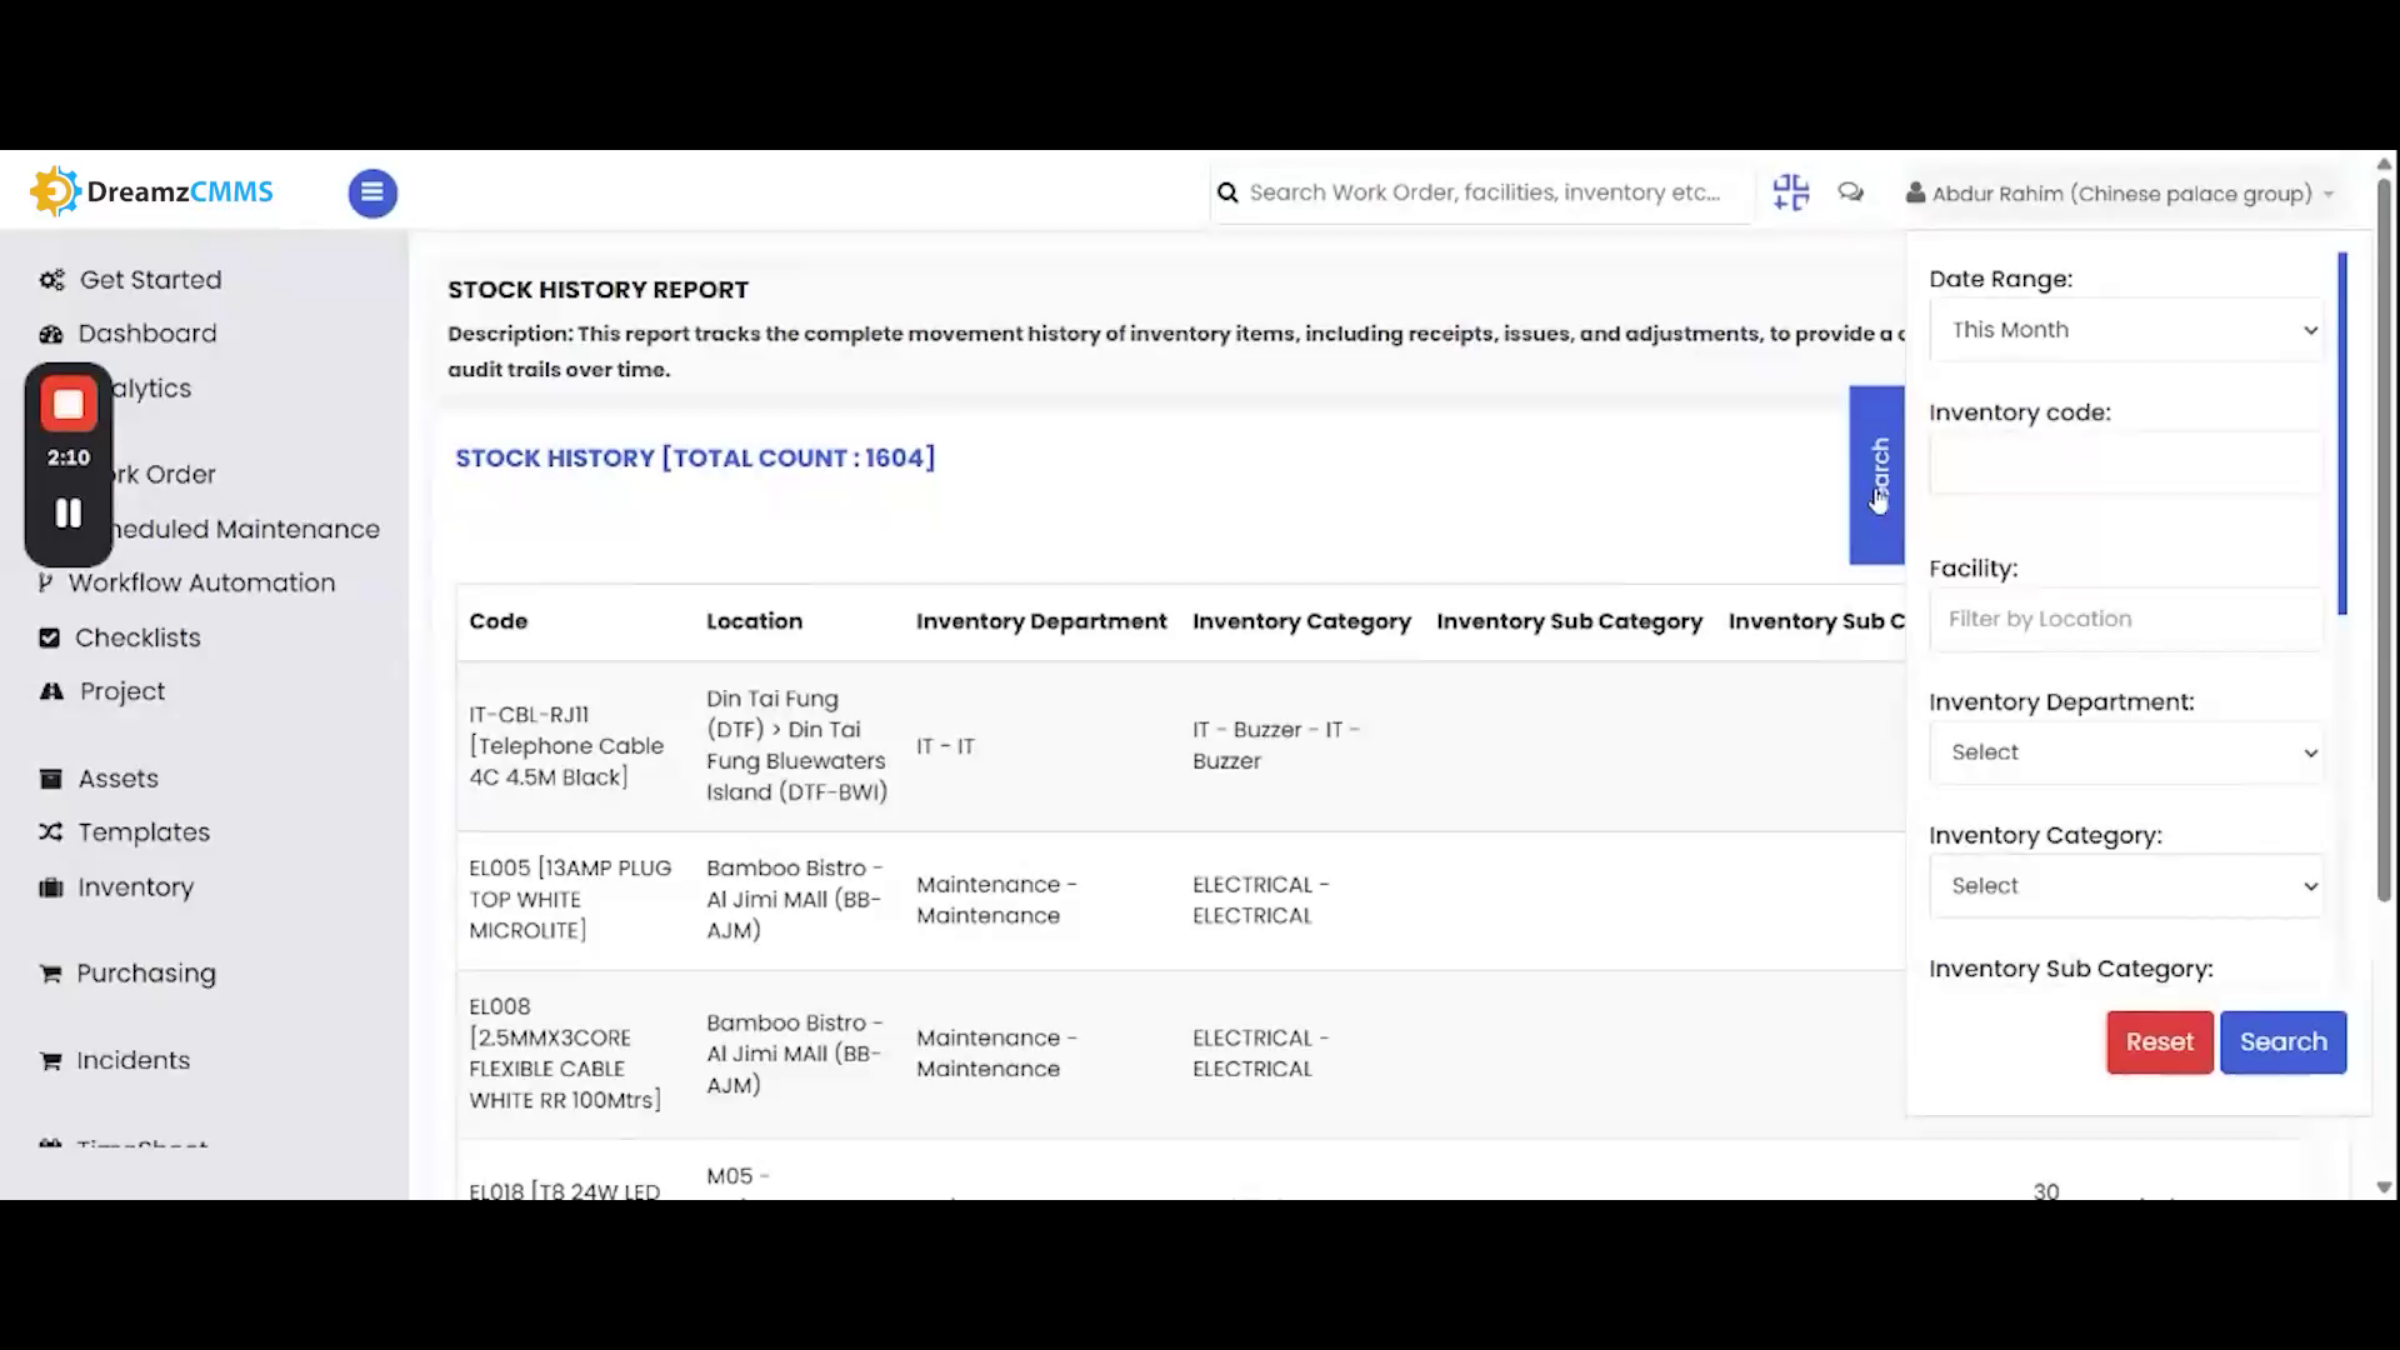
Every report can be exported to Excel or PDF format. You can also filter each report using the search section to quickly find the information you need.
Step 31 – Reporting Overview Conclusion
This completes the reporting overview in DreamzCMMS, and the full request-to-report ticketing workflow for your FMCG operation.
After Setup — What's Next?
With facility hierarchy, category mapping, and the full request-to-report cycle in place, your FMCG operation has consistent ticket routing and full visibility from the floor to the back office. Once you're comfortable with the core workflow, you can:
- Expand category mappings as new sites or teams come online, so auto-assignment keeps pace with your footprint.
- Set minimum stock thresholds and schedule inventory reports so low-stock parts don't delay a work order.
- Review technician performance and work order cost reports regularly to spot bottlenecks early.
Ready to see FMCG ticketing in action? Contact DreamzTech to schedule a personalized demonstration.
Tips for FMCG Facility Teams
- Keep category mappings up to date whenever staff change roles or leave — stale mappings mean tickets auto-assign to the wrong (or no) technician.
- Tag an asset on every request when possible, even though it's optional — it gives technicians instant context before they arrive.
- Run a cycle count regularly on fast-moving parts rather than waiting for a full physical inventory.
- Add non-inventory items to inventory as soon as they're identified so they're ready to select the next time a purchase order is built.
Frequently Asked Questions
Do requests always need to be assigned manually?
No. Once a category is mapped with Auto-Assign User enabled, any matching request automatically generates a work order and assigns it to the right technician.
What's the difference between single-location and multi-location mapping?
Single-location mapping assigns requests to one shared list of users. For multi-location businesses, enabling the IS toggle lets you map each individual site to its own responsible technicians.
Can I raise a request from the field without a laptop?
Yes. The DreamzCMMS mobile app lets you create a request with a subject, priority, category, location, and voice or typed description, plus optional photo or video attachments.
How do purchase requests turn into inventory on hand?
An approved purchase request becomes a purchase order with details auto-populated; once that PO is received and saved, the item quantities are added to inventory automatically.