DreamzCMMS RFID App for Retail: From Registration to Sale
Whether you run one store or fifty, the DreamzCMMS RFID app tracks every product's journey — from the moment it arrives, through internal moves and transfers between locations, right through to the sale and the day it's retired. This is the app your floor and warehouse teams use every day.
Overview
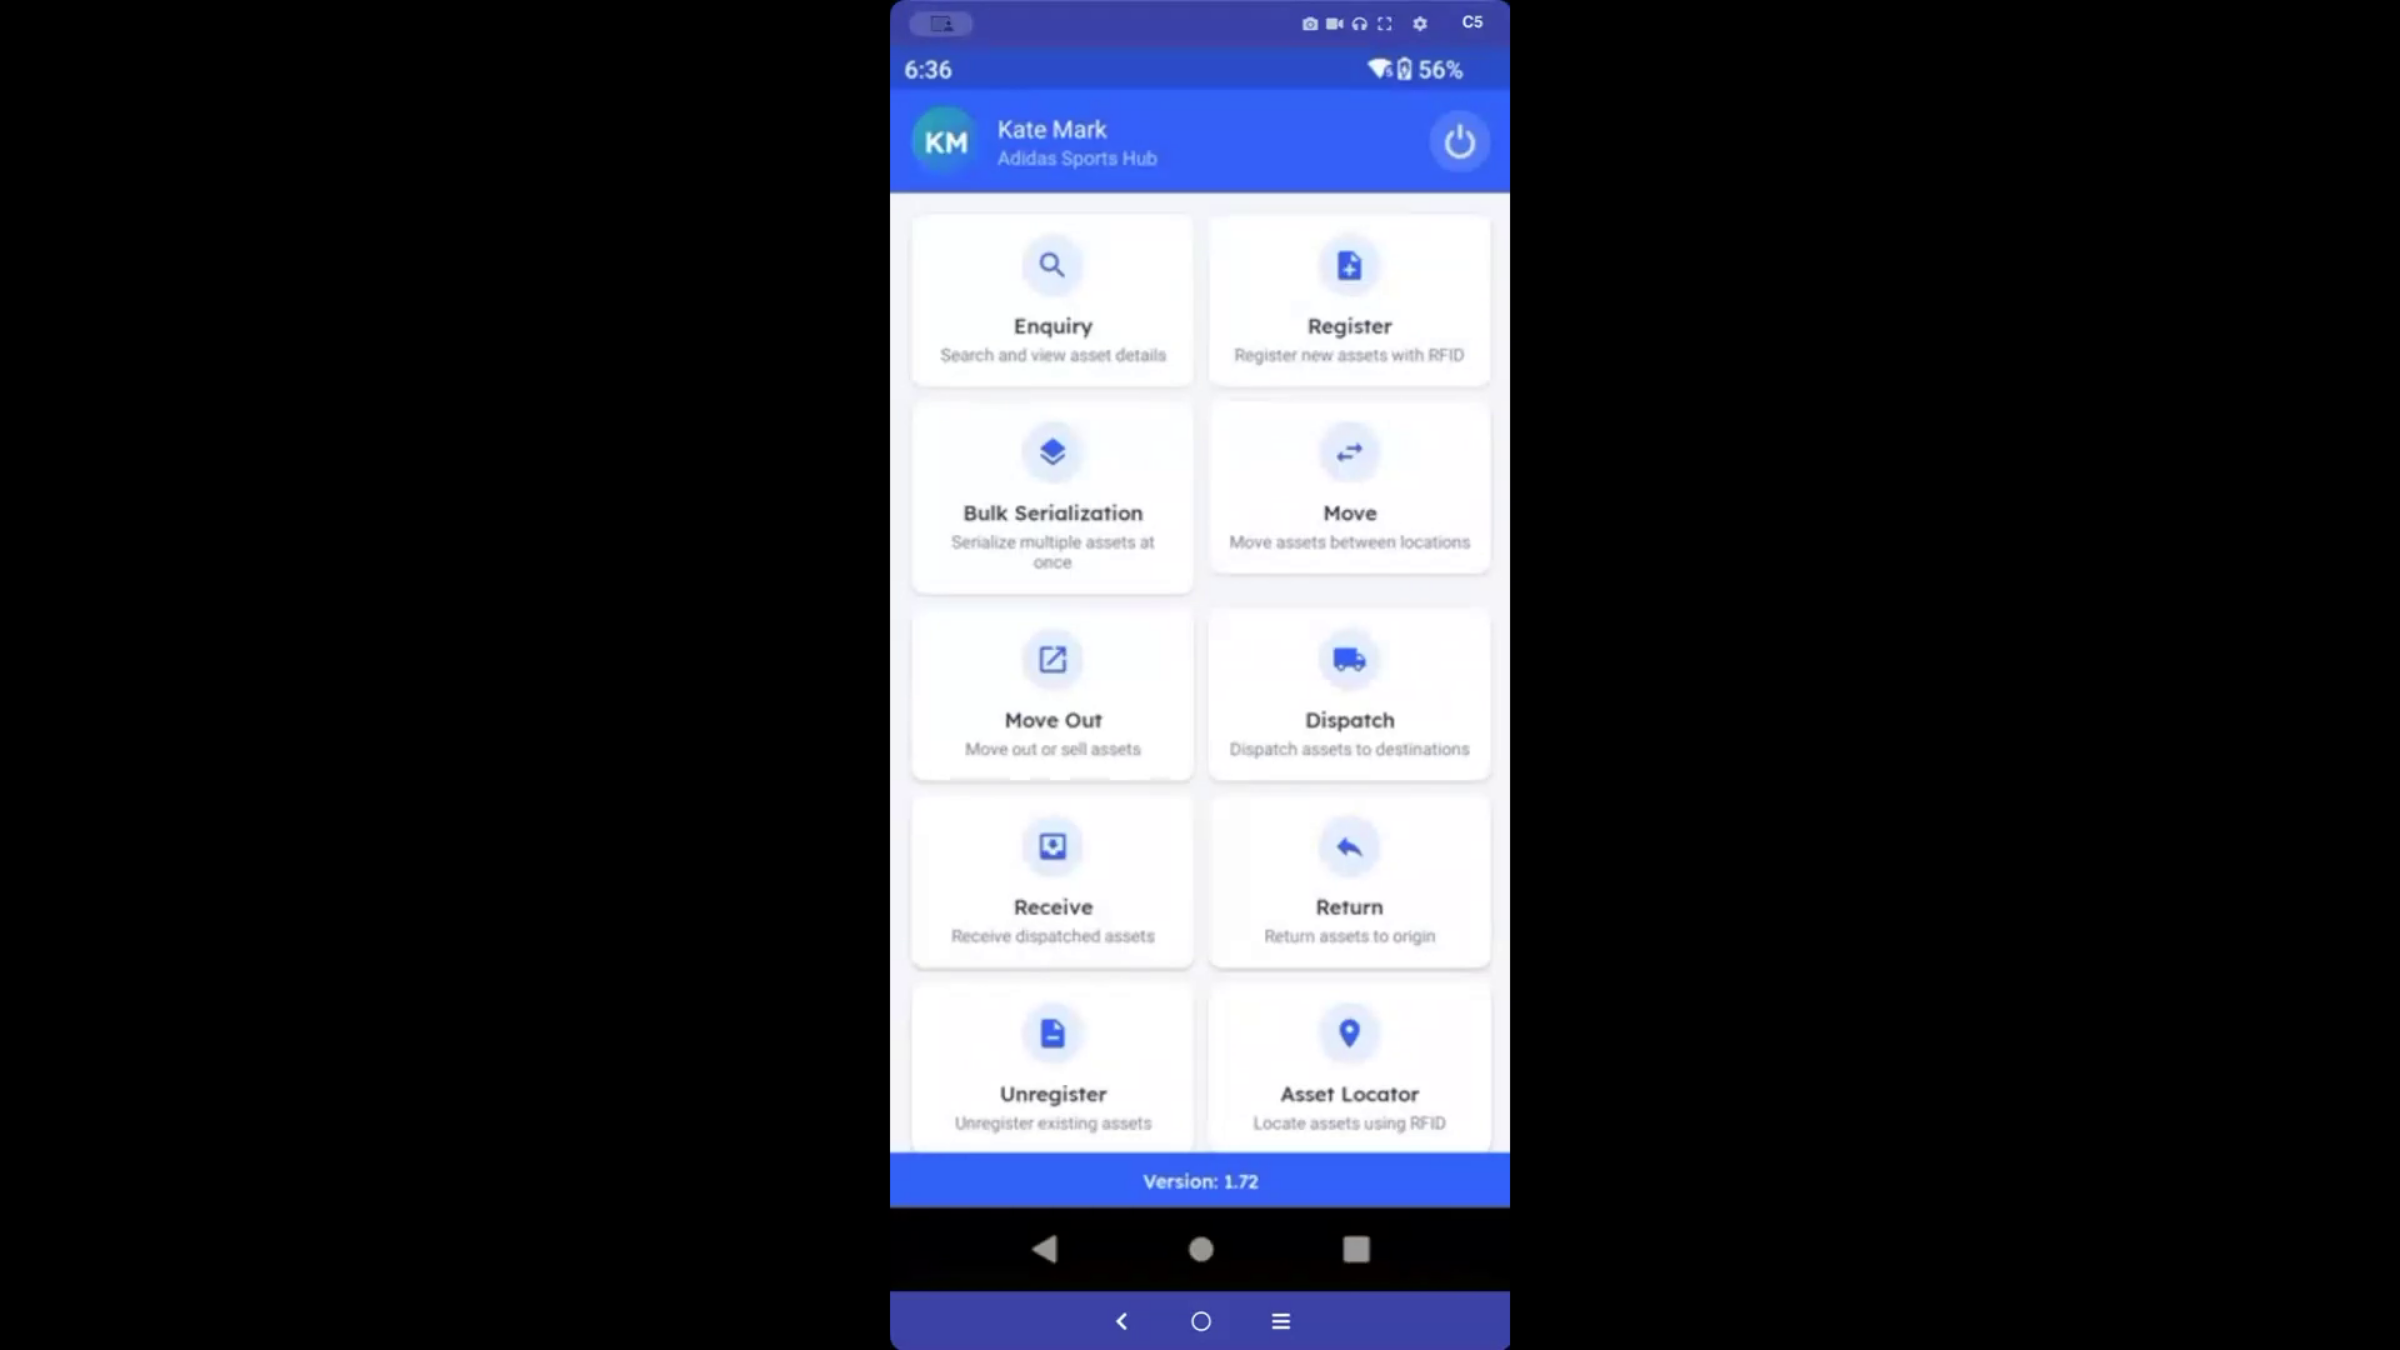
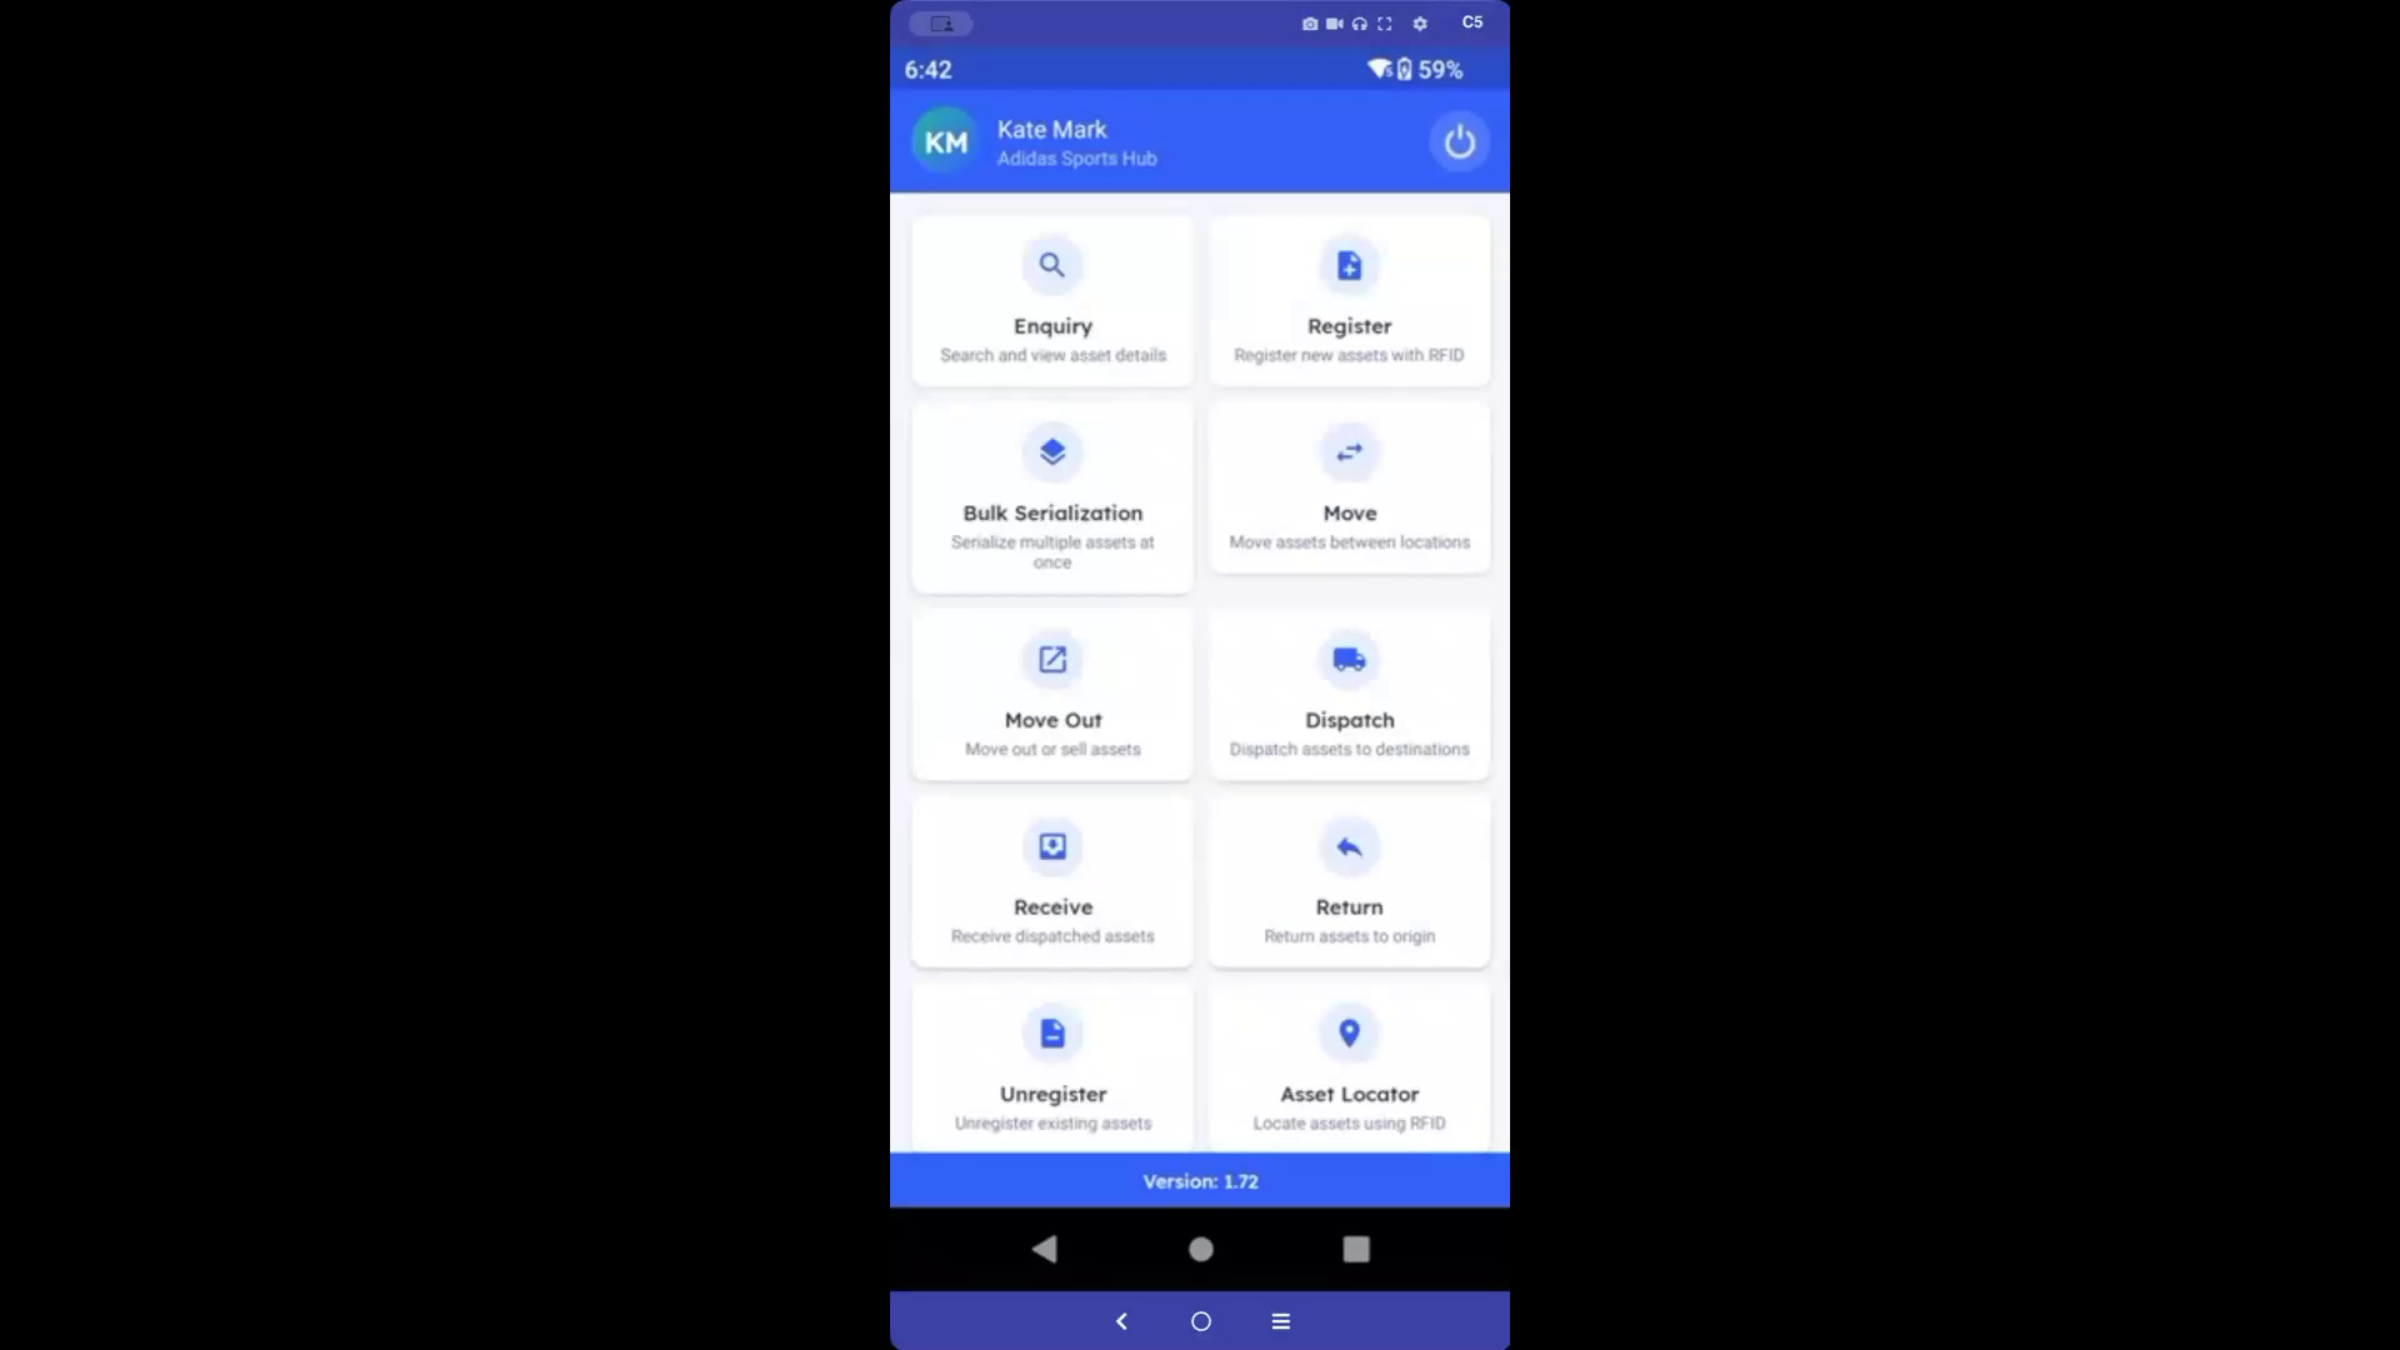
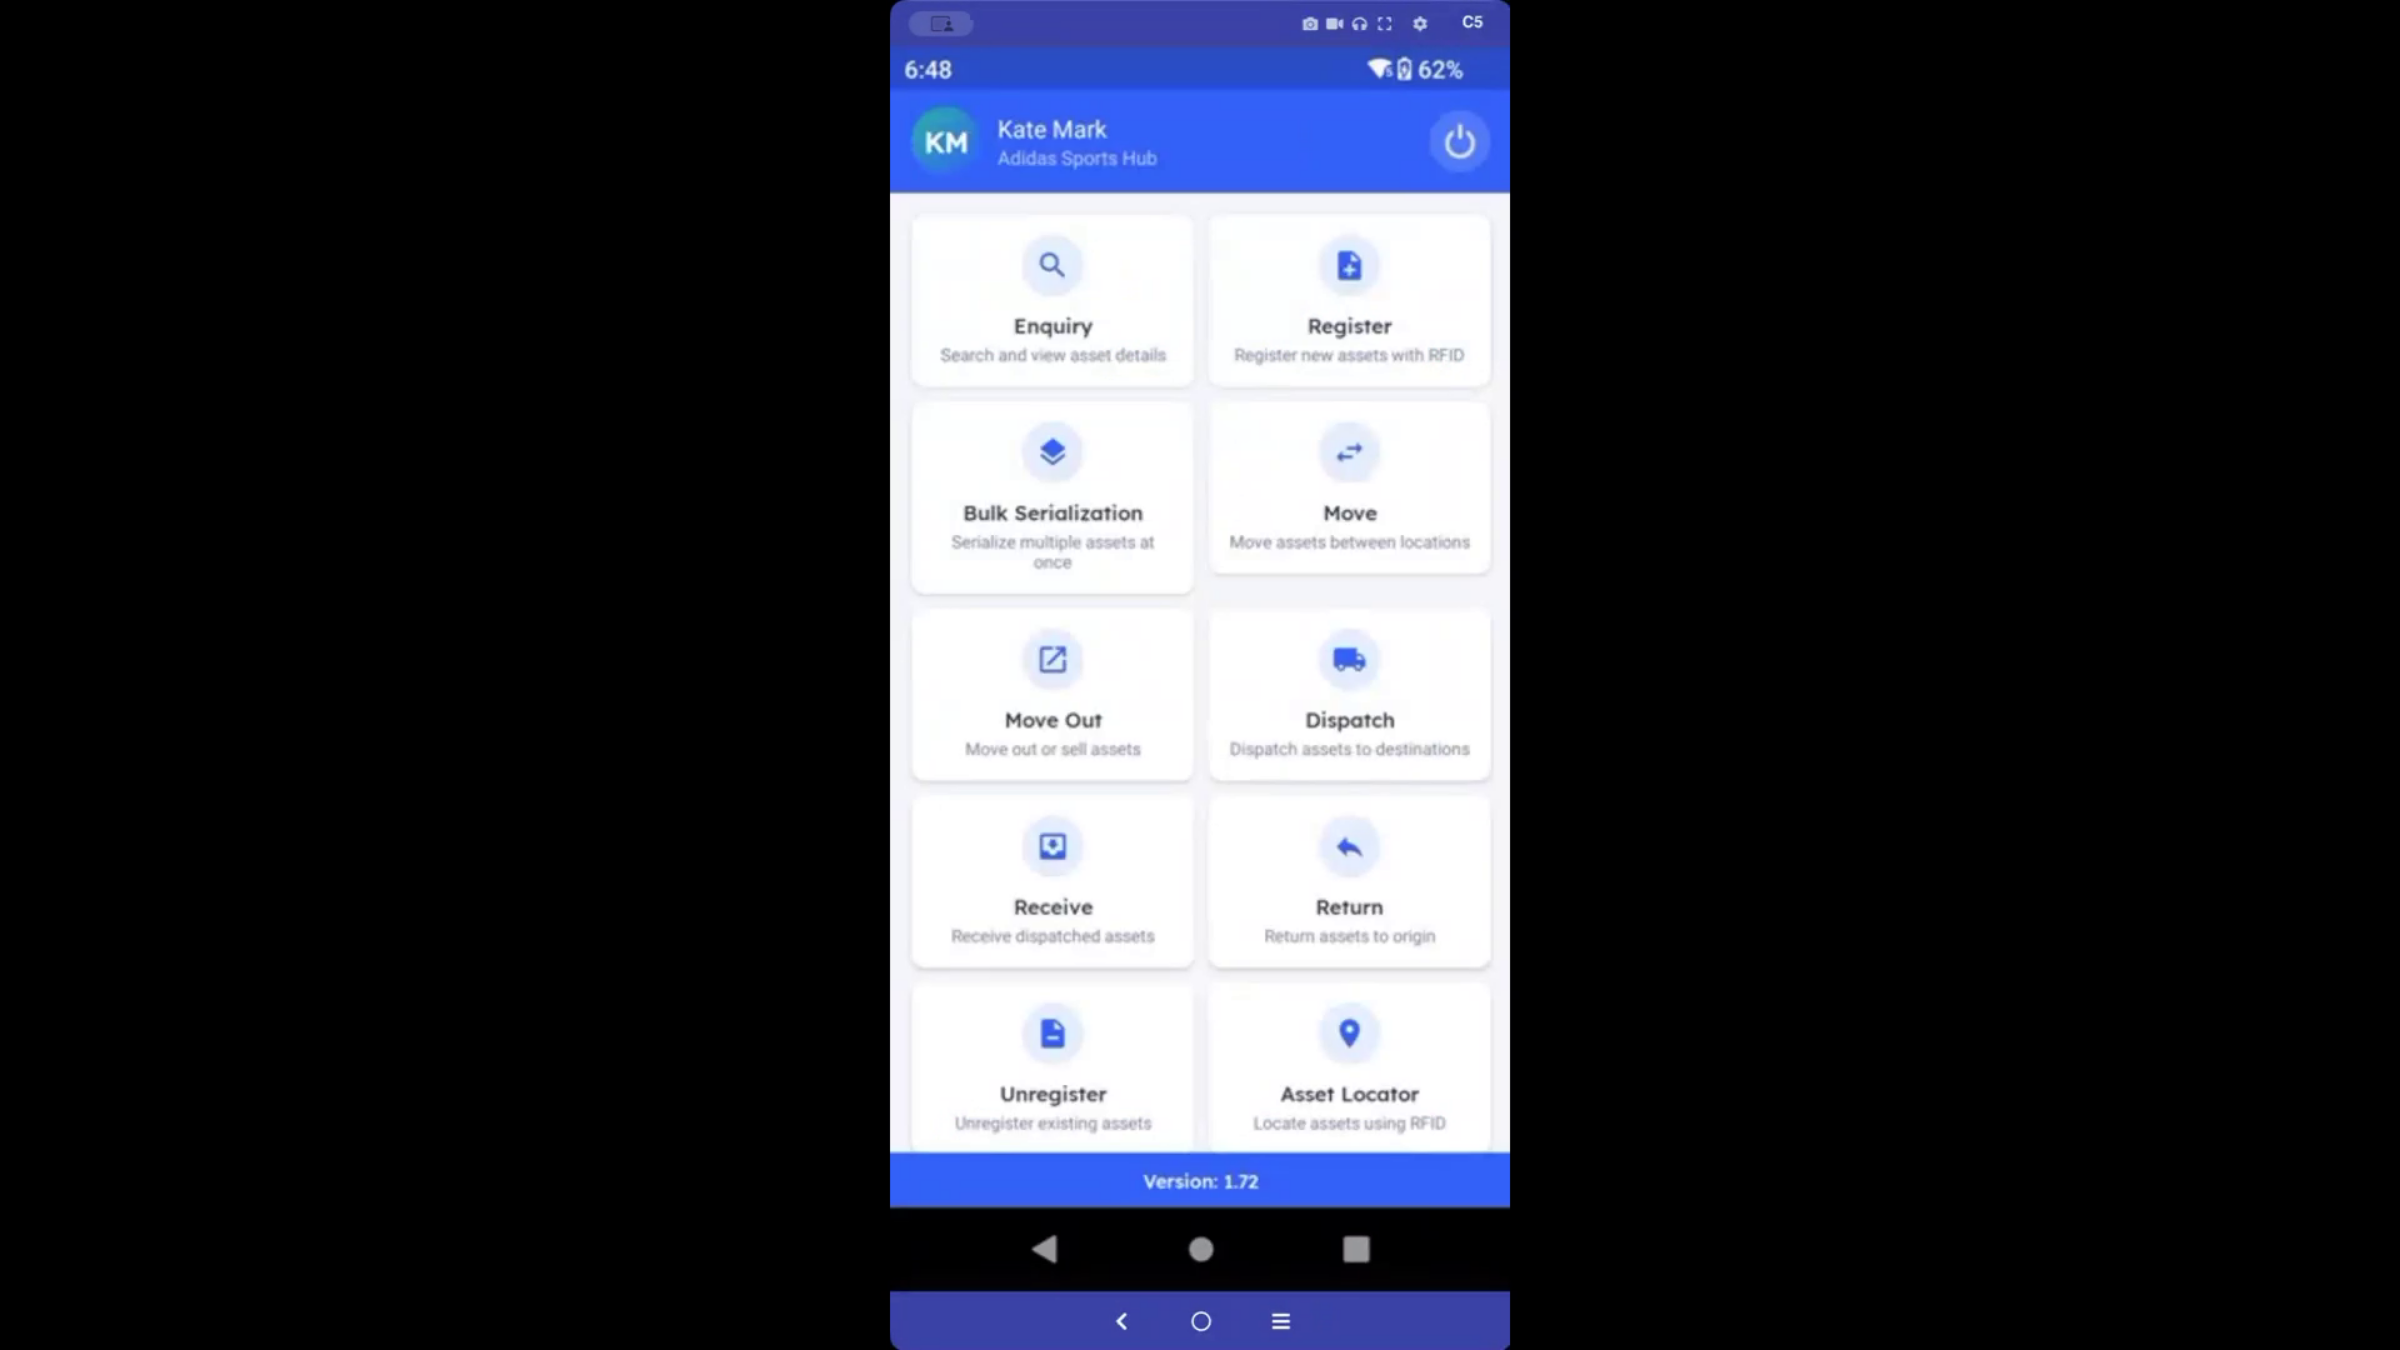
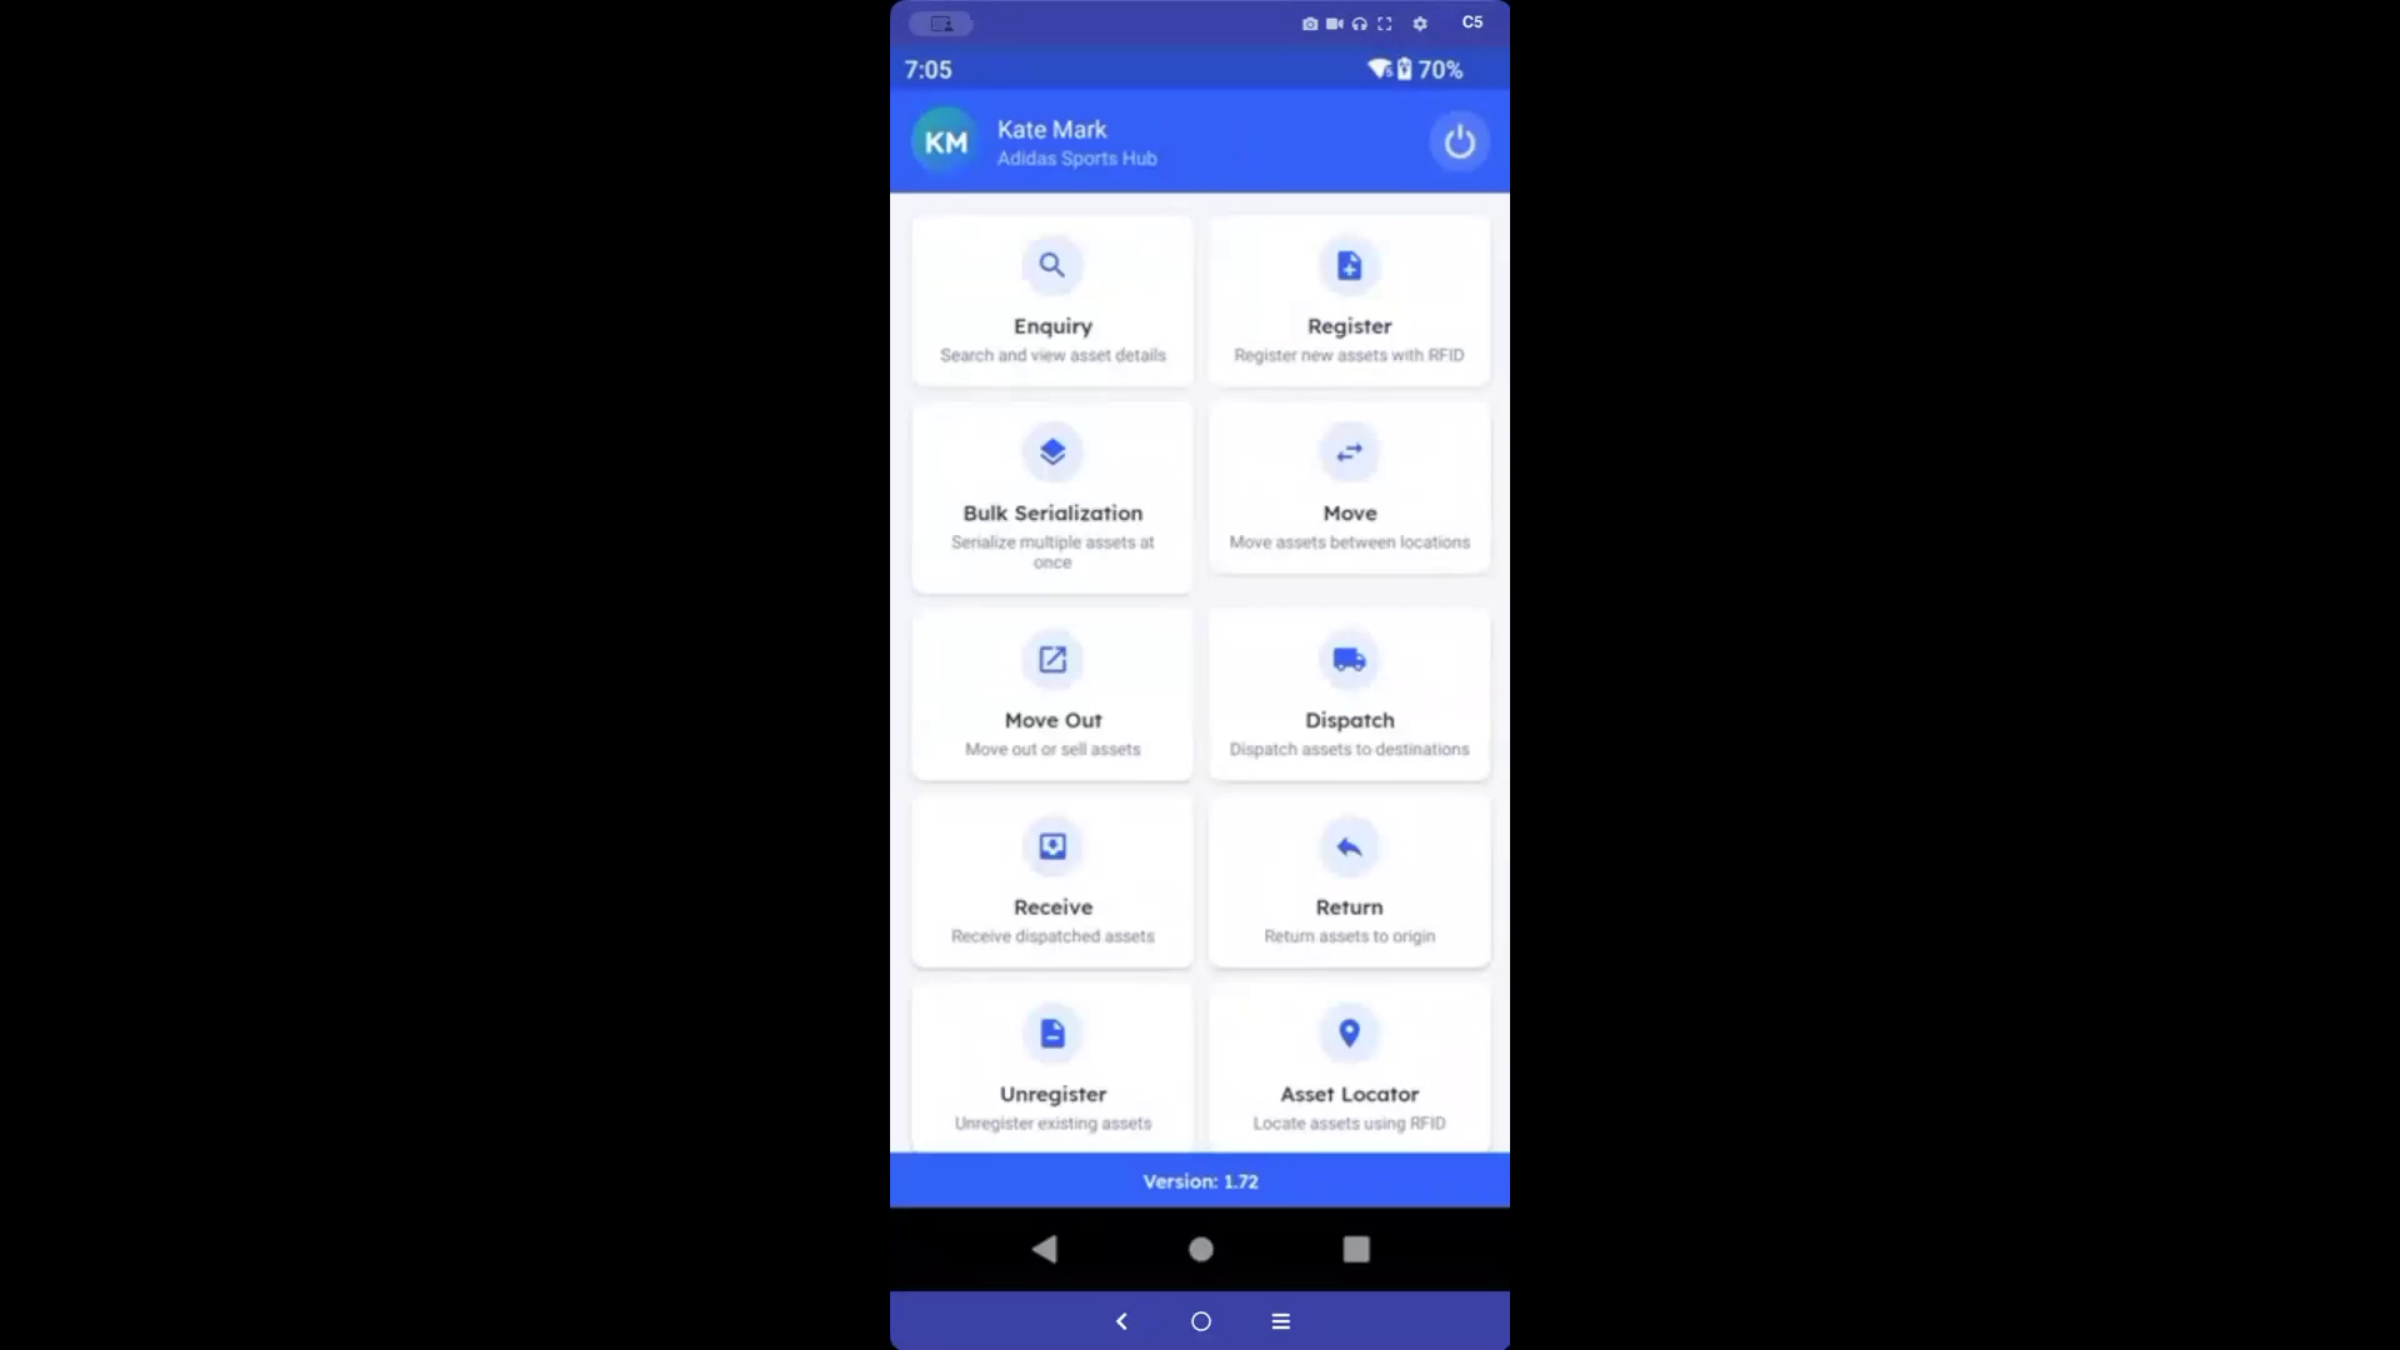
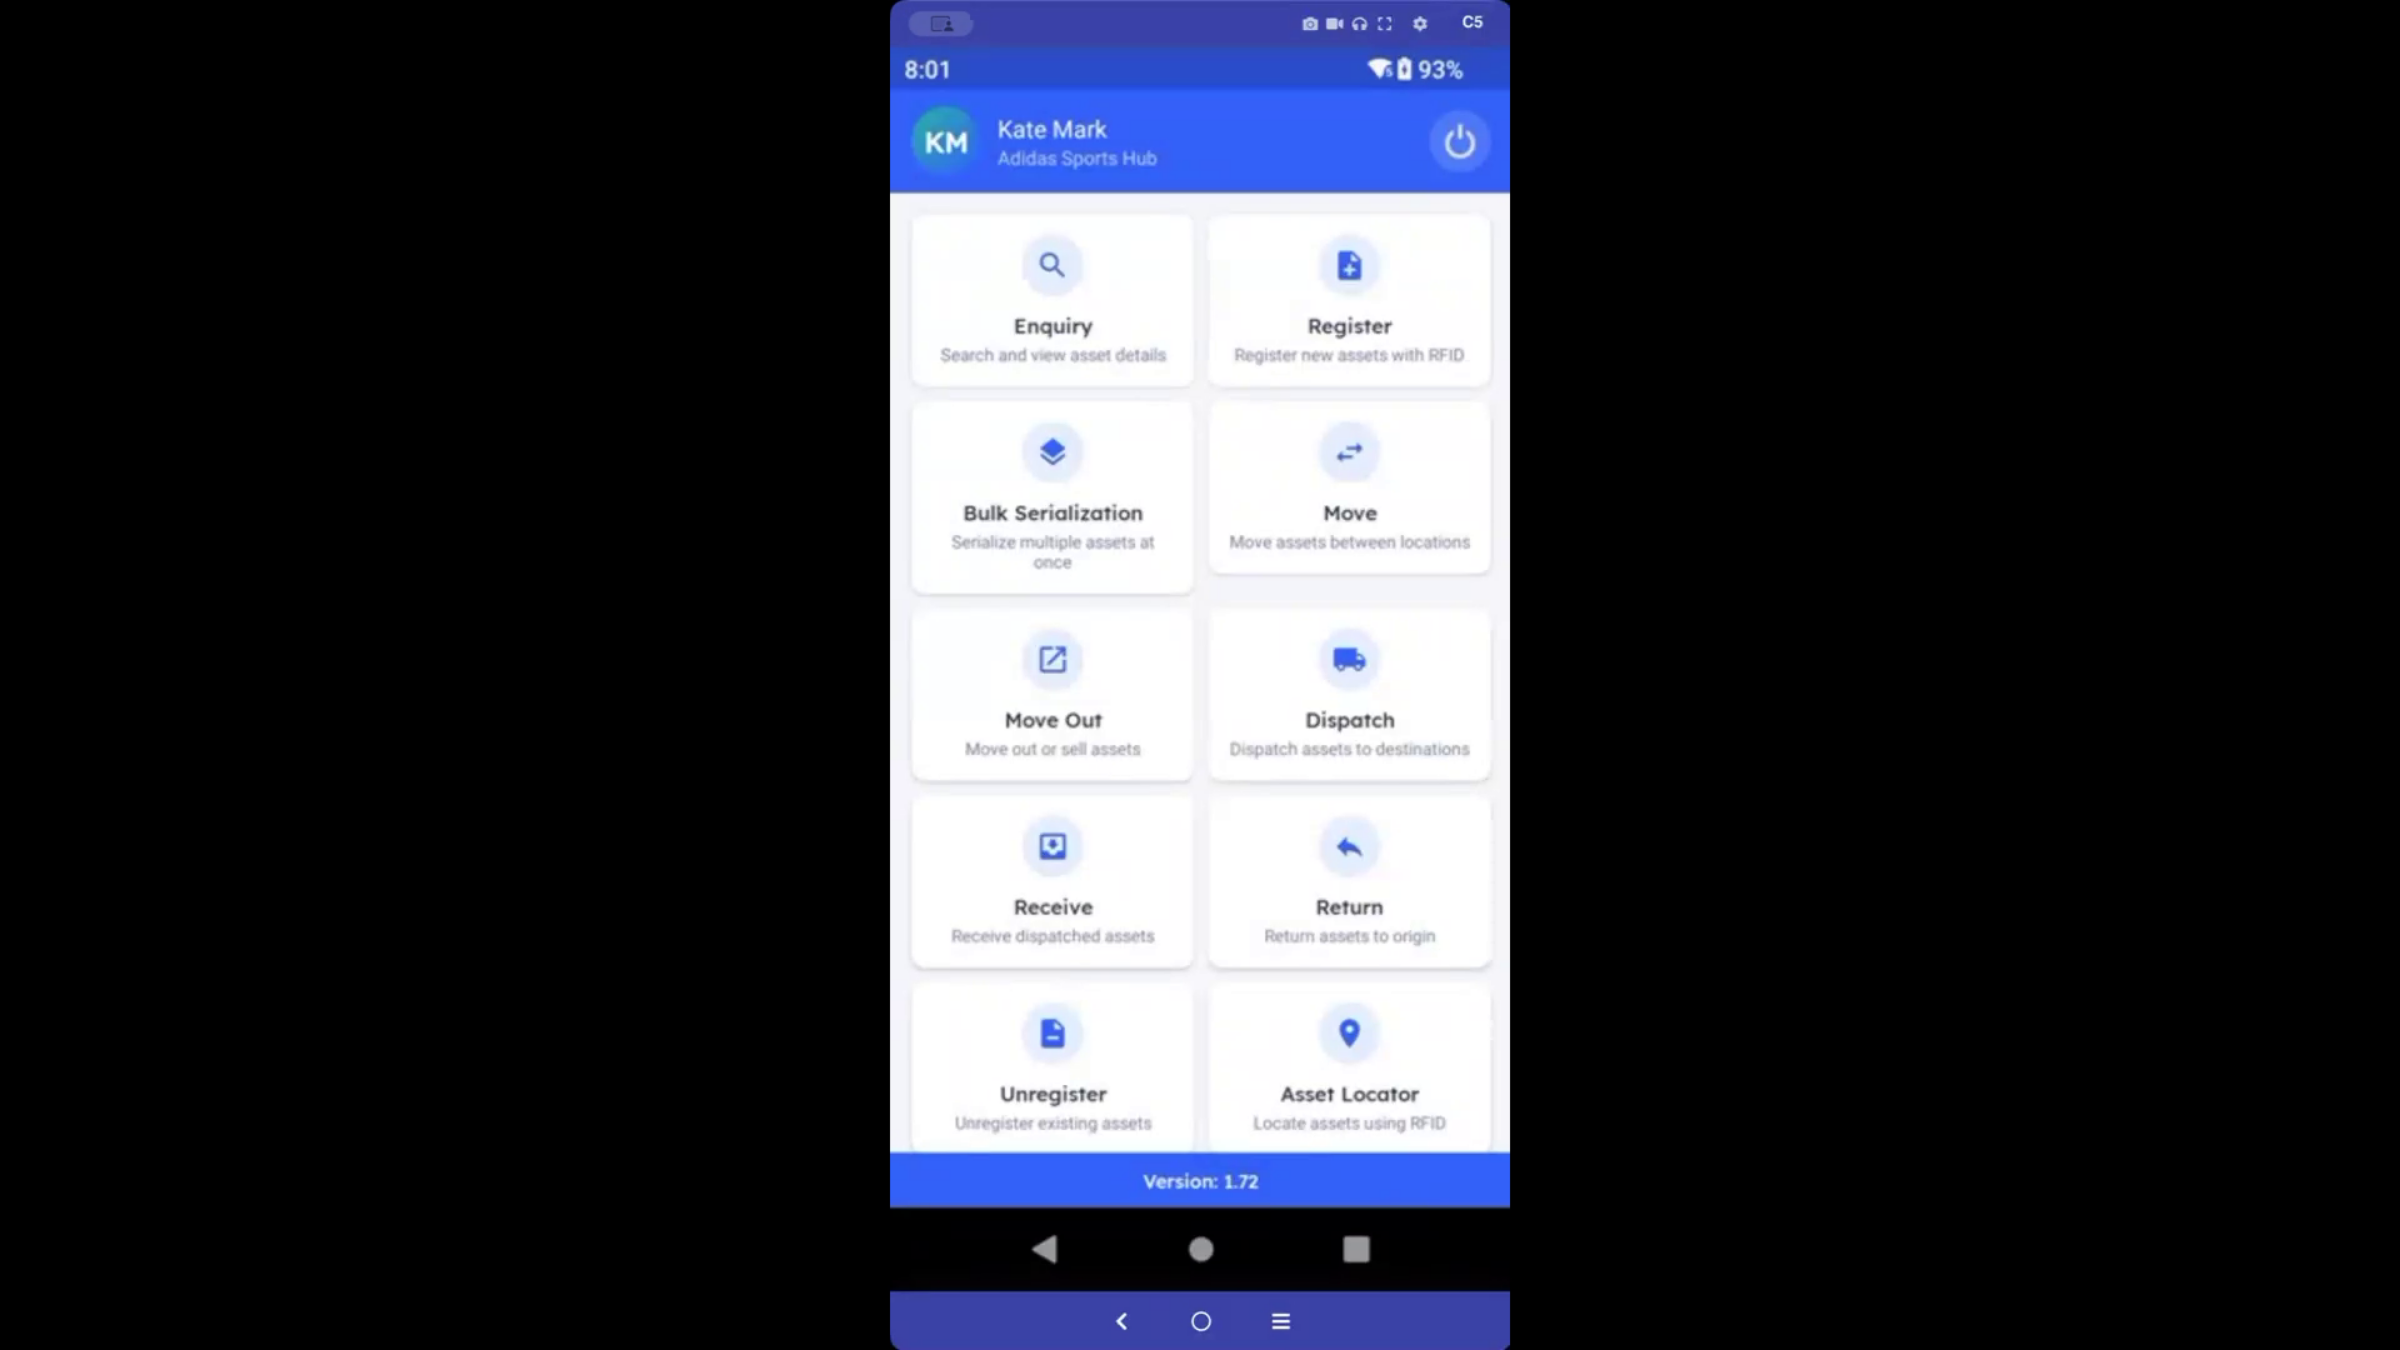
Stock is tagged through Register and Bulk Serialization, checked instantly through Inquiry and Asset Locator, moved internally through Move, transferred between locations through Dispatch and Receive, sold through Move Out, and returned or retired through Return and Unregister — backed by fixed readers at checkout and the store exit for a complete, tamper-proof record.
Here is a reference video:
Before You Begin
- You must have the DreamzCMMS RFID handheld app installed and an RFID scanner paired with your device.
- Know your location structure (location, department, building, room) if your business tracks inventory at that level of detail.
- Fixed readers should already be installed at checkout counters and store exits if you plan to use automatic sale confirmation and exit security monitoring.
Registering New Stock
Step 1 – Register a Single Item or Bulk Serialize a Shipment
Every product's journey starts with getting it into the system. For a single item, use Register — select the product, the location, and, if you track that level of detail, the department, building, and room. For a full shipment at once, use Bulk Serialization instead: select the location, the product, and the expected quantity, then hit Continue to scan. Point the handheld RFID scanner at the stock, switch to multi-scan, and every tag in range is captured in seconds, no matter how large the shipment. For anything that hasn't been RFID tagged yet, the same scan screen also supports a quick barcode or QR code scan as a fallback.
Checking Inventory
Step 2 – Run an Inquiry or Locate a Specific Item
Once stock is registered, checking it is just as simple. Open Inquiry, select the location, and scan — you'll instantly see everything on hand, right down to the individual item. To find one specific item fast, use Asset Locator: type in the serial number or product SKU, or search by RFID, and the app guides you straight to it, no more hunting through the stock room.
Moving Stock Internally and Between Locations
Step 3 – Move Stock Within a Location
Moving stock between departments or rooms within the same location? Use Move — select the location, the department, the product, and scan to confirm the transfer.
Step 4 – Dispatch and Receive Between Locations
Note: This is where it gets powerful for any retail business running more than one location. Say you're moving stock from a central warehouse to a store, or between two stores directly. From the warehouse side, open Dispatch, select the From Location and the Destination Location, add a Dispatch Note if needed, and scan every item going out — each item is now logged as in transit, tied to a dispatch reference number. On the receiving side at the store, open Receive, select your location, and select the matching dispatch reference number. Scan the incoming stock to confirm it's arrived, and it's automatically added to that store's inventory — no spreadsheets, no phone calls to confirm what shipped. The system tracks the transfer end-to-end, with a full audit trail available in reports.
Sales, Returns, and Retirement
Step 5 – Sell an Item with Move Out
When an item is sold, that's a Move Out. Select the location, optionally attach a customer and order number, then place the items on the fixed RFID checkout reader at the counter. Every tagged item is read at once and confirmed as sold, and the stock count updates immediately — no manual entry needed.
Step 6 – Process a Return
If a customer returns an item, Return brings it back into active inventory just as easily — select the location, add a note if needed, and scan the item back in.
Step 7 – Retire an Item
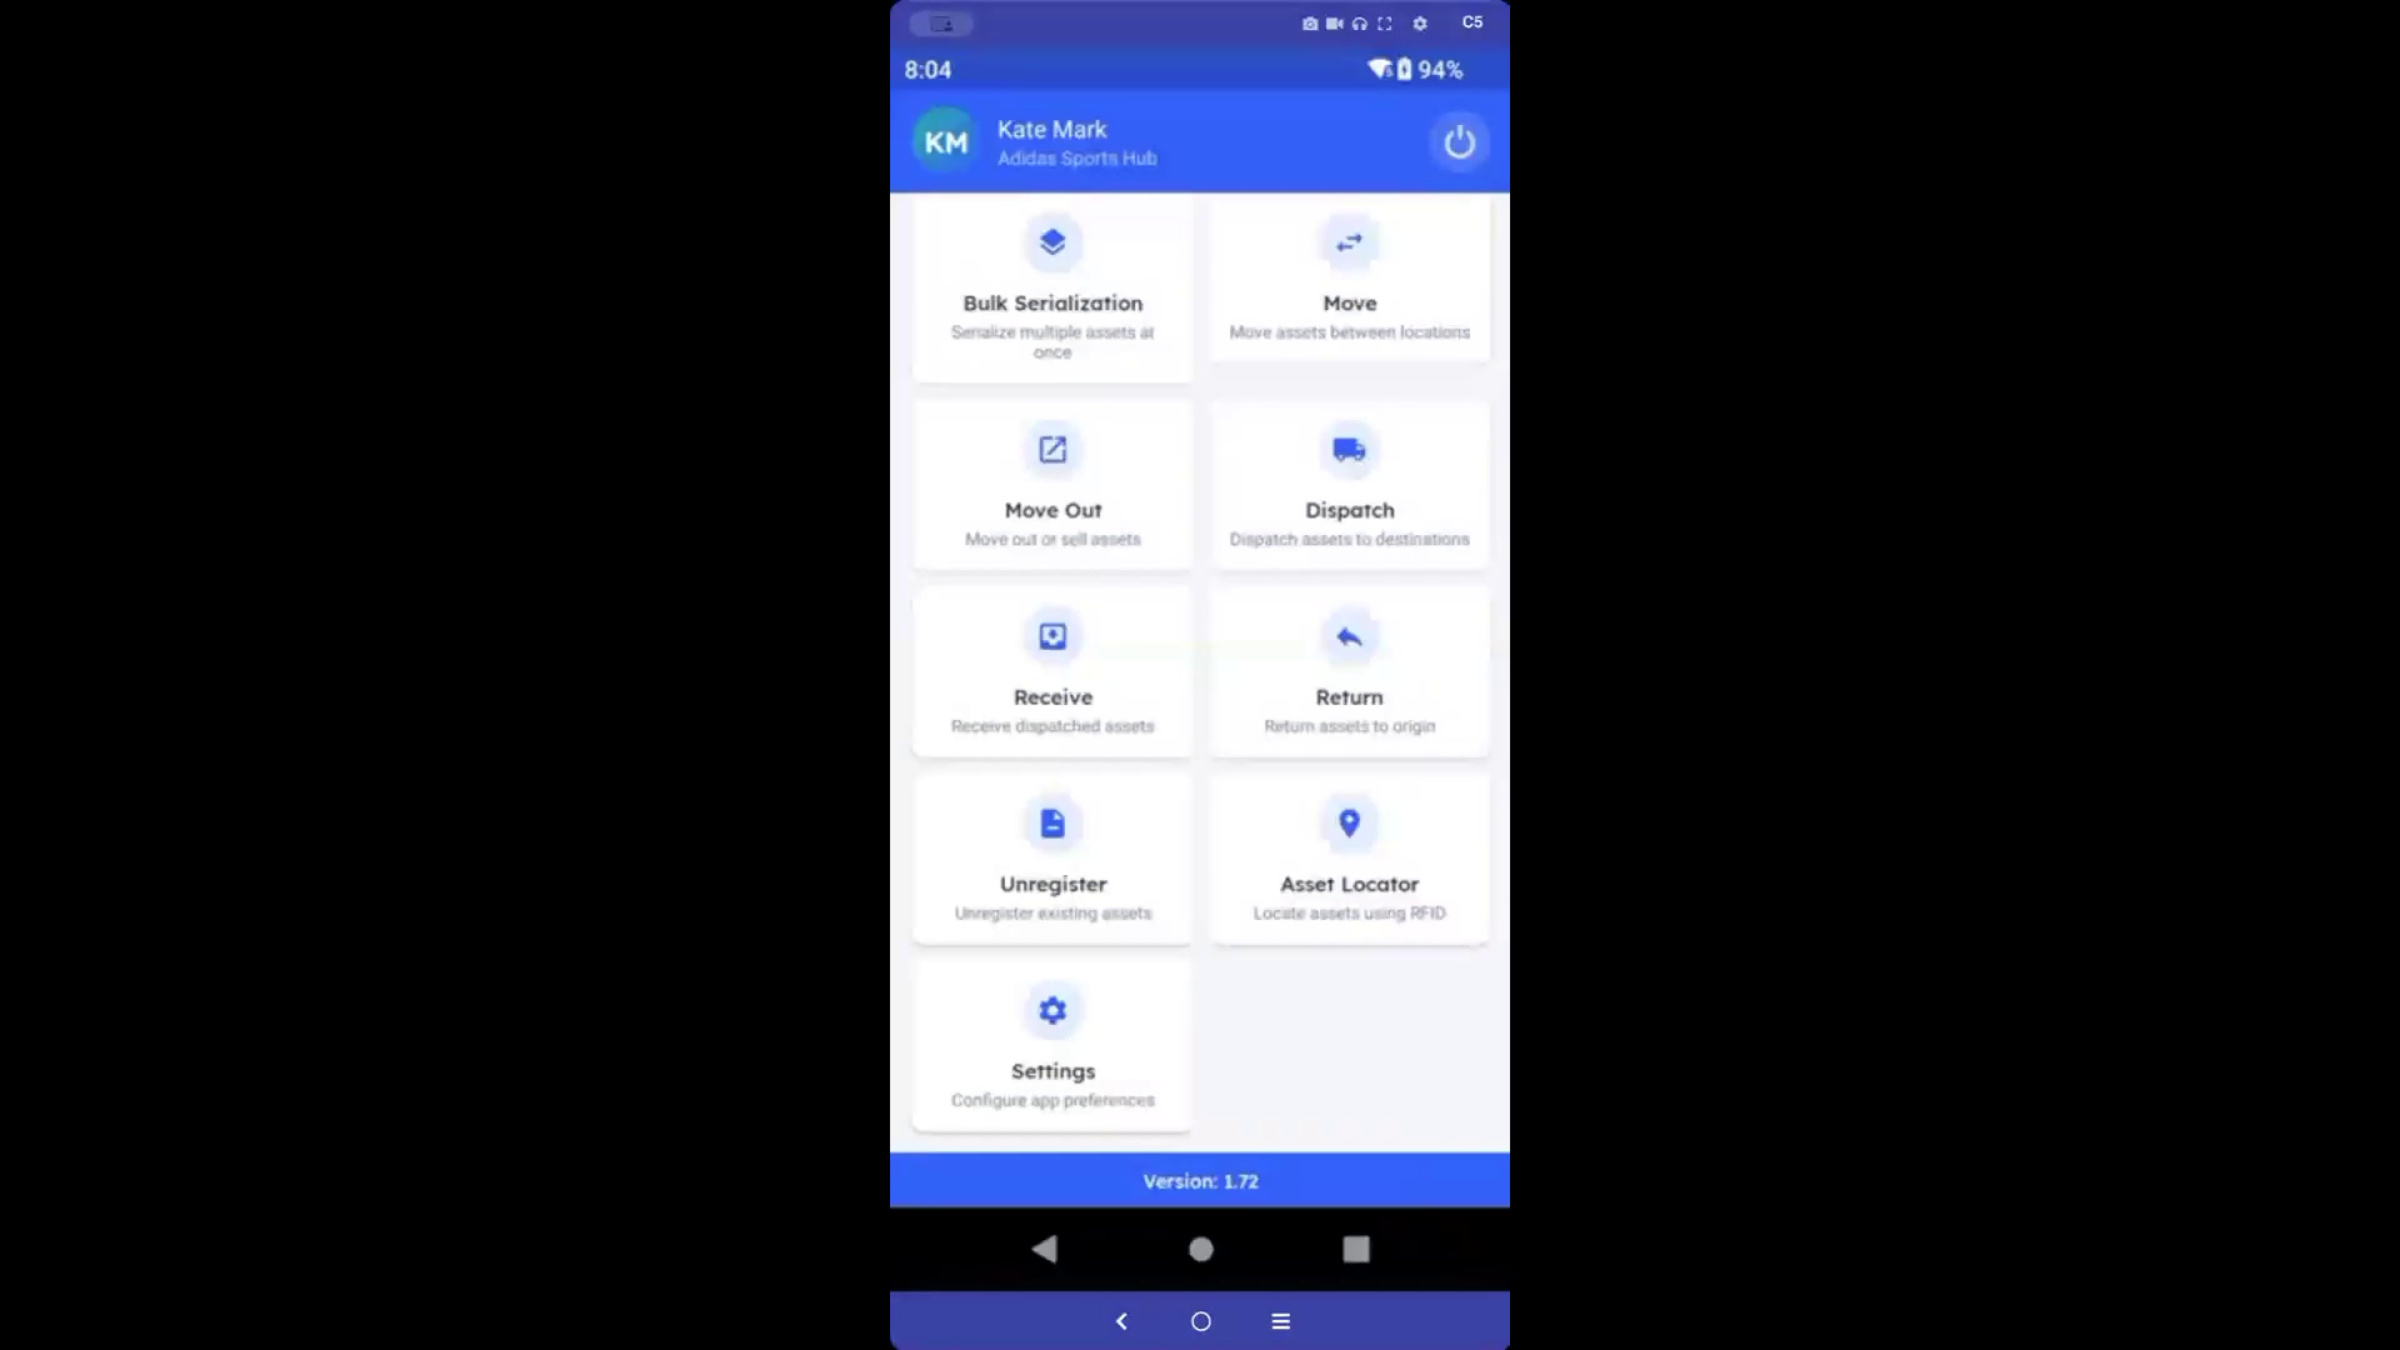
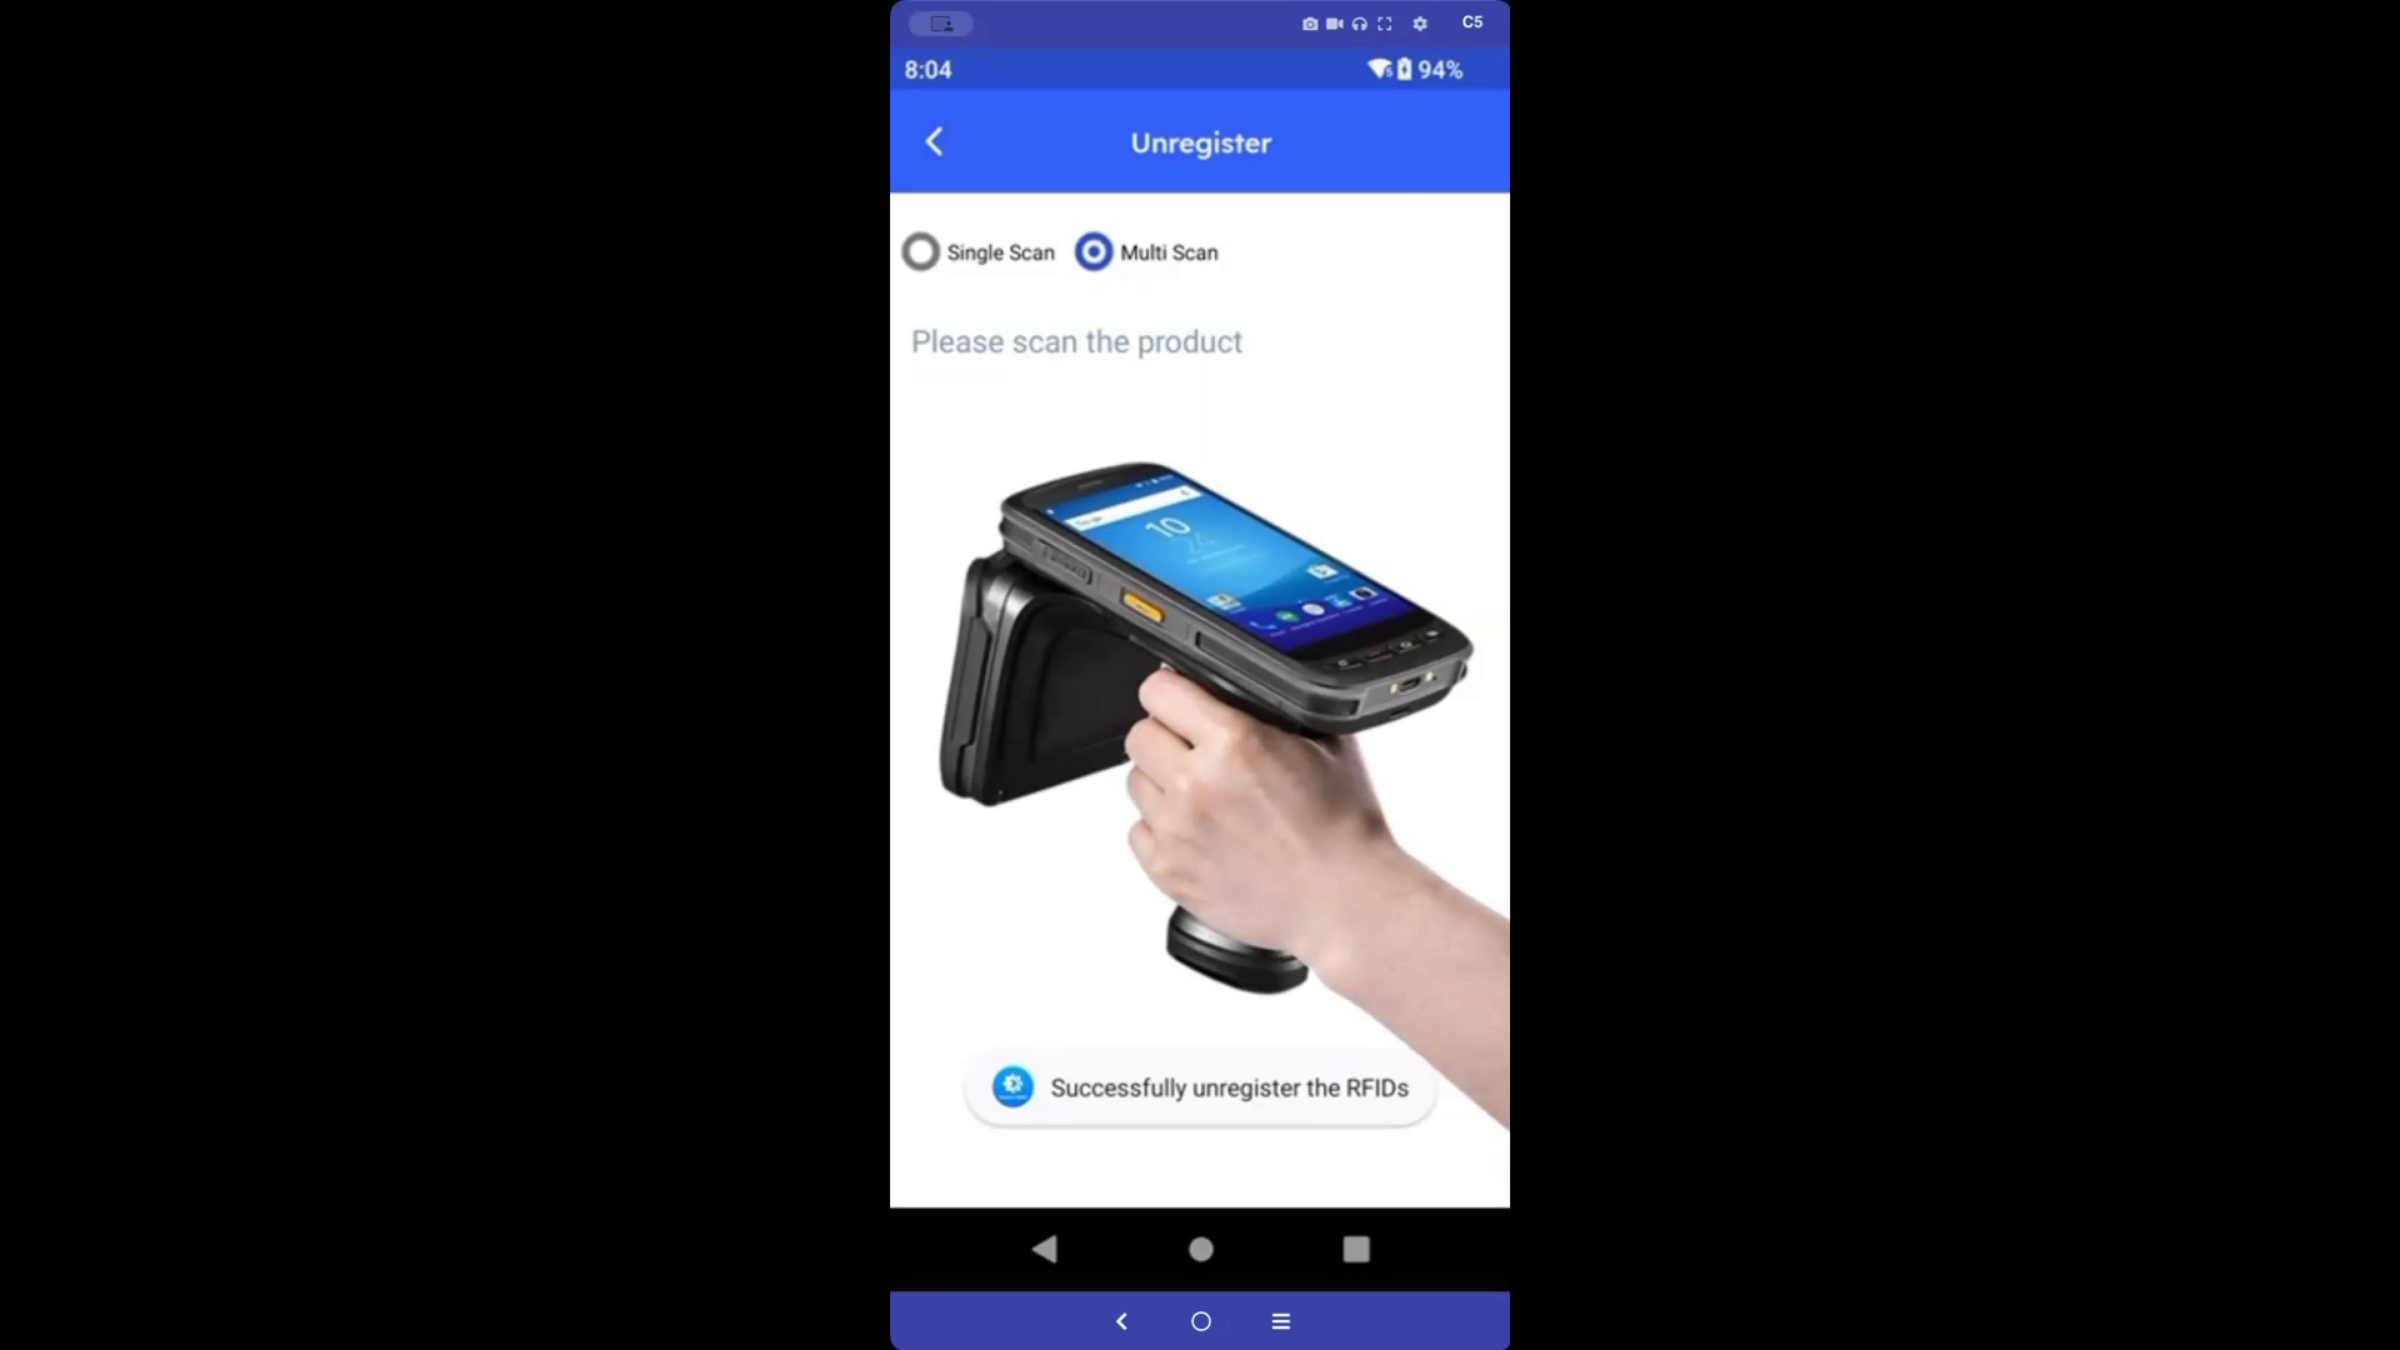
When an item reaches the end of its life — damaged, lost, or retired — Unregister removes it from active inventory in a single quick scan.
Exit Security Monitoring
Once a product is out on the shelf, the system doesn't stop watching. At the store exit, a fixed RFID antenna reads every item passing through in real time. If an item that hasn't been sold — still marked as active inventory — passes through that exit, the system triggers an alarm and a red light at the gate instantly. Every triggered event is logged with a timestamp and the product involved.
After Setup — What's Next?
Between Register/Bulk Serialization, Inquiry/Asset Locator, Move, Dispatch/Receive, Move Out, Return, and Unregister — backed by fixed readers at checkout and the exit — this is a complete, tamper-proof record of every item from arrival to sale. Once your team is comfortable with the app, you can:
- See the full audit trail for every dispatch and receive transfer in the reporting portal — see DreamzCMMS RFID Portal Overview: Master Data, Order Sync, and Reporting.
- Monitor every antenna at every store in real time from the web dashboard.
- Review exit alarm events regularly to catch shrinkage patterns early.
Ready to see the DreamzCMMS RFID app in action for your retail business? Contact DreamzTech to schedule a personalized demonstration.
Tips for Retail Teams
- Use Bulk Serialization for full shipments instead of registering items one at a time — multi-scan captures a large shipment in seconds.
- Always match a Receive against the correct dispatch reference number so the transfer audit trail stays accurate.
- Use Asset Locator instead of manually searching the stock room whenever you need one specific item quickly.
- Unregister items promptly when they're damaged or lost, so active inventory counts and exit monitoring stay accurate.
Frequently Asked Questions
What if an item hasn't been RFID tagged yet?
The same scan screen supports a quick barcode or QR code scan as a fallback, so untagged items can still be processed.
Do I need to manually update stock counts after a sale?
No. Placing items on the fixed RFID checkout reader confirms them as sold and updates the stock count immediately.
What happens if an unsold item passes through the store exit?
The fixed exit antenna detects it's still marked as active inventory and triggers an alarm and red light at the gate instantly, logging the event with a timestamp and product.
How do I move stock between two different stores?
Use Dispatch from the sending location and Receive at the destination, matched by a shared dispatch reference number — no spreadsheets or phone calls needed to confirm what shipped.
Related Articles
- DreamzCMMS RFID Portal Overview: Master Data, Order Sync, and Reporting
- Managing Assets with the RFID Scanner in DreamzCMMS
- Import Asset Locations
- Create and Manage Work Orders