Asset Parent Child Mapping
DreamzFSM allows you to define parent-child relationships between assets, enabling you to represent complex equipment structures where one asset is made up of multiple sub-components. For example, an air conditioner (parent) may have a compressor, fan unit, and filter (child assets) associated with it. Parent-child mapping can be done using a barcode scanner or through manual entry.
- Define parent-child relationships between assets to reflect real-world equipment structures
- Map child assets using a barcode scanner or manual entry
- Add multiple child assets to a single parent in one operation
- Child assets are visible from the parent asset's Equipment Details page
Overview
Parent-child mapping is accessible from the Equipment listing page under the Assets module. Once a parent asset is selected, you can add one or more child assets to it, creating a structured hierarchy. This is particularly useful for maintenance planning, as work orders and inspections can be applied at either the parent or child asset level.
Video Tutorial
How to Perform Parent-Child Mapping
Step 1 – Navigate to Equipment
From the main menu, click Assets, then select Equipment. The Equipment Listing page will open.
Step 2 – Open Parent-Child Mapping
On the Equipment Listing page, click on Parent-Child Mapping. The mapping screen will open.
Step 3 – Choose Your Input Method
Select how you want to enter the asset information. Two methods are available:
- Barcode Scanner – Scan the barcode of the parent and child assets directly
- Manual Entry – Search for and select assets using the input fields provided
Step 4 – Select the Parent Asset
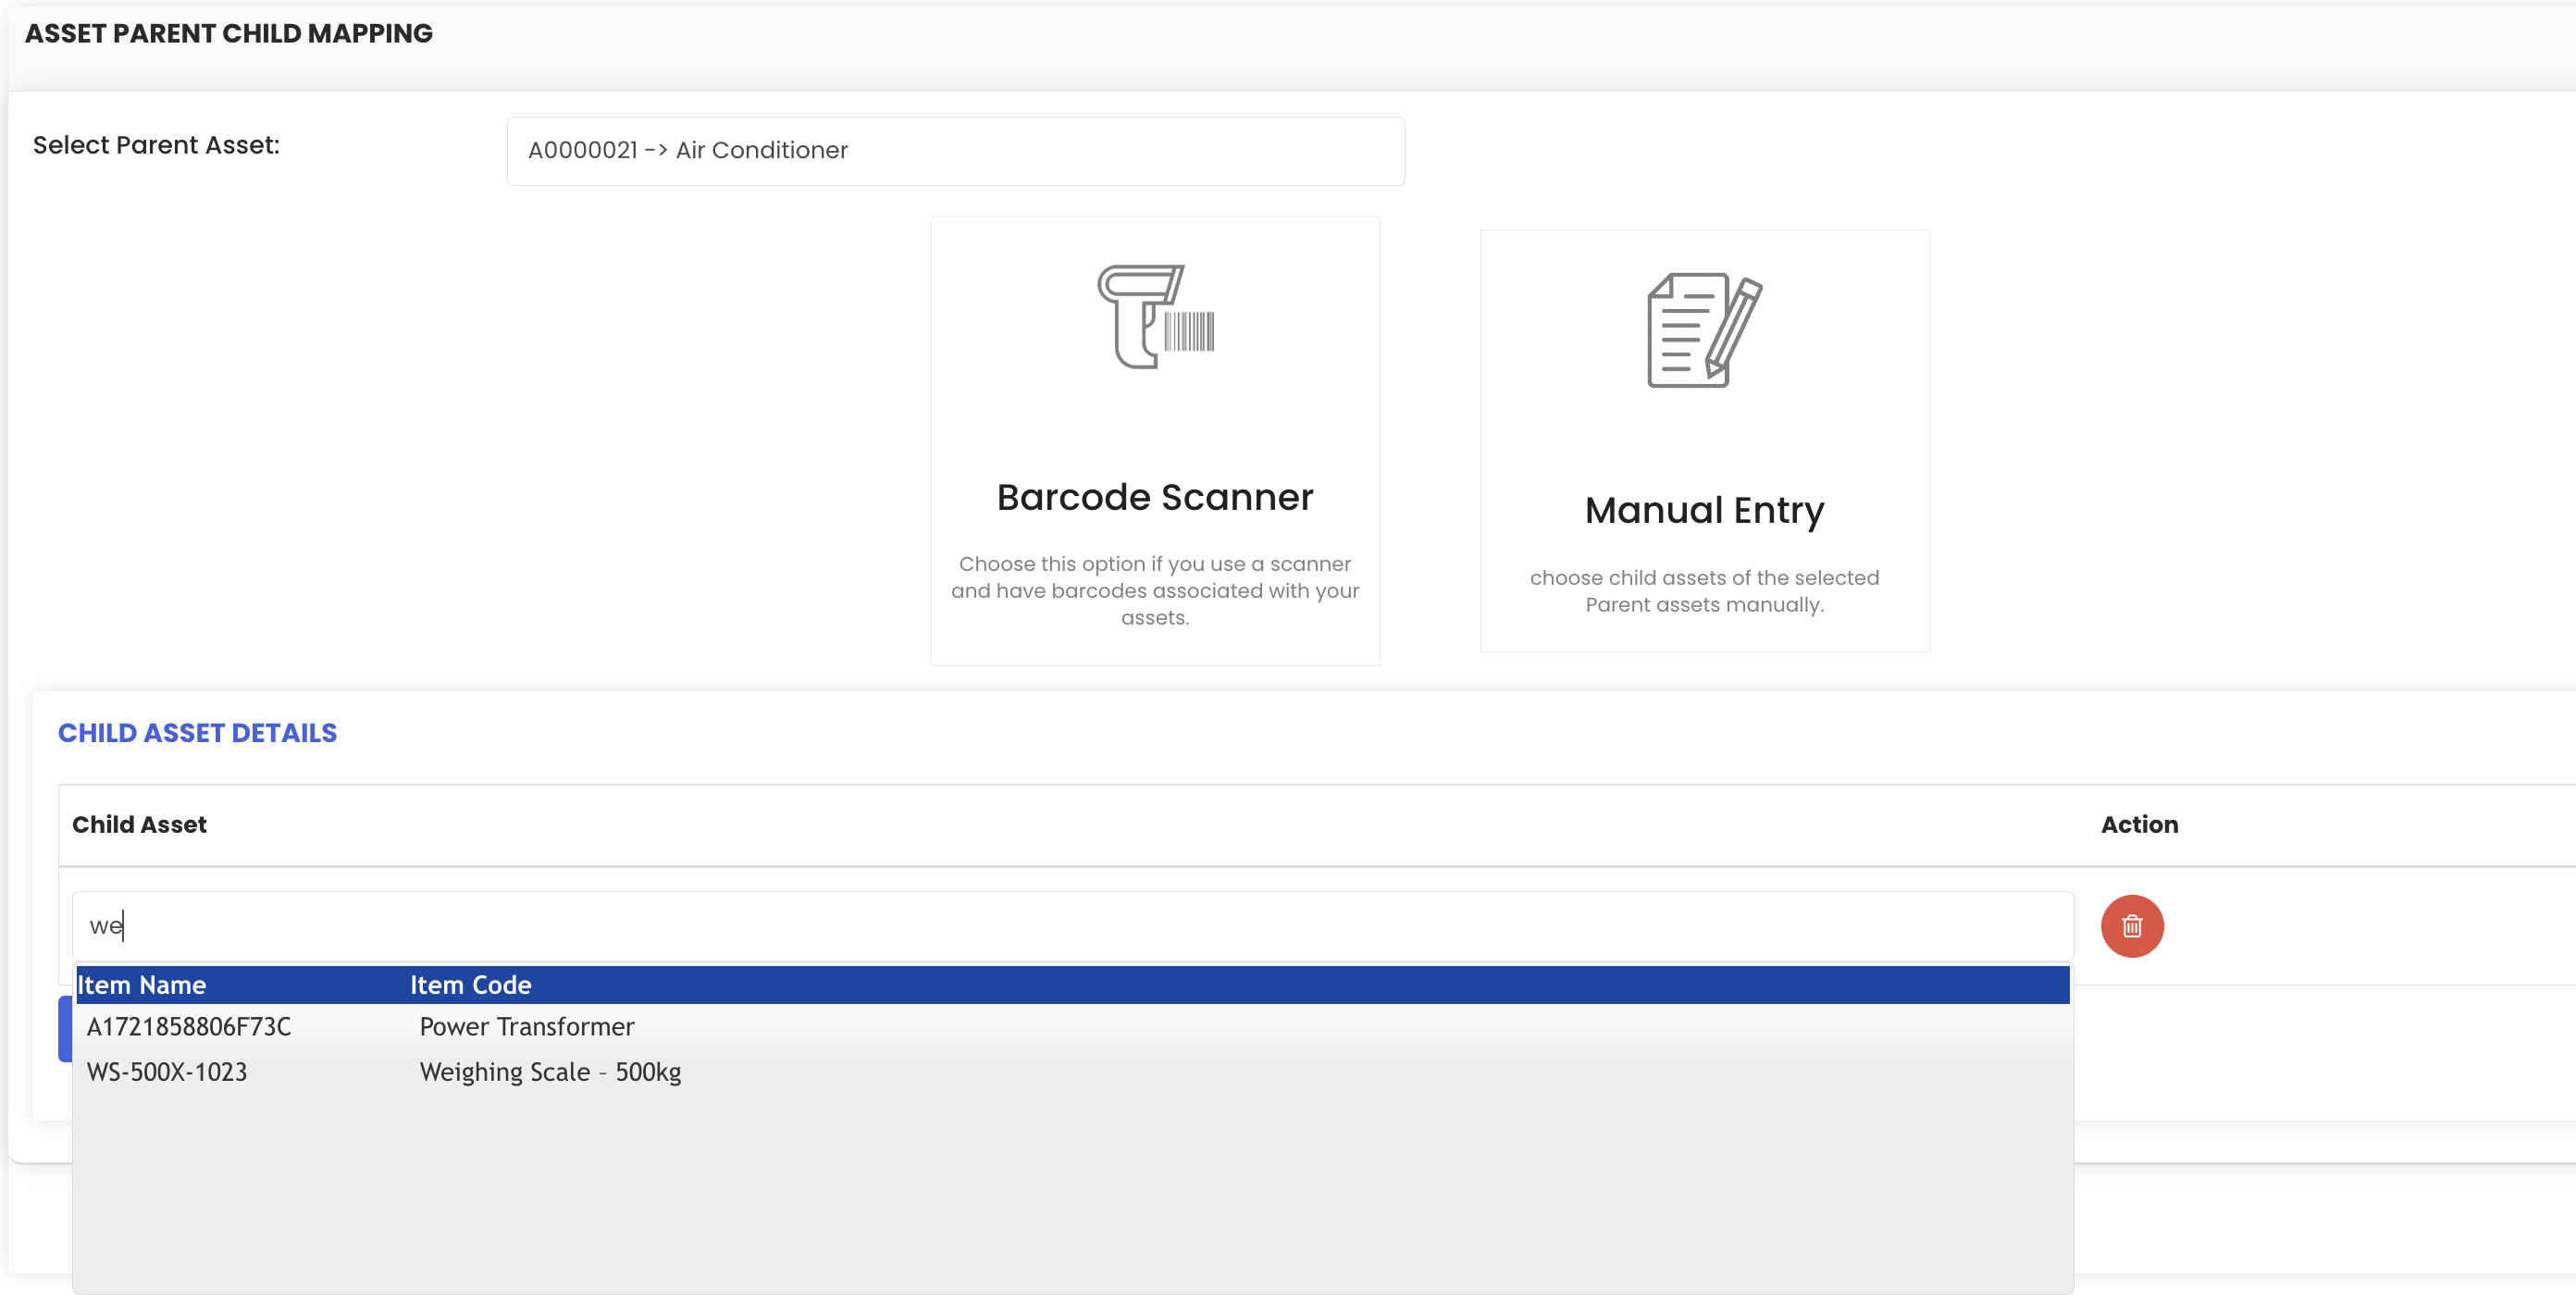
Select the parent asset — this is the main asset to which child assets will be linked. For example, you might select an air conditioner as the parent.
Step 5 – Add Child Assets
Using the manual entry fields, add the child assets one by one. You can add multiple entries, each representing a sub-component or sub-part of the parent asset. These child assets define the components that make up the parent equipment.
Step 6 – Save the Mapping
Once all child assets have been added, click Save. The parent-child mapping will be completed and the relationships will be reflected in the system.
Tips for Parent-Child Mapping
- Plan your asset hierarchy before starting the mapping — knowing which assets are parents and which are children will make the process faster and more accurate.
- Use the barcode scanner method in the field when physical assets are available for scanning — it is faster and reduces the risk of selecting the wrong asset.
- After saving, verify the mapping by opening the parent asset's Equipment Details page and checking the child assets listed under the General tab.
- Child assets can still be managed independently — they have their own Equipment Details pages and can be assigned to work orders or moved separately if needed.
Frequently Asked Questions
Can I add multiple child assets to a single parent at once?
Yes. The mapping screen allows you to add multiple child asset entries before saving, so you can define all sub-components of a parent asset in a single operation.
Can I use a barcode scanner instead of manually selecting assets?
Yes. The parent-child mapping screen supports both barcode scanning and manual entry. Use whichever method is most convenient for your workflow.
Where can I see the child assets after mapping?
Once mapped, child assets are visible from the parent asset's Equipment Details page under the General tab, in the child assets section.
Can a child asset be linked to more than one parent?
Each child asset is typically linked to a single parent. If you need to restructure the hierarchy, you can edit the mapping from the Equipment Details page.
Related Articles
- Create and Manage Assets
- How to Manage Various Asset Information
- Asset Movement
- Import Assets from Excel
- Create Asset Locations