Create Asset Locations
DreamzFSM allows you to create and manage Locations and Facilities as part of your asset structure. Organising your assets into locations helps you link jobs, work requests, and incidents to specific sites — making it easier to track, dispatch, and report across your operations. You can create standalone locations or build a hierarchical structure using parent and sub-locations.
- Create locations and facilities with auto-generated codes
- Link sub-locations to parent locations for automatic address prefill
- Add contact details, entry/exit gates, and other location-specific information
- View locations in Table View or Tree View for a hierarchical overview
- Use QR codes to raise work requests or incident requests directly from a location
Overview
Locations and Facilities are managed under the Assets module in DreamzFSM. When creating a location, you can define its name, description, category, and contact details. Sub-locations can be nested under parent locations, inheriting address information automatically. Once created, locations can be edited, duplicated, deleted, or linked to QR codes for quick field access.
Video Tutorial
How to Create a Location / Facility
Step 1 – Navigate to Facilities
From the main menu, click Assets, then select Facilities. The Facility listing page will open.
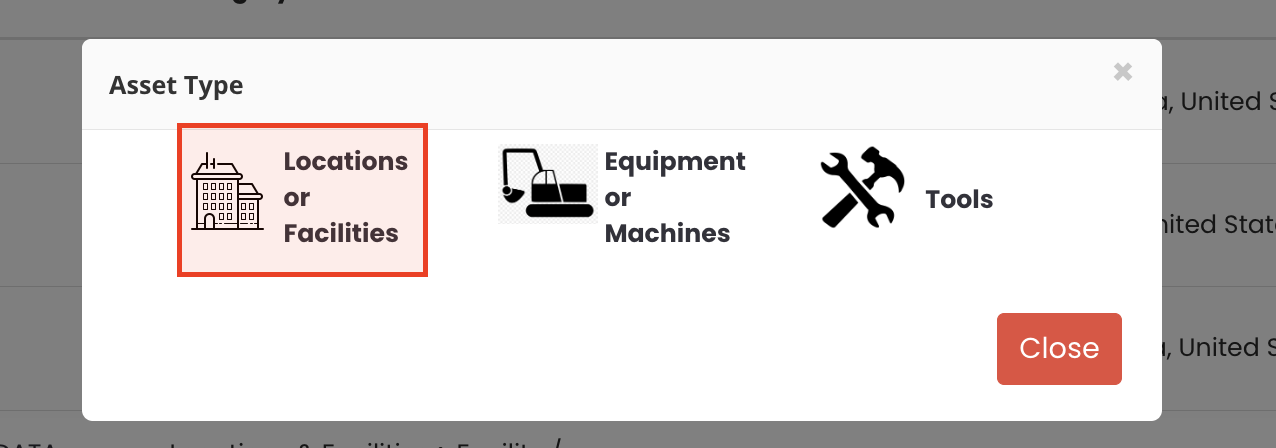
Step 2 – Create a New Location
Click New Asset, then choose Location / Facility from the dropdown. This will open the location creation form.

Step 3 – Enter Location Details
The facility code is automatically generated. Fill in the following details:
- Location Name – Enter a descriptive name for the location
- Description – Add any relevant notes or details about the location
- Category – Select Facility from the category options

Step 4 – Link to a Parent Location (Optional)
If this location is part of a larger site, you can tag it as a sub-location by linking it to a parent location. Once linked, details such as the address will be automatically prefilled from the parent location.
Step 5 – Add Contact and Additional Details
Provide any relevant contact information, such as the person responsible for managing the location. You can also configure additional details such as entry and exit gates if required for your site.
Step 6 – Save the Location
Once all the necessary information has been entered, click Save. The location will be added to the Facility list and will be available for use across jobs, work requests, and incidents.
Managing Locations
Switching Between Views
The facility listing page offers two ways to view your locations:
- Table View – Displays all locations in a list format with action options for each entry
- Tree View – Displays a hierarchical structure of locations, making it easy to see parent and child relationships when locations are properly linked

Location Actions
In the Table View, each location row includes the following action options:
- Edit – Update the location's details at any time
- Delete – Remove a location that is no longer needed
- Duplicate – Create a copy of the location, useful when multiple sites share similar details
- QR Code – Generate a QR code for the location that can be scanned in the field to raise work requests or incident requests directly for that site
Tips for Managing Locations
- Use the sub-location feature to build a proper site hierarchy — this saves time on data entry as address details are prefilled automatically from the parent location.
- Use the Tree View to verify that your parent-child location relationships are correctly structured before assigning assets or jobs.
- Use the Duplicate option when setting up multiple locations that share the same category, contact, or address details — then edit only what is different.
- Print or display QR codes at each physical site so field staff can quickly raise work or incident requests without navigating through the system.
- Add a clear and consistent naming convention for your locations from the start to make filtering and reporting easier as your asset list grows.
Frequently Asked Questions
Is the facility code automatically assigned?
Yes. When you create a new location, the facility code is generated automatically by the system. You do not need to enter it manually.
What happens when I link a sub-location to a parent location?
When a sub-location is linked to a parent, certain details such as the address are automatically prefilled based on the parent location's information. You can still edit these details if the sub-location requires different values.
What is the Tree View used for?
The Tree View displays your locations in a hierarchical structure, showing parent and child relationships. It is particularly useful when you have multiple nested sub-locations and want a clear overview of how your facilities are organised.
Can I create a location without linking it to a parent?
Yes. Linking to a parent location is optional. If the location is a standalone site, you can leave the parent field blank and enter the address and details manually.
What can the QR code be used for?
The QR code generated for a location can be scanned by field staff to raise work requests or incident requests directly for that specific location, without needing to navigate through the system manually.
Can I duplicate a location?
Yes. The Duplicate option in the Table View creates a copy of an existing location. This is useful when multiple locations share similar details — you can duplicate and then edit only the fields that differ.
Related Articles
- Create and Manage Assets
- Manage Work Requests
- Create and Manage Jobs
- Assign Jobs to Technicians
- Job Status Management