Leave Management
Leave Management in DreamzCMMS enables organizations to track, review, and manage employee leave requests — including vacation, sick leave, or other absence types — all within a centralized system. This feature provides a streamlined process for submitting requests, approving or rejecting leave, and maintaining accurate leave records for operational planning and payroll alignment.
Overview
The Leave Management module helps teams manage employee time off in a paperless, transparent, and auditable way. Instead of manual spreadsheets or email exchanges, employees can submit leave requests digitally, and managers can review and action them within the system. Leave balances, statuses, and history are visible at a glance, ensuring clarity and accountability.
Here is a reference video:
Before You Begin
Ensure you have access to the Leave Management section within DreamzCMMS.
Confirm employee profiles are set up correctly in the system with relevant fields such as employee name, department, and role.
Know your organization’s leave types and policies (e.g., annual leave, sick leave, comp time) so they can be accurately applied.
How to Use Leave Management
Step 1 — Open Leave Management Section
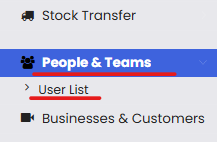
From the navigation menu, click on People & Teams and navigate to User List to open the dashboard where leave requests and records are listed.
Step 2 — Submit a New Leave Request
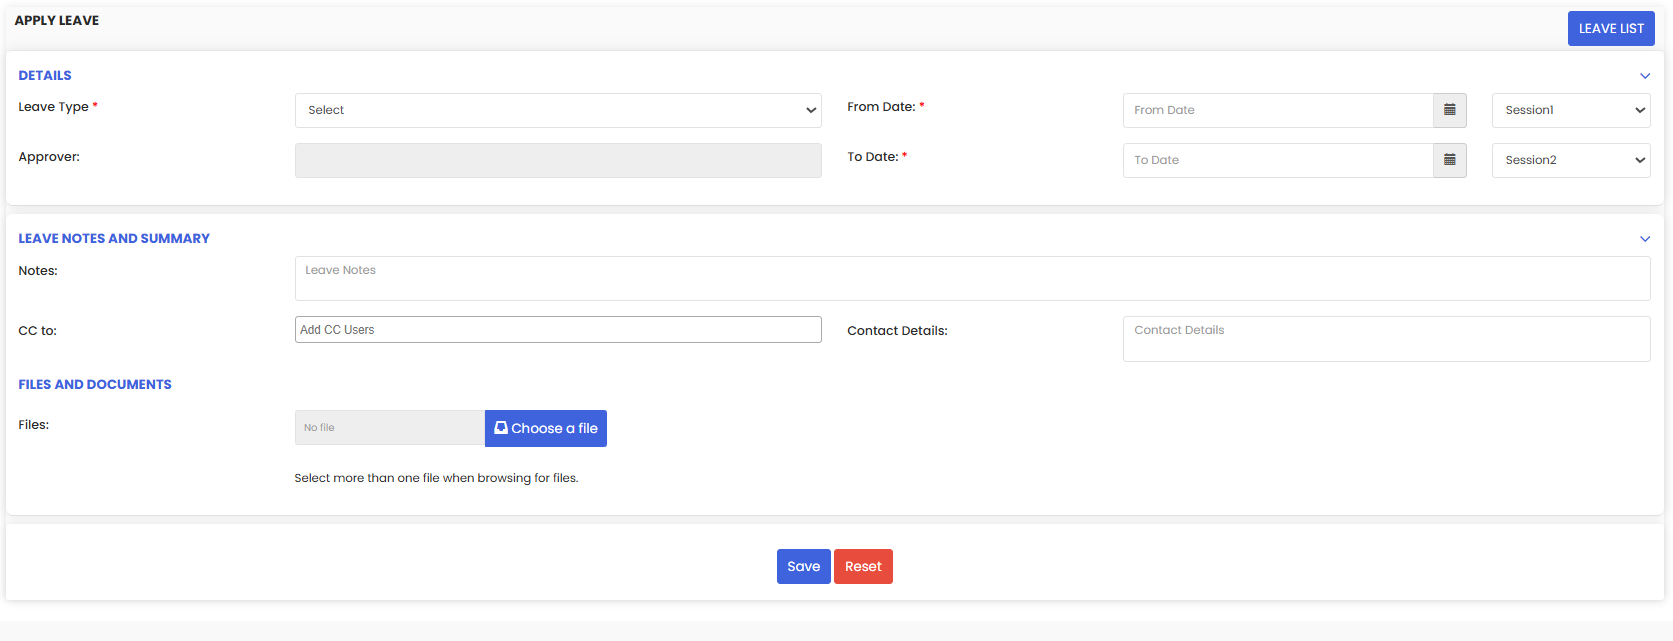
Employees can create a new leave request by:
Clicking the New Leave Request button.
Entering required details such as:
Leave Type (e.g., annual, sick)
Start Date
End Date
Comments or reason for leave
Clicking Submit to send the request for approval.
Step 3 — Review Leave Requests (Manager/Supervisor)
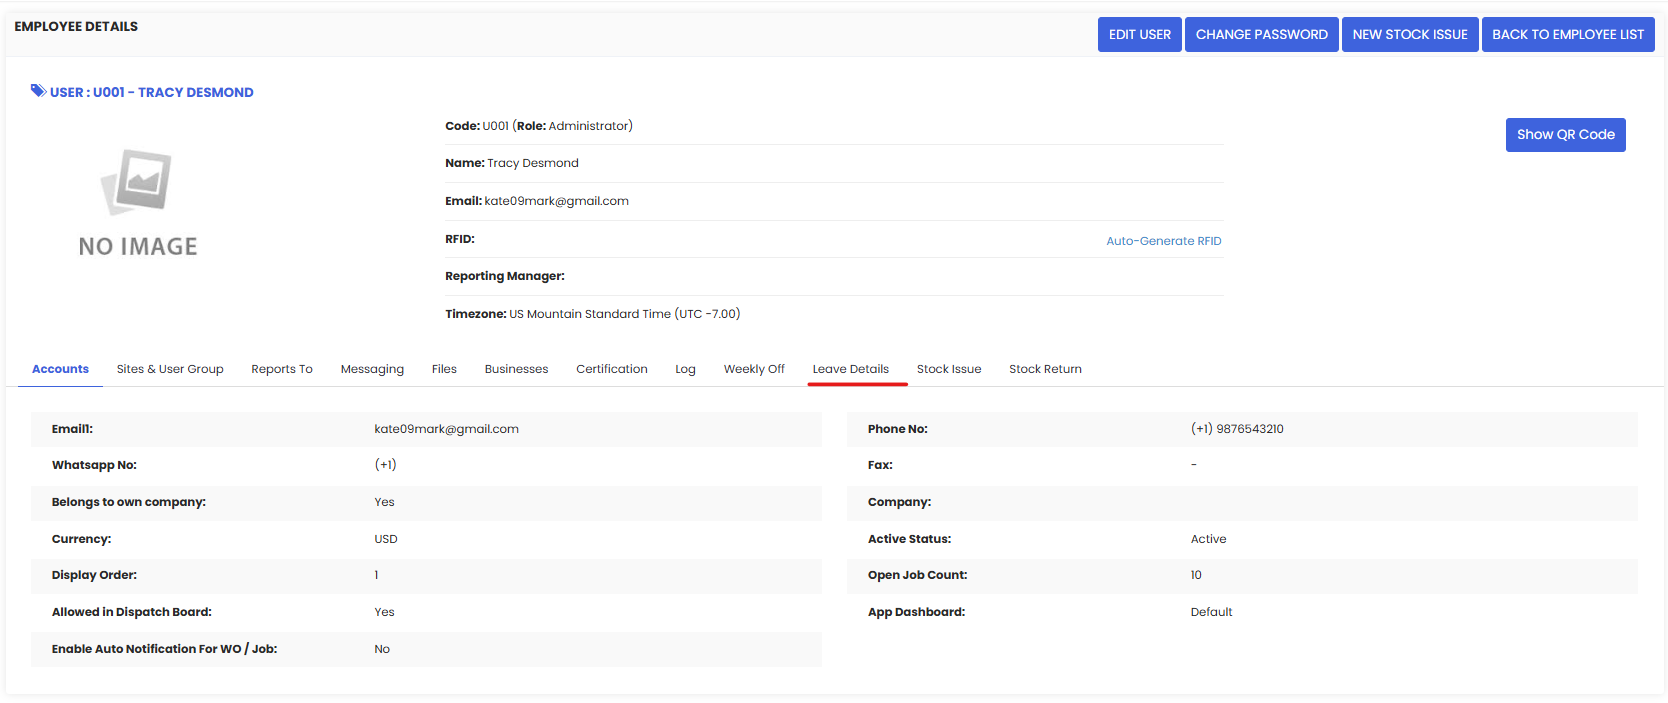
Managers or supervisors with appropriate permissions will see submitted leave requests in the list. From here they can:
Approve leave — marking the request as accepted.
Reject leave — declining the request with an optional comment.
View leave history — see previous leave activity for the employee.
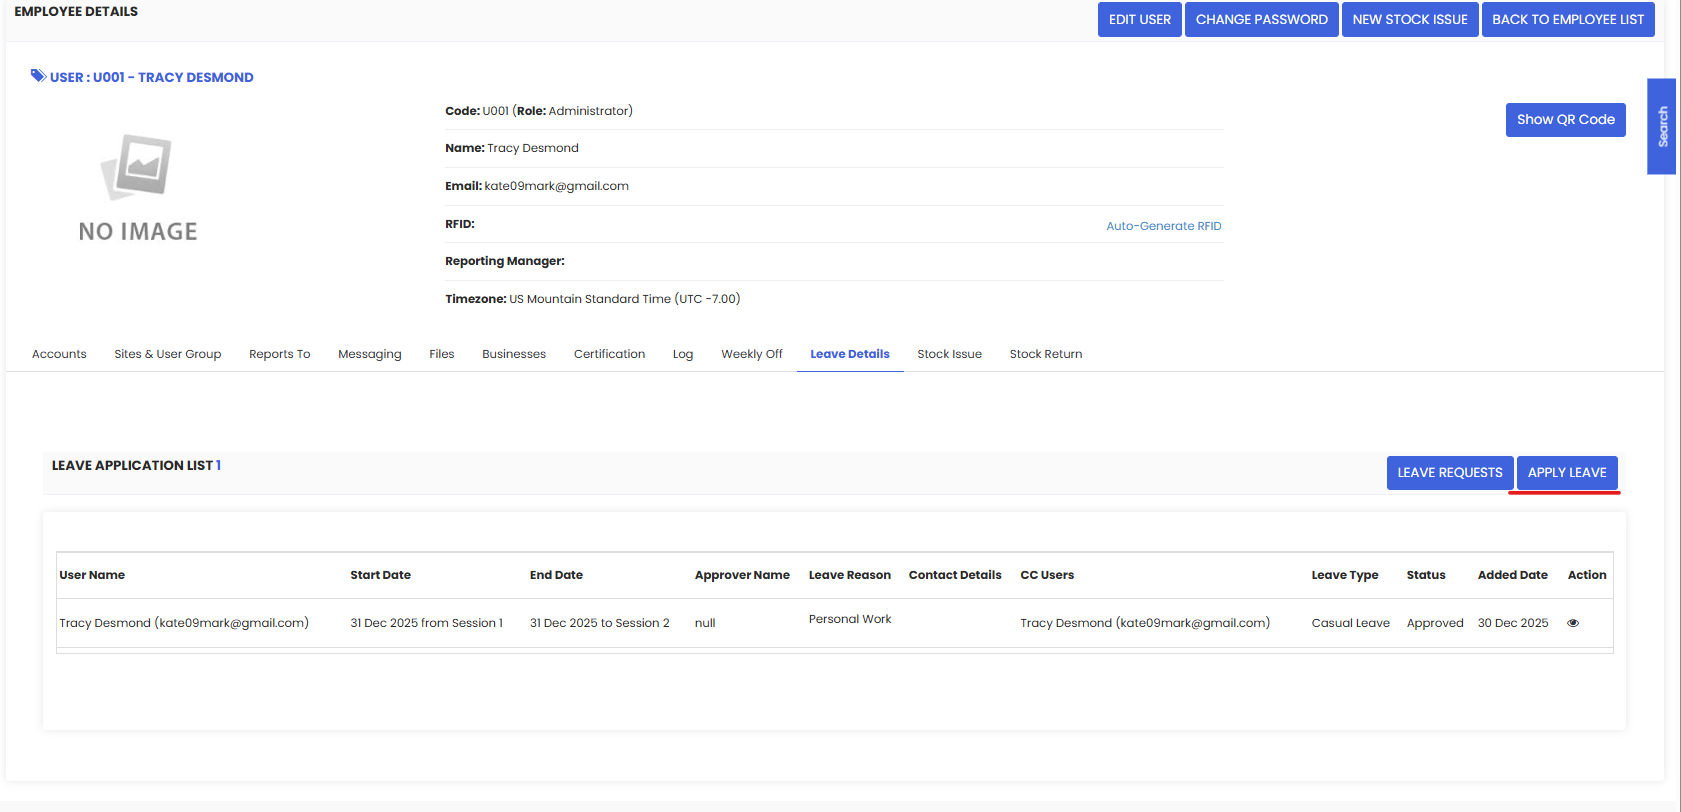
Step 4 — Track Leave Status
Once submitted:
The leave request will show a status (Pending, Approved, Rejected).
Employees and managers can view all past and current leave requests in the Leave List.
System notifications or emails may be sent based on status updates (depending on configuration).
After Managing Leave
Approved leaves update employee schedules so other teams can plan work coverage accordingly.
Rejected requests remain visible with comments explaining decisions.
Leave balances can be monitored to ensure compliance with company policy and payroll requirements.
Tips for Effective Leave Management
Standardize leave types and policies so employees know their options.
Encourage employees to submit leave requests early to improve resource planning.
Review leave balances regularly to avoid discrepancies or payroll disputes.
Use clear comments on approvals/rejections to communicate reasoning and avoid confusion.
Frequently Asked Questions (FAQs)
1. Who can submit a leave request?
Any employee with access to the Leave Management module can submit a request by entering leave type, dates, and a reason before clicking Submit.
2. How does a manager approve or reject leave?
Managers review leave requests from the Leave Management list and choose Approve or Reject, optionally adding comments to explain decisions.
3. Where can I see the status of my leave?
After submission, the leave request appears in the employee’s Leave List with a status label such as Pending, Approved, or Rejected.
4. Can I track leave balances or leave history?
Yes — Leave Management displays historical leave activity and helps track leave balances over time for planning and compliance.
Related Articles
- Import Asset Locations
- How to Add BOM to a Facility/Location
- How to Assign Personnel to a Location/Facility
- Create and Manage Work Orders