Schedule Jobs Calendar and Kanban View
This guide demonstrates how to create and schedule a job using DreamzFSM. You will learn how to add job details, assign customers, and manage jobs effectively using both the Schedule and Kanban views.
Overview
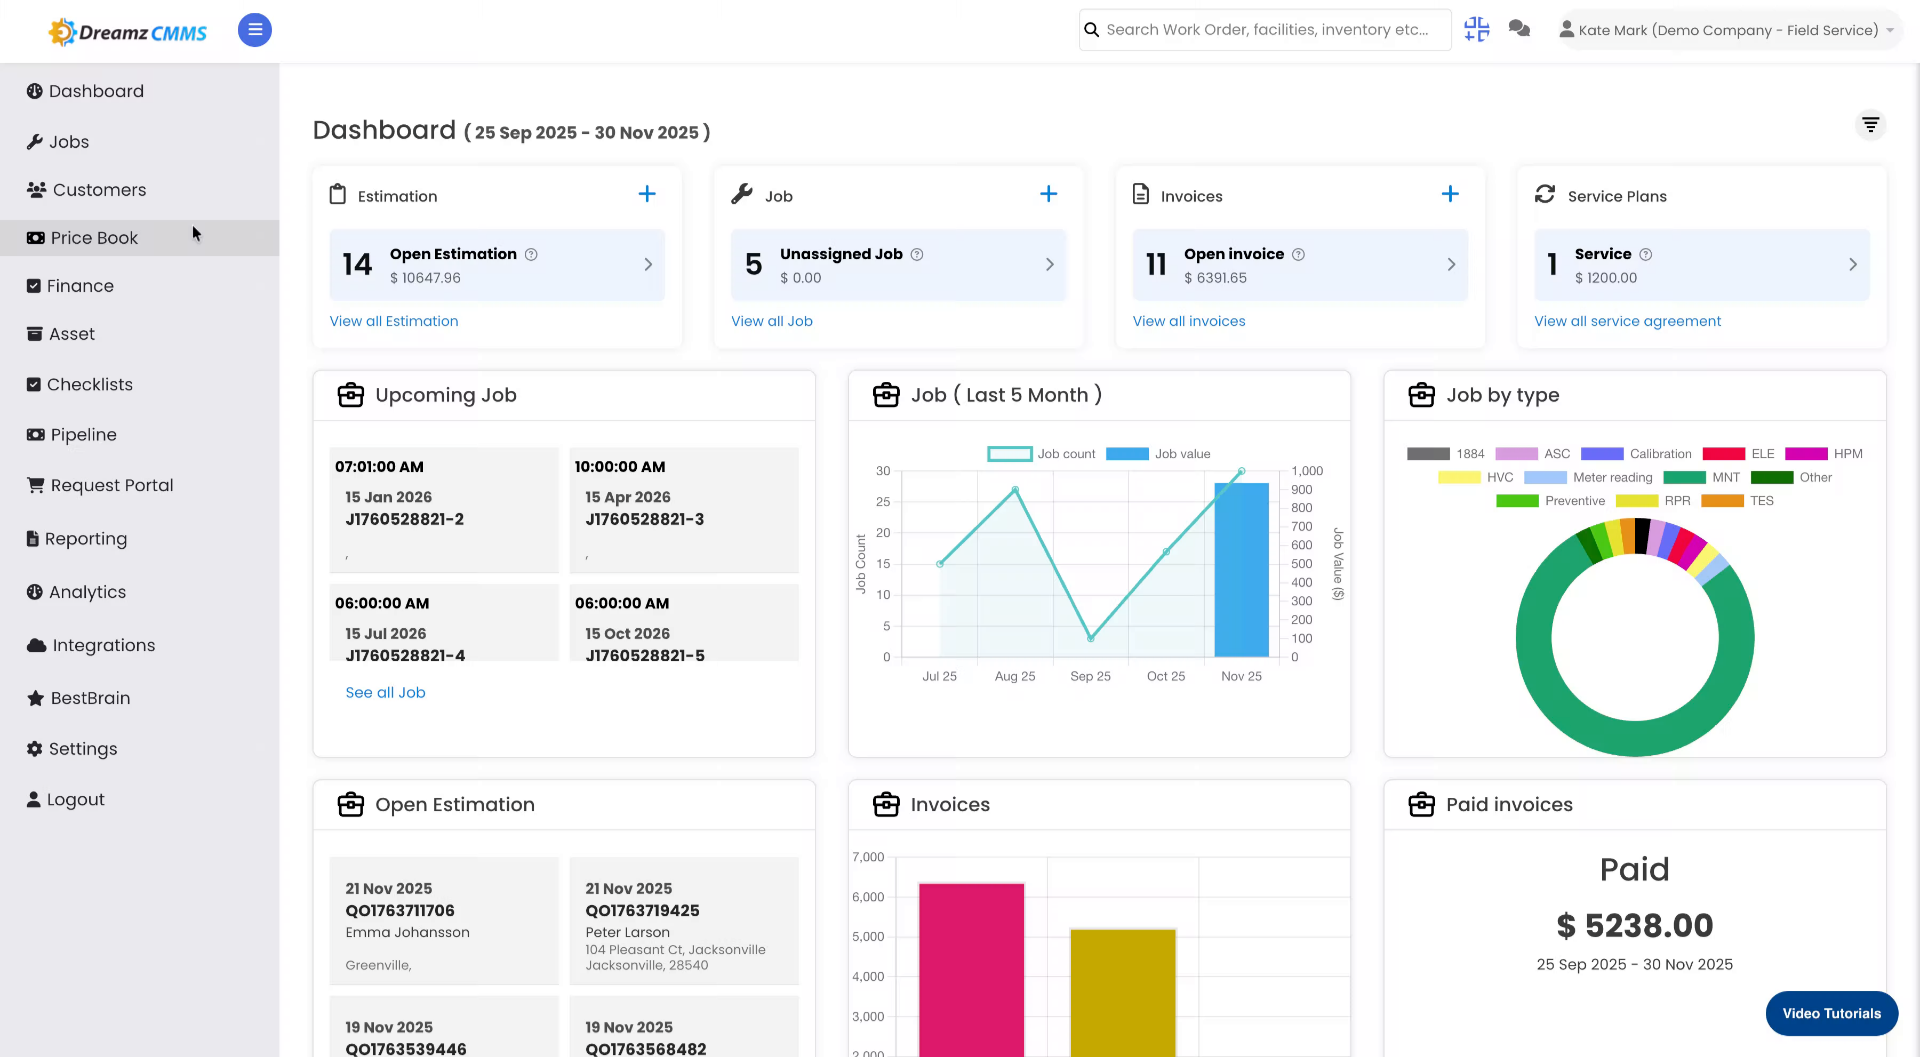
The Schedule view in DreamzFSM allows you to create new job orders, add descriptions, assign customers, and manage all active jobs in one place. Once a job is created, you can switch to the Kanban View to visualise jobs as cards on a board, making it easy to track progress across different stages of the workflow.
Here is a reference video:
How to Schedule a Job
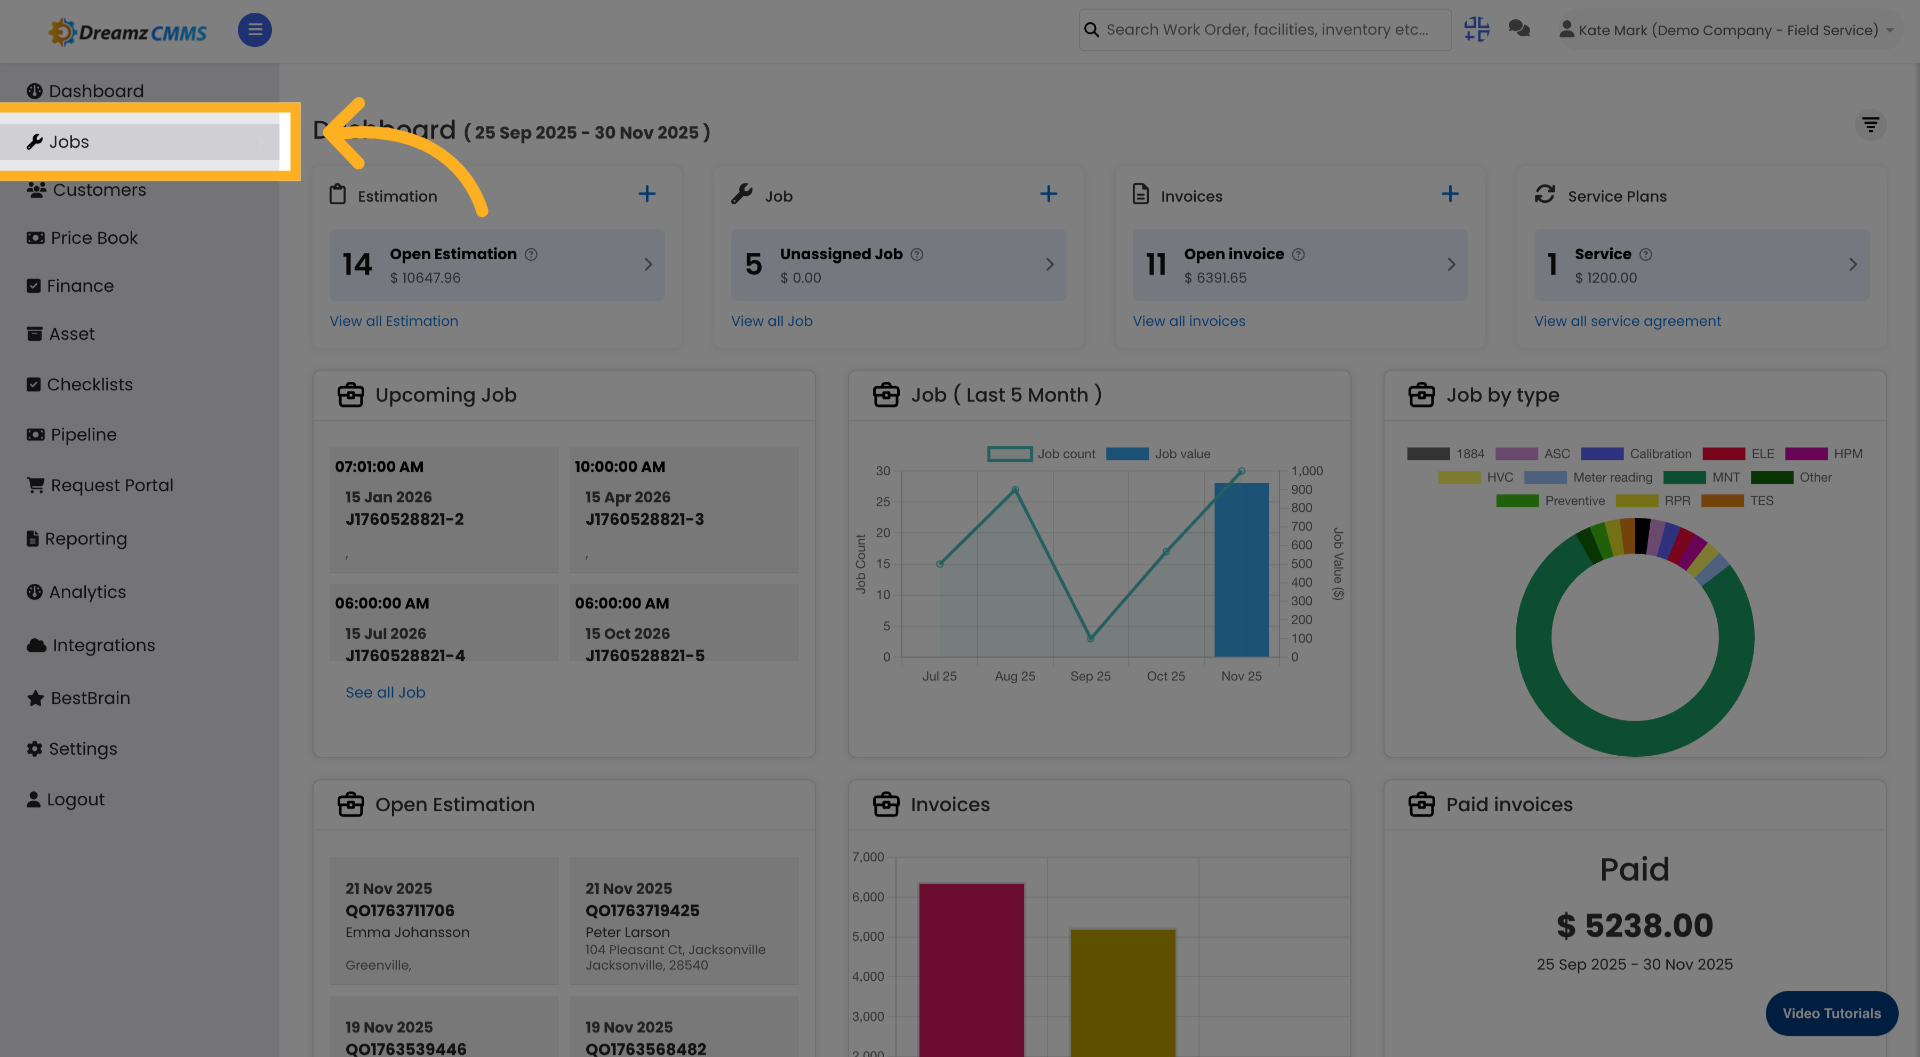
Step 1 – Navigate to the Jobs Section
From the main menu, click Jobs to access the job management area.
Step 2 – Open the Schedule Tab
Click the Schedule tab to view and manage all scheduled jobs.
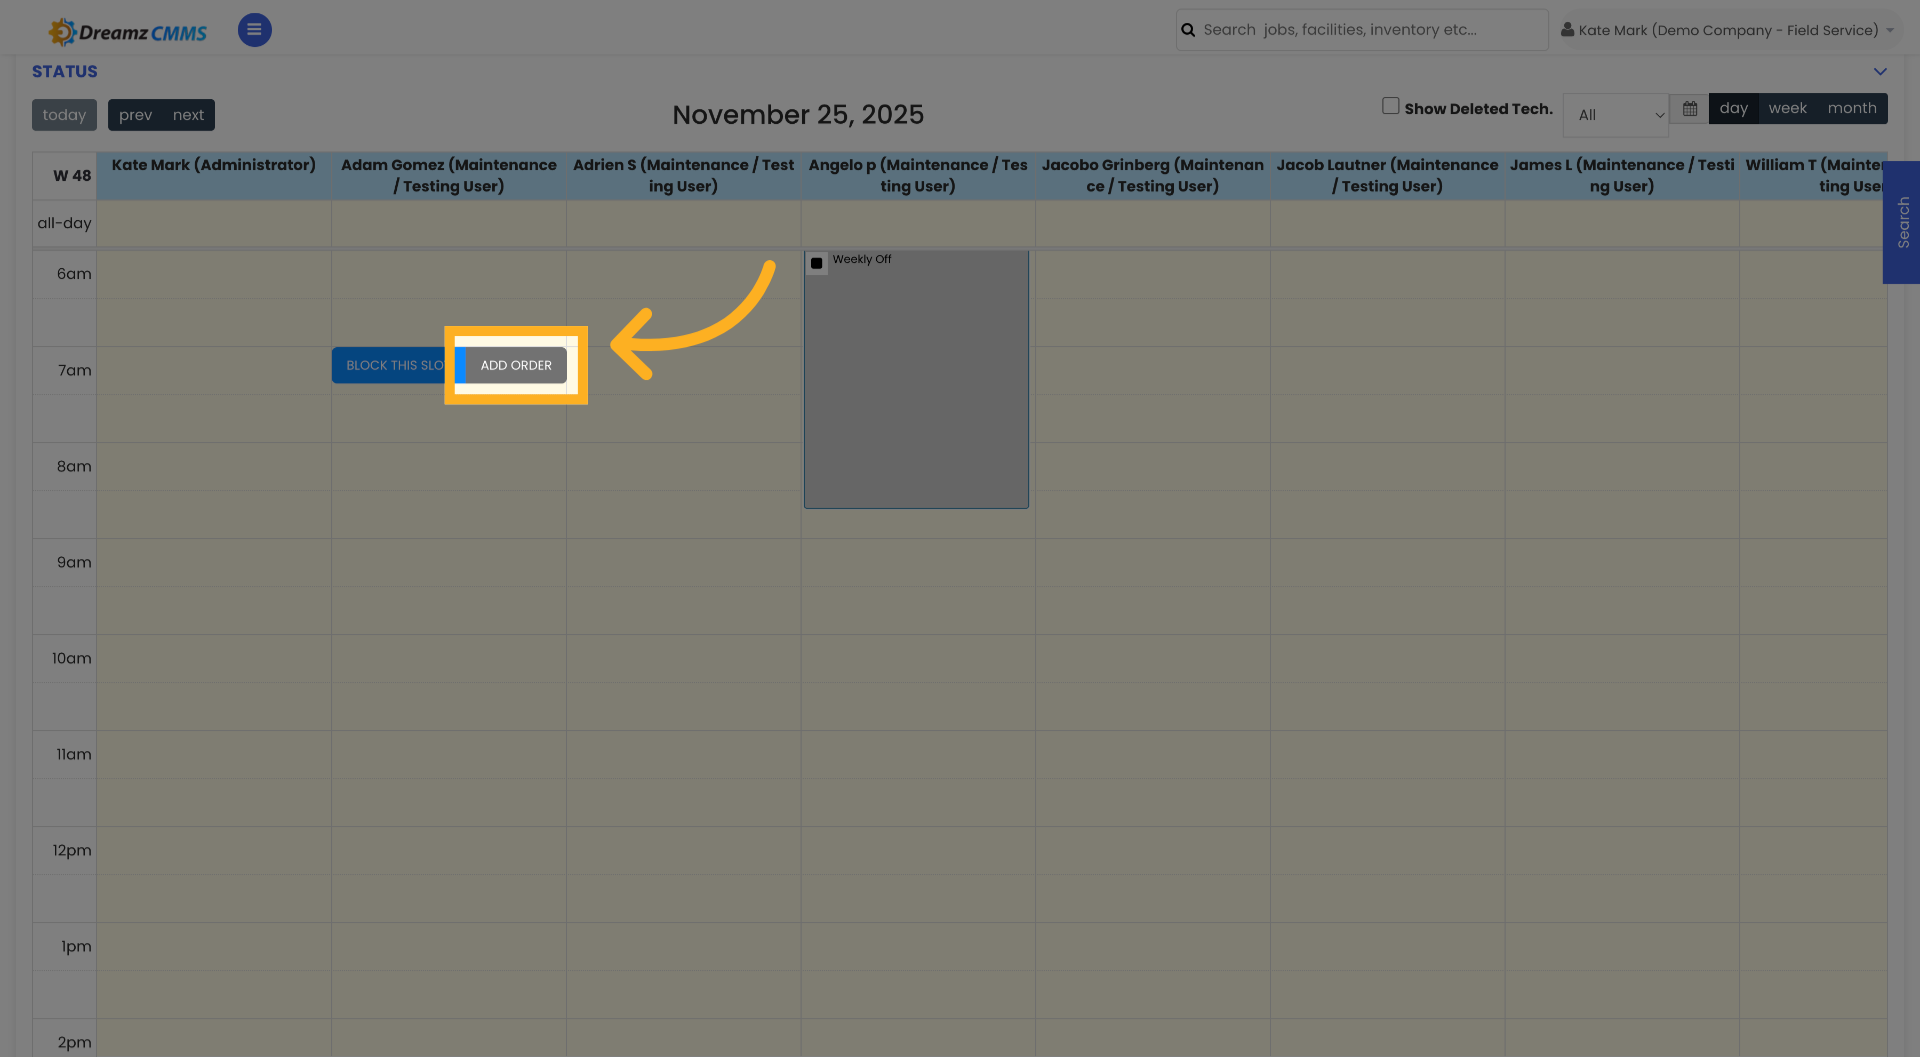
Step 3 – Add a New Job Order
Click the ADD ORDER button to start creating a new job.

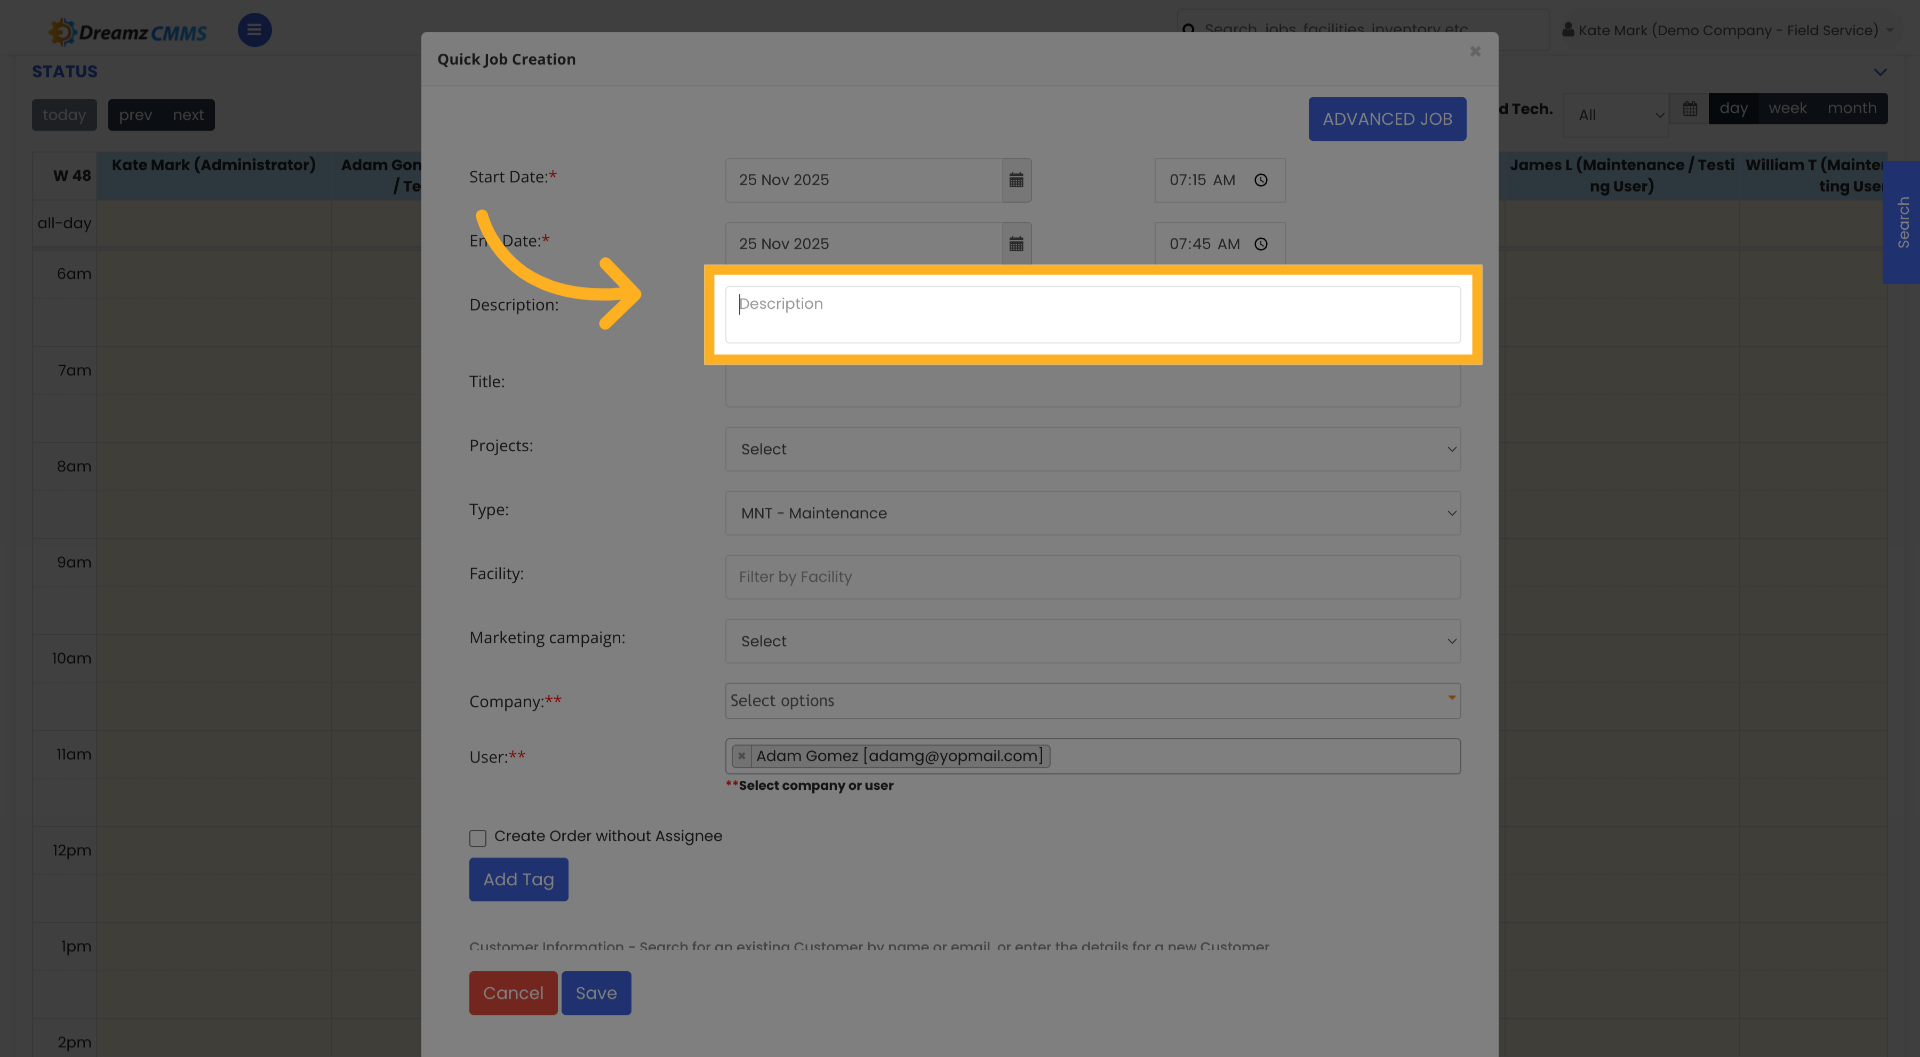
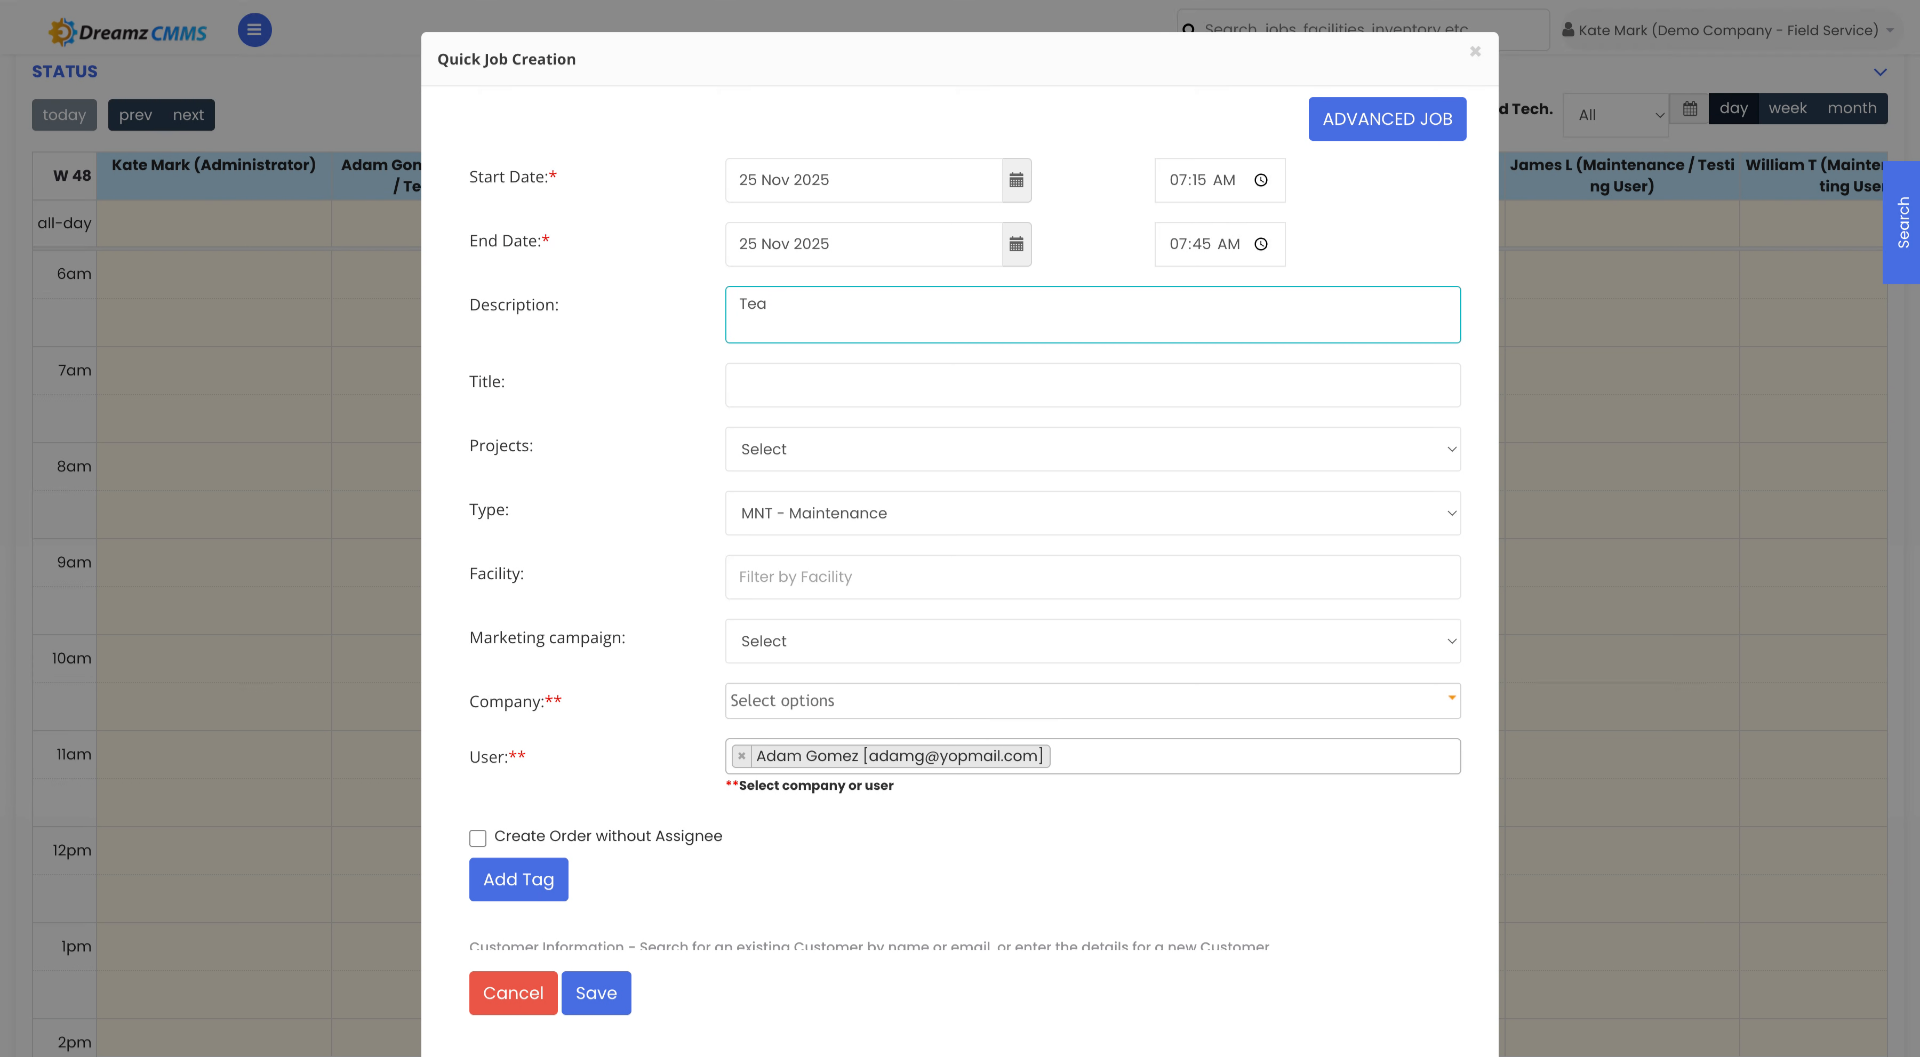
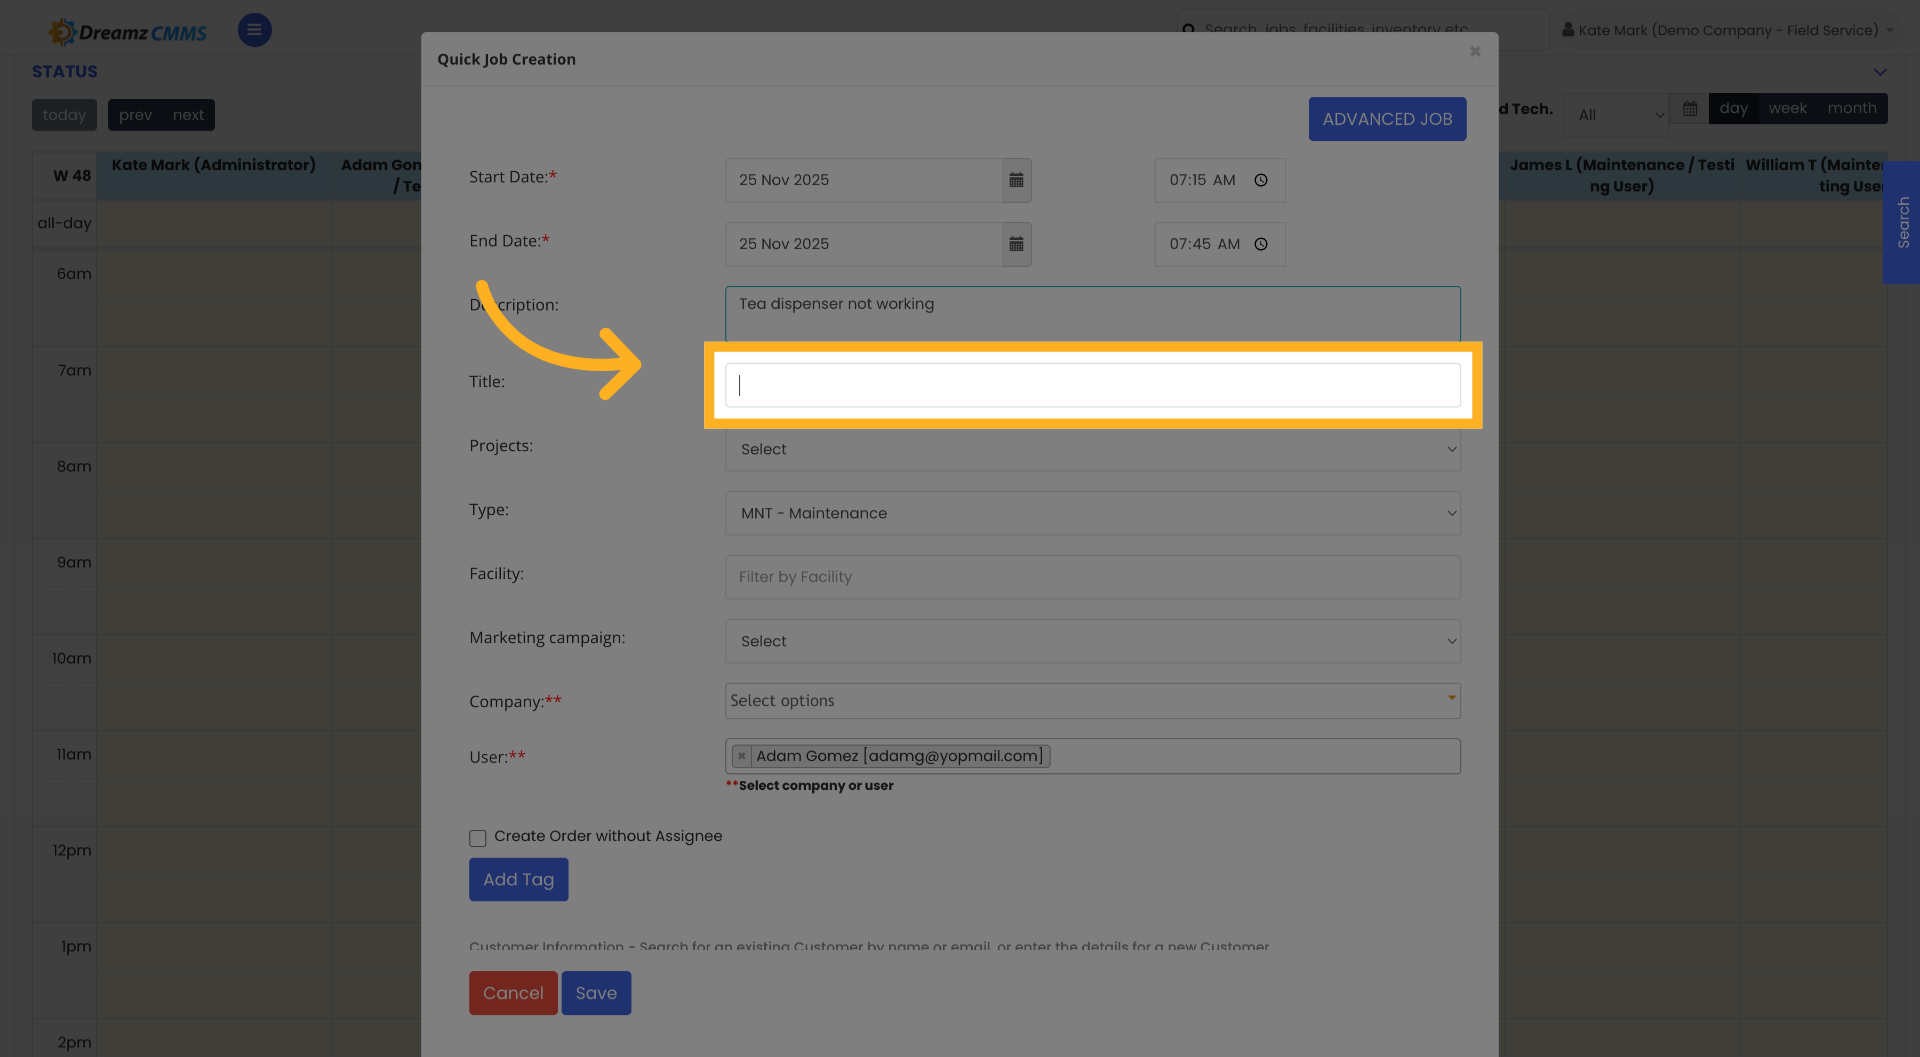
Step 4 – Enter the Job Description
Click the Description field and enter a brief description of the job. Then click the indicated area to expand and add a more detailed description of the work to be done.

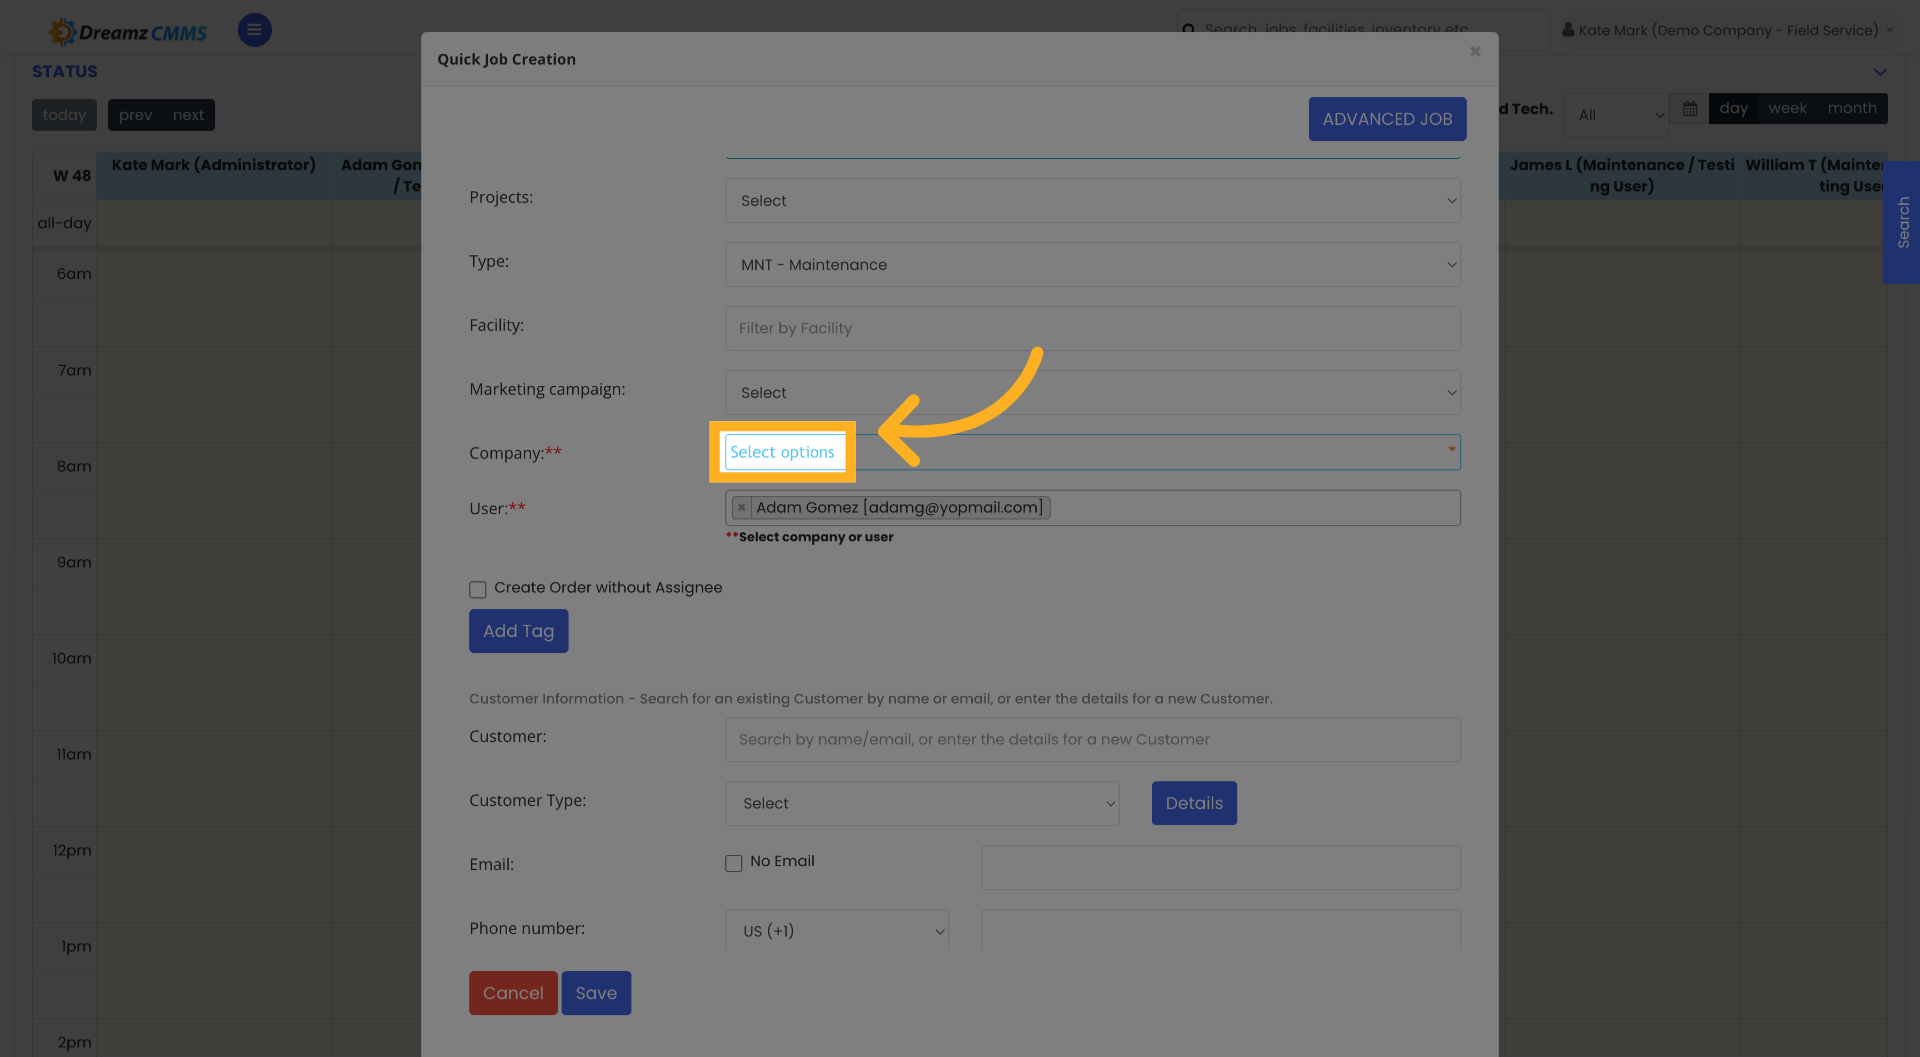
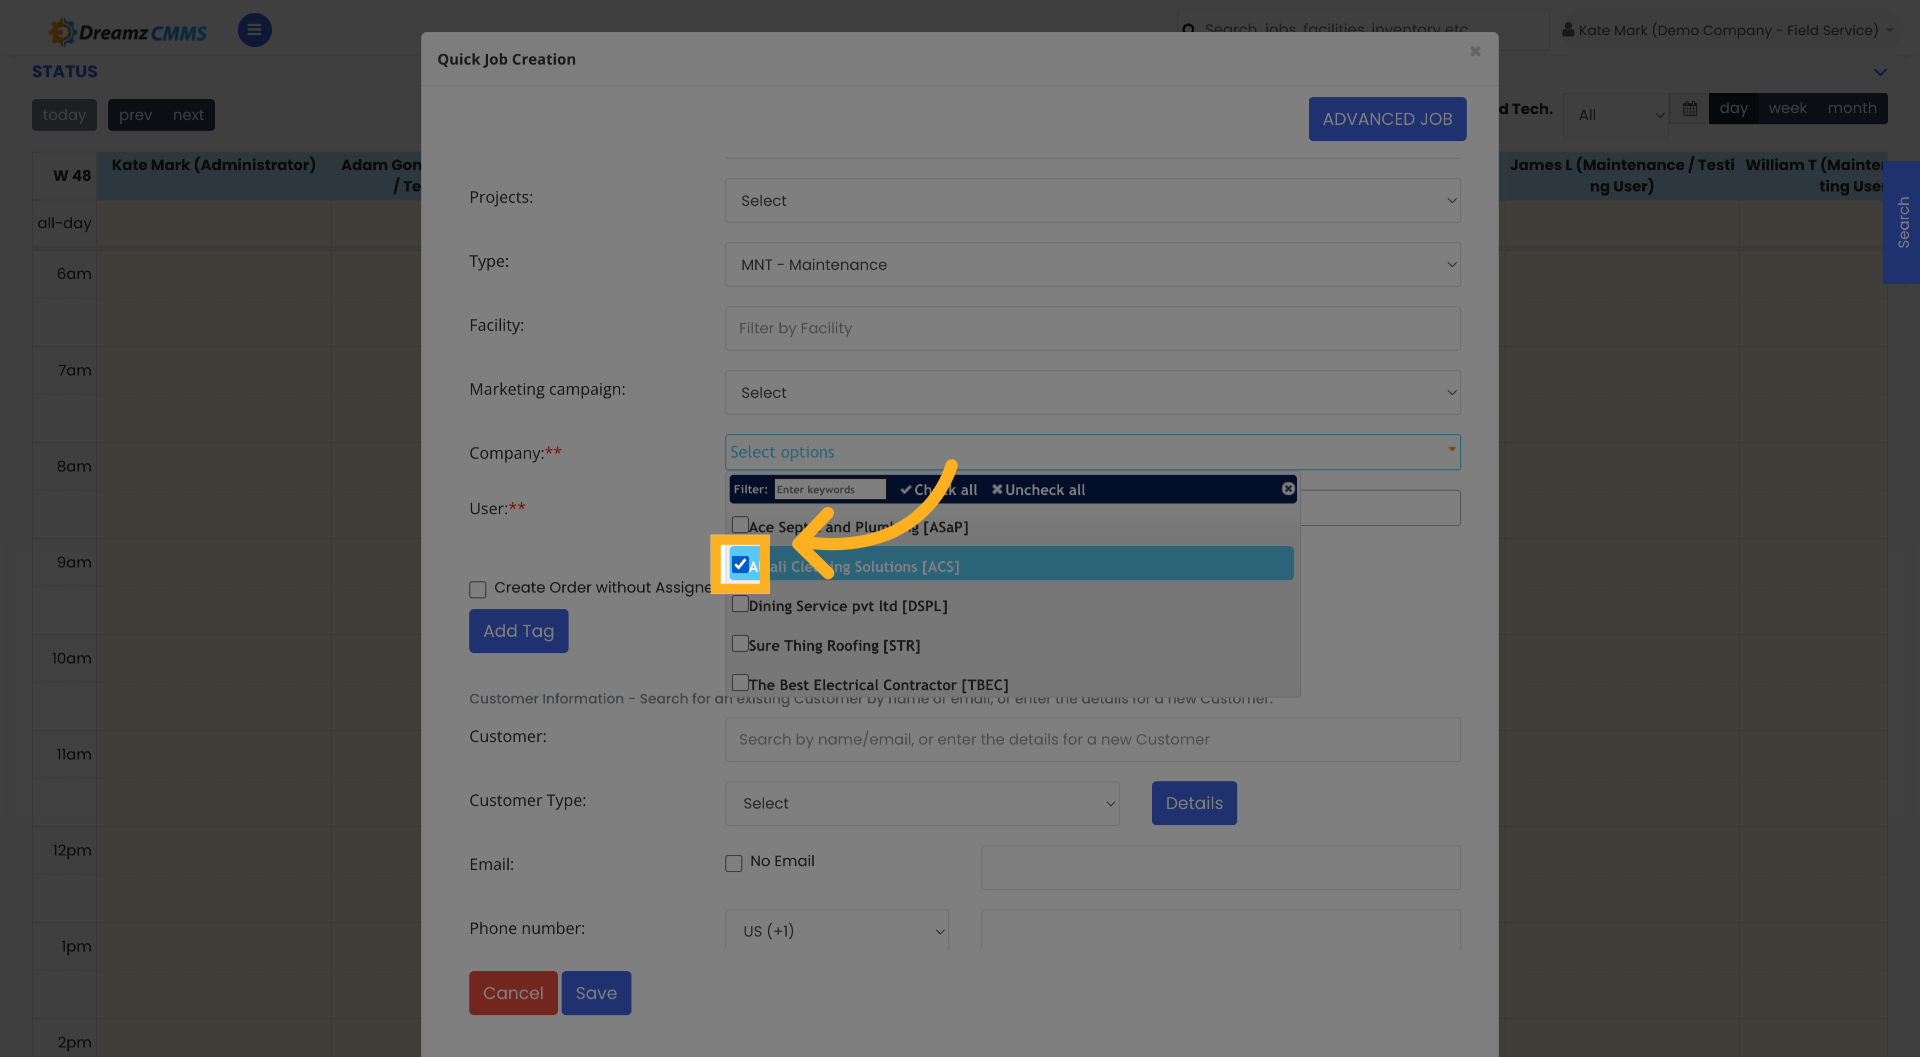
Step 5 – Select Job Options and Assign a Company
Click Select Options to choose the relevant job parameters, then select a company to associate with the job.
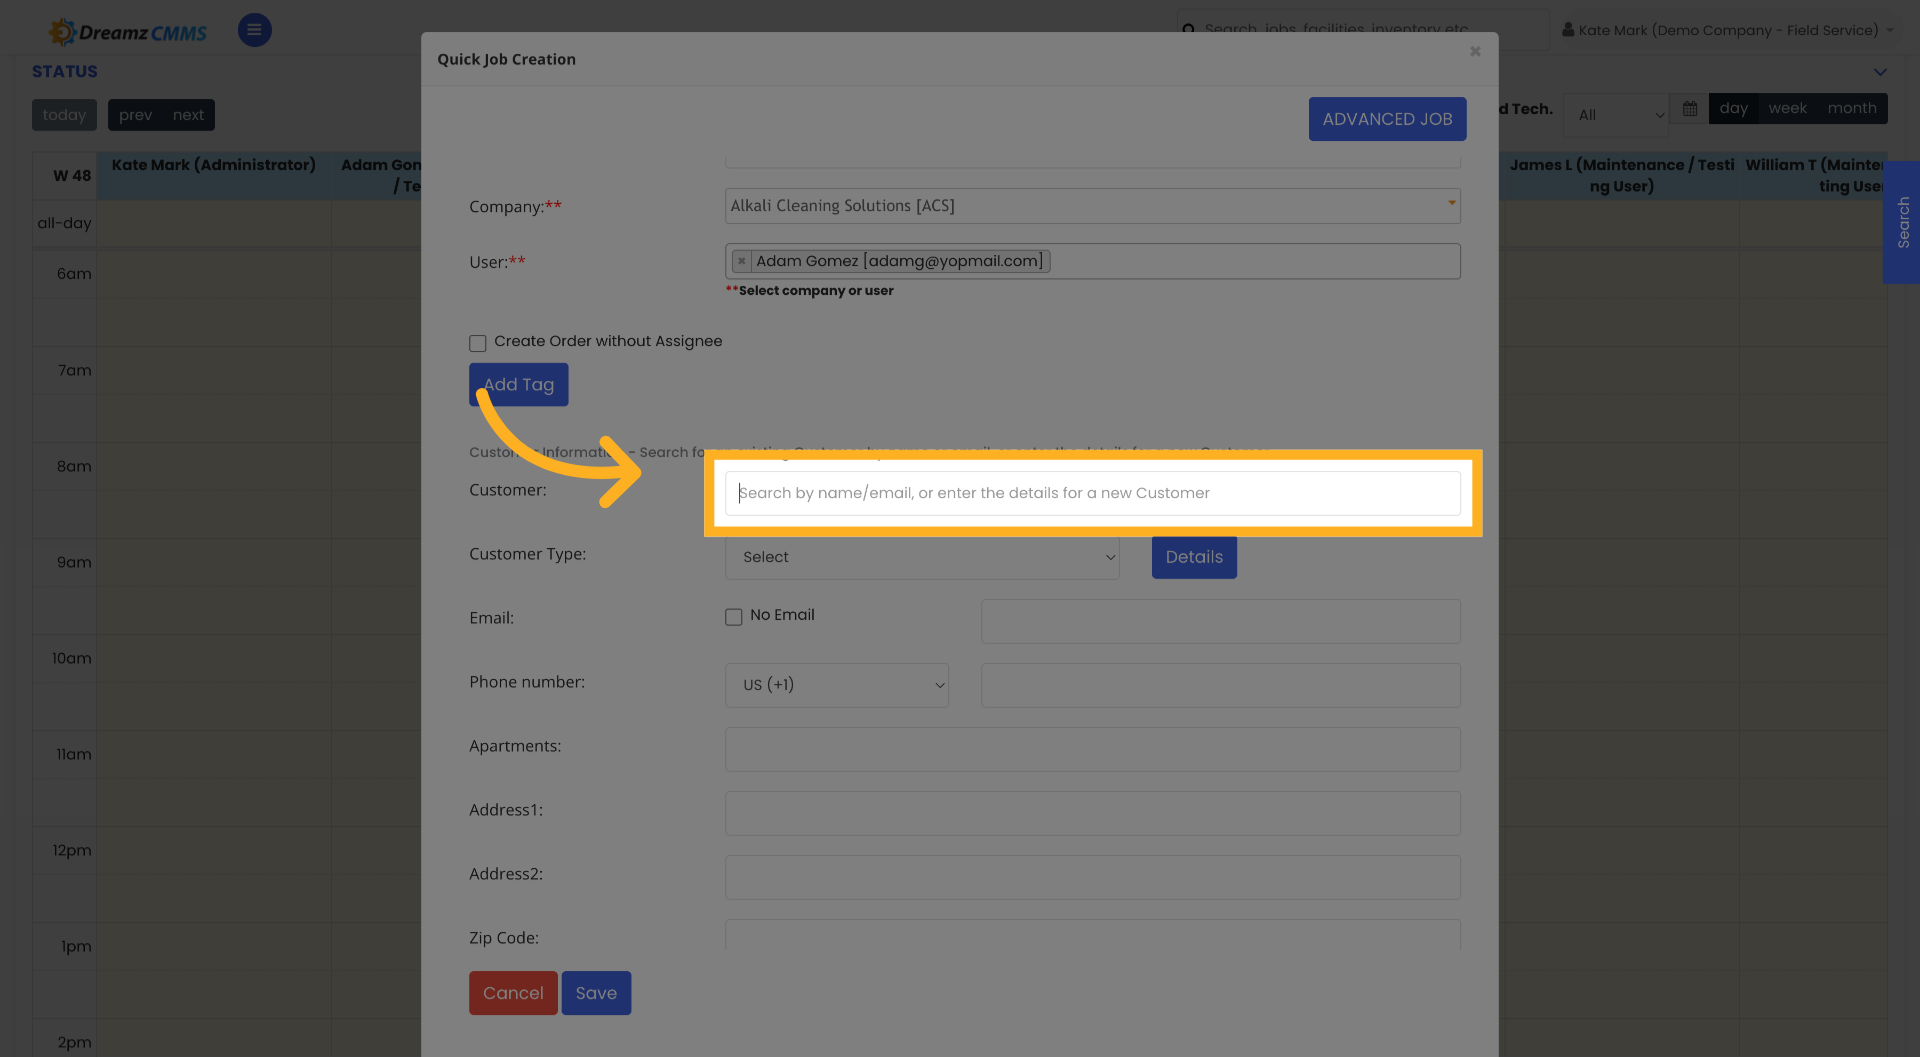
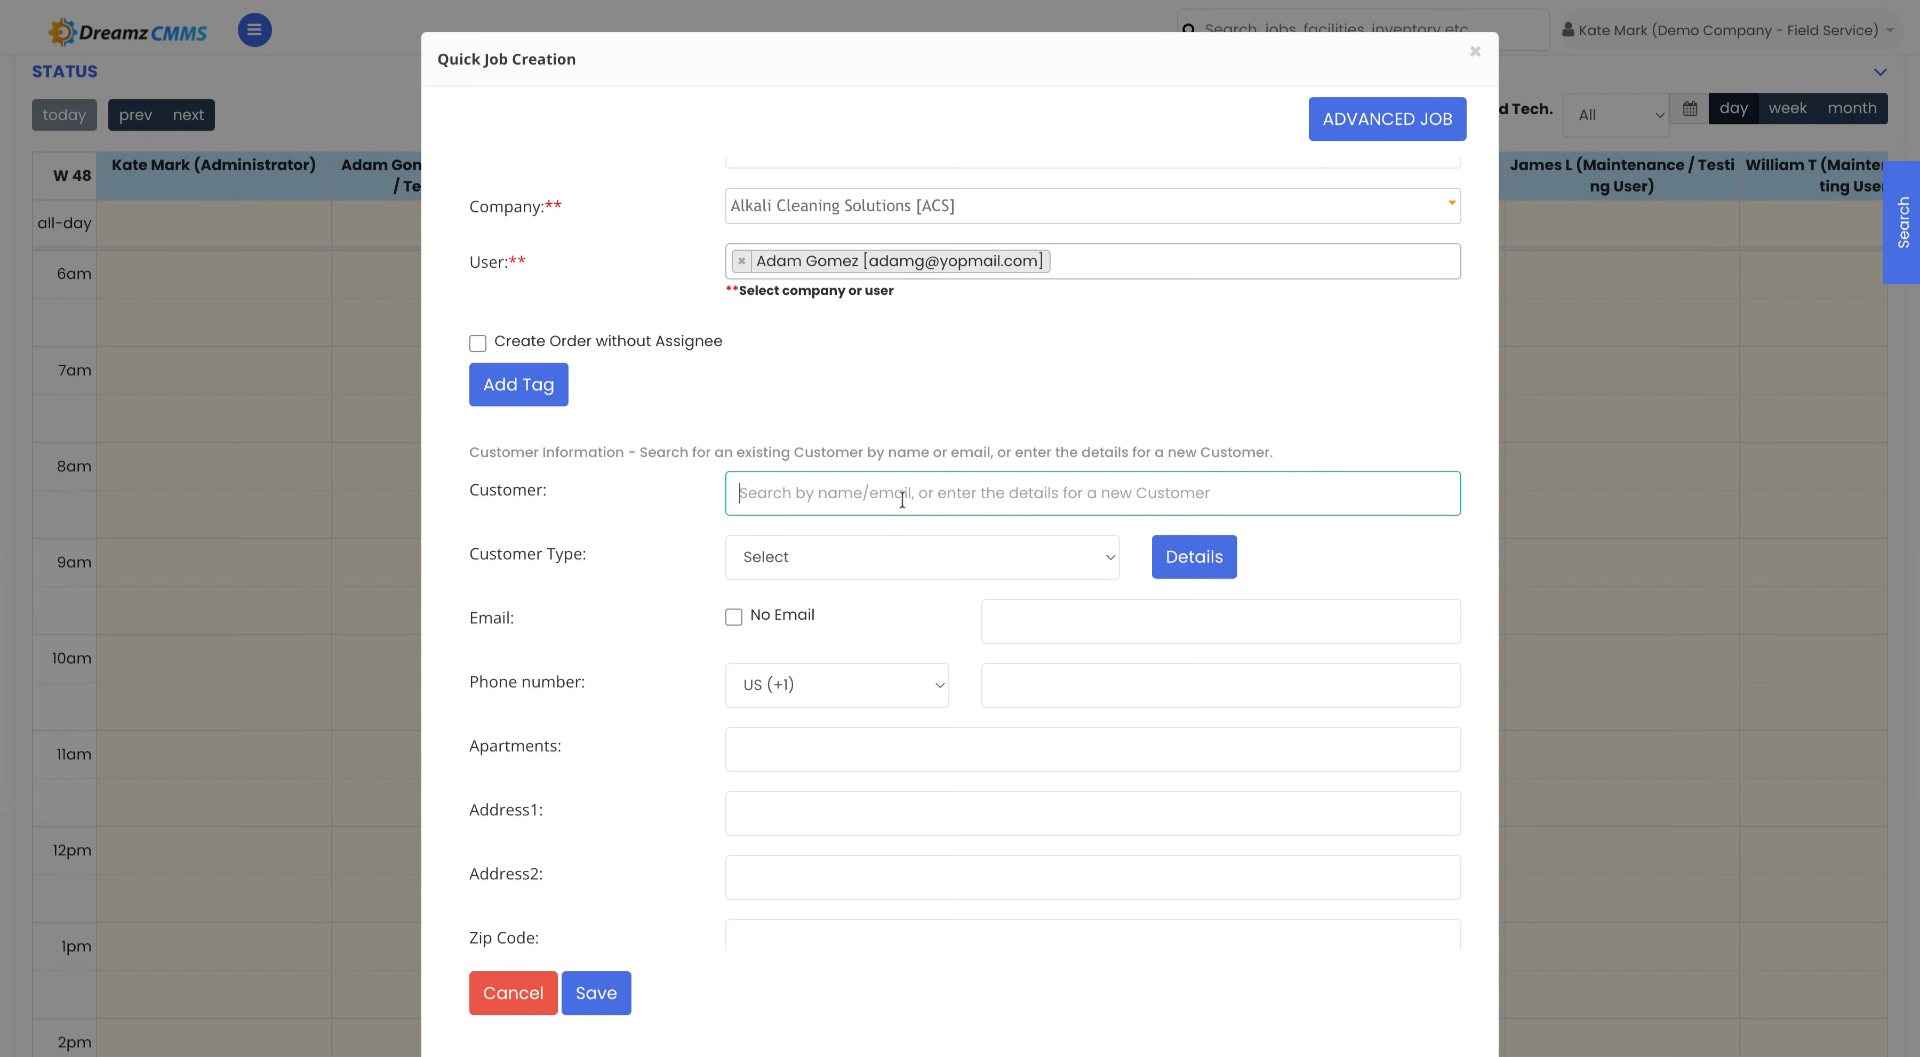
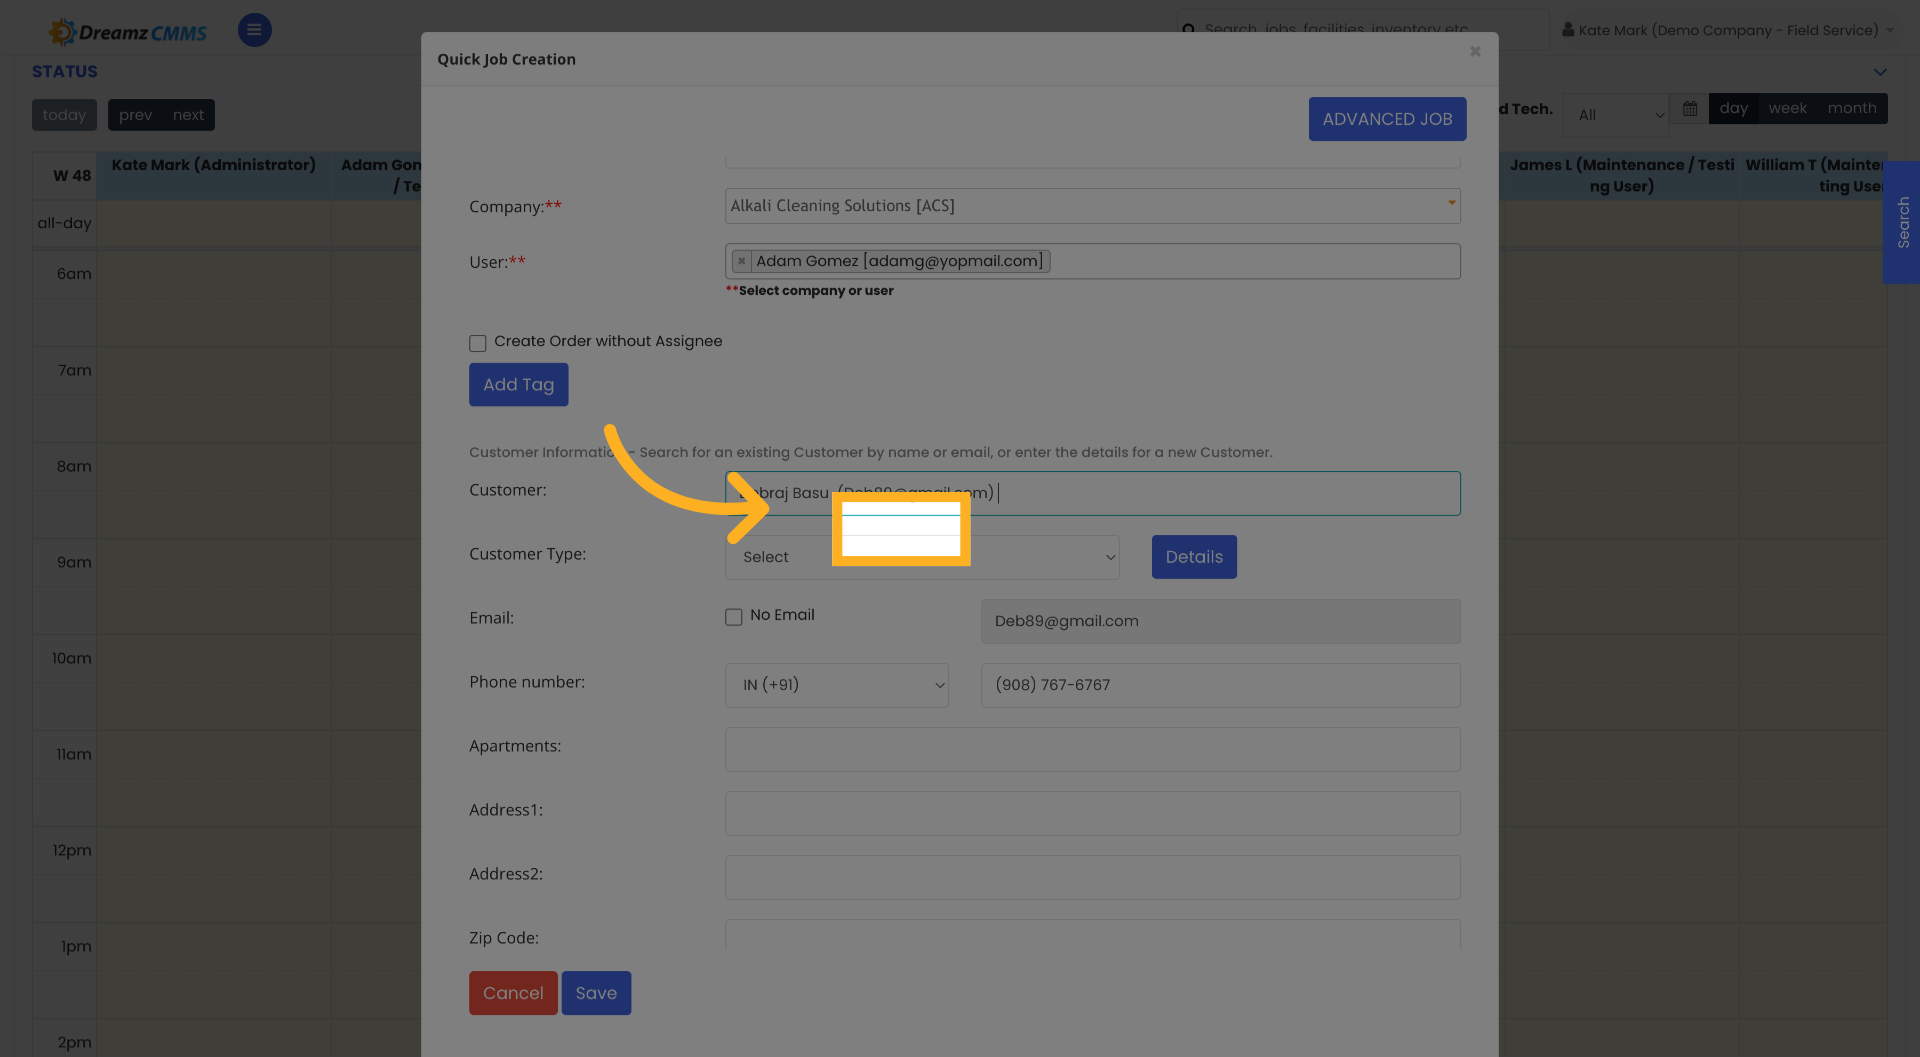
Step 6 – Search for and Assign a Customer
Click the search field to find an existing customer or add a new one. Type the customer's name or email to search, then select the correct customer from the results to assign them to the job.
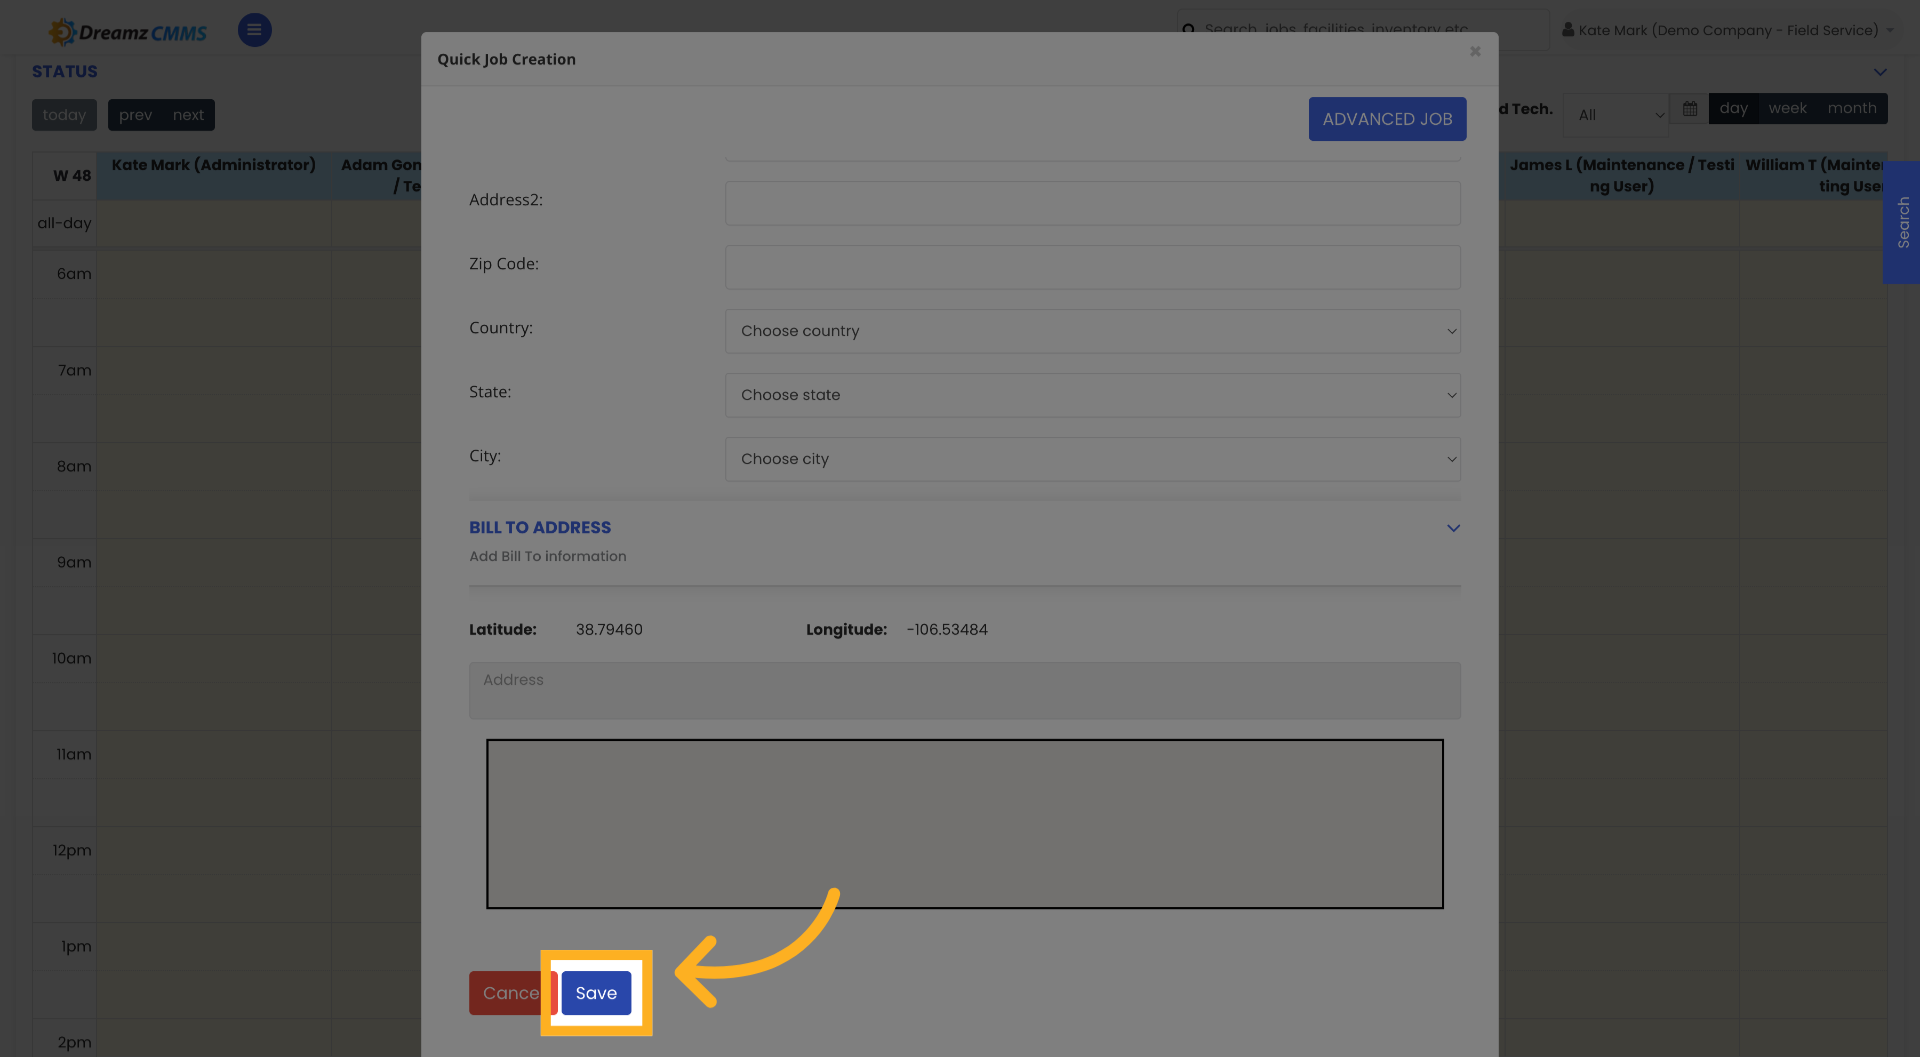
Step 7 – Save the Job
Click Save to store the job information and customer assignment. The job will be created and added to the Schedule immediately.
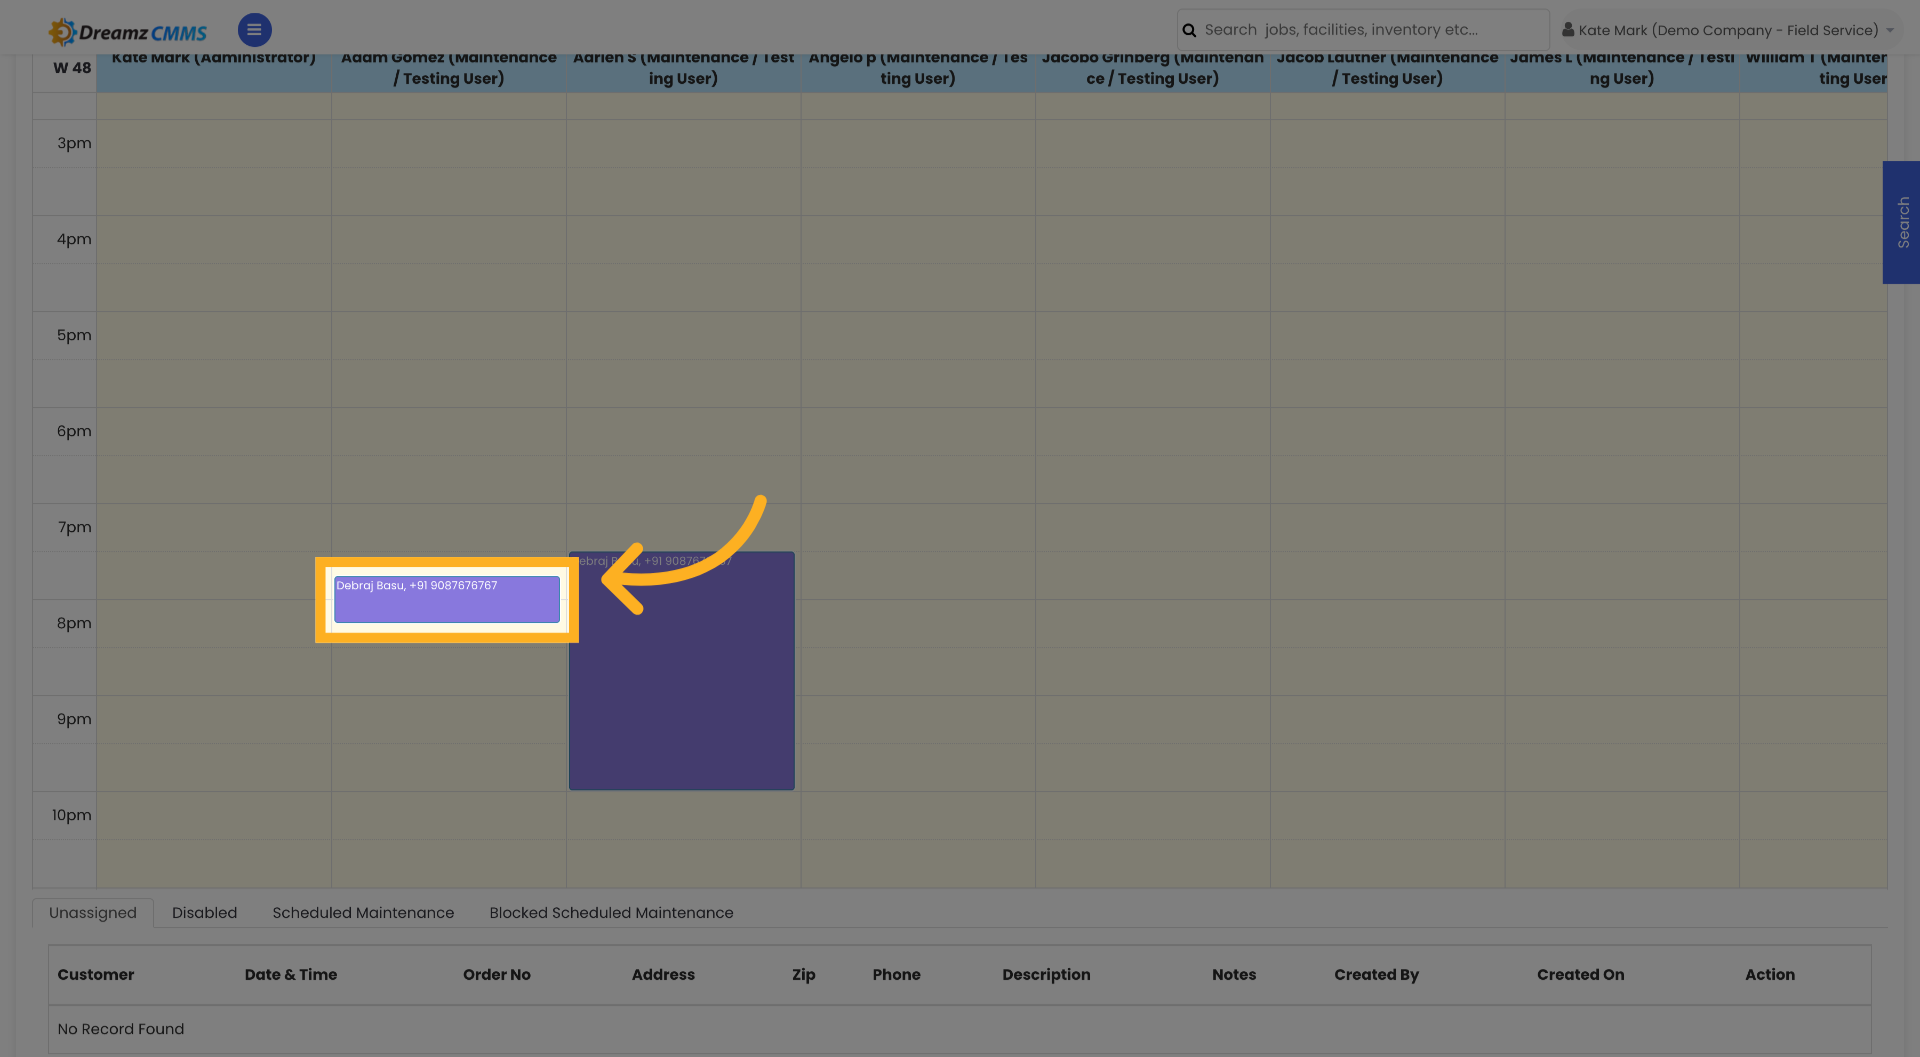
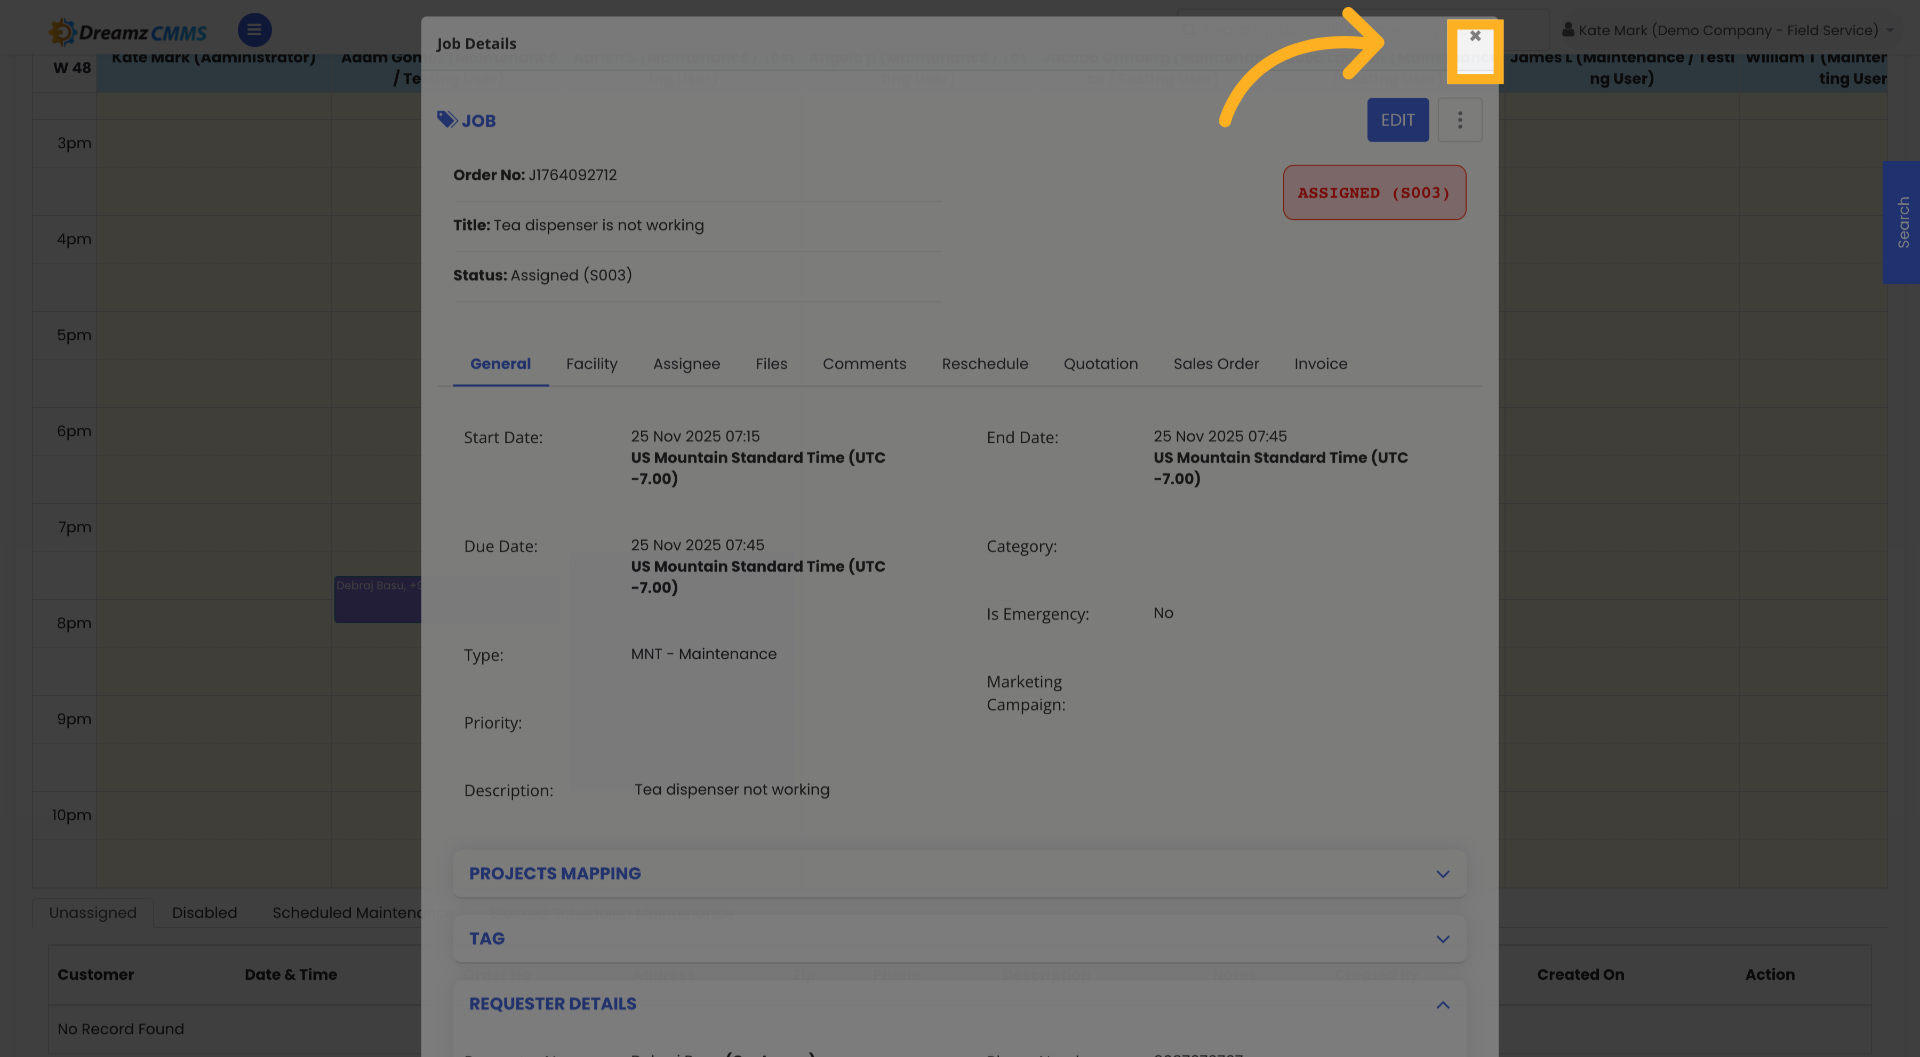
Step 8 – Verify and View the Job
After the job is created, navigate to the job and click on it to view, edit, or update its details. Click the × button to close the customer details window when done.
Using the Kanban View
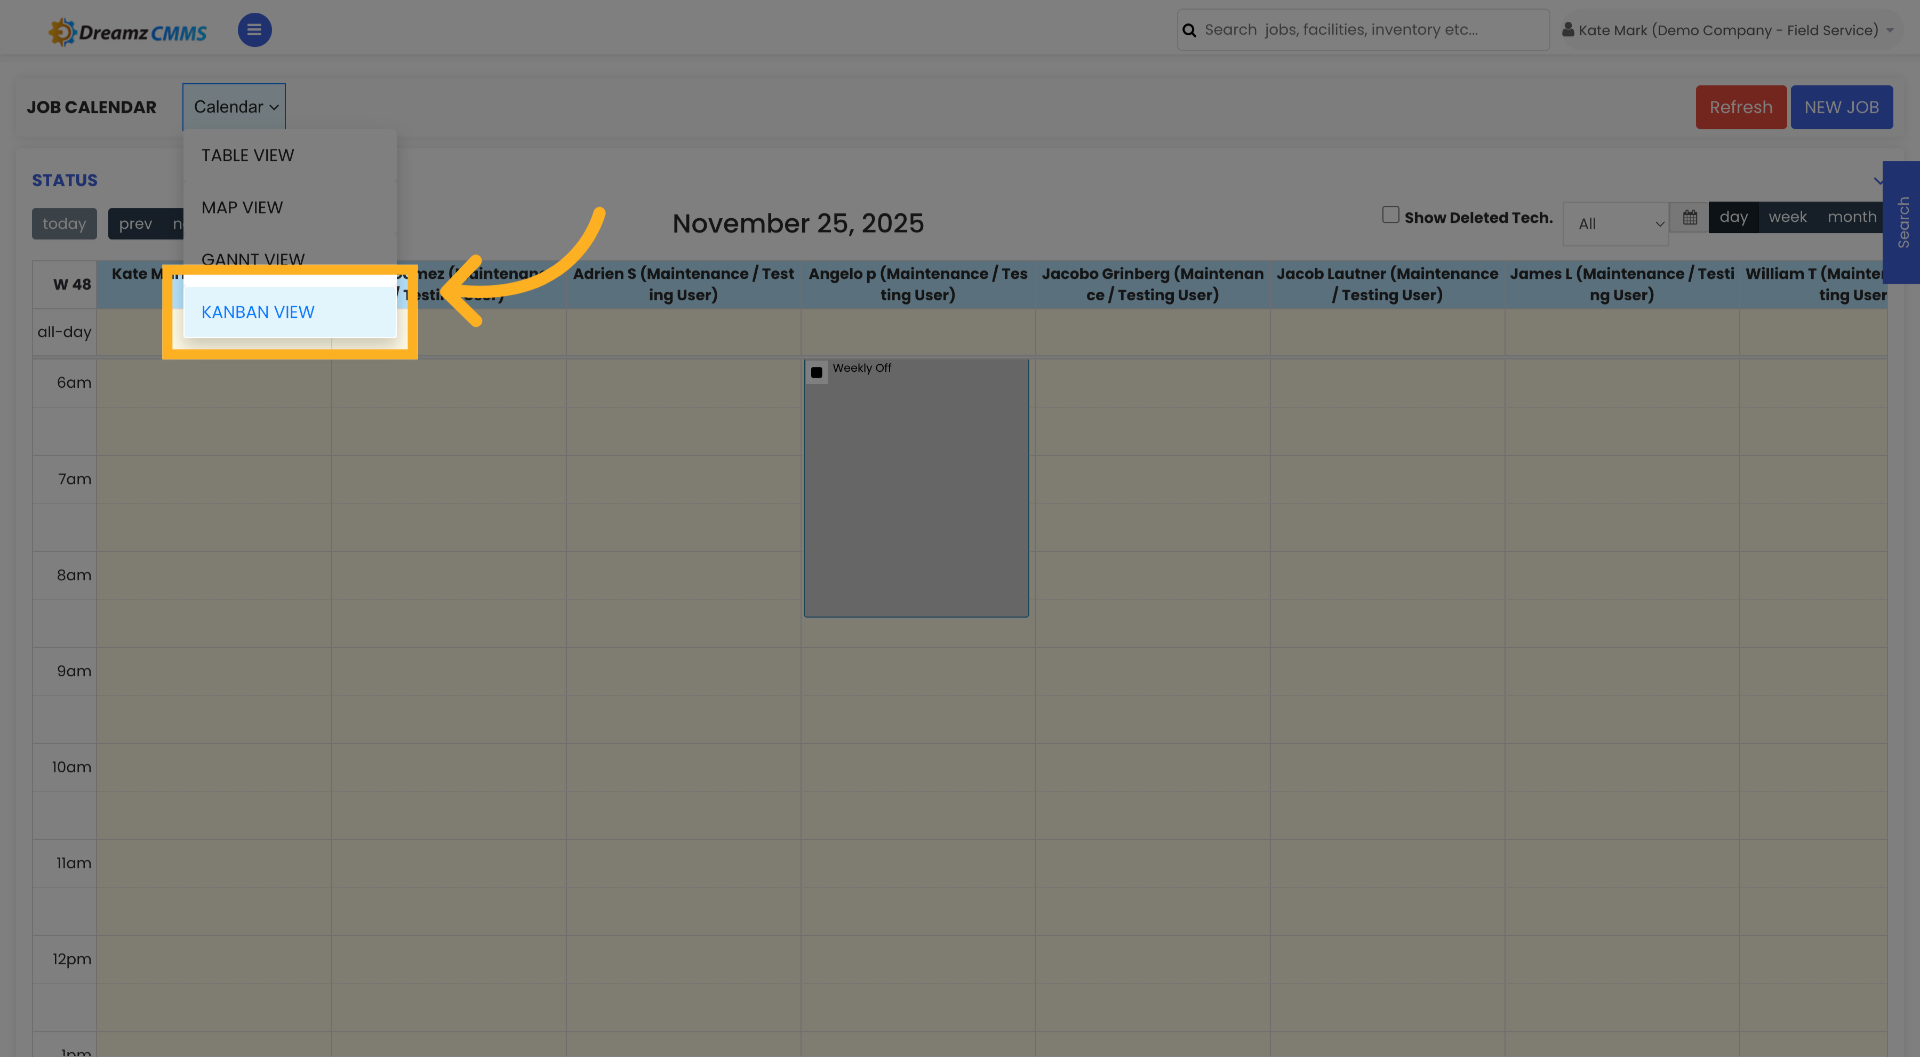
Step 9 – Switch to Kanban View
Click Kanban View to visualise your jobs as cards on a board layout. This gives you an instant overview of job progress across all stages of your workflow.
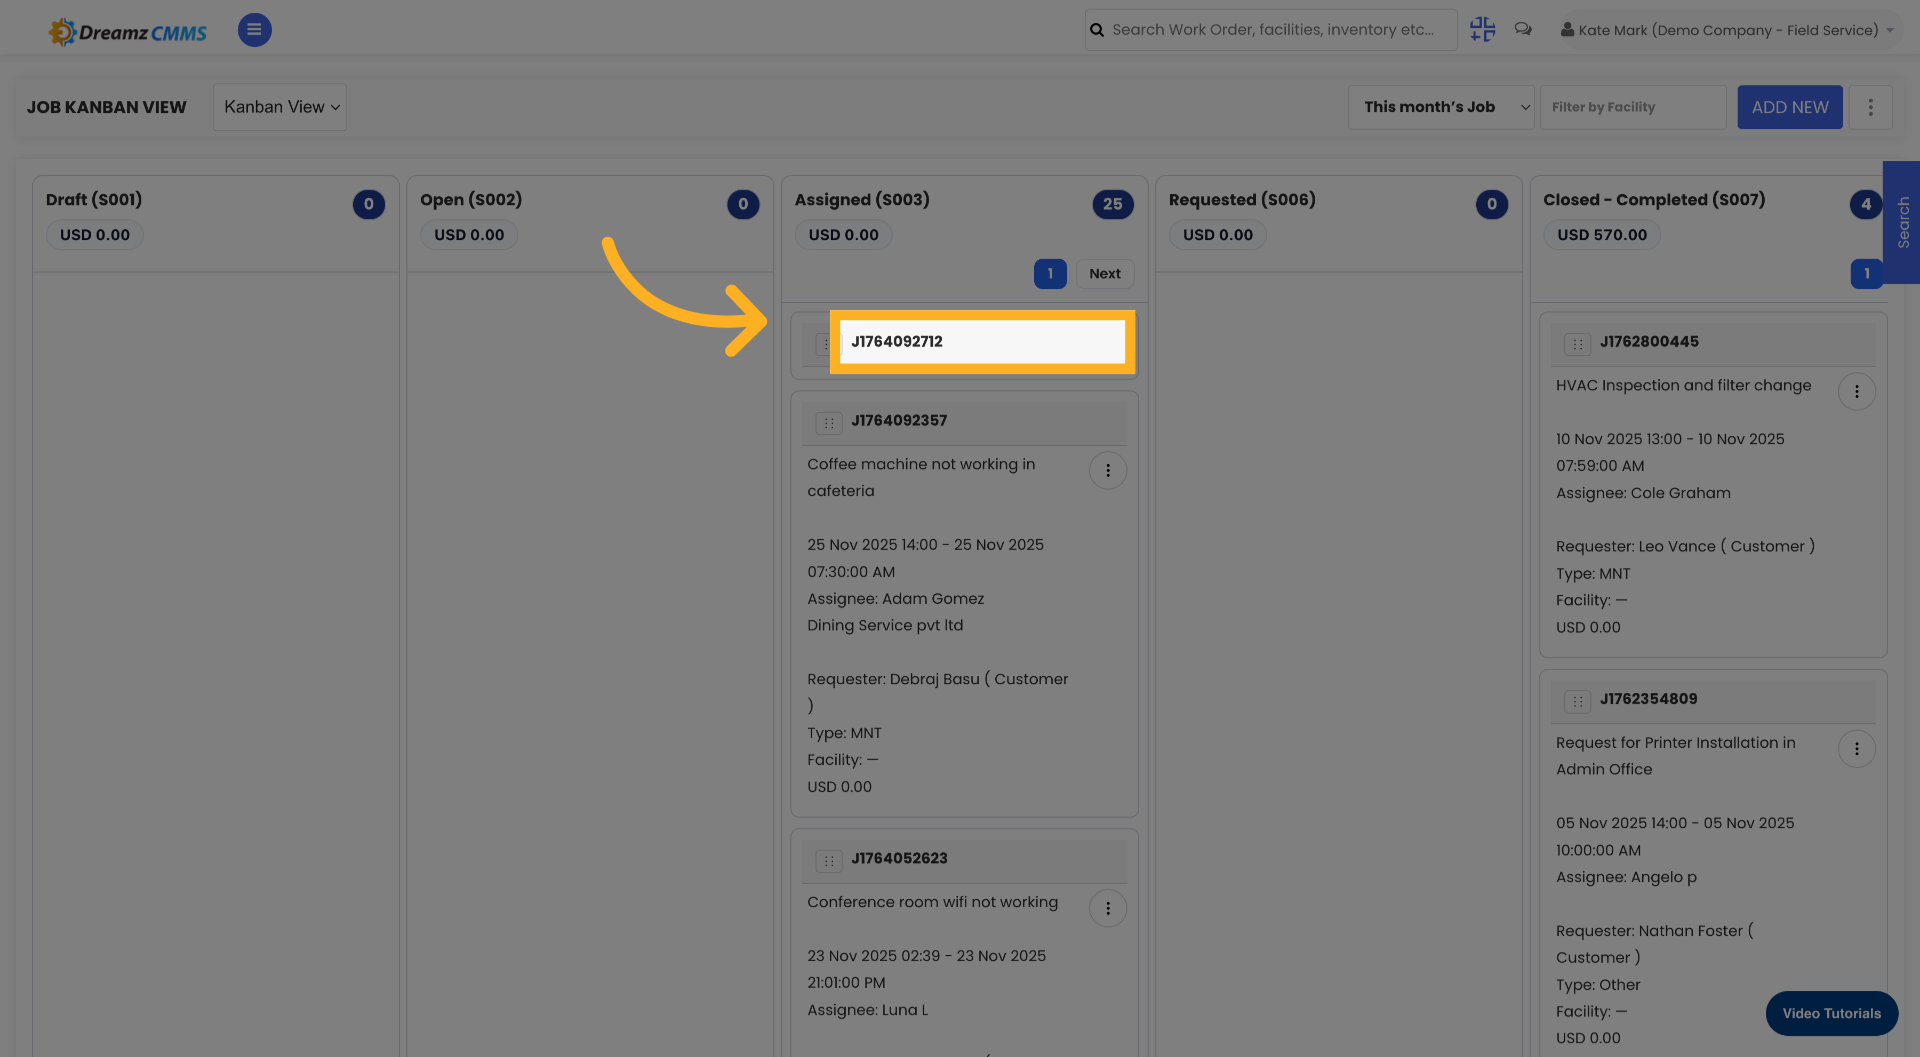
Step 10 – Open Job Details from Kanban
Click on any job card in the Kanban View to open and view its full details. Click the job again if needed to ensure the job details are fully loaded.

Tips for Scheduling Jobs and Using Kanban View
- Always enter a clear and detailed job description so technicians understand the full scope of work before arriving on site.
- Use the customer search to quickly find and assign existing customers rather than manually entering details — this ensures accuracy and saves time.
- Use the Kanban View during daily stand-ups or check-ins to get a visual snapshot of all active jobs and their current status across your workflow stages.
- Drag job cards between columns in the Kanban View to quickly update a job's status without opening the full job record.
- After creating a job, always verify it appears correctly in the Schedule and Kanban views to confirm the assignment and details have been saved as expected.
Frequently Asked Questions
What is the difference between the Schedule view and the Kanban view?
The Schedule view allows you to create and manage jobs in a list or calendar format, focused on dates and dispatch. The Kanban view displays jobs as cards organised into columns by status, making it easier to track workflow progress visually.
Can I assign a customer when creating a job from the Schedule view?
Yes. When creating a new job order from the Schedule view, you can search for and assign an existing customer directly within the job creation form before saving.
Can I edit a job after it has been saved from the Schedule view?
Yes. After the job is created, navigate to the job in either the Schedule or Kanban view and click on it to open, edit, or update the job details at any time.
Can I move jobs between stages in the Kanban View?
Yes. In the Kanban View, you can drag and drop job cards between columns to update their status instantly, without needing to open the full job record.
Does switching between Schedule and Kanban views affect the job data?
No. Switching between views only changes how the data is displayed on screen. All job details, statuses, and assignments remain unchanged regardless of which view you are using.
Related Articles
- How to Create Jobs
- Job Views in DreamzFSM
- Job List
- Quickly Assign Technicians to Jobs
- Create User/Employee