Configure Job Projects
This guide walks you through configuring job projects within DreamzFSM. You will learn how to set project details, projected and actual dates, and budget information to manage your projects effectively — from initial setup through to saving and editing existing project records.
Overview
The Project configuration feature in DreamzFSM allows managers to set up and track job projects with full date and budget visibility. Each project captures projected and actual start and end dates, along with budget and budget revision information, giving you a complete picture of project scope, timeline, and financial planning — all in one place.
Here is a reference video:
How to Configure a Job Project
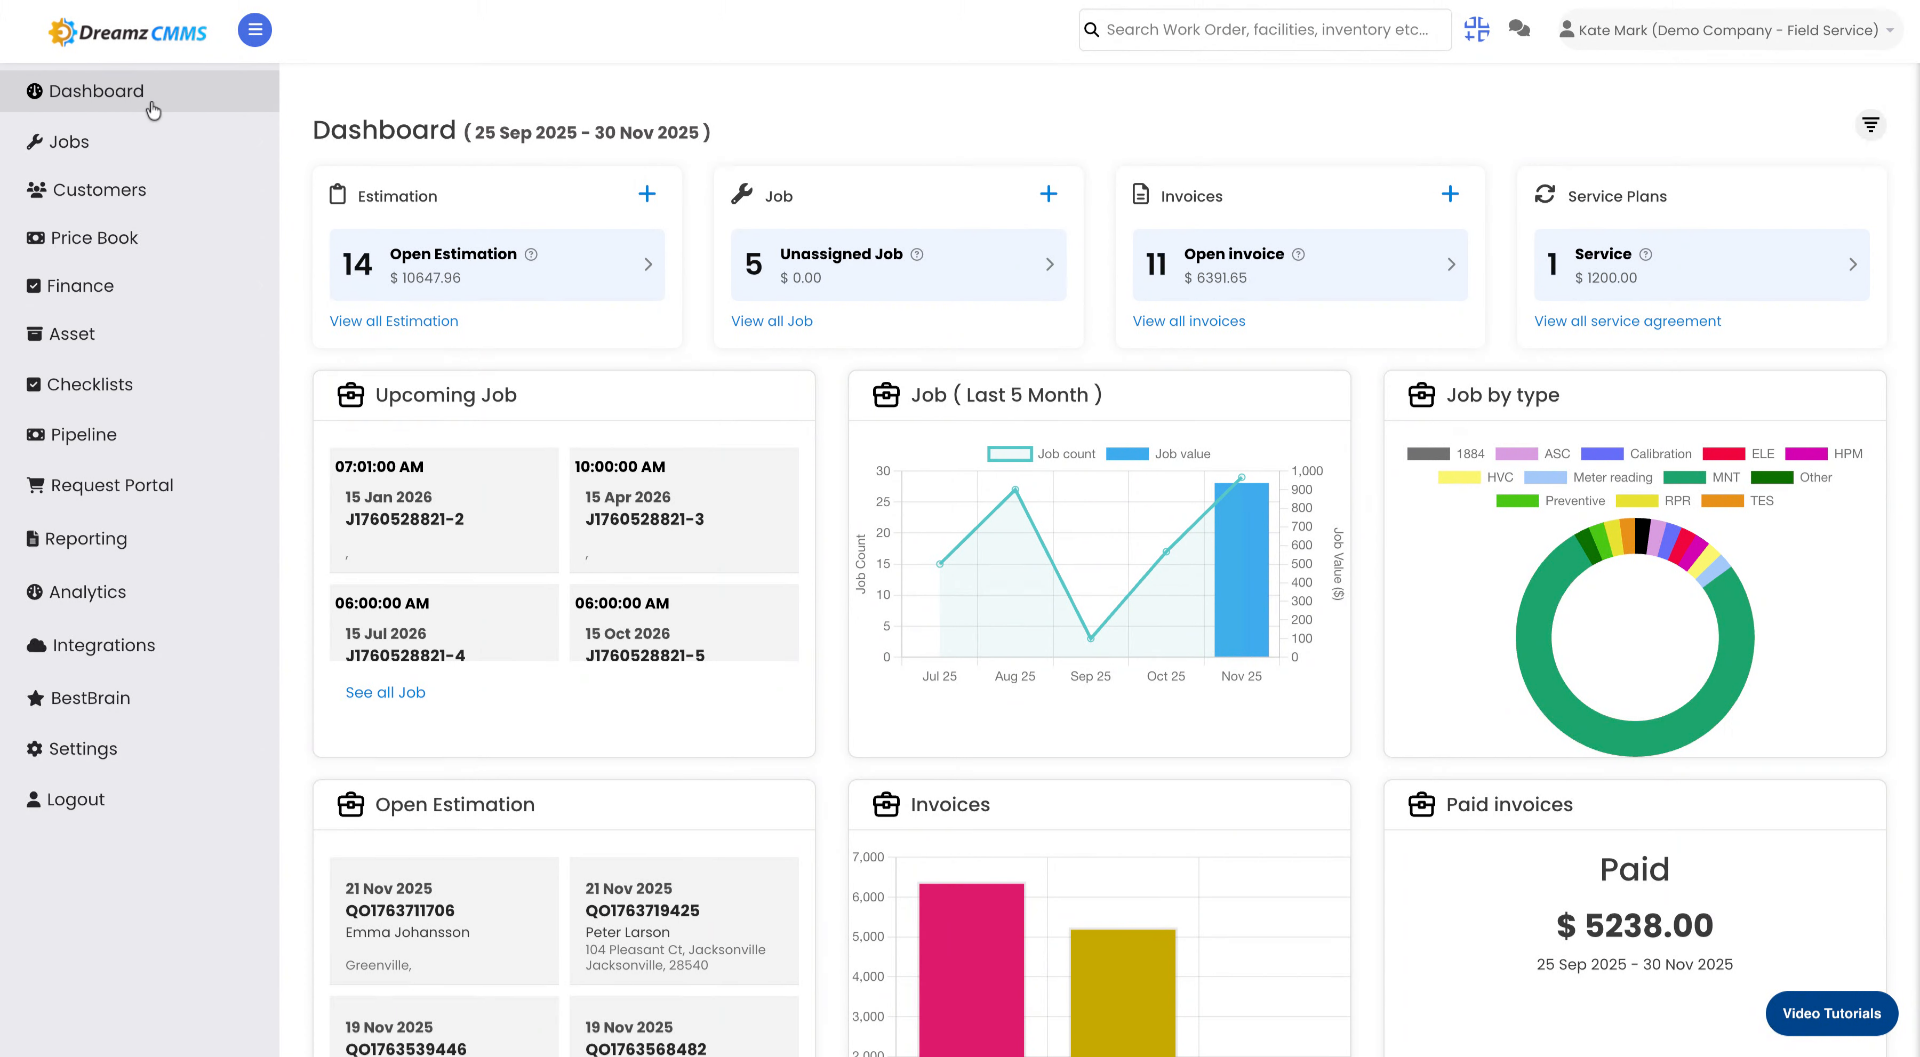
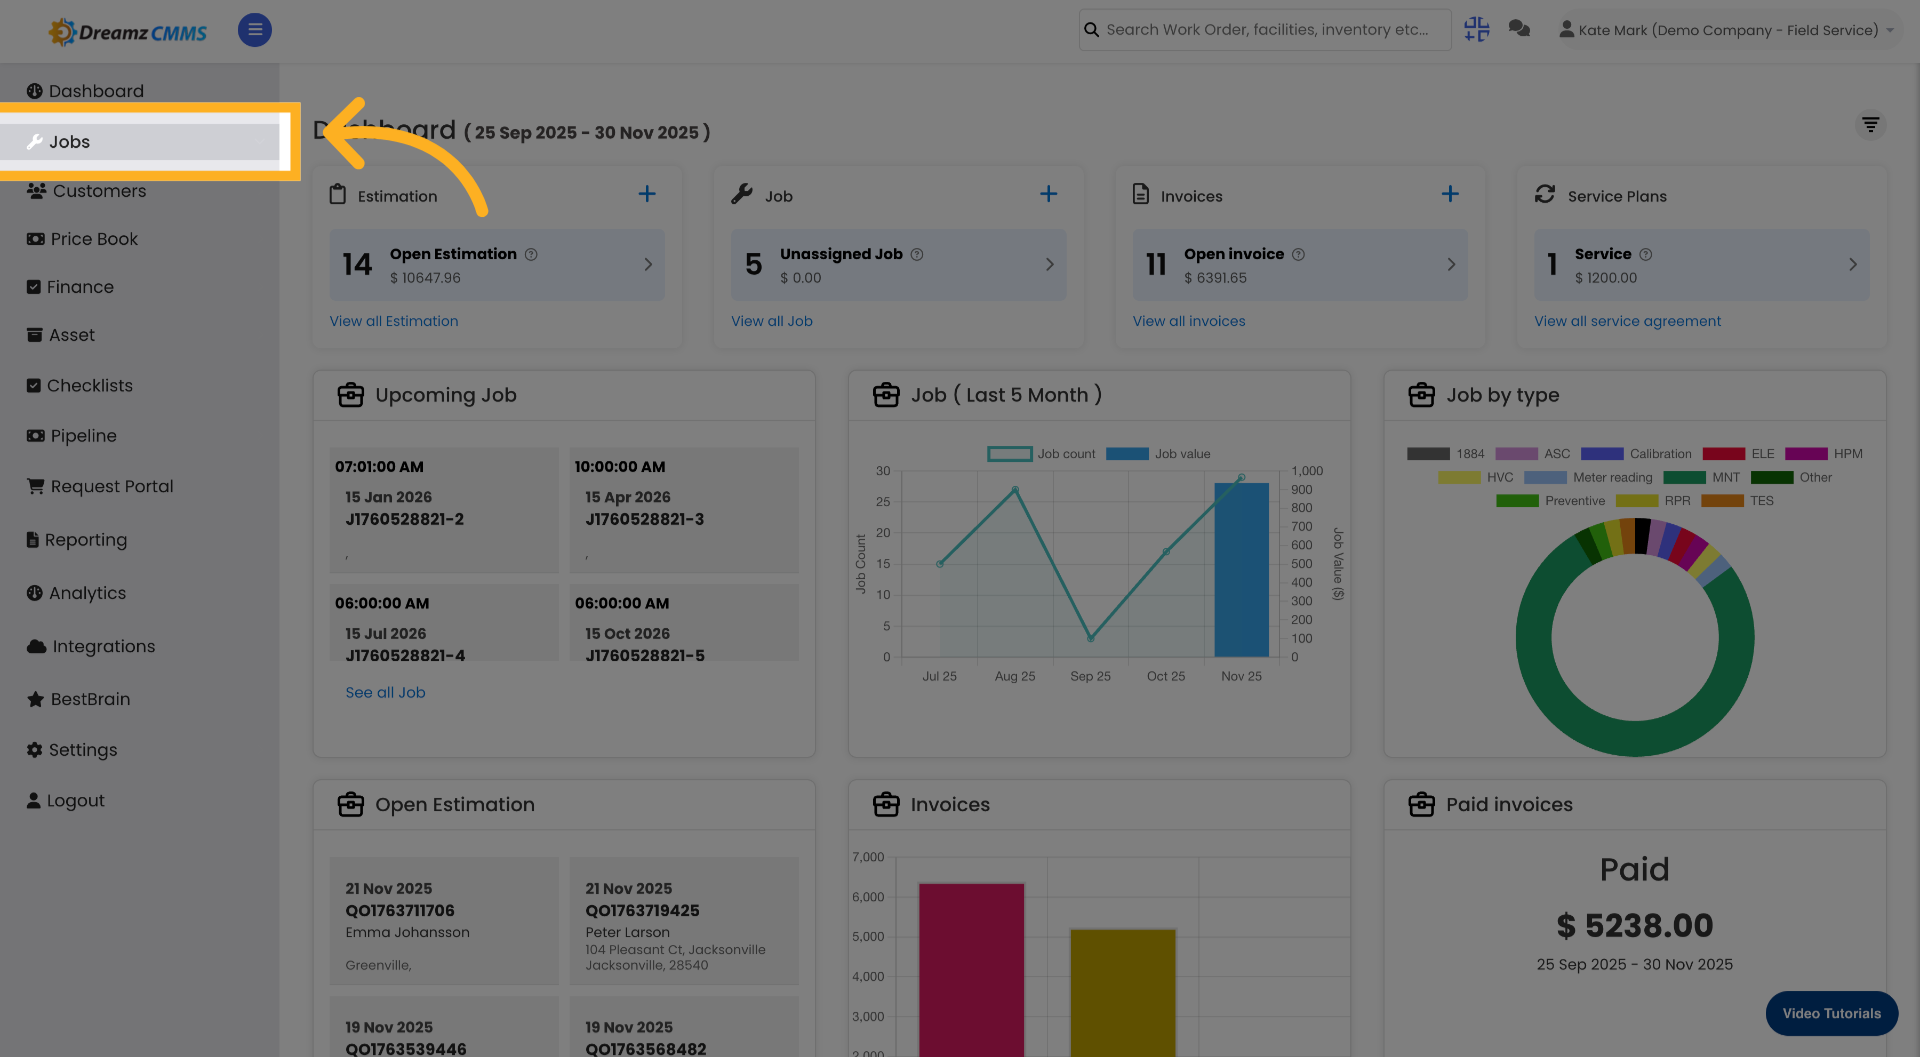
Step 1 – Navigate to the Jobs Section
From the main menu, click Jobs to access the job-related features.
Step 2 – Open the Project Tab
Click the Project tab to view and manage all projects.
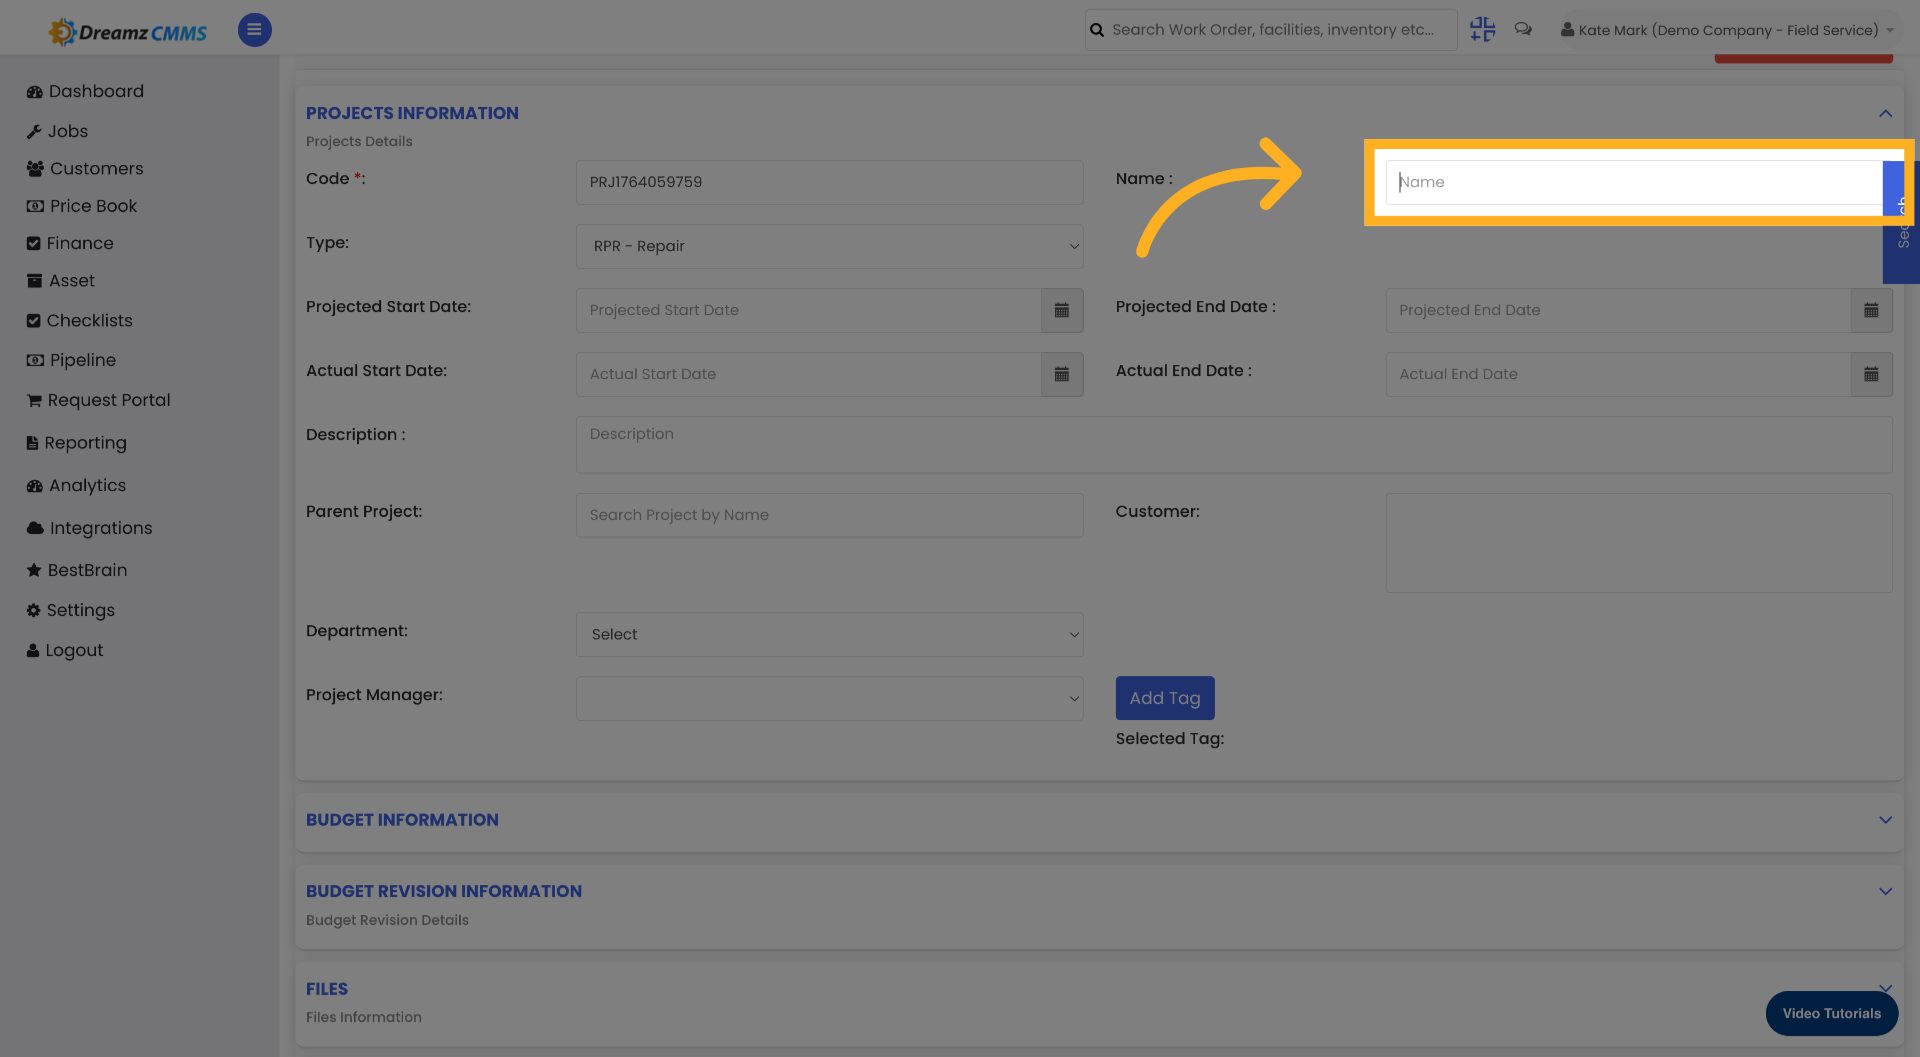
Step 3 – Enter the Project Name
Click the Name field and enter your project name.

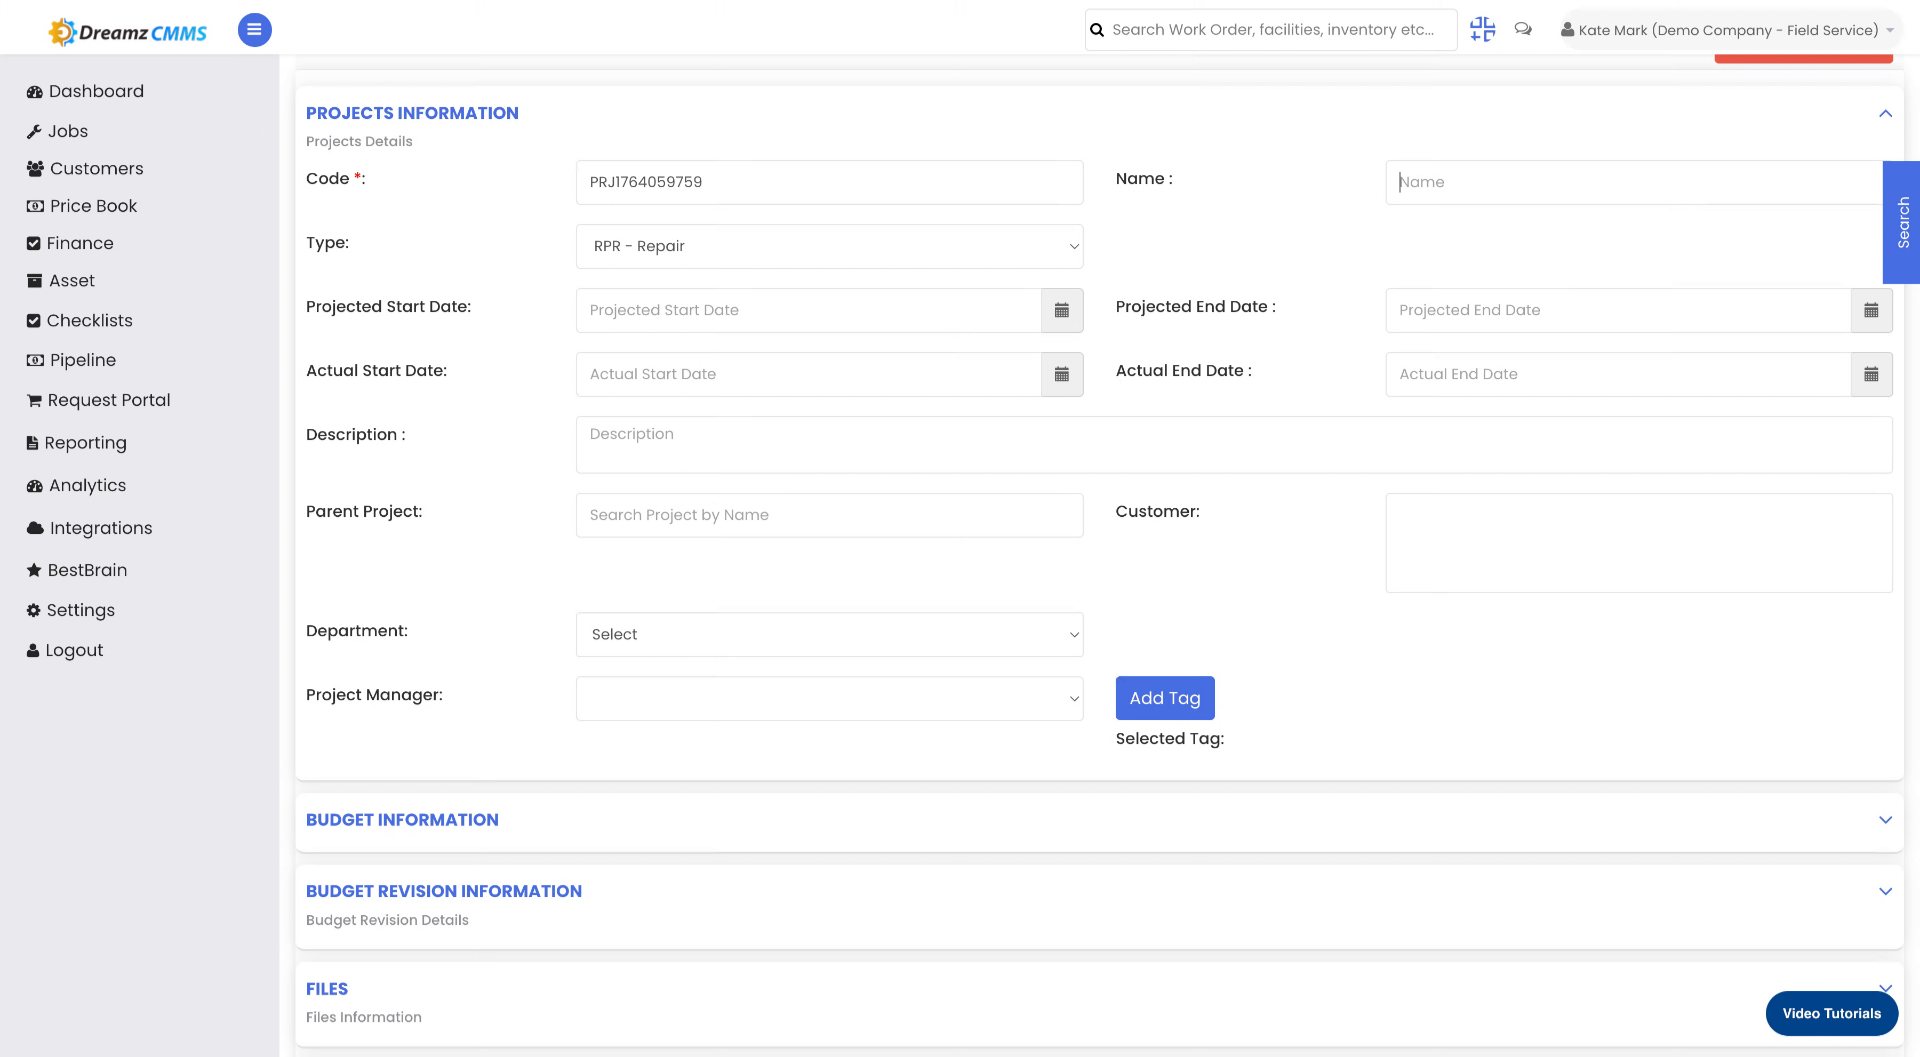
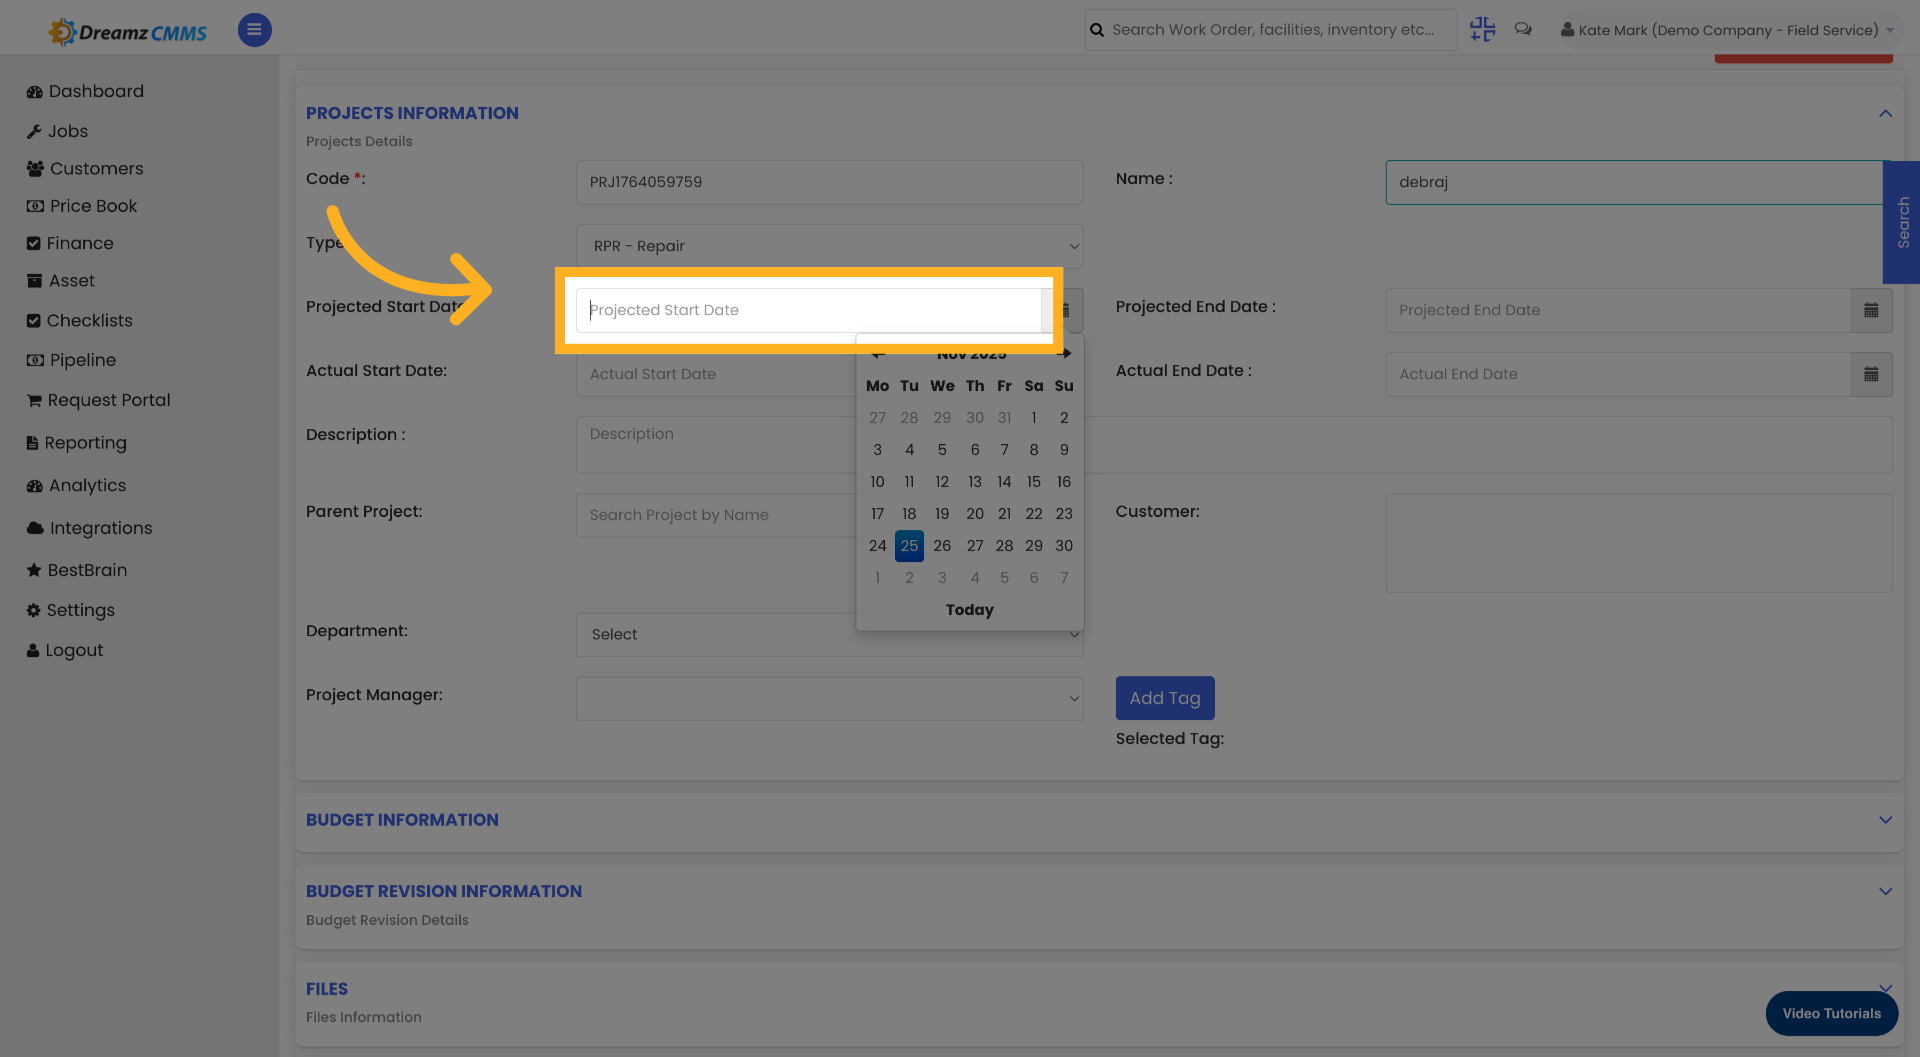
Step 4 – Set the Projected Start Date
Click the Projected Start Date field and select the planned start date from the calendar.

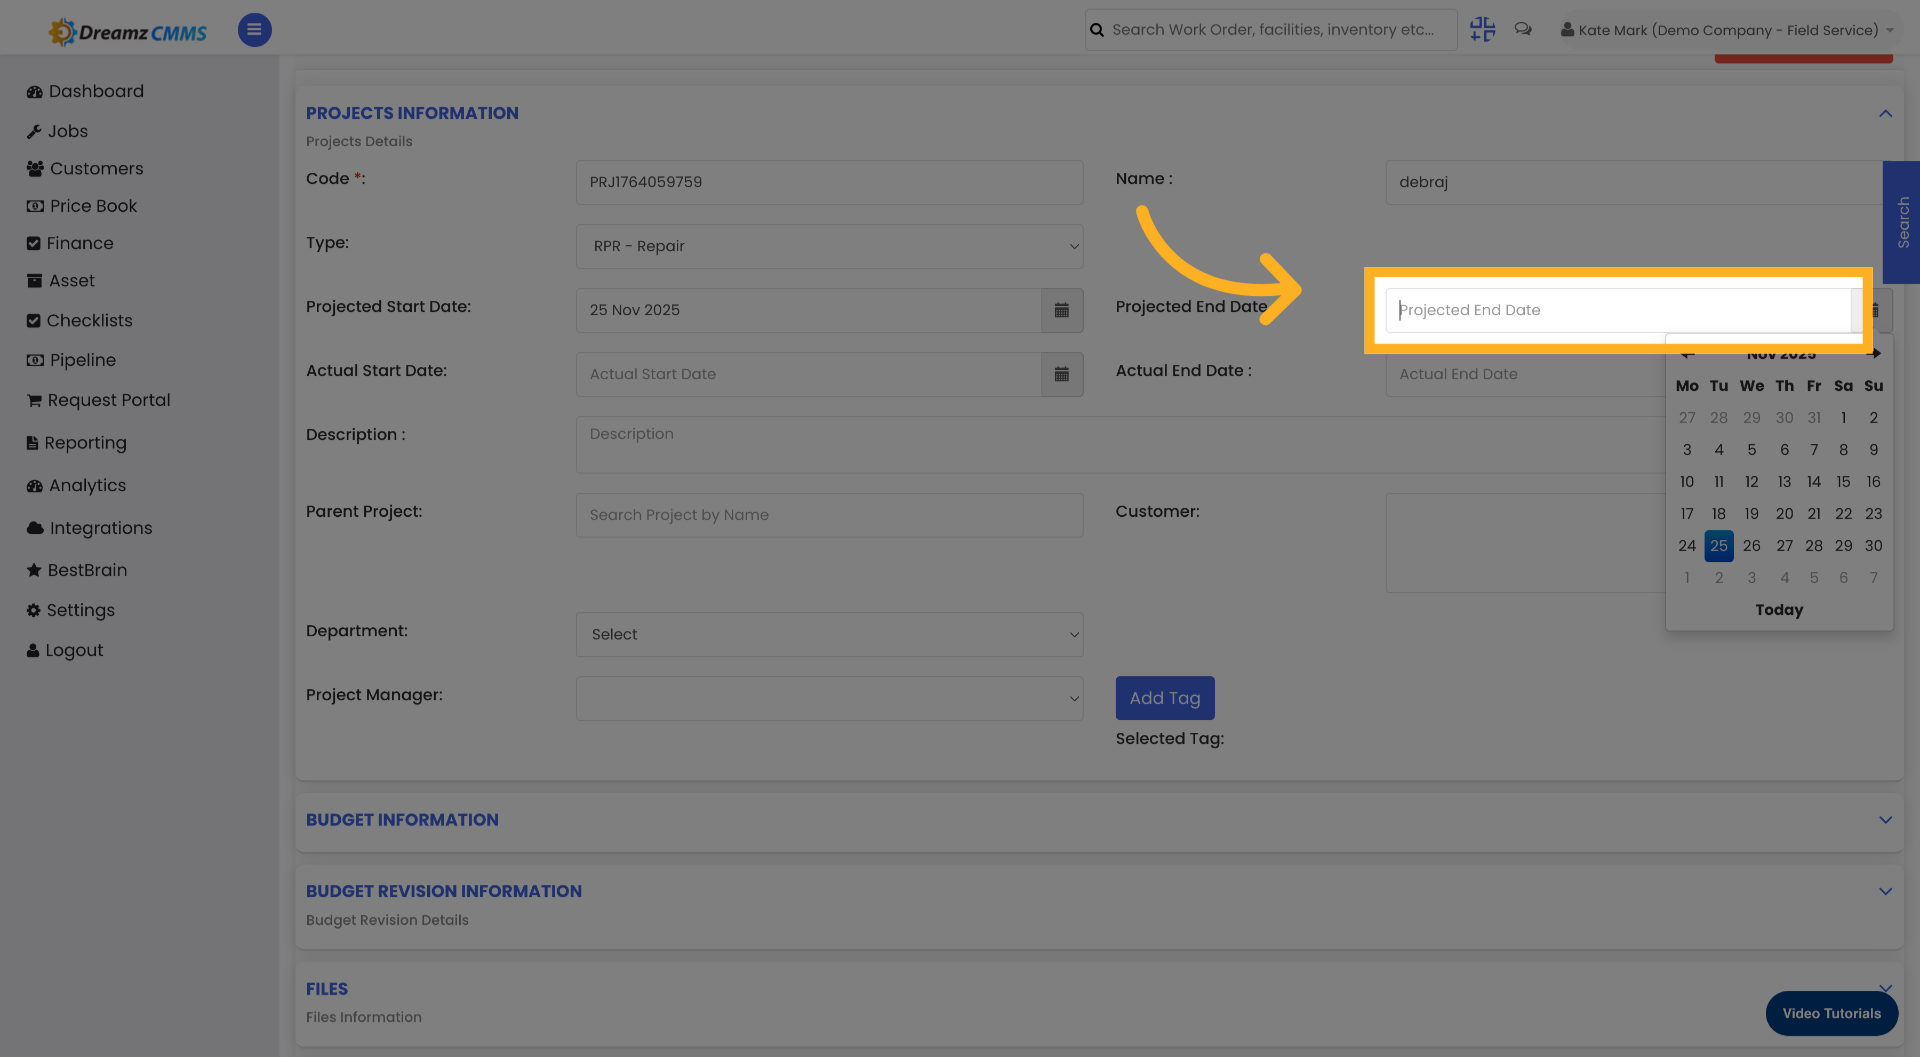
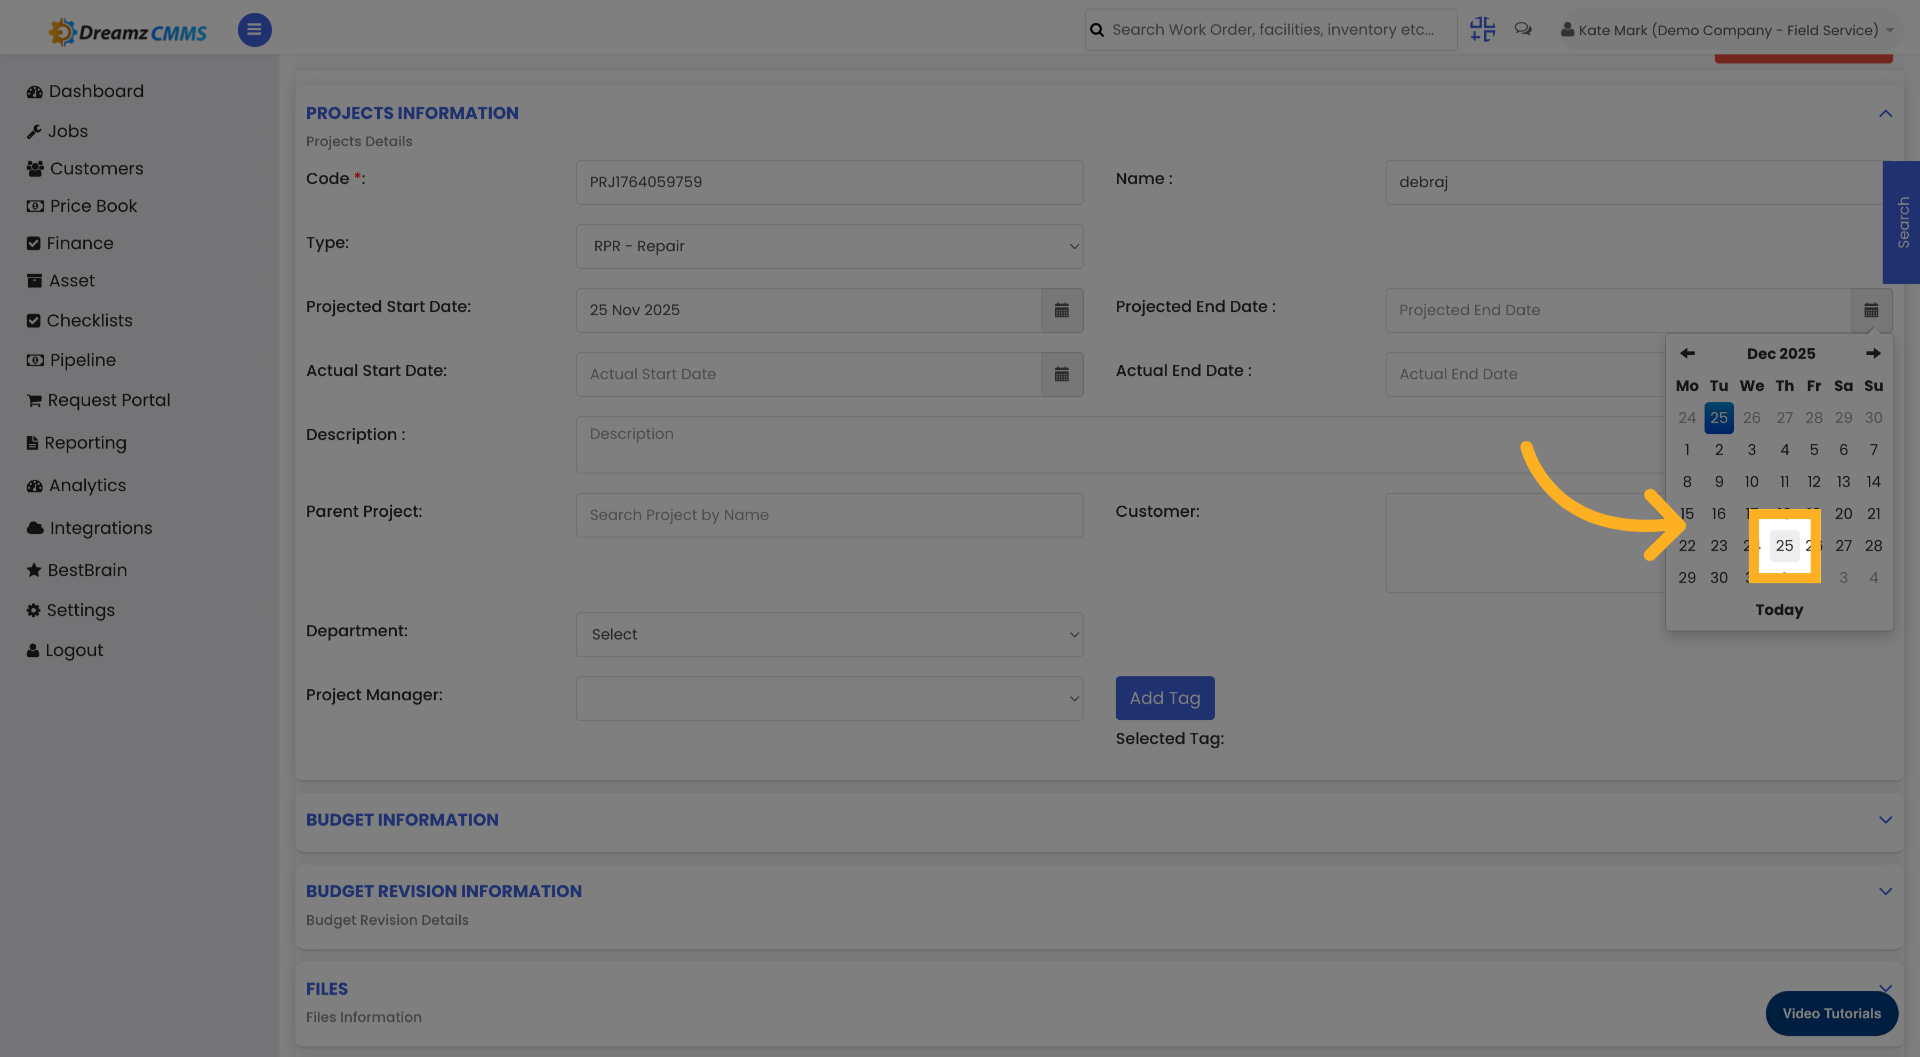
Step 5 – Set the Projected End Date
Click the Projected End Date field and select the planned end date from the calendar.

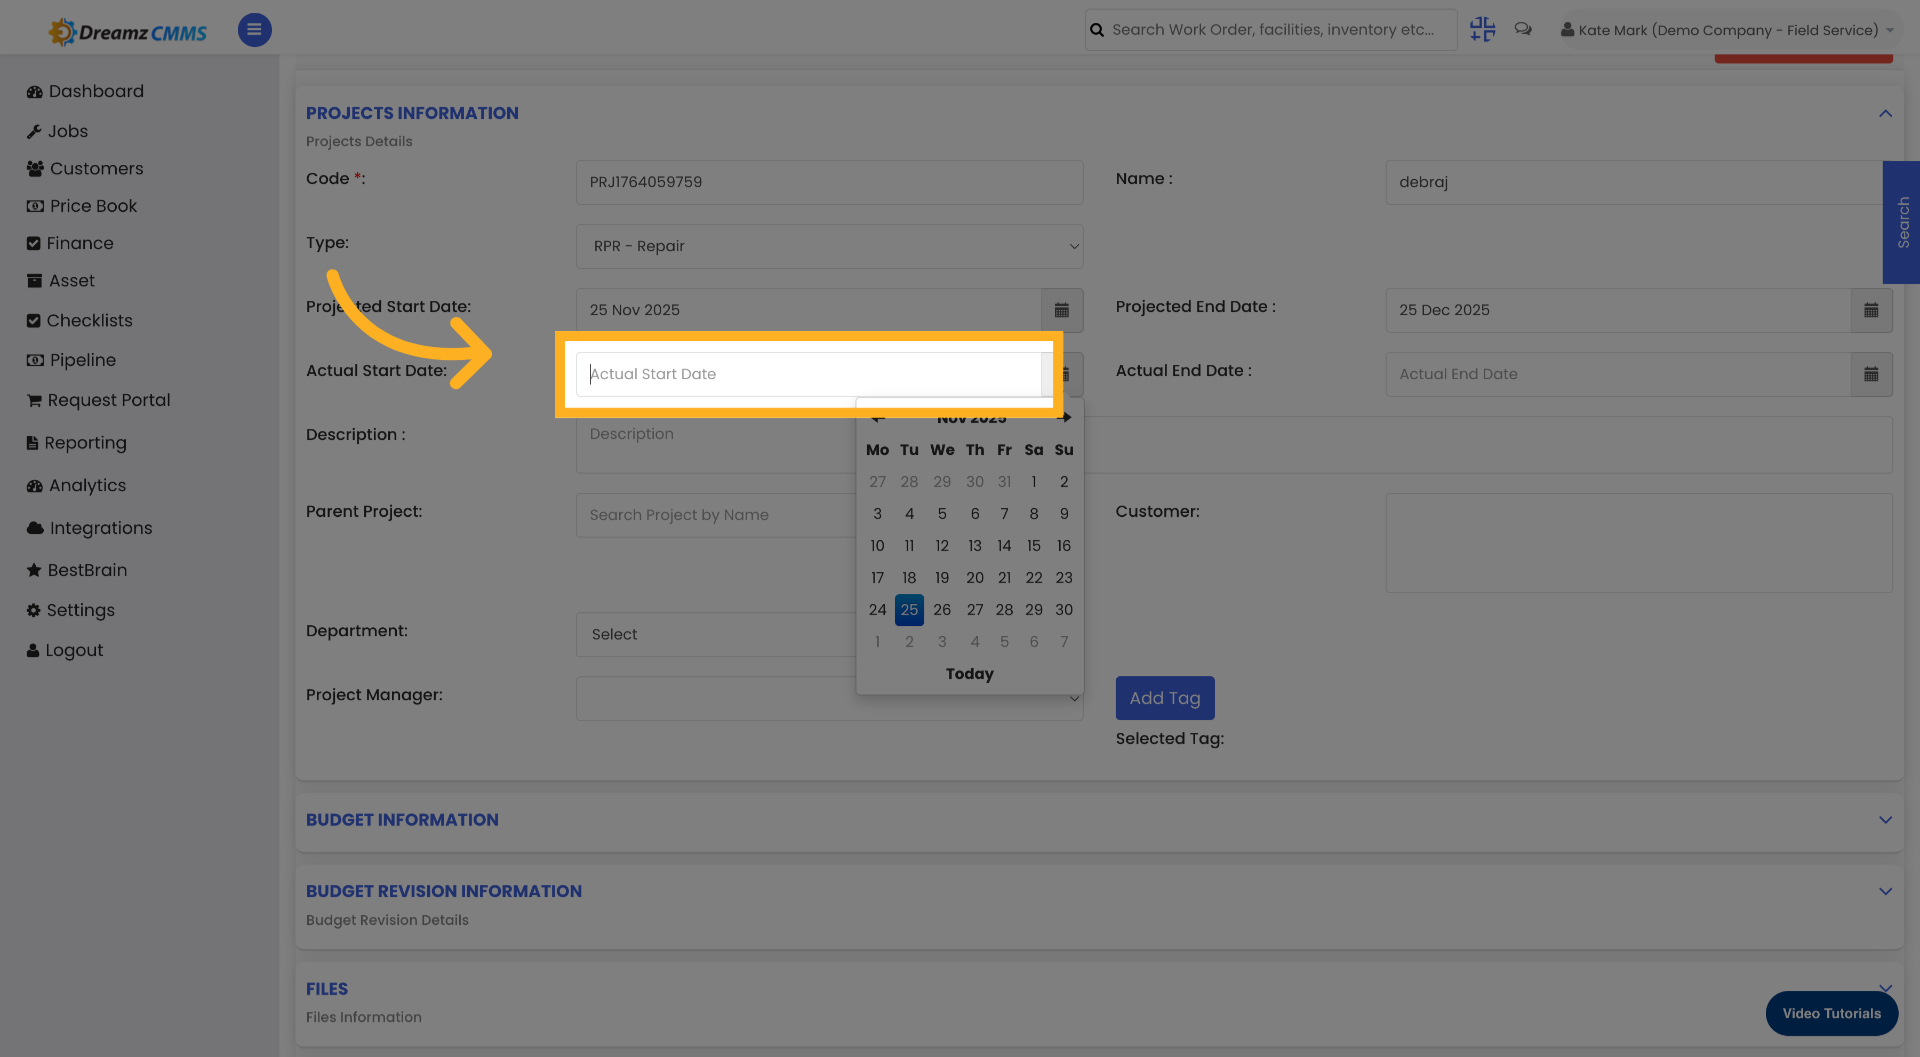
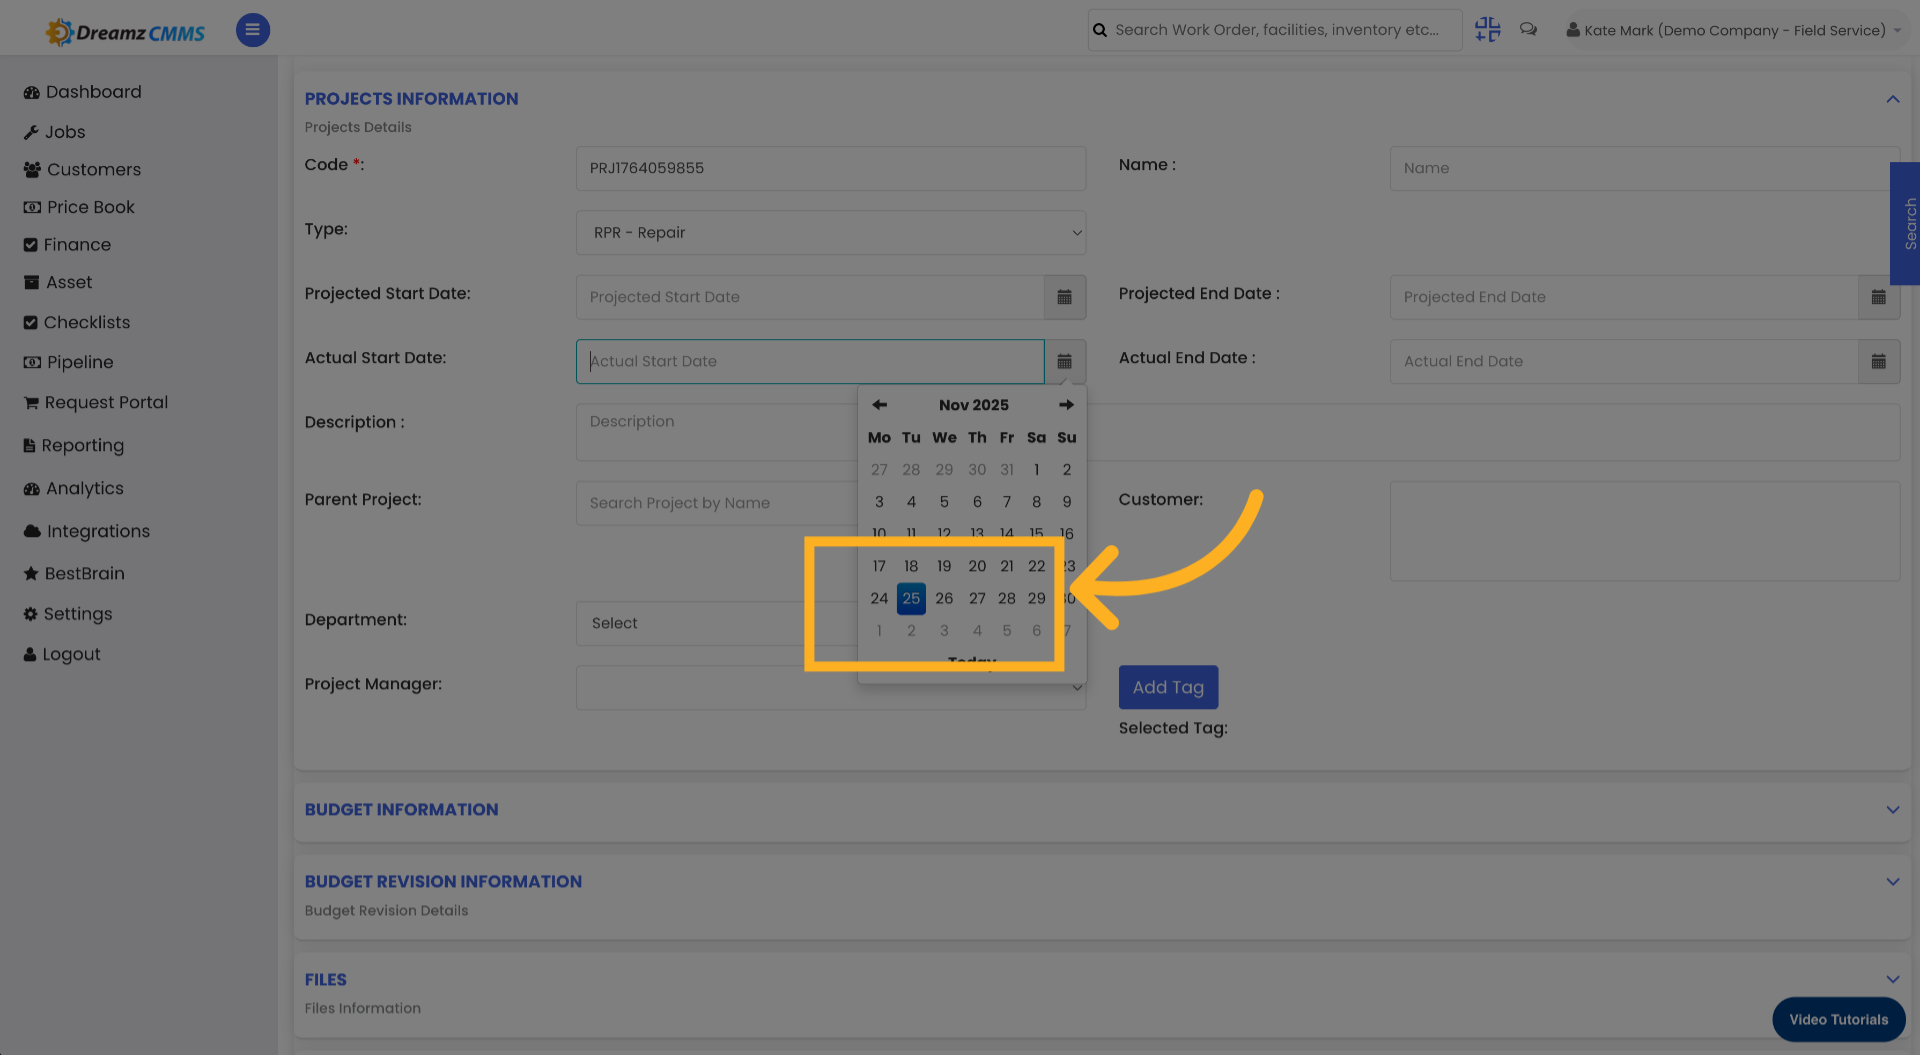
Step 6 – Set the Actual Start Date
Click the Actual Start Date field and select the real start date from the calendar.
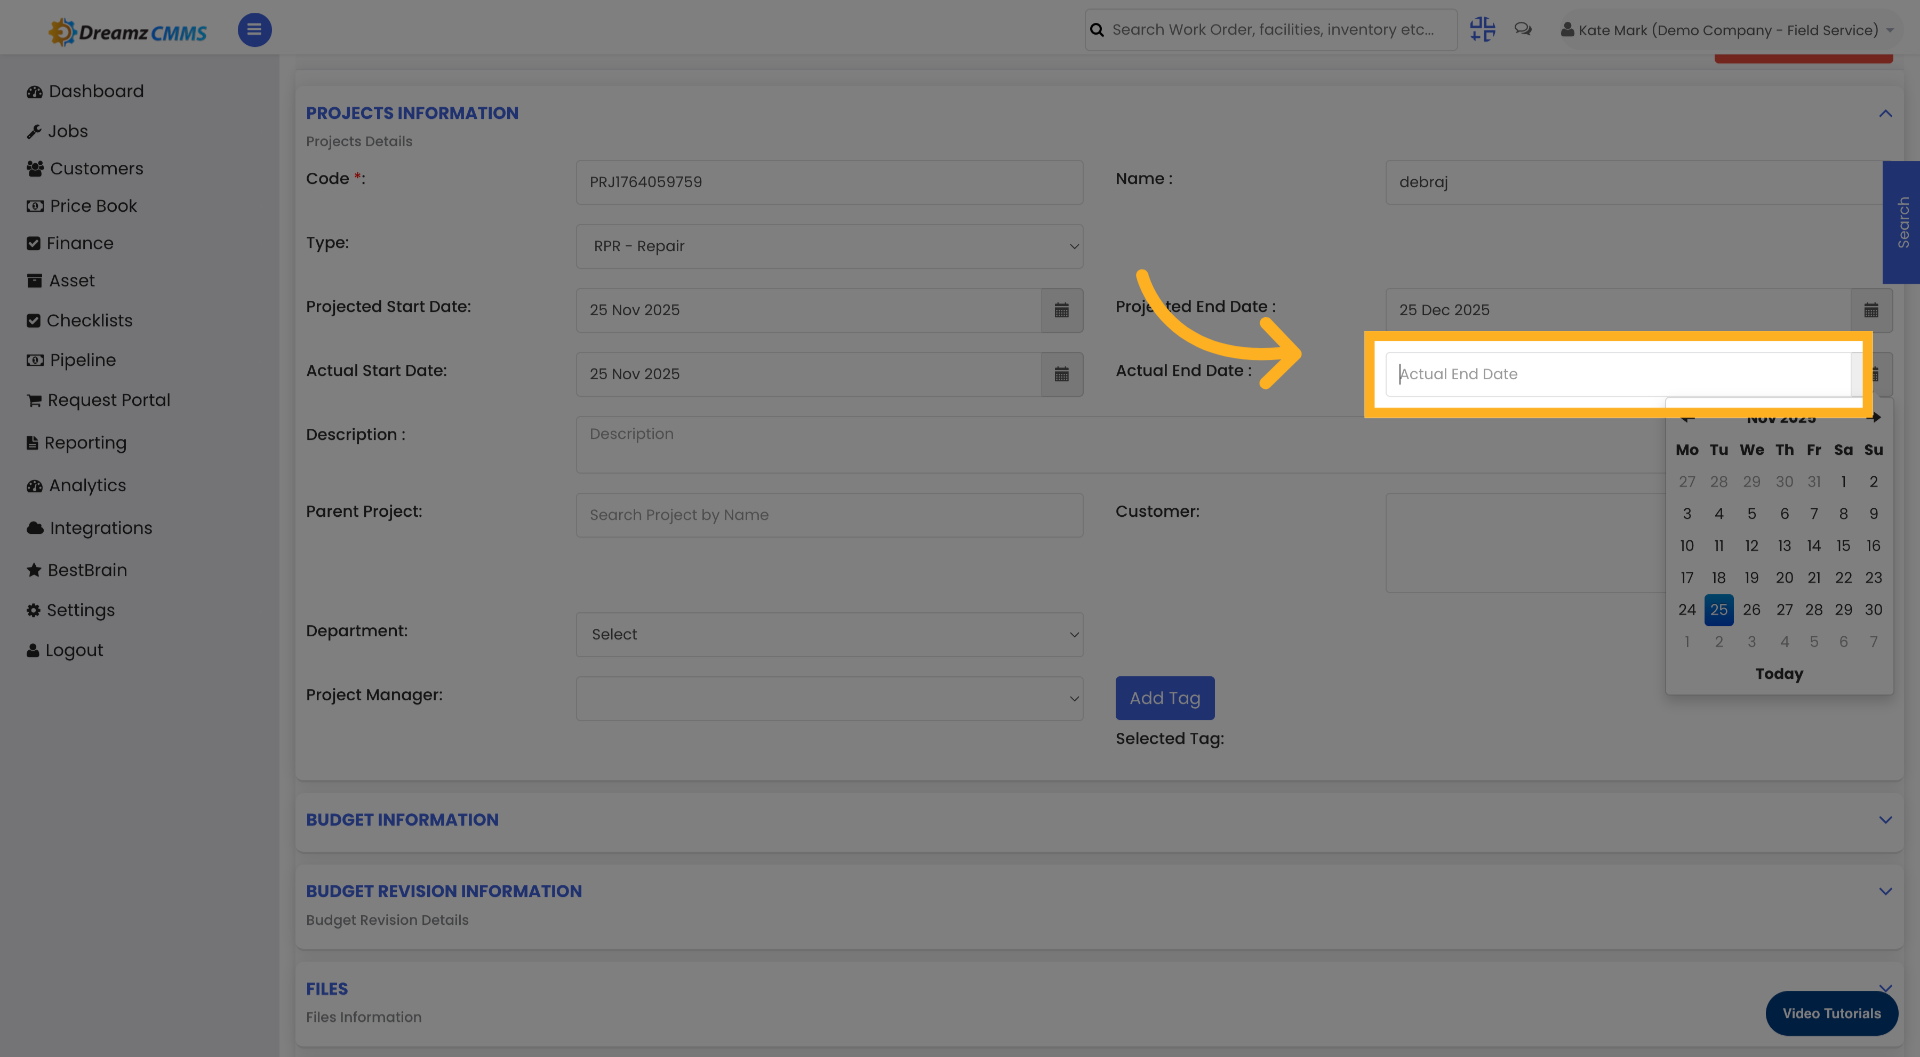
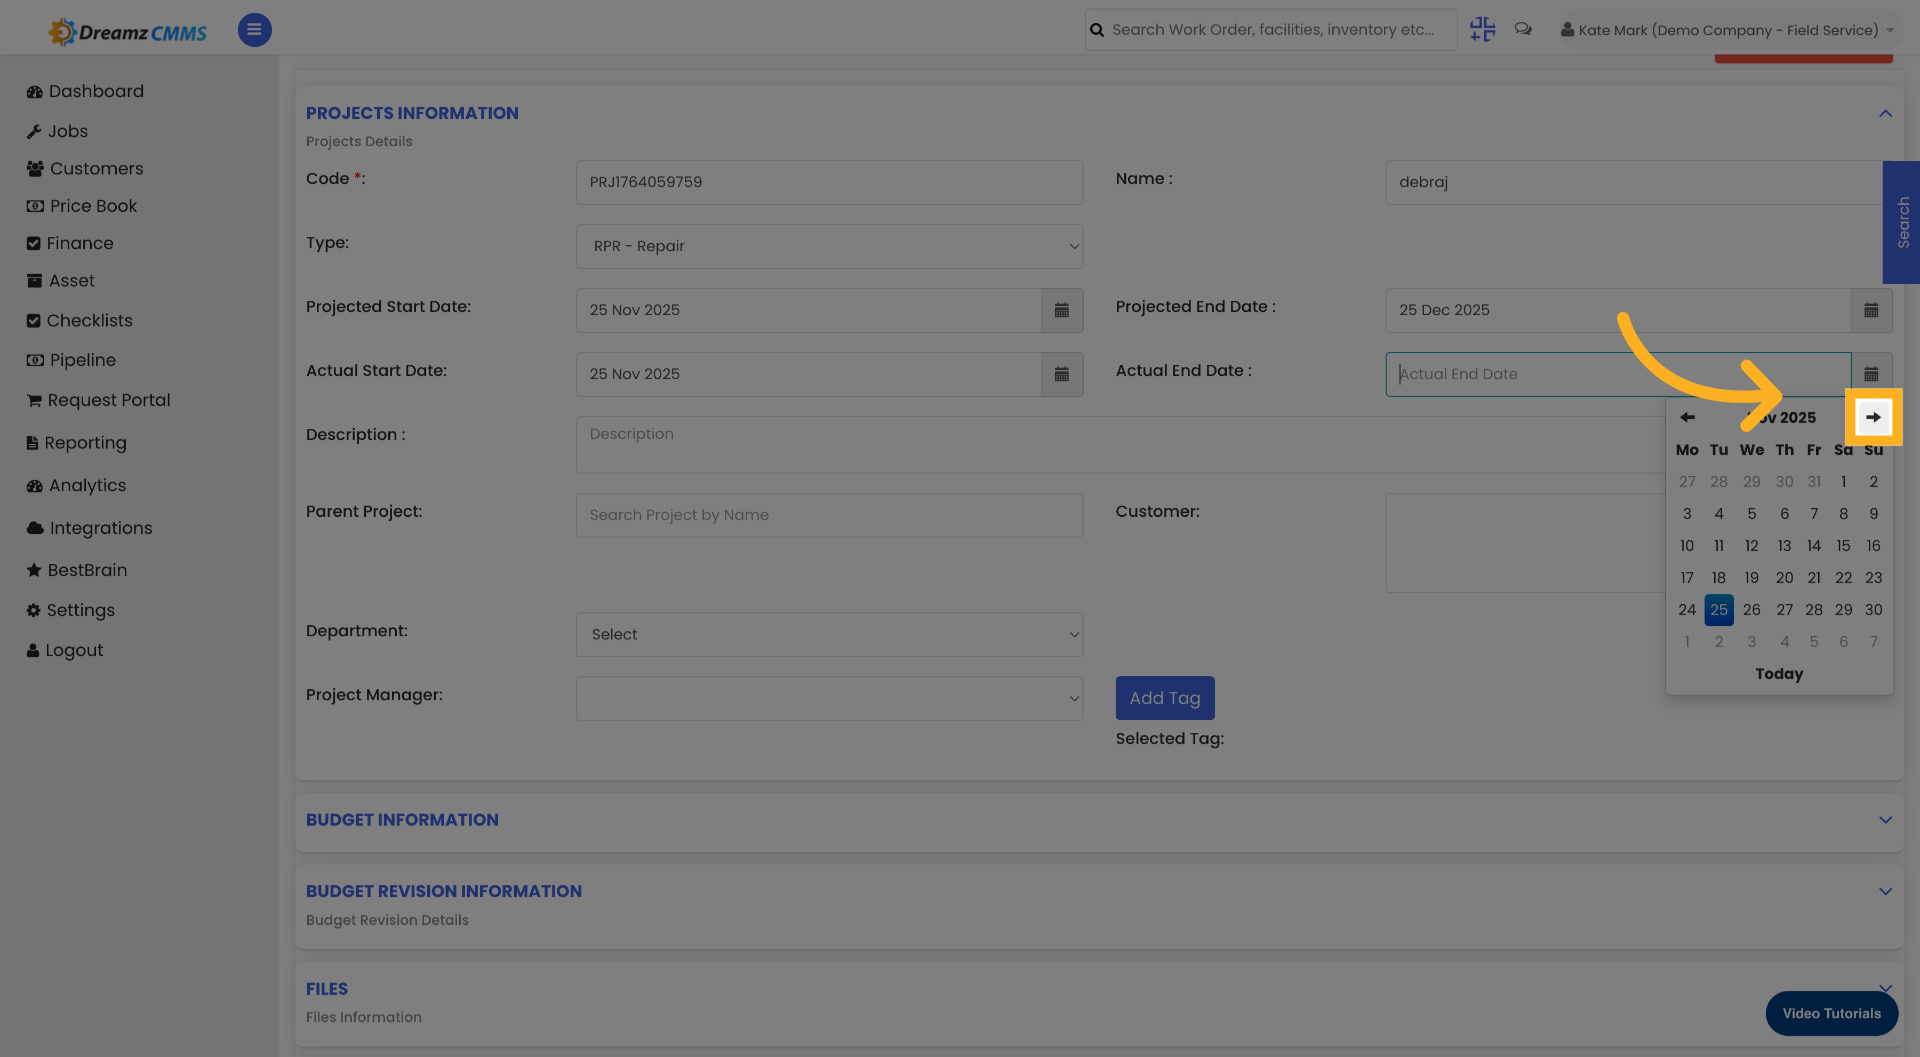
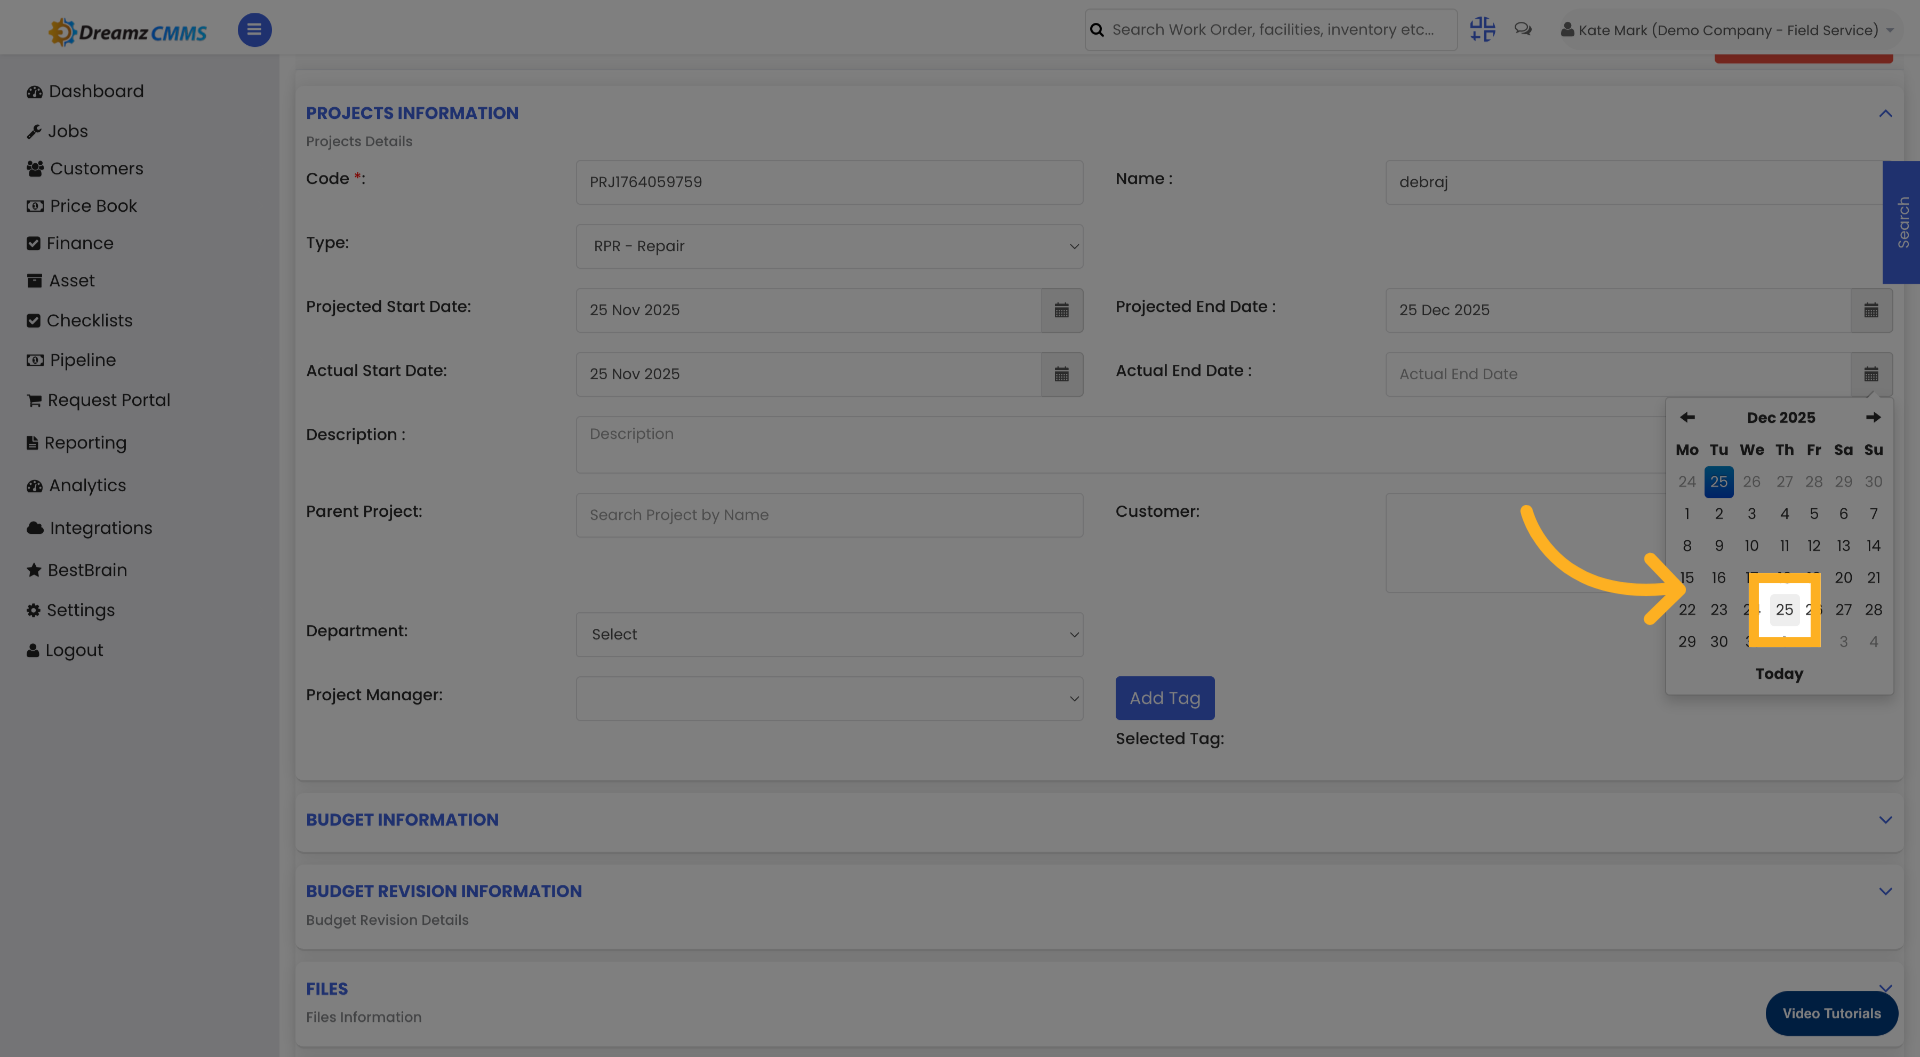
Step 7 – Set the Actual End Date
Click the Actual End Date field and select the real end date from the calendar.
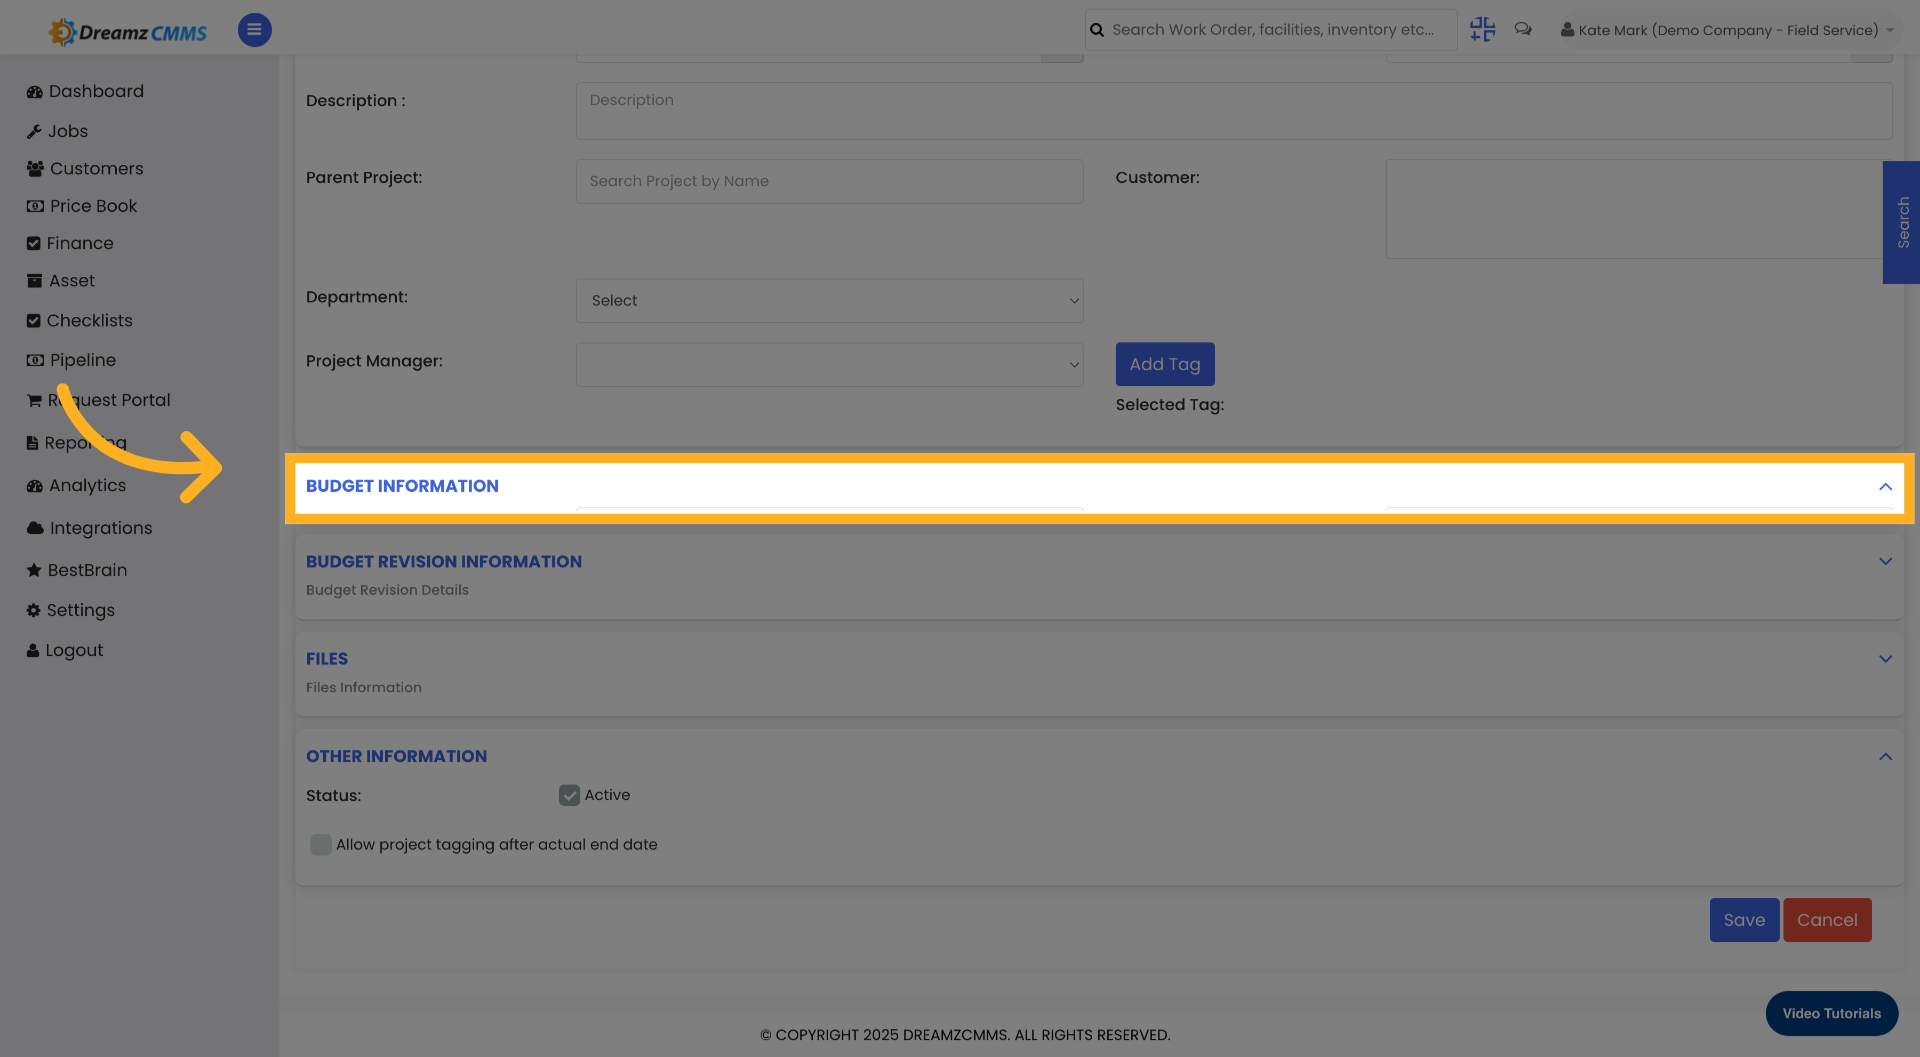
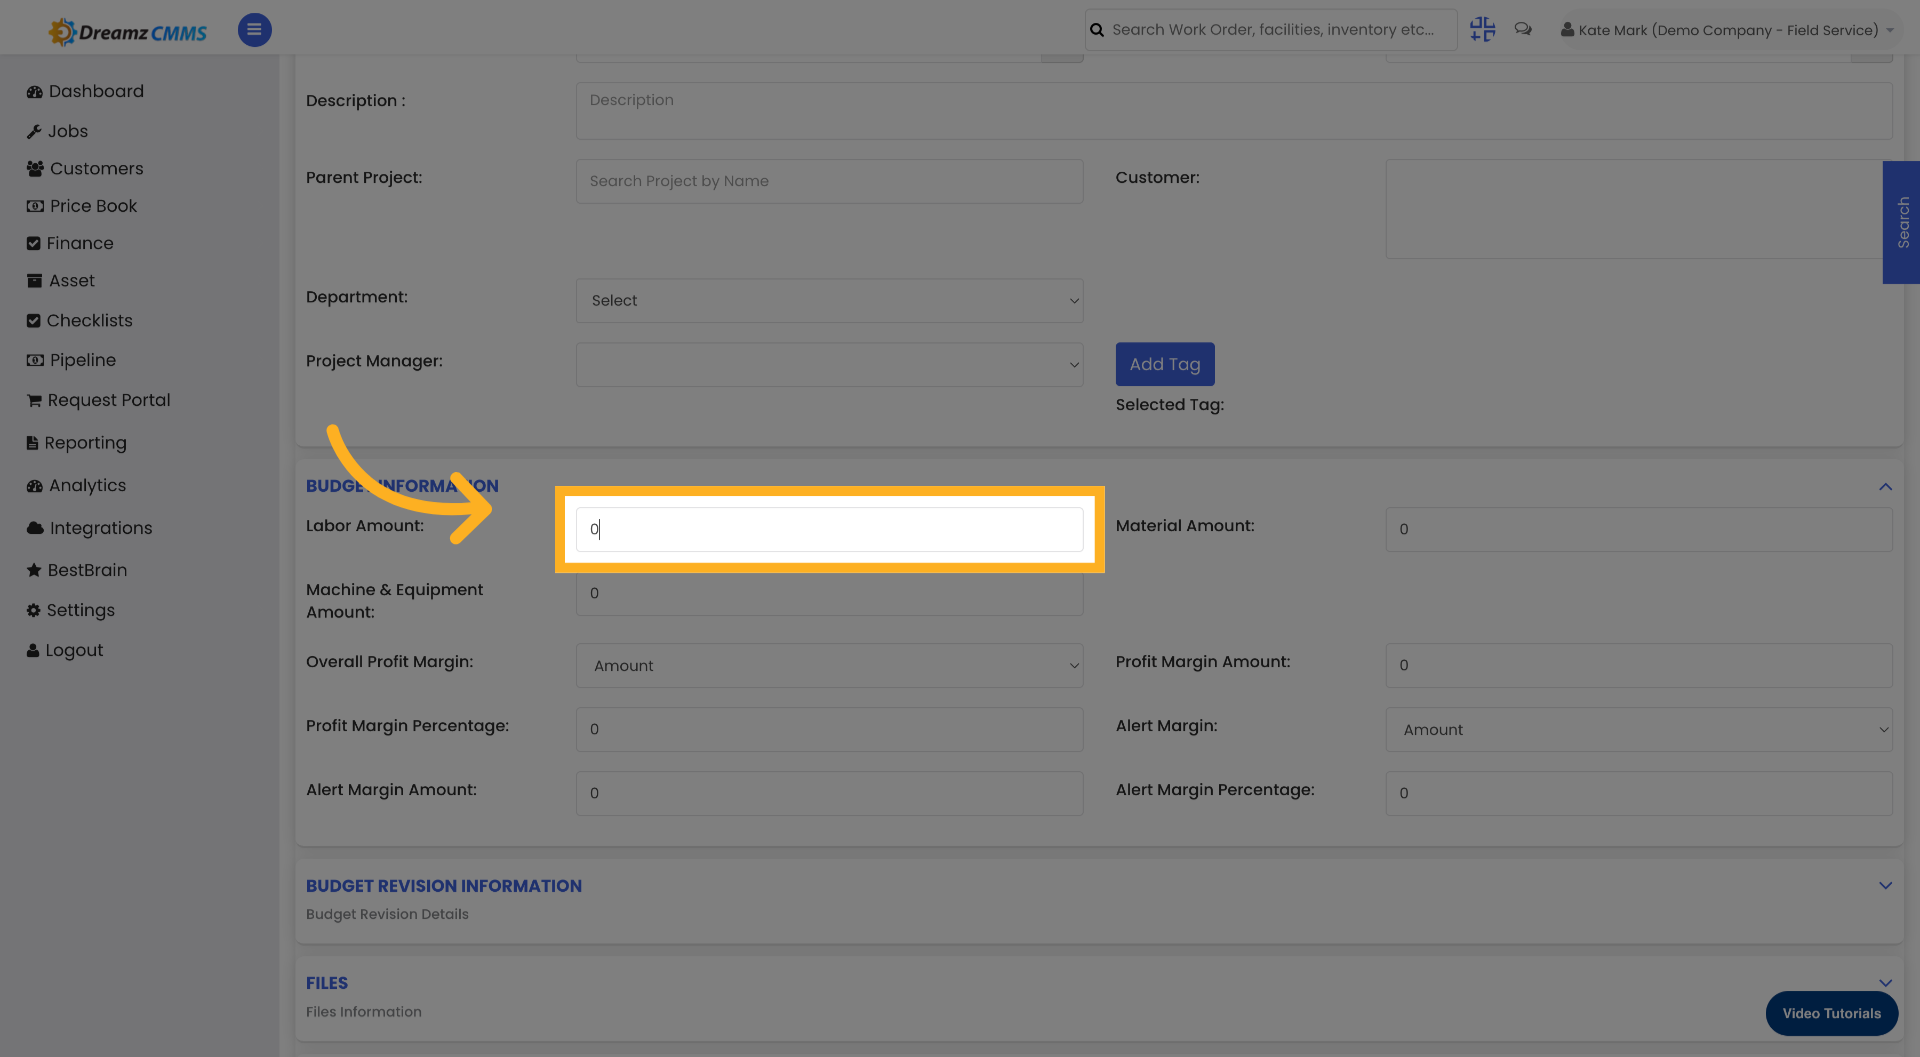
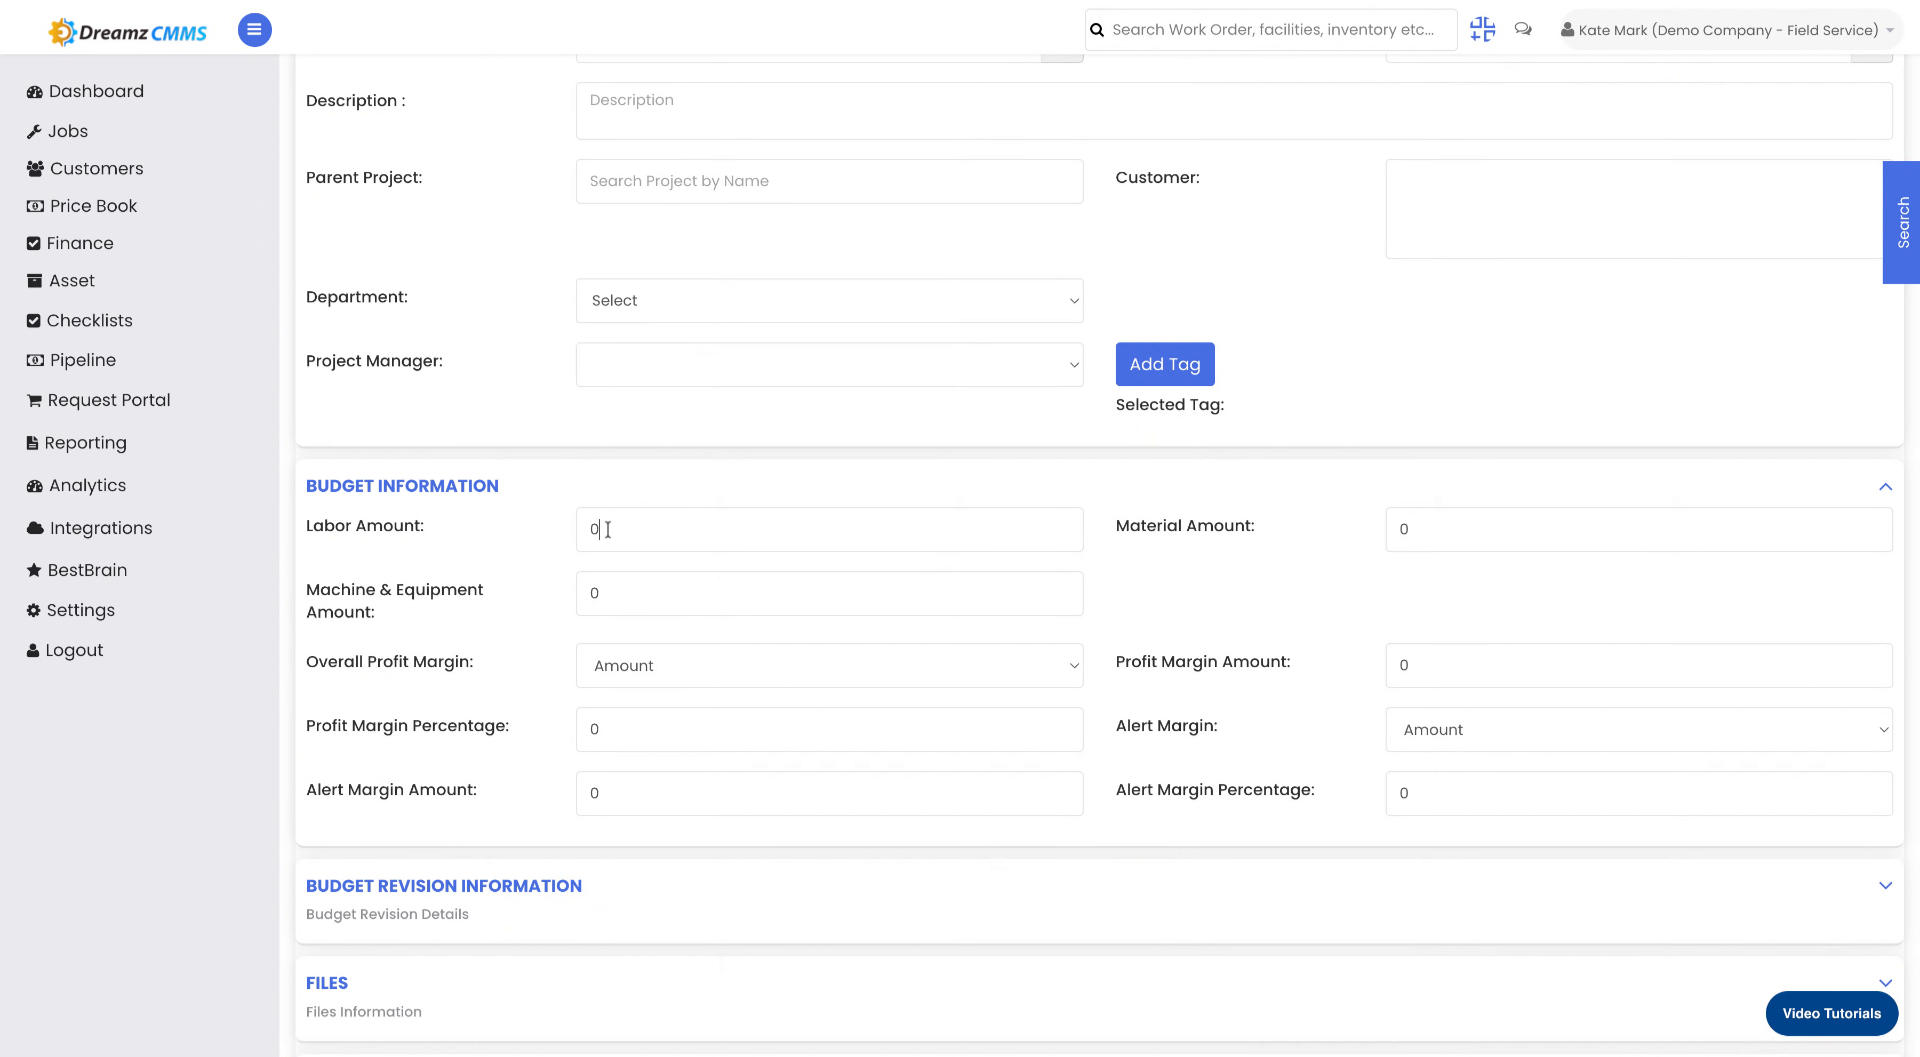
Step 8 – Enter Budget Information
Click the Budget Information section to expand it, then click the budget amount field and enter the budget amount for the project.
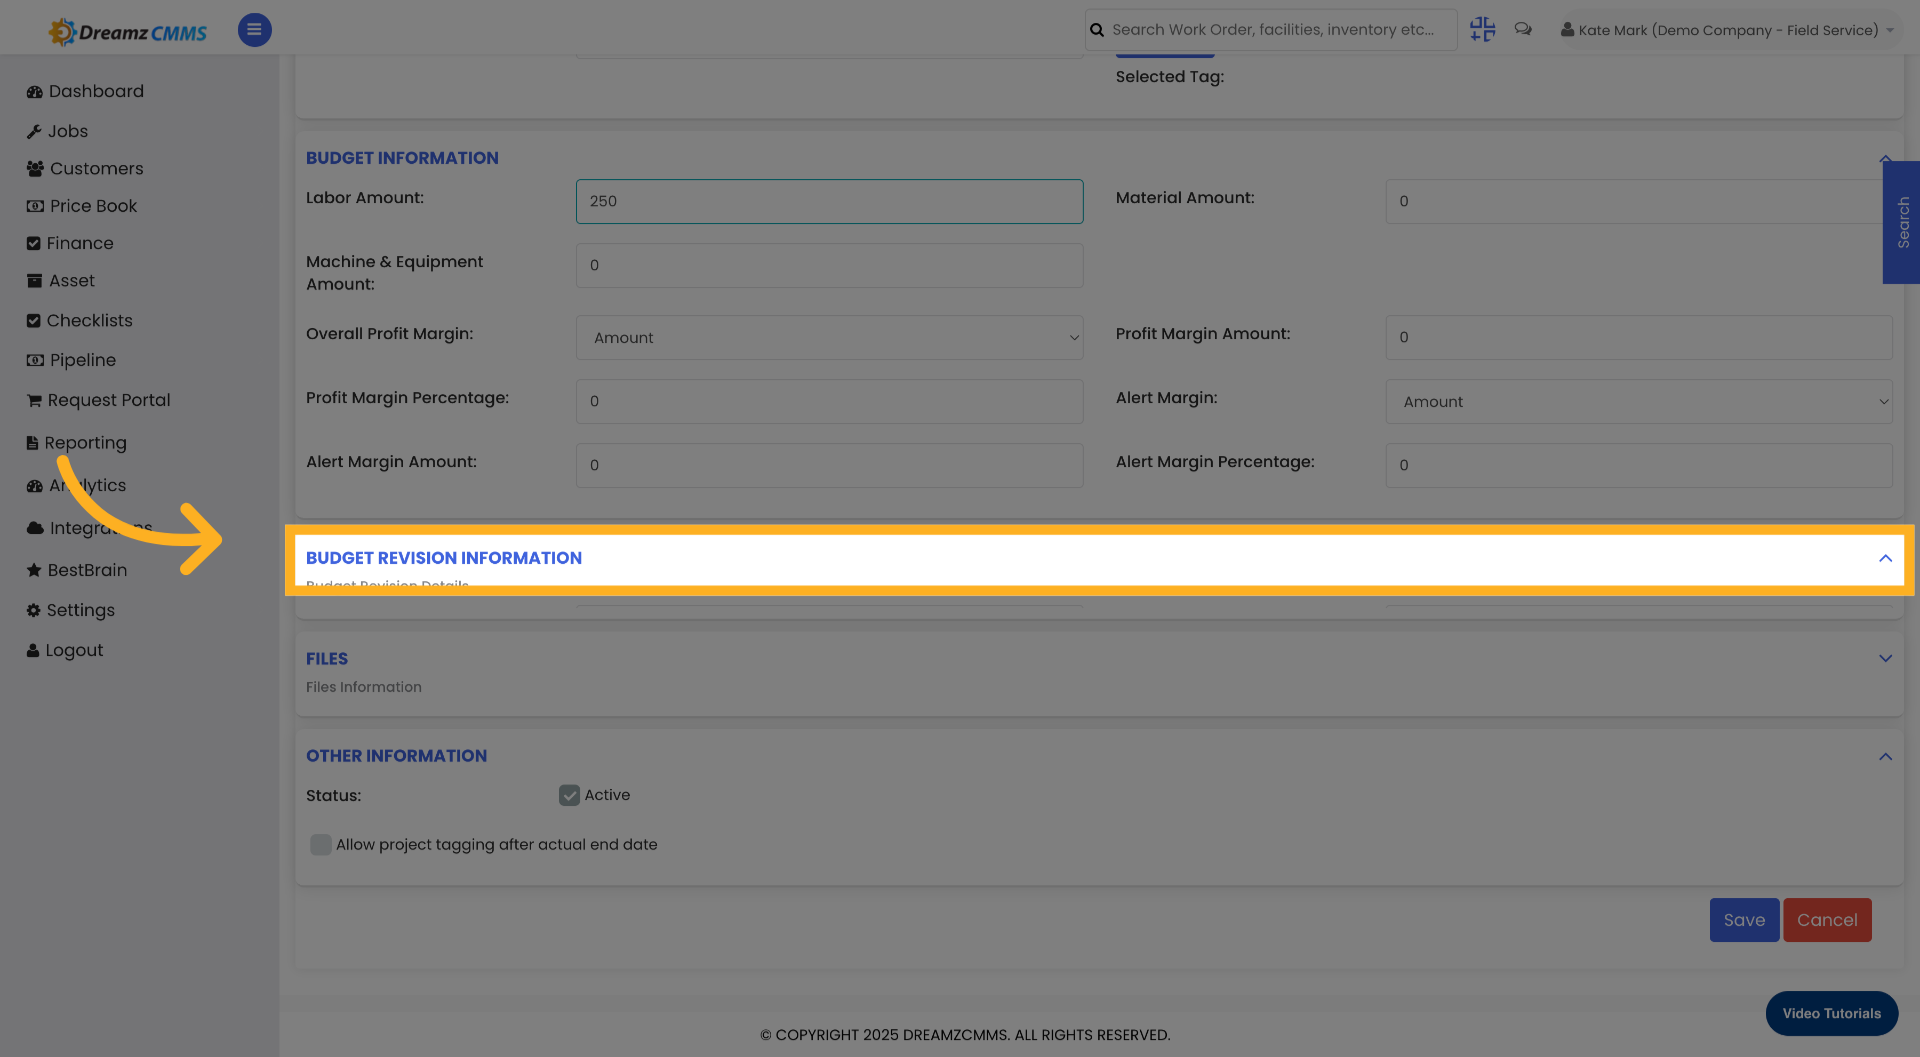
Step 9 – Open Budget Revision Information
Click the Budget Revision Information section to expand it and enter any budget revision details as required.
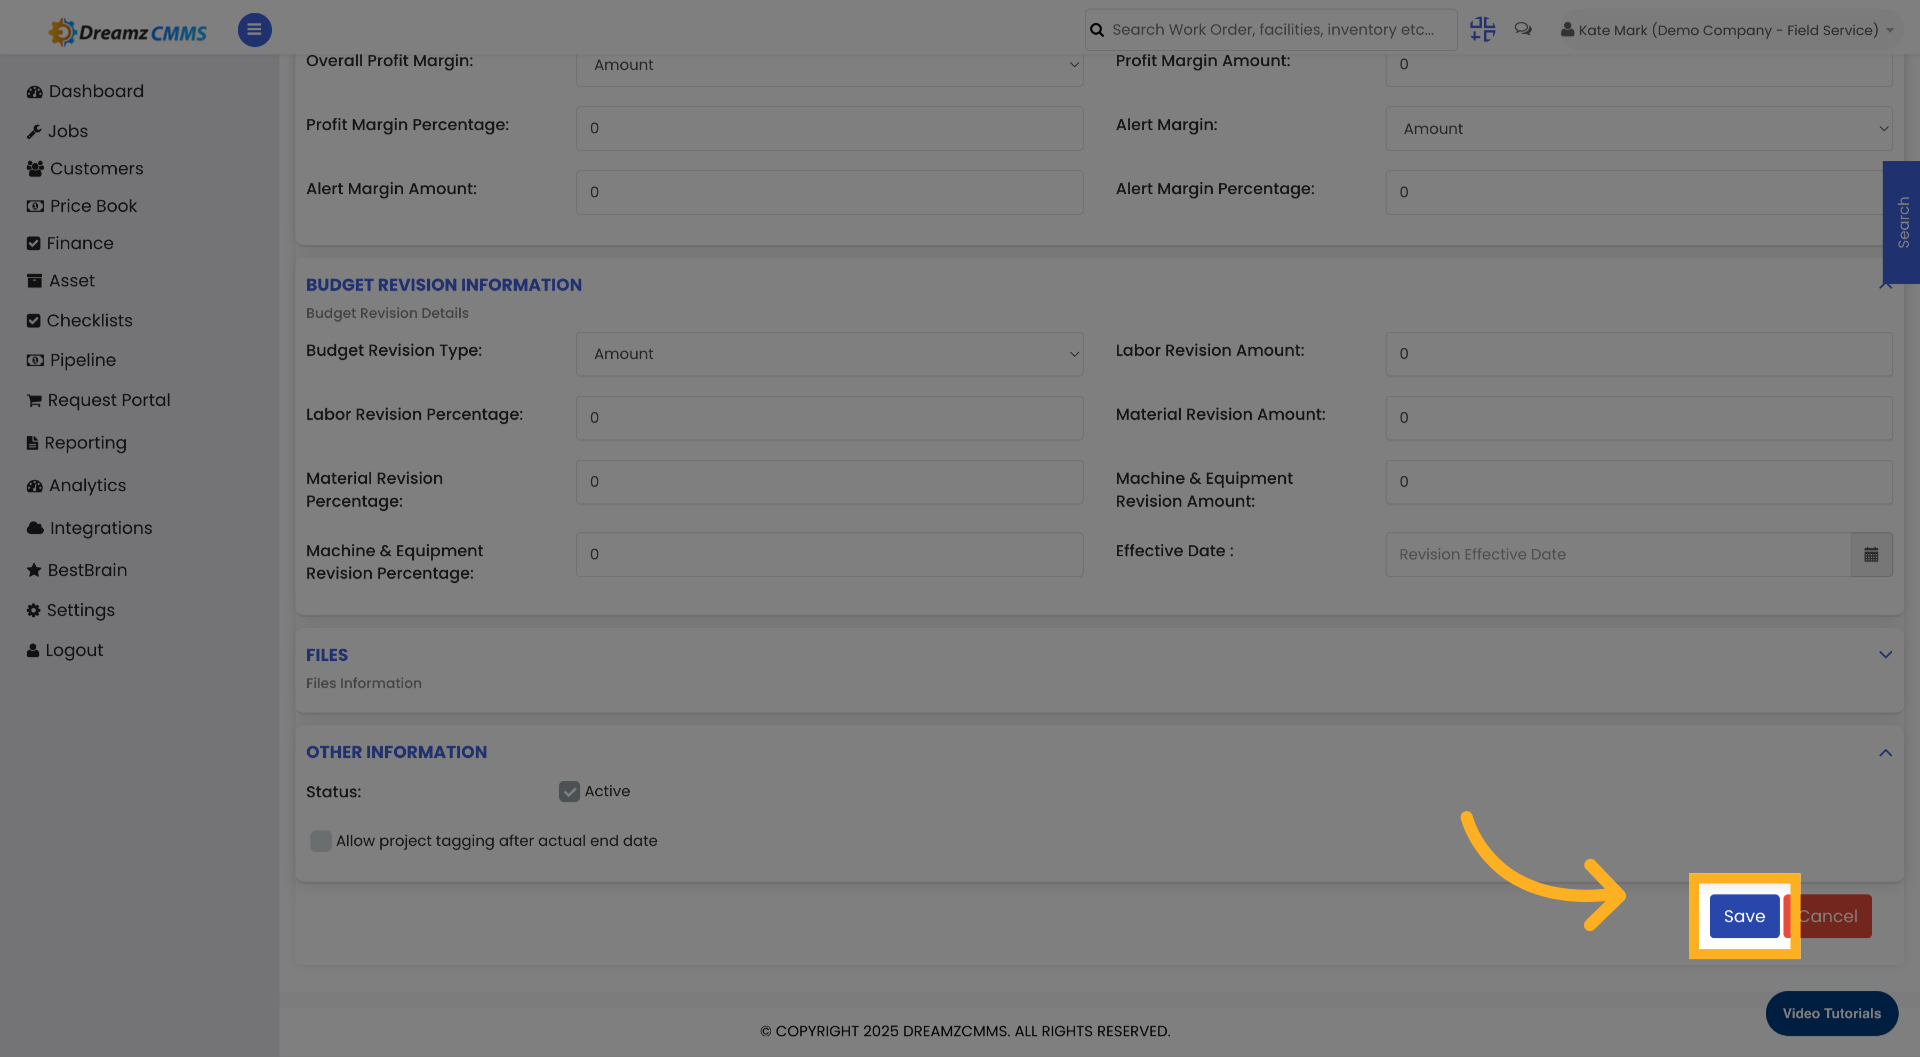
Step 10 – Save the Project
Once all project details have been entered, click the Save button to save the project configuration.
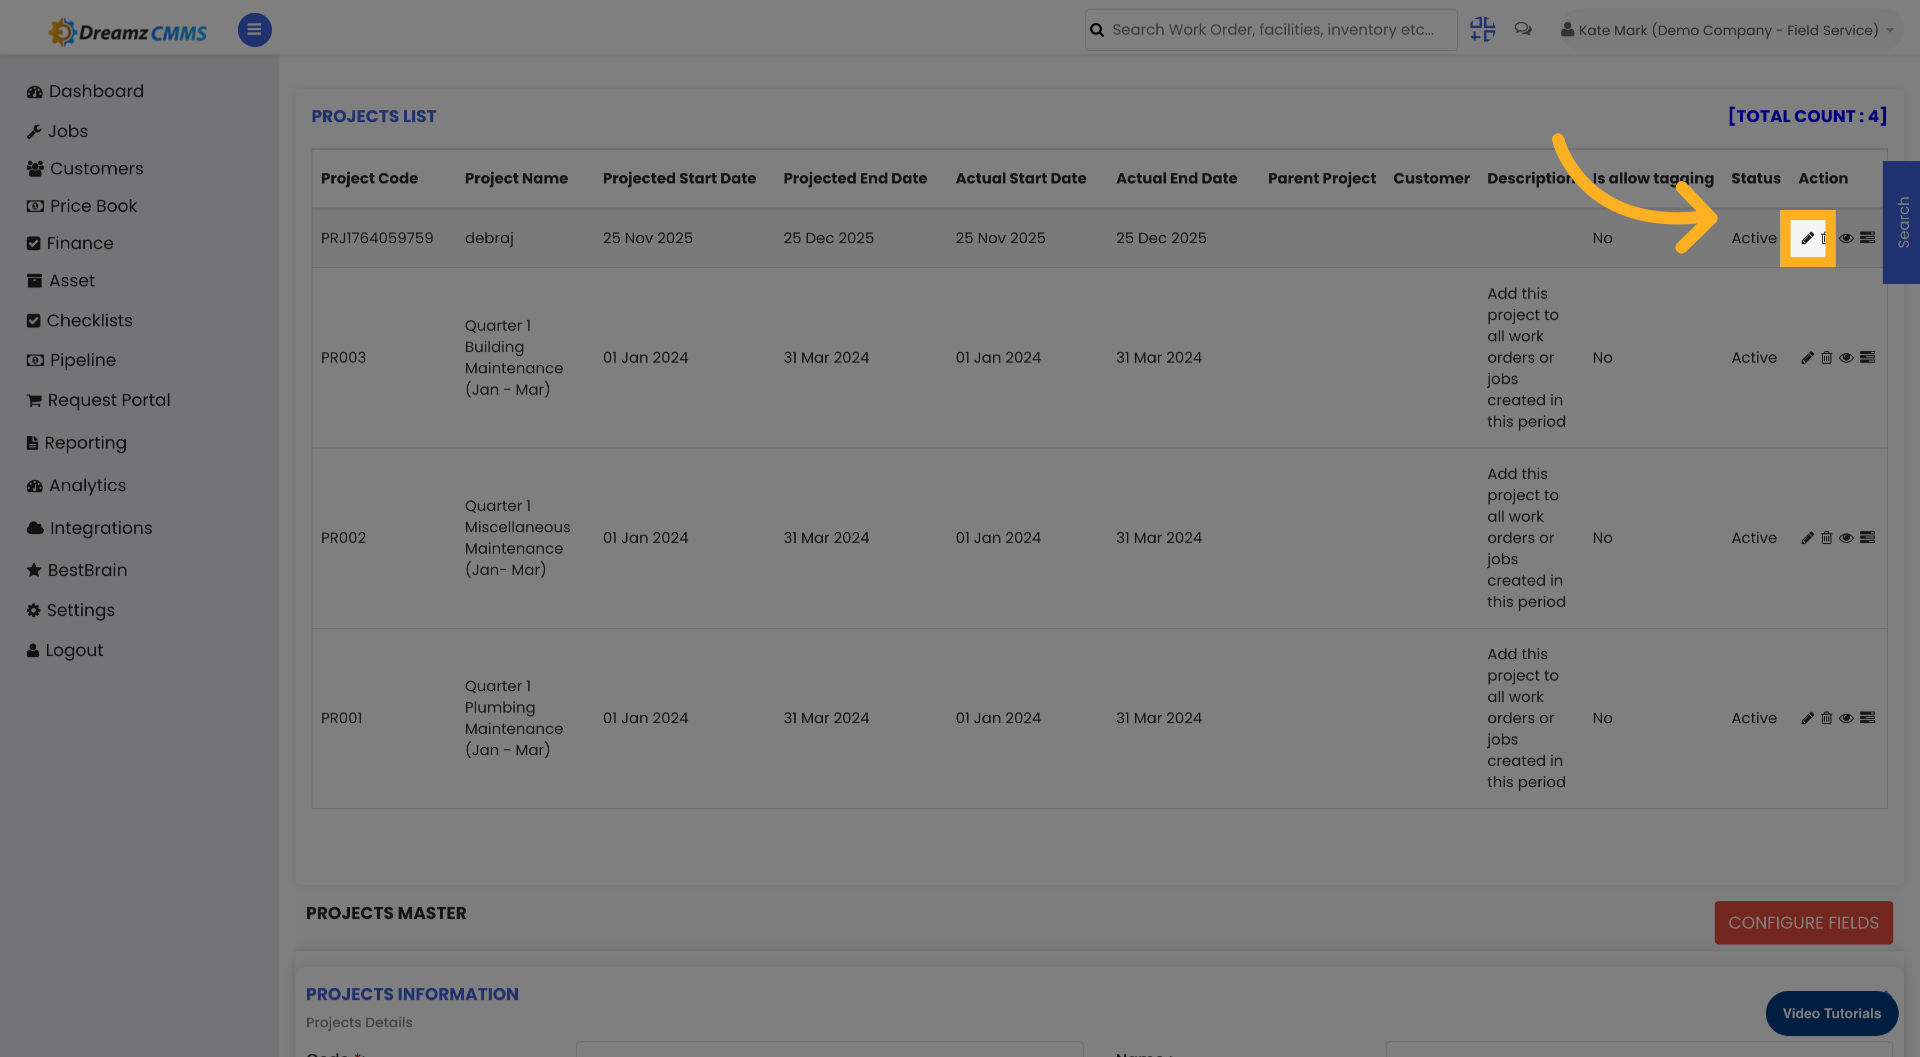
Editing an Existing Project
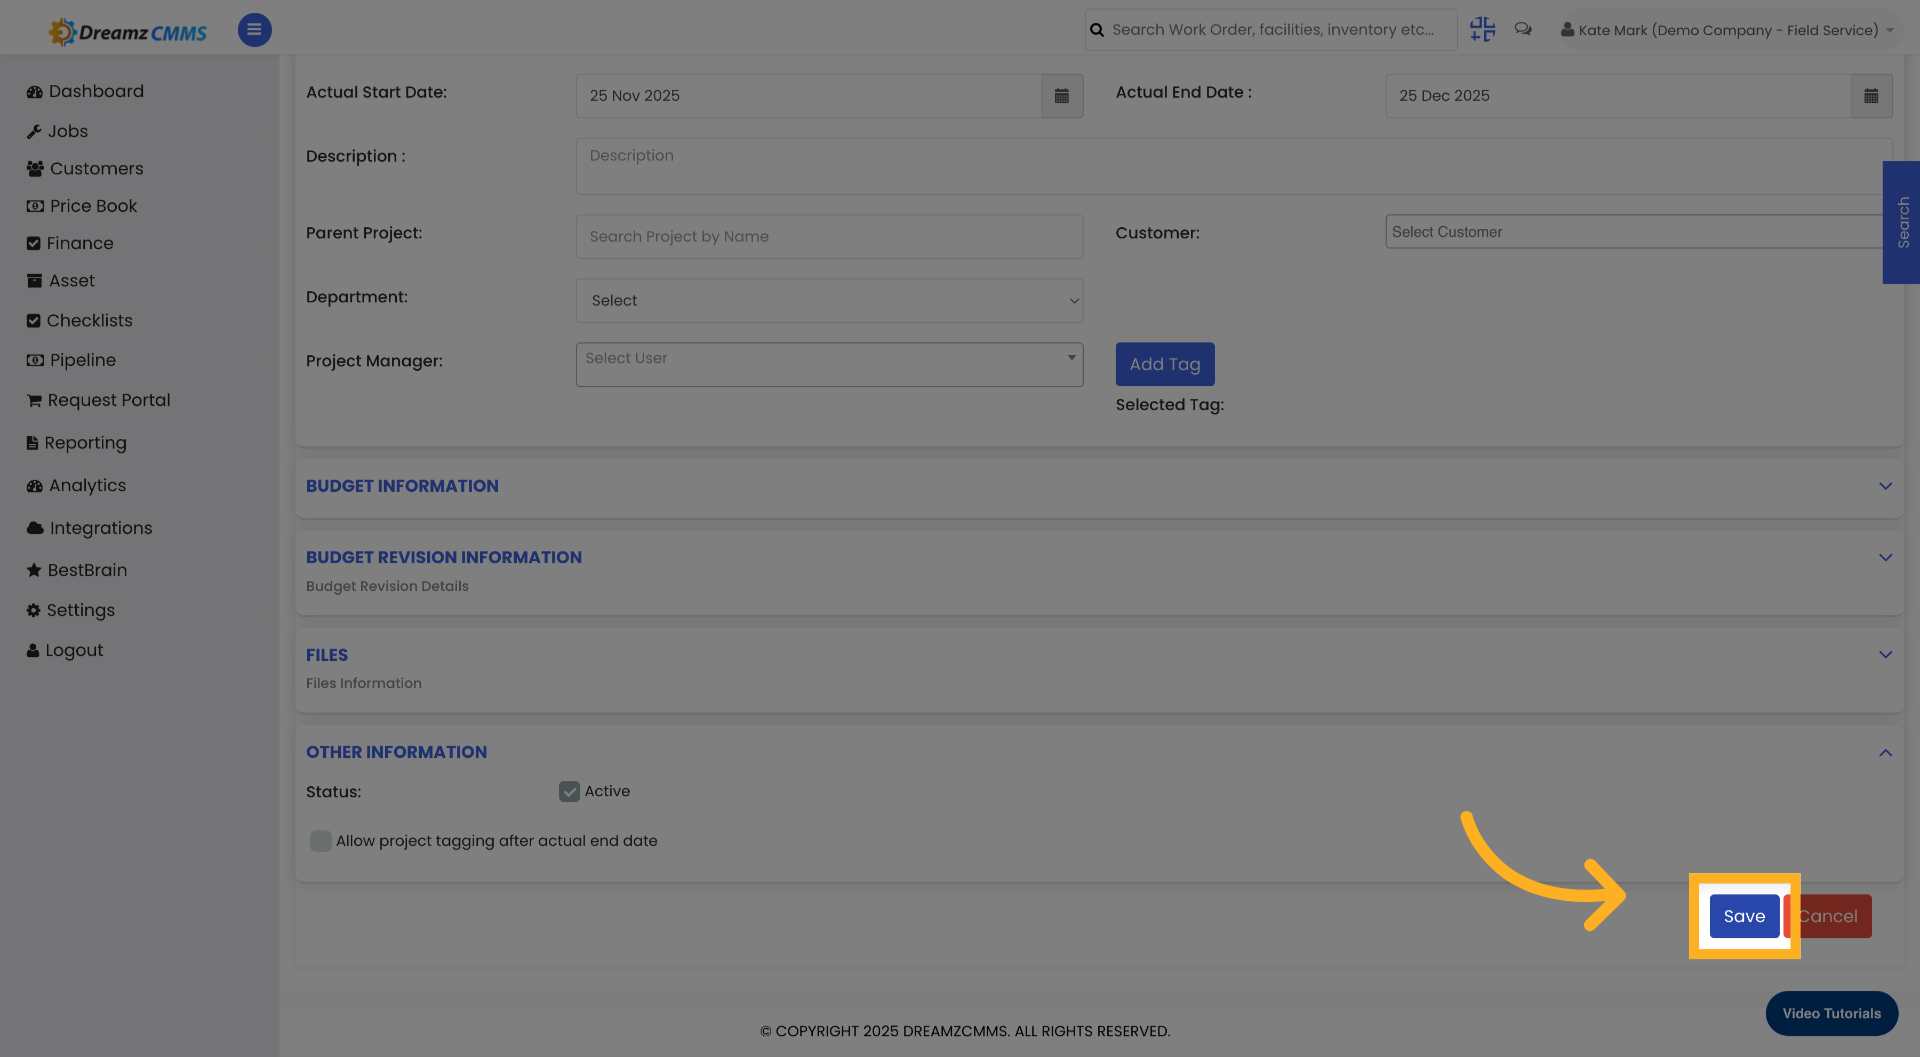
To update a previously saved project, click the Edit icon on the relevant project record. Make the required changes to the project details, then click Save to confirm all changes. Use the final options area to complete any remaining setup steps.
Tips for Configuring Job Projects
- Always set both projected and actual dates — projected dates help with planning, while actual dates give you an accurate record of when work truly began and ended.
- Use the Budget Revision Information section to keep an up-to-date record of any changes to the original budget, ensuring financial transparency throughout the project lifecycle.
- Enter a clear, descriptive project name so the project is easy to identify across all views and reports.
- Link related jobs to the project at the time of job creation to ensure all work is captured under the correct project for reporting and progress tracking.
- Use the Edit icon to update project details as the project progresses — keeping actual dates and budget figures current ensures your reporting remains accurate.
Frequently Asked Questions
What is the difference between projected and actual dates?
Projected dates represent the planned start and end dates for the project at the time of setup. Actual dates are updated as the project progresses to reflect when work truly began and was completed. Tracking both allows you to compare planned vs. actual timelines for reporting.
Can I edit a project after it has been saved?
Yes. Click the Edit icon on the relevant project record to update any project details including dates, budget information, and the project name. Click Save to confirm your changes.
What is the Budget Revision Information section used for?
The Budget Revision Information section allows you to record any changes made to the original project budget. This ensures a complete audit trail of financial adjustments throughout the project lifecycle.
Can I link jobs to a project?
Yes. When creating or editing a job, use the Project dropdown to link it to the relevant project. This allows the job to be tracked within the project's progress and included in project-level reporting.
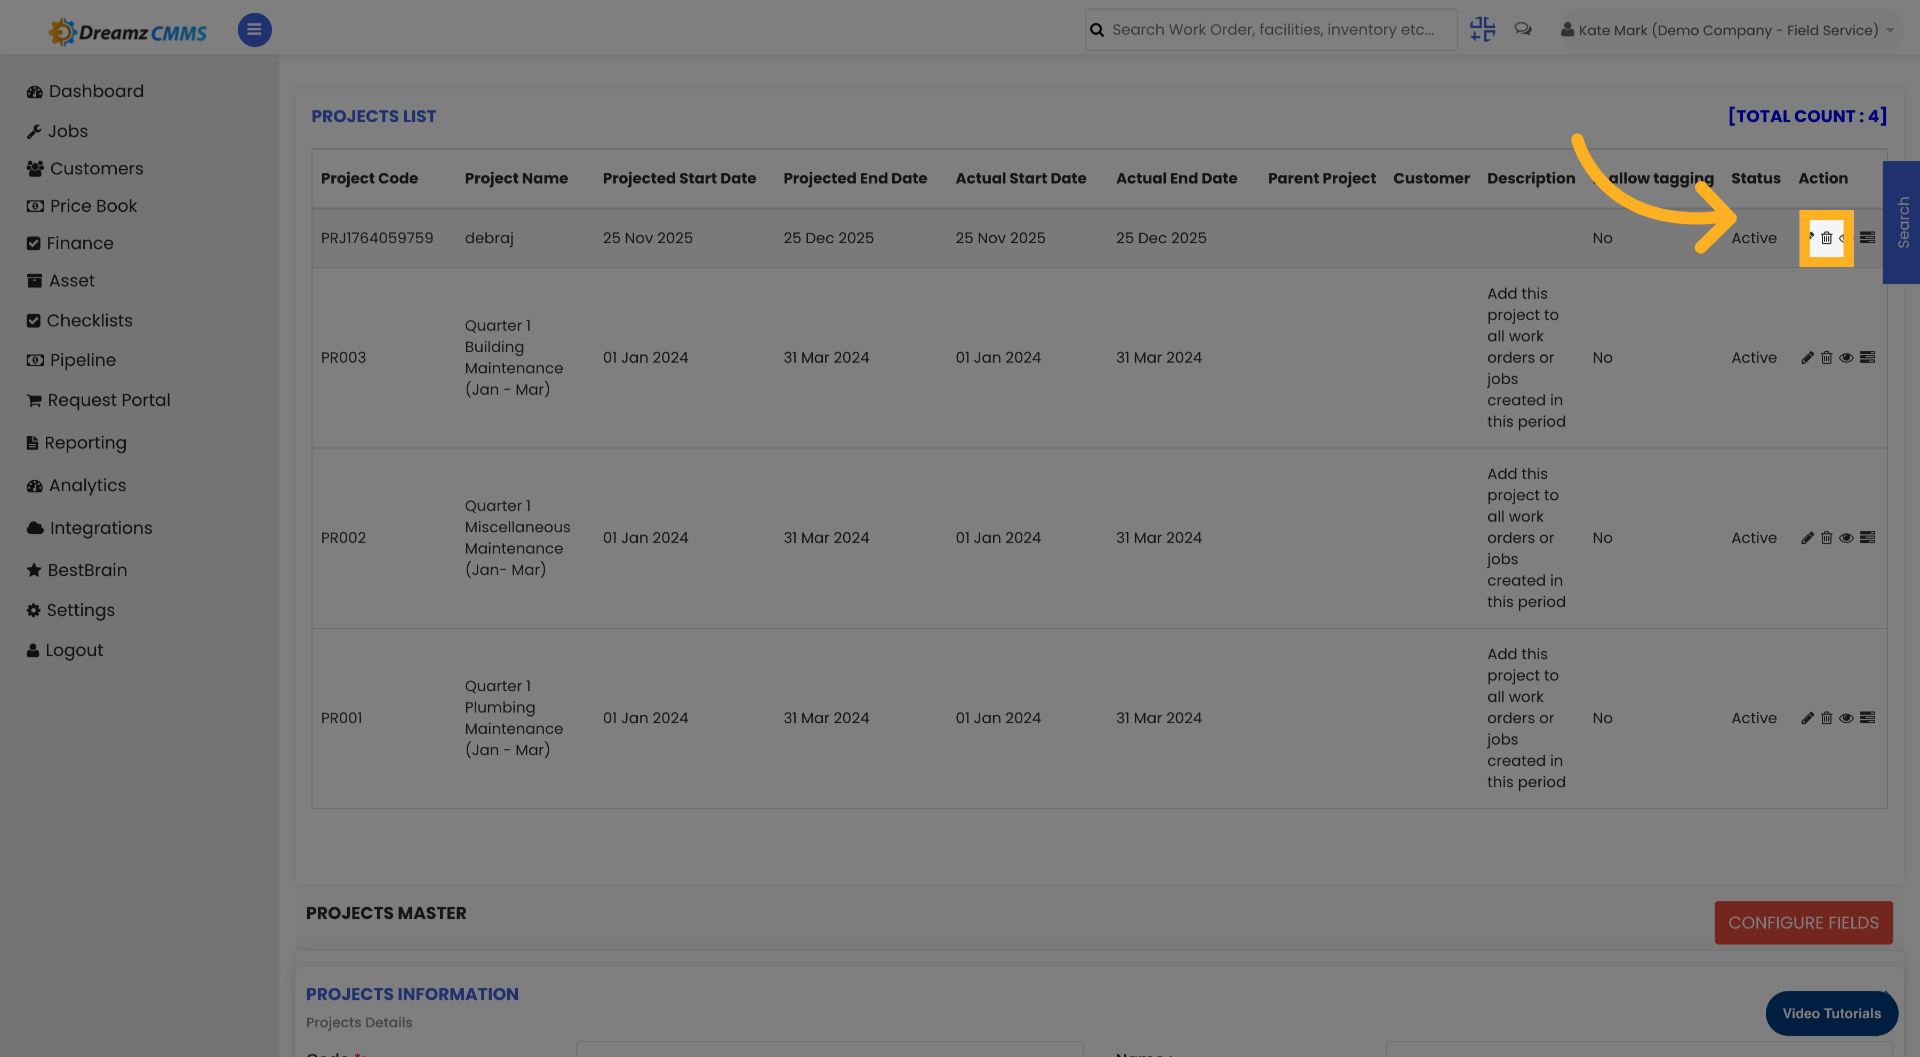
Where can I access and manage all projects?
All projects are accessible from the Project tab within the Jobs section. From here you can view, create, edit, and manage all project records.