Create and Manage Job Routes
This guide walks you through creating and managing job routes within DreamzFSM. You will learn how to plan routes for employees, set start and end addresses, save routing plans, edit existing routes, and refresh route data — all from within the Jobs module.
Overview
The Route Planning feature in DreamzFSM allows managers and dispatchers to create optimised travel routes for field technicians based on their assigned jobs. Routes are built by selecting an employee, choosing the relevant jobs, entering start and end addresses, and generating a plan. Once saved, routes can be edited, refreshed, and viewed from the Route List at any time.
Here is a reference video:
How to Create and Manage Job Routes
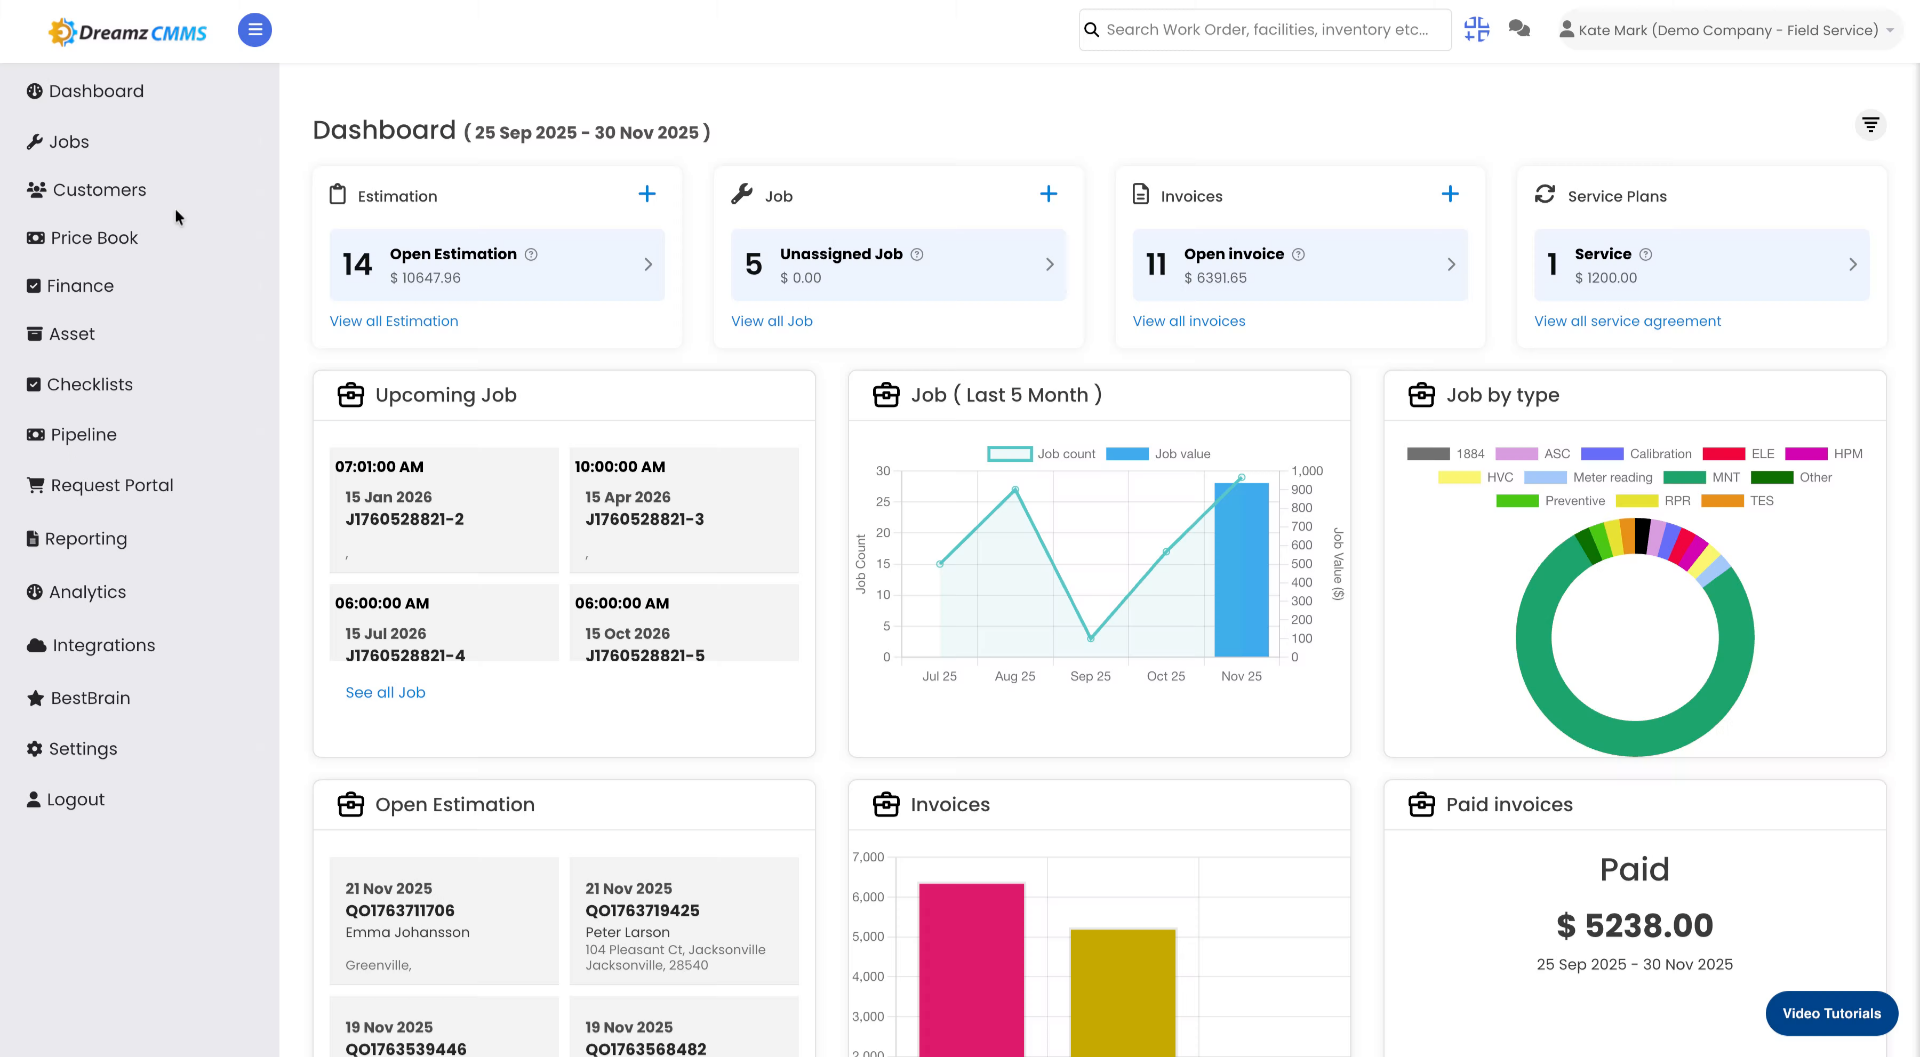
Step 1 – Navigate to the Jobs Section
From the main menu, click Jobs to access the job-related features.
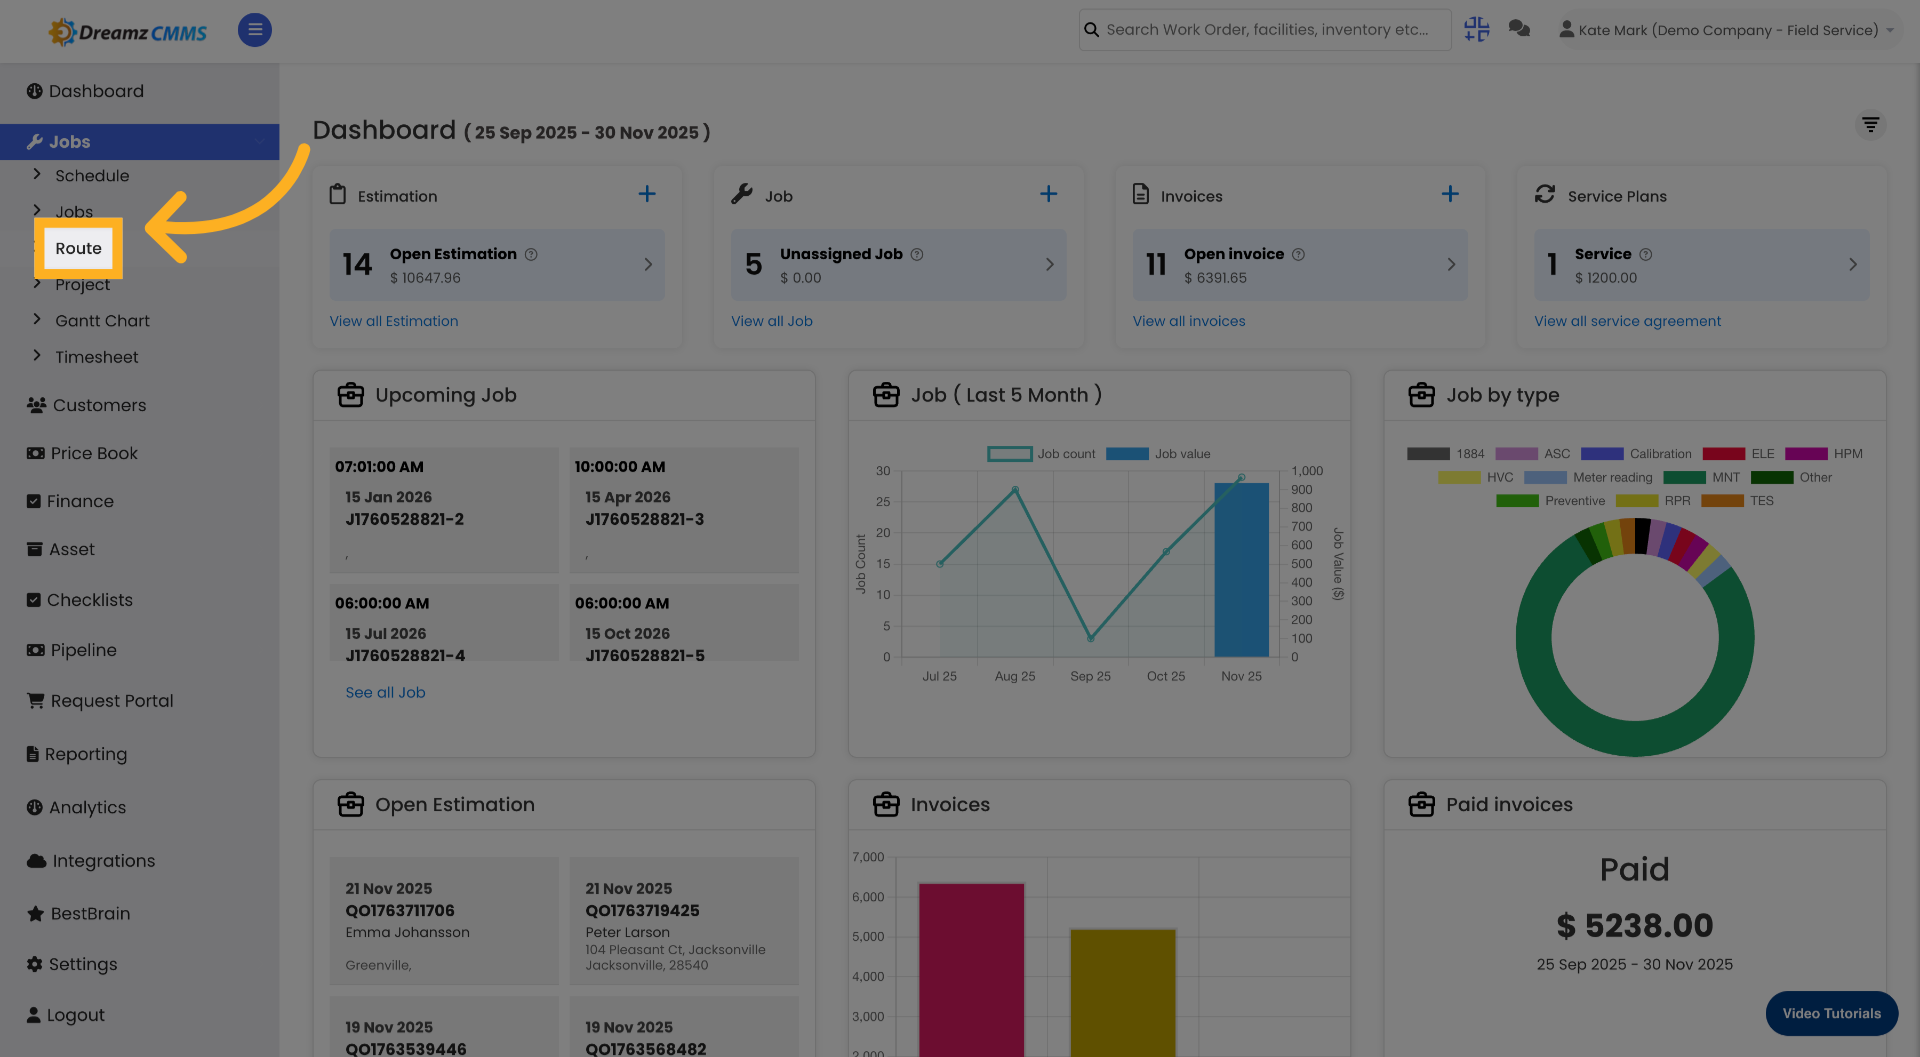
Step 2 – Open the Route Tab
Click the Route tab to begin managing routes for your field employees.

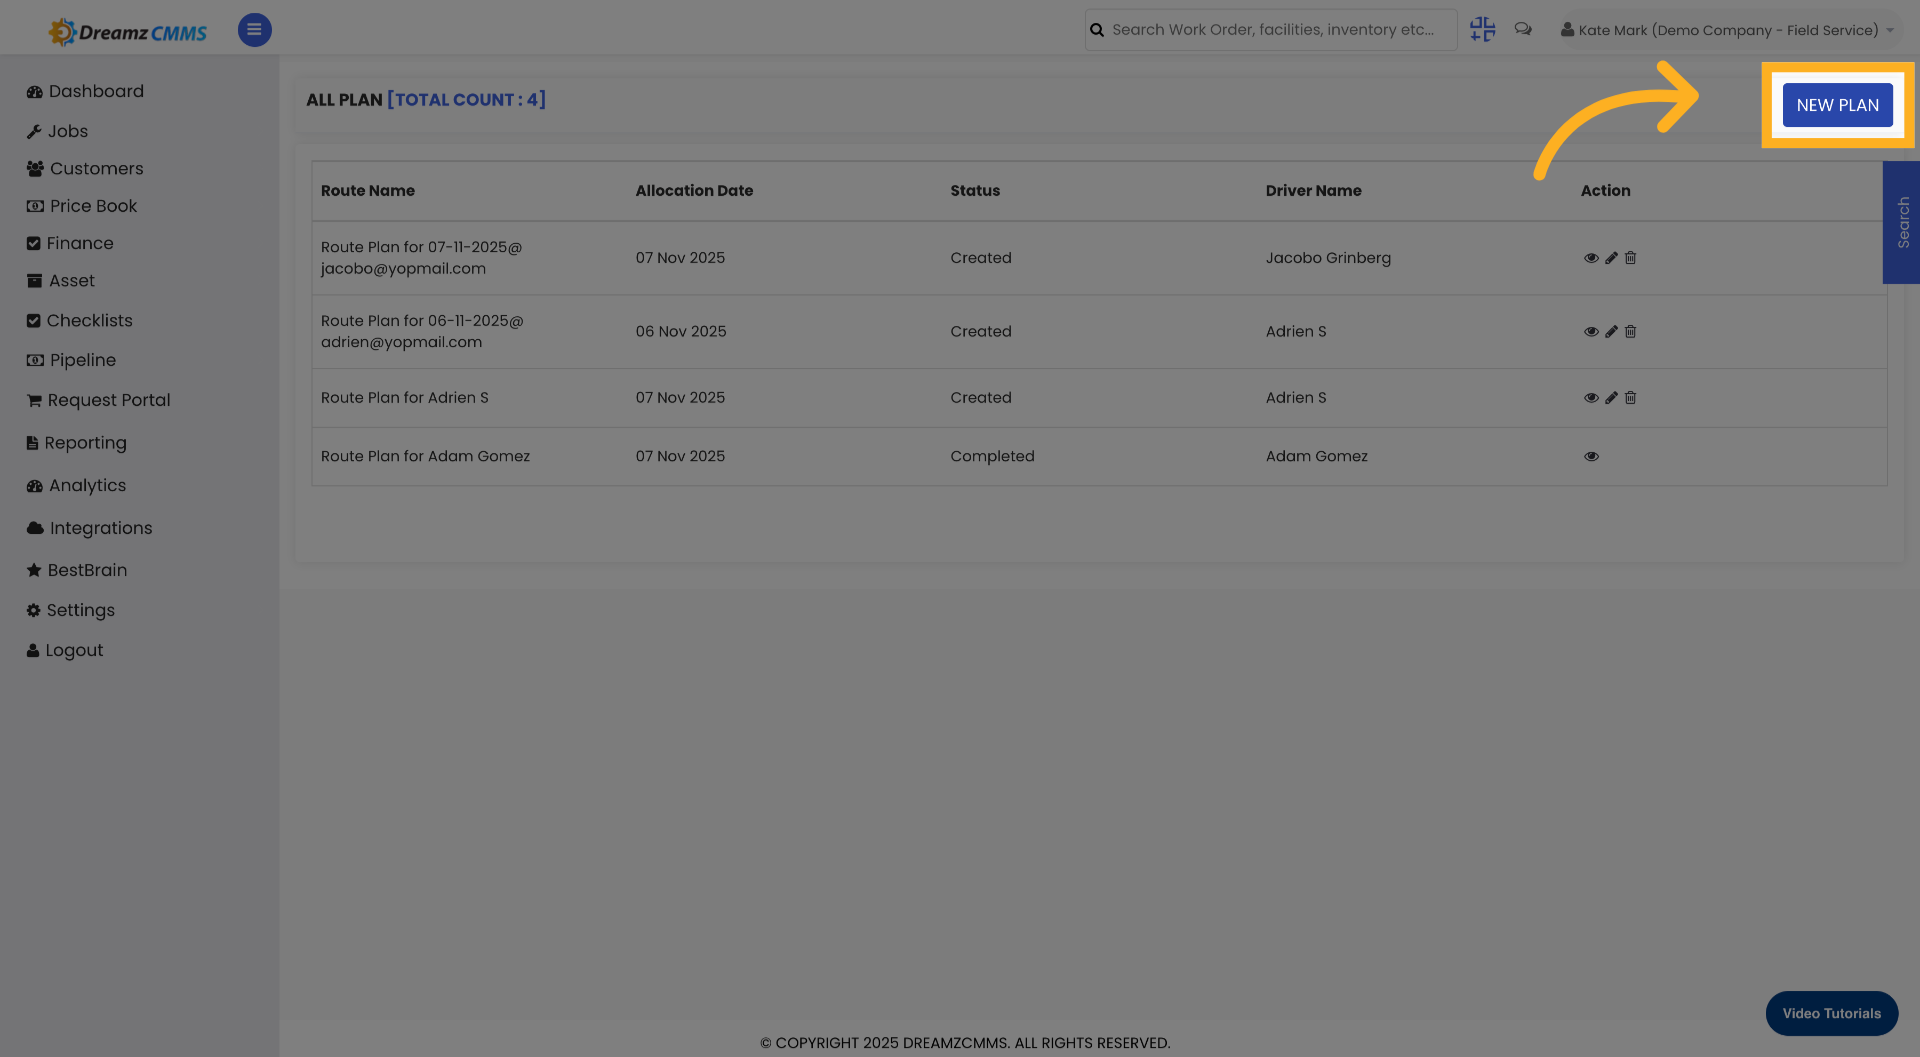
Step 3 – Start a New Route Plan
Click New Plan to initiate a new routing plan.
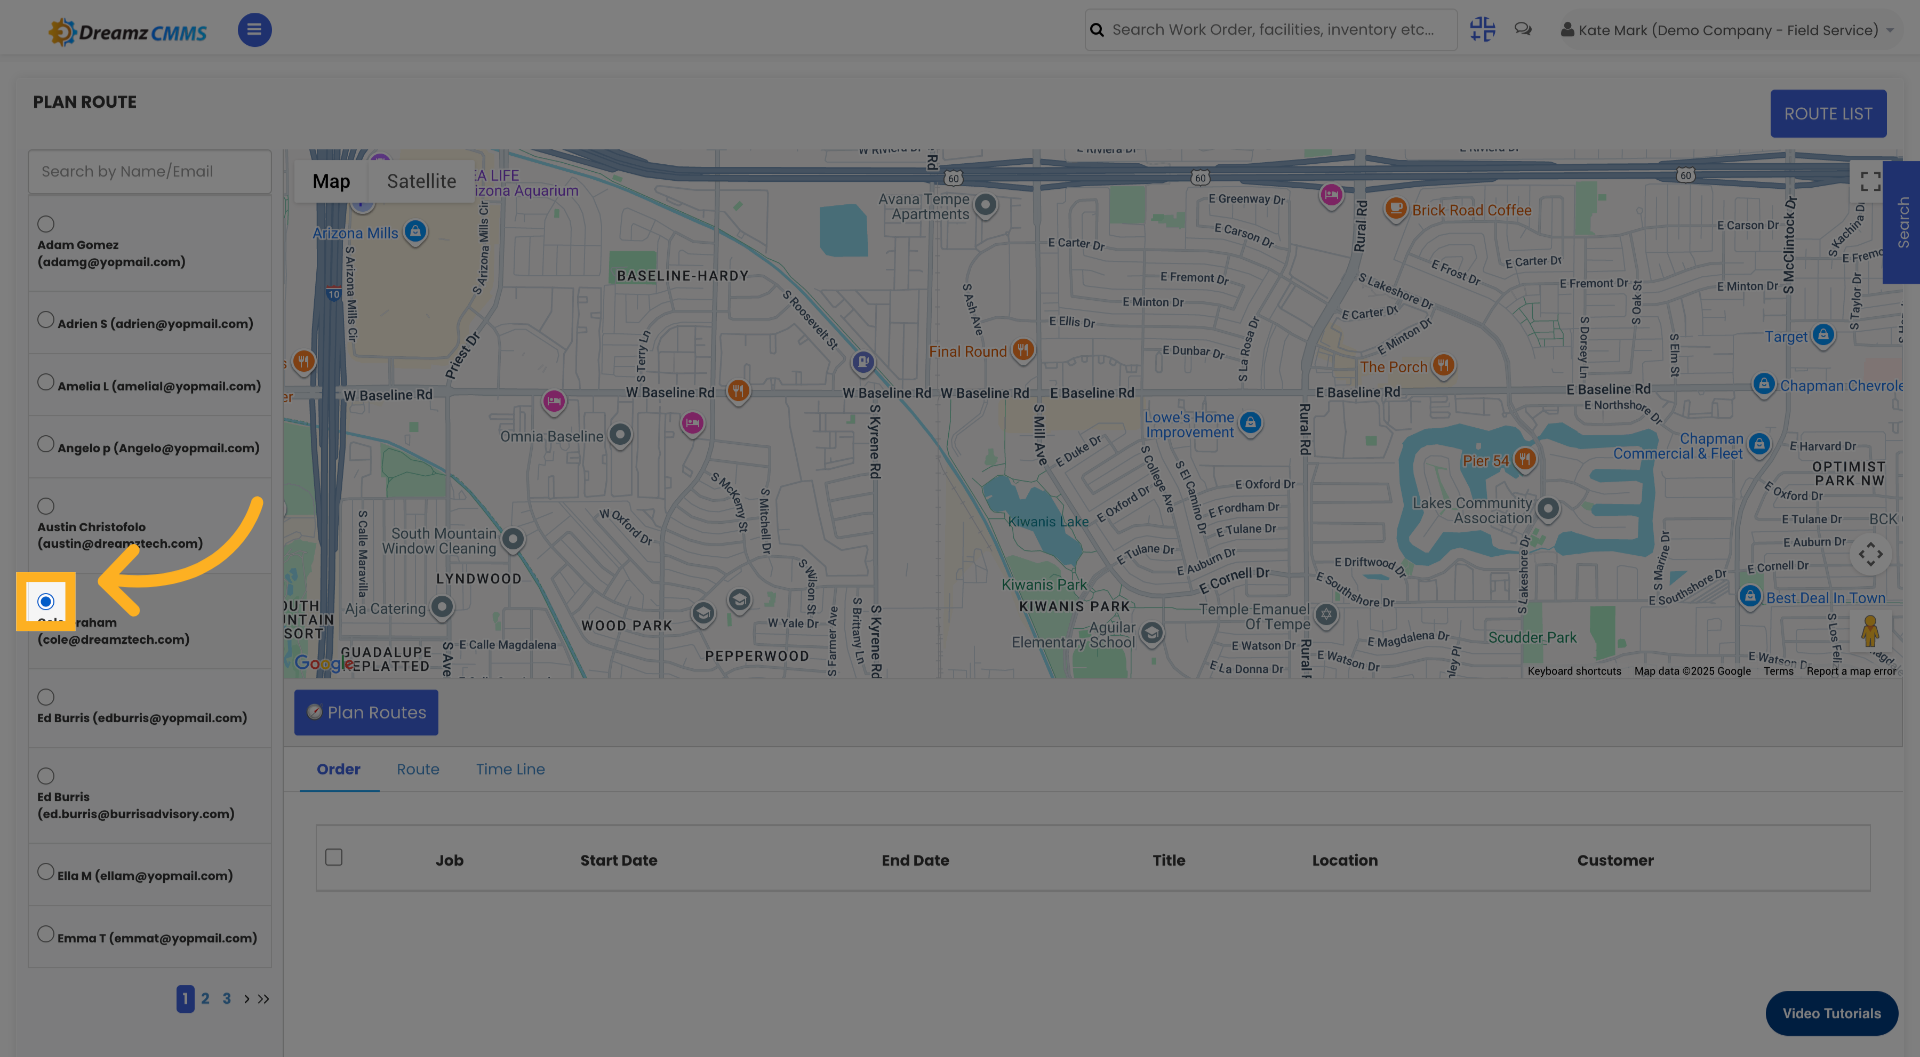
Step 4 – Select an Employee
Select the employee from the employee list against whom the route map will be created.
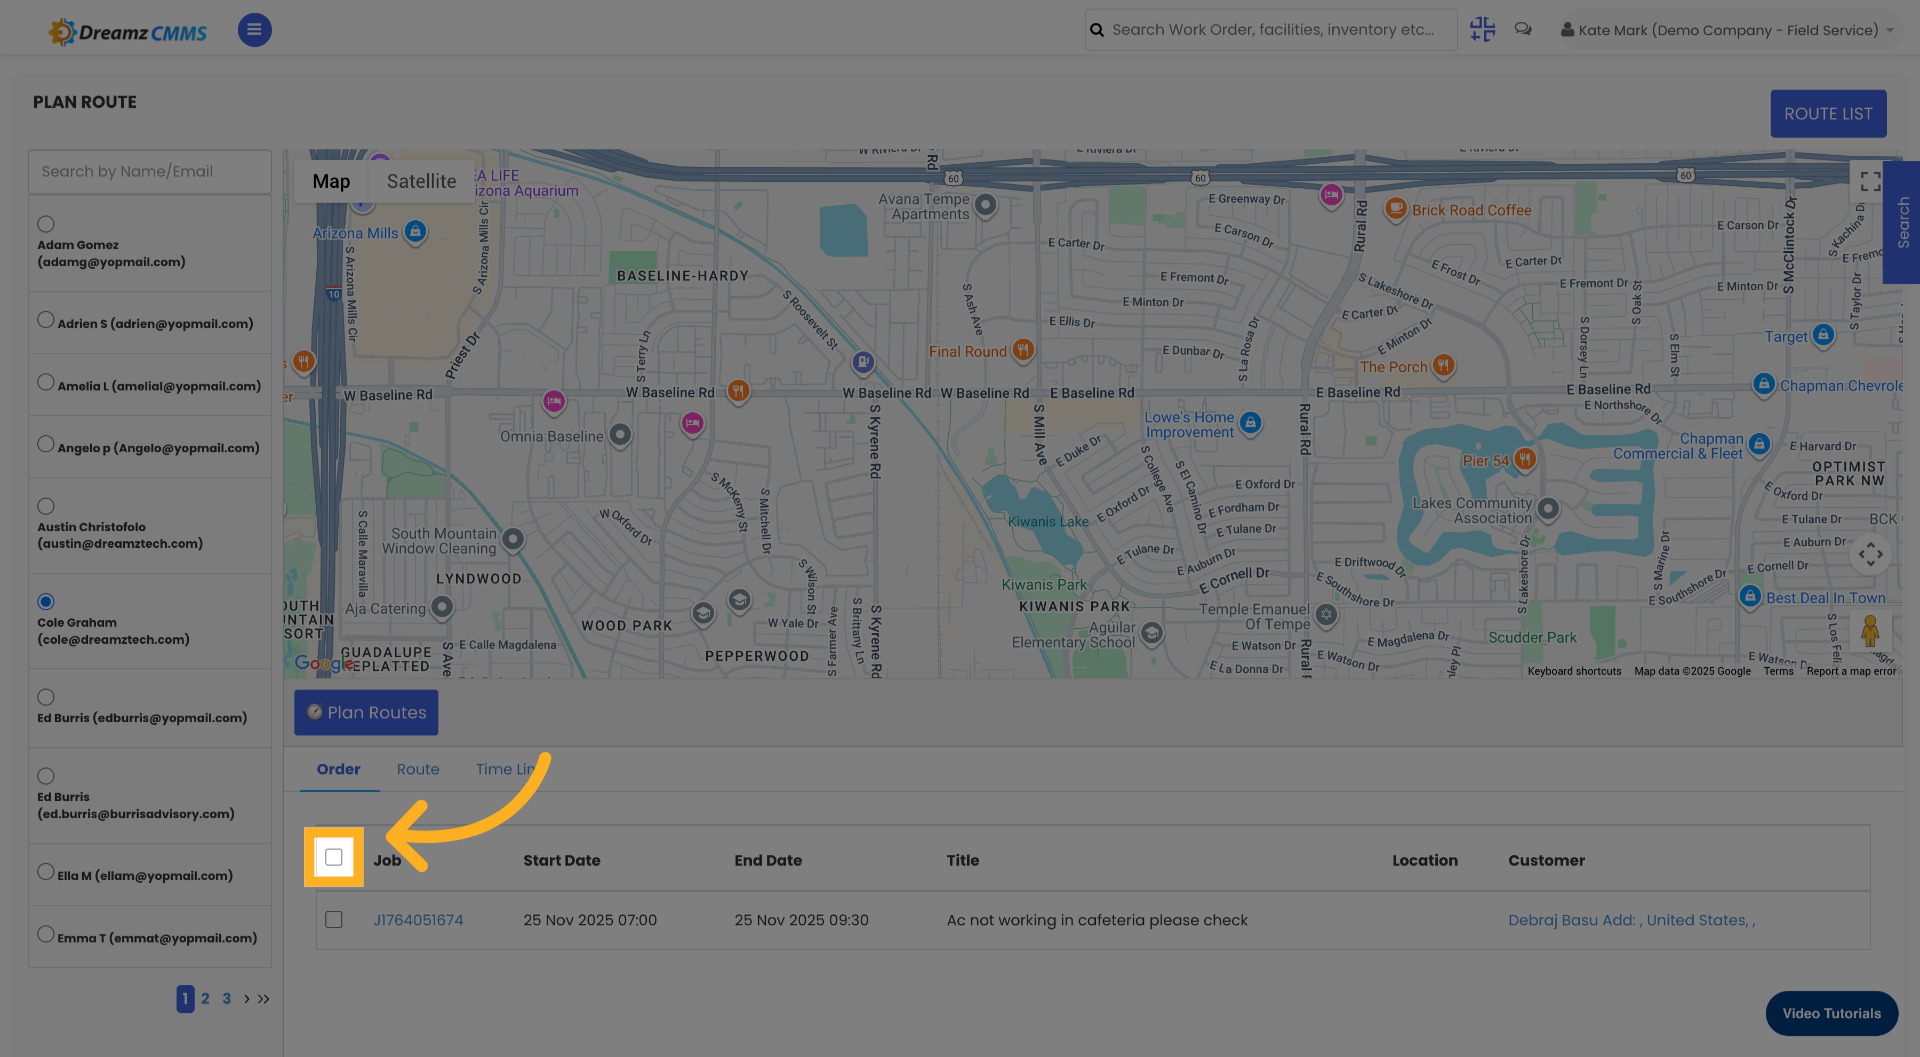
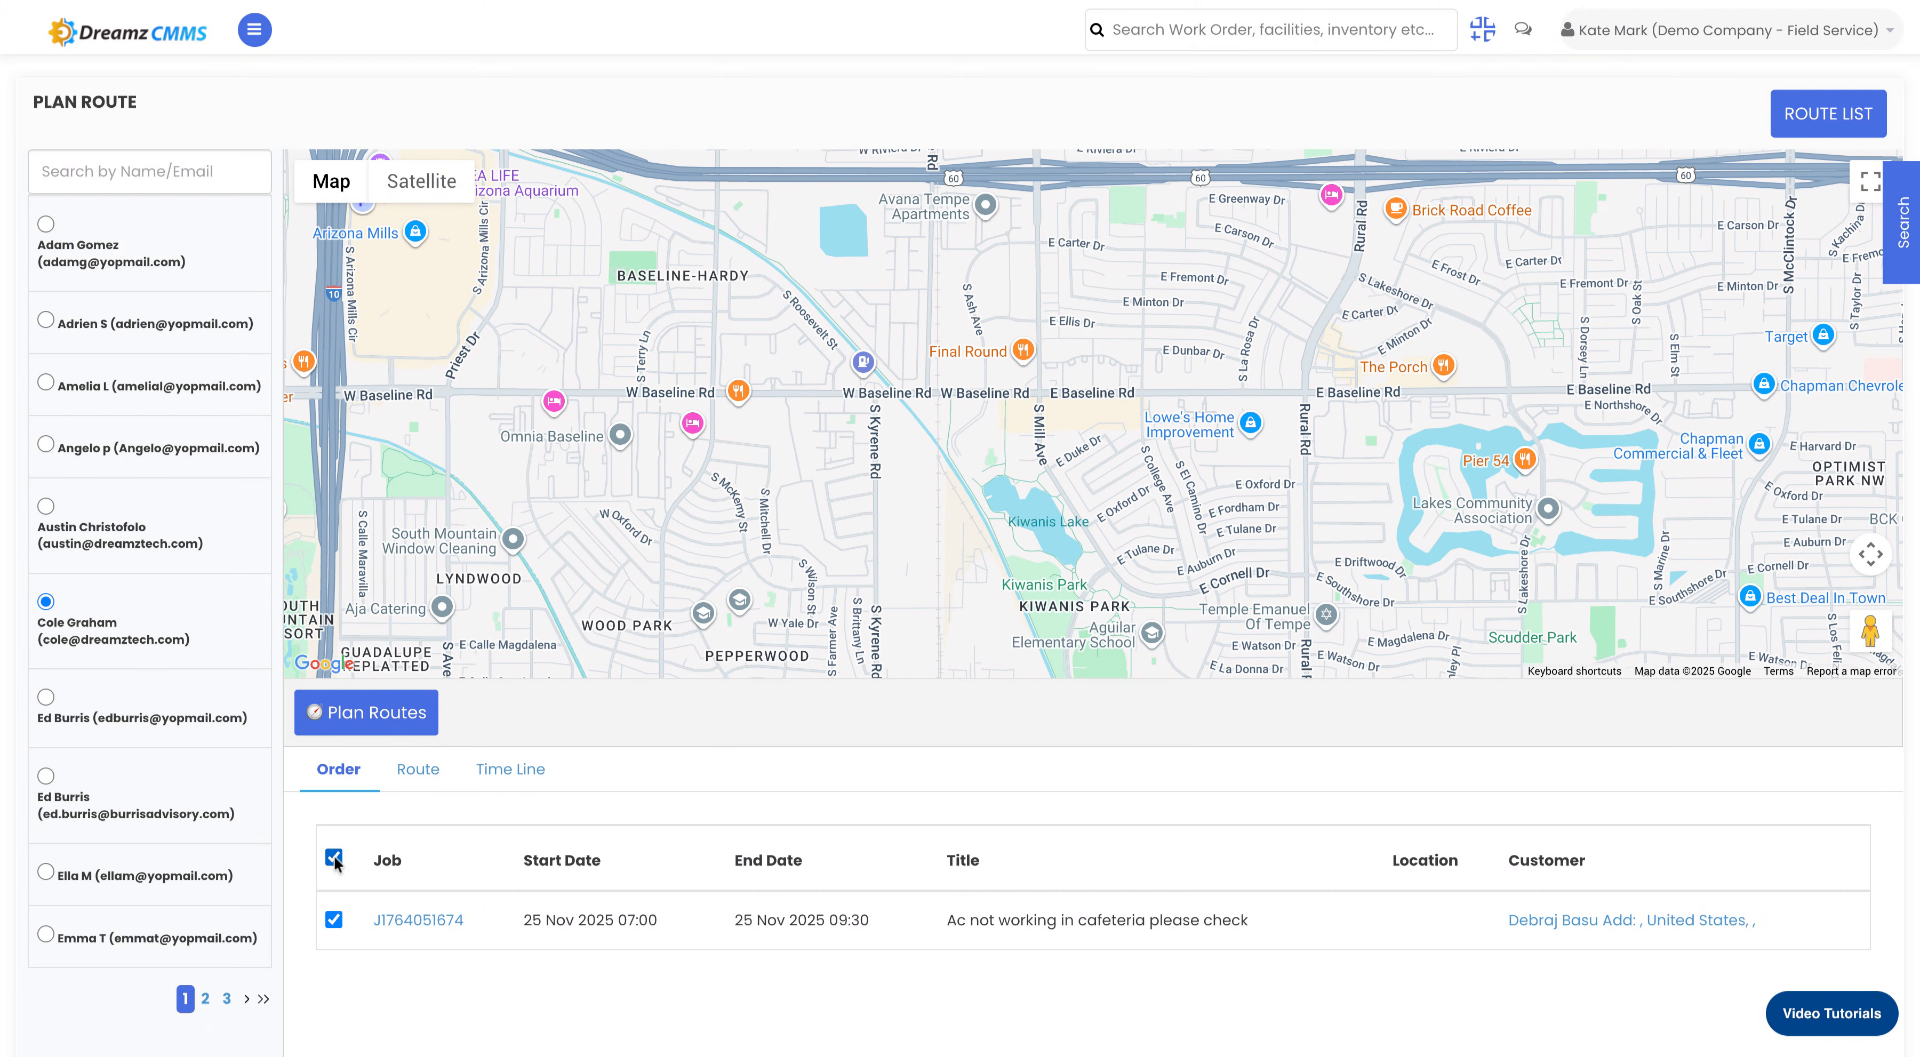
Step 5 – Select Jobs for the Employee
After selecting the employee, click on the job list for that employee and select the jobs for which the route map will be created.
Step 6 – Fill In the Plan Information
Fill in the required information to complete the plan setup.
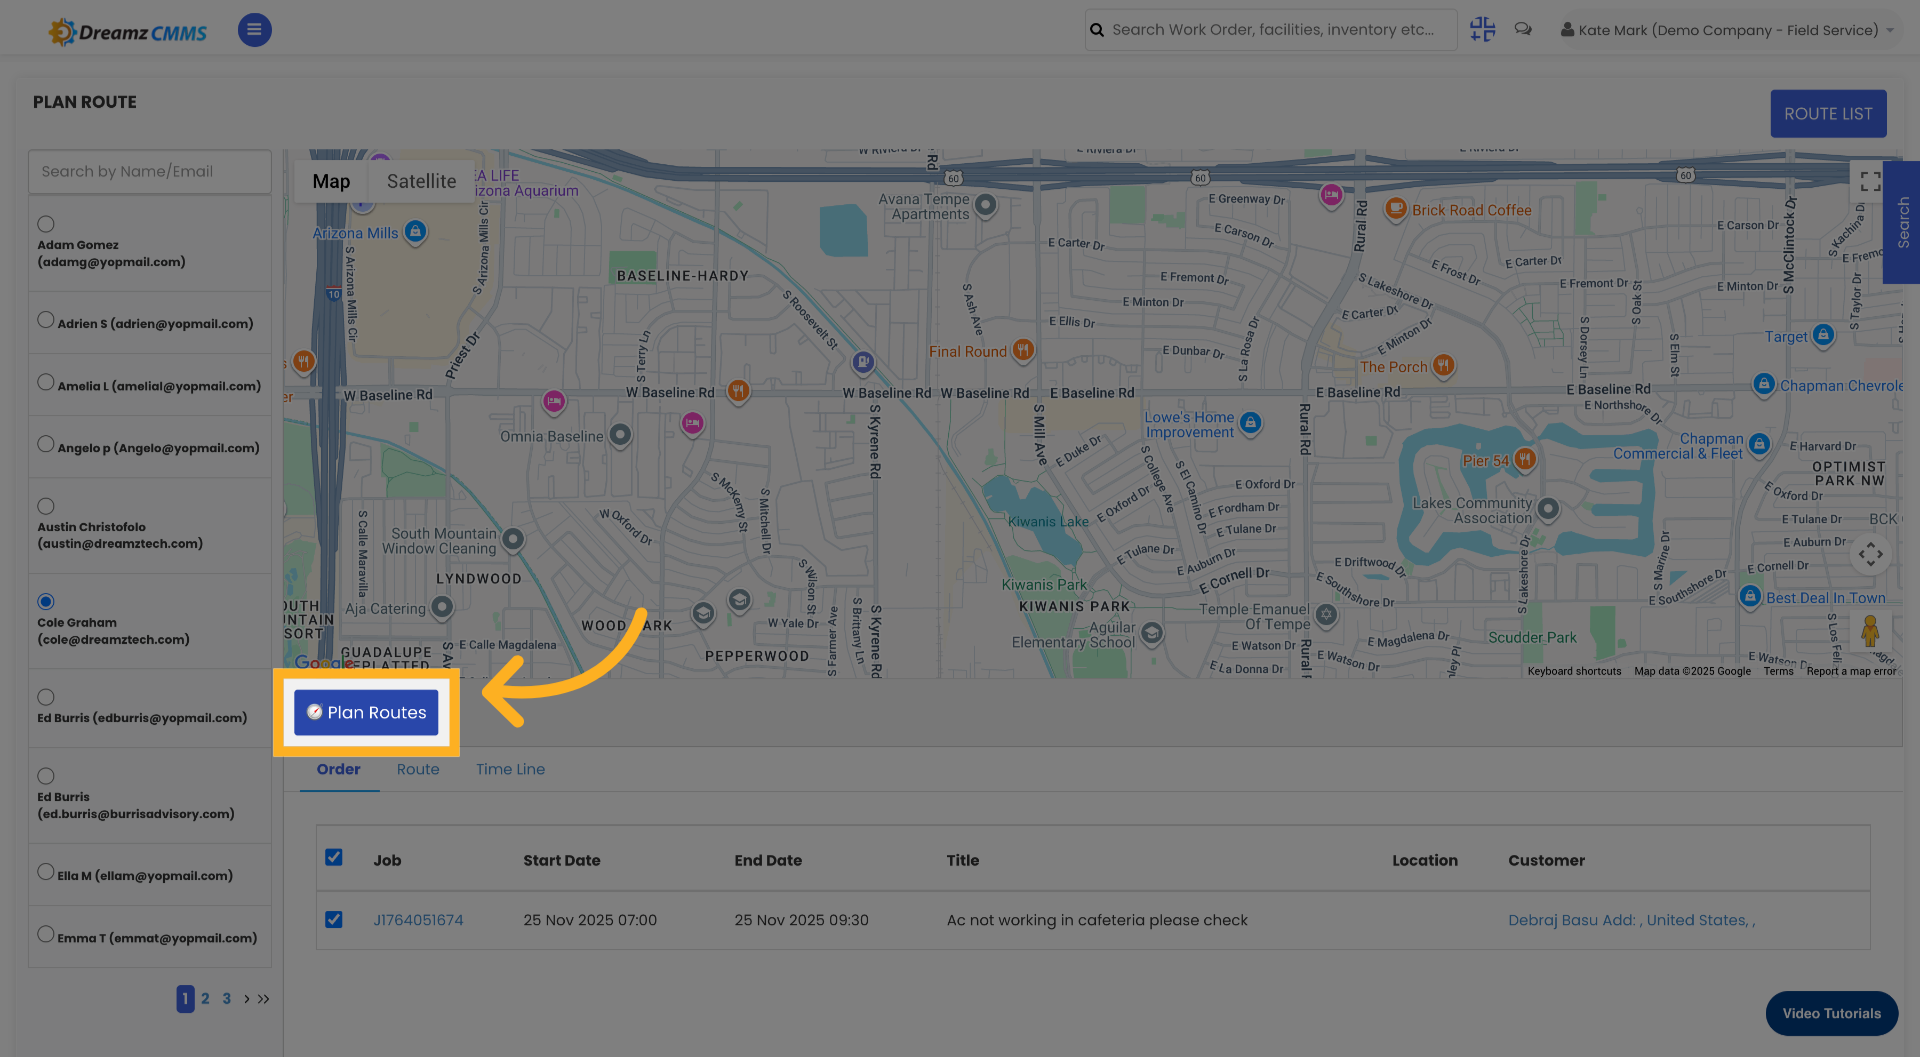
Step 7 – Access the Plan Routes Feature
Click the Plan Routes icon to begin route planning.
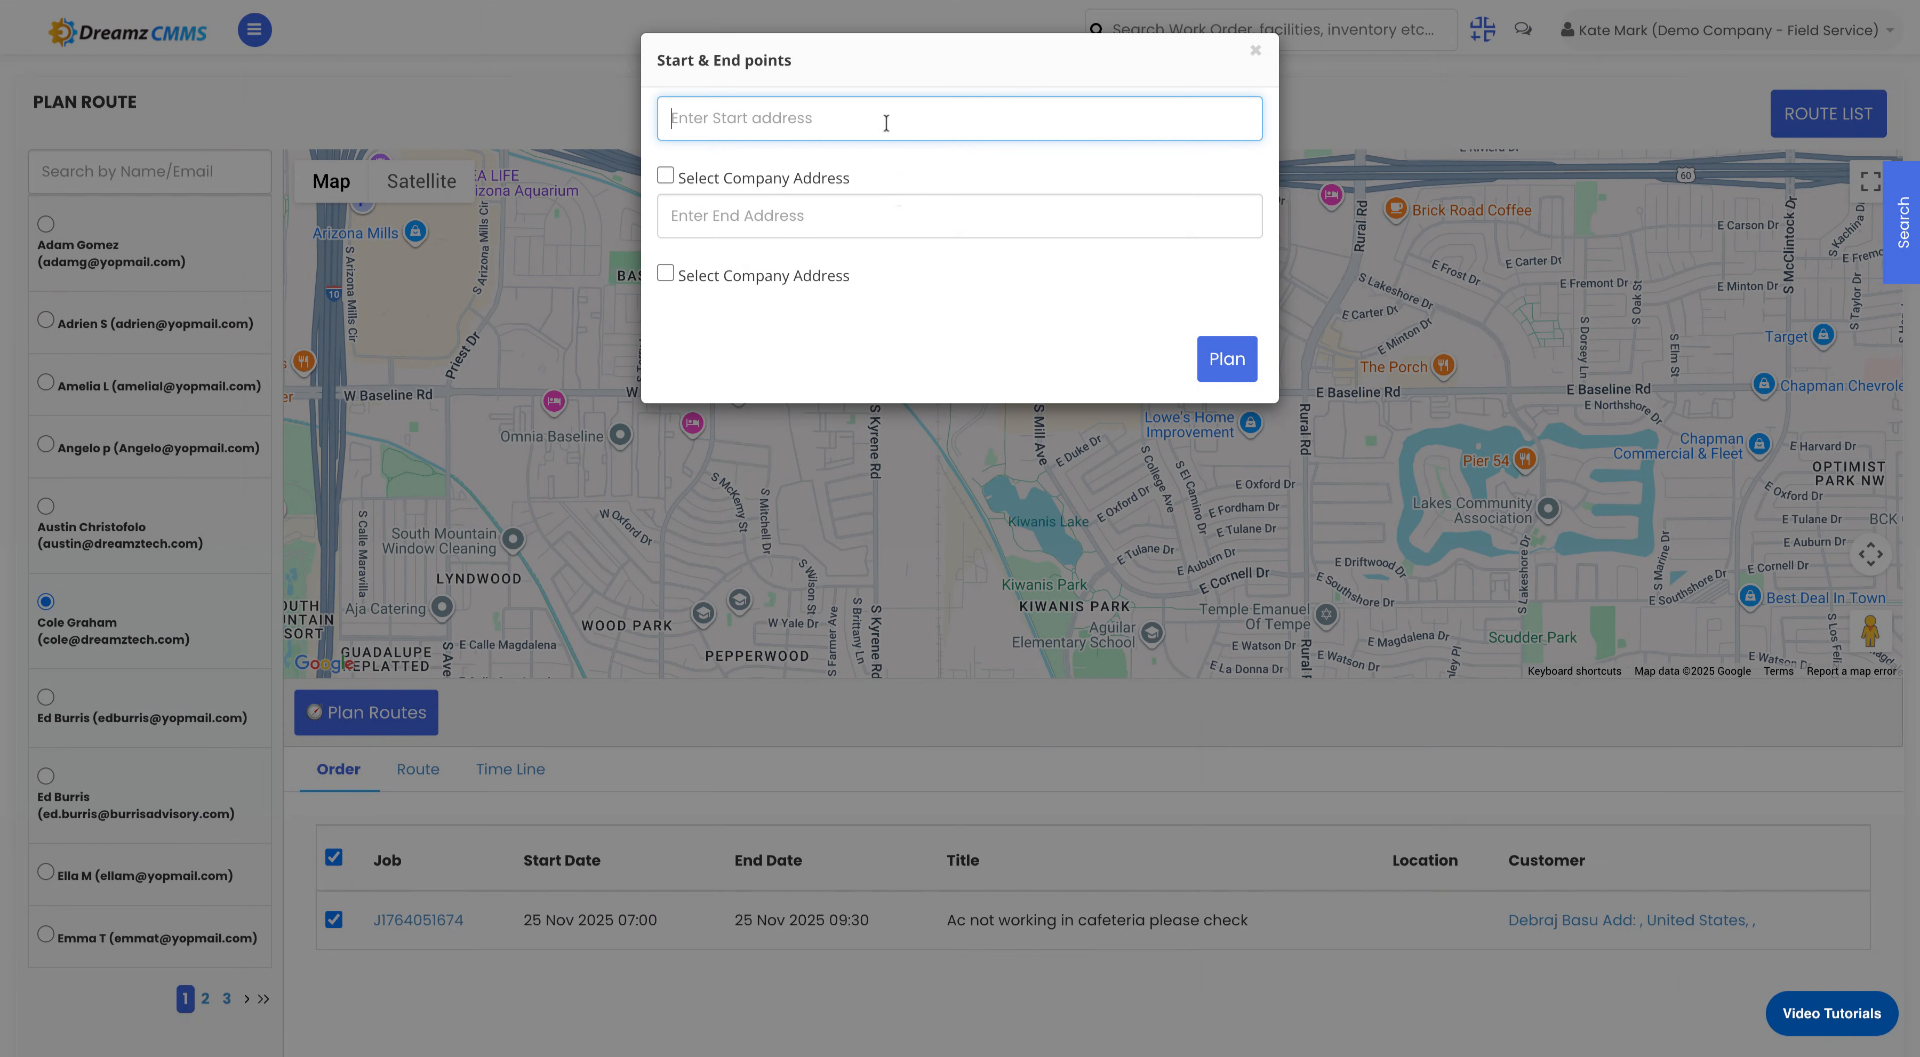
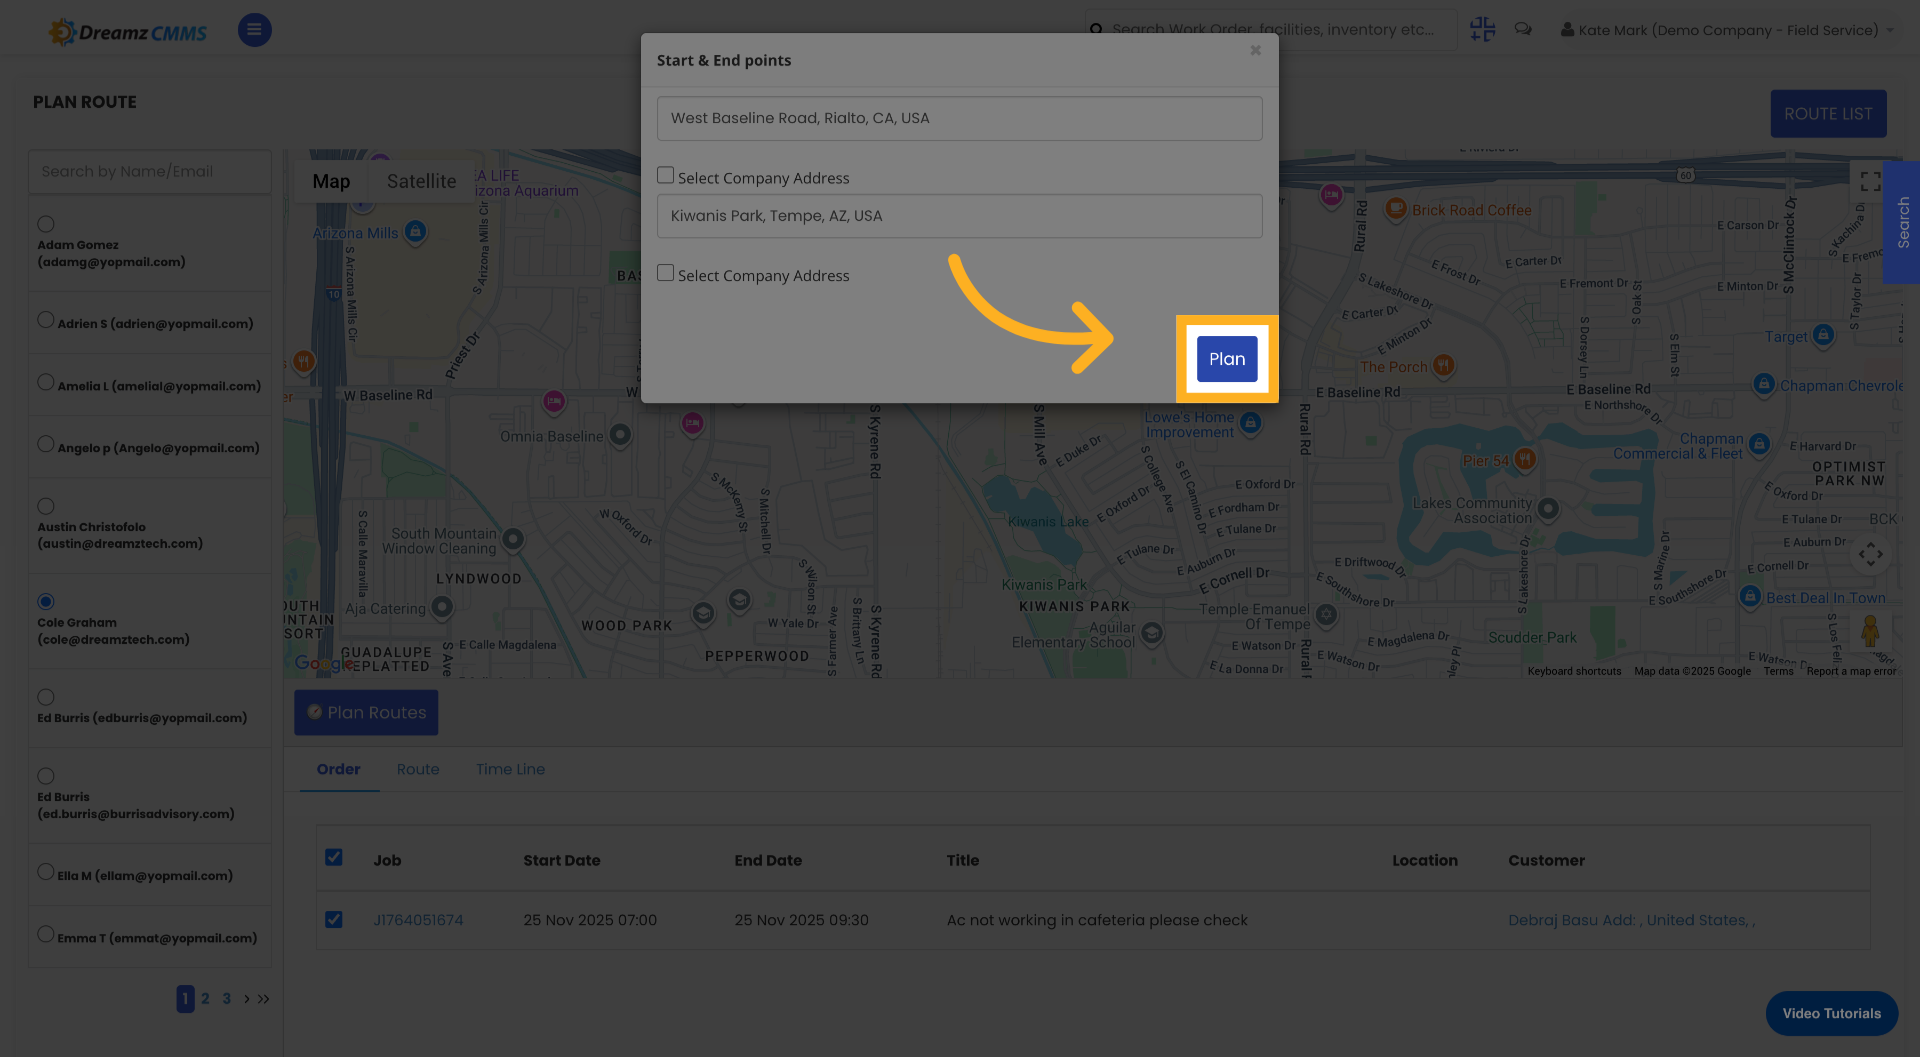
Step 8 – Enter the Starting Address
Click the field labelled Enter Start Address to specify the route's starting point, then enter your starting location address to define where the route begins.
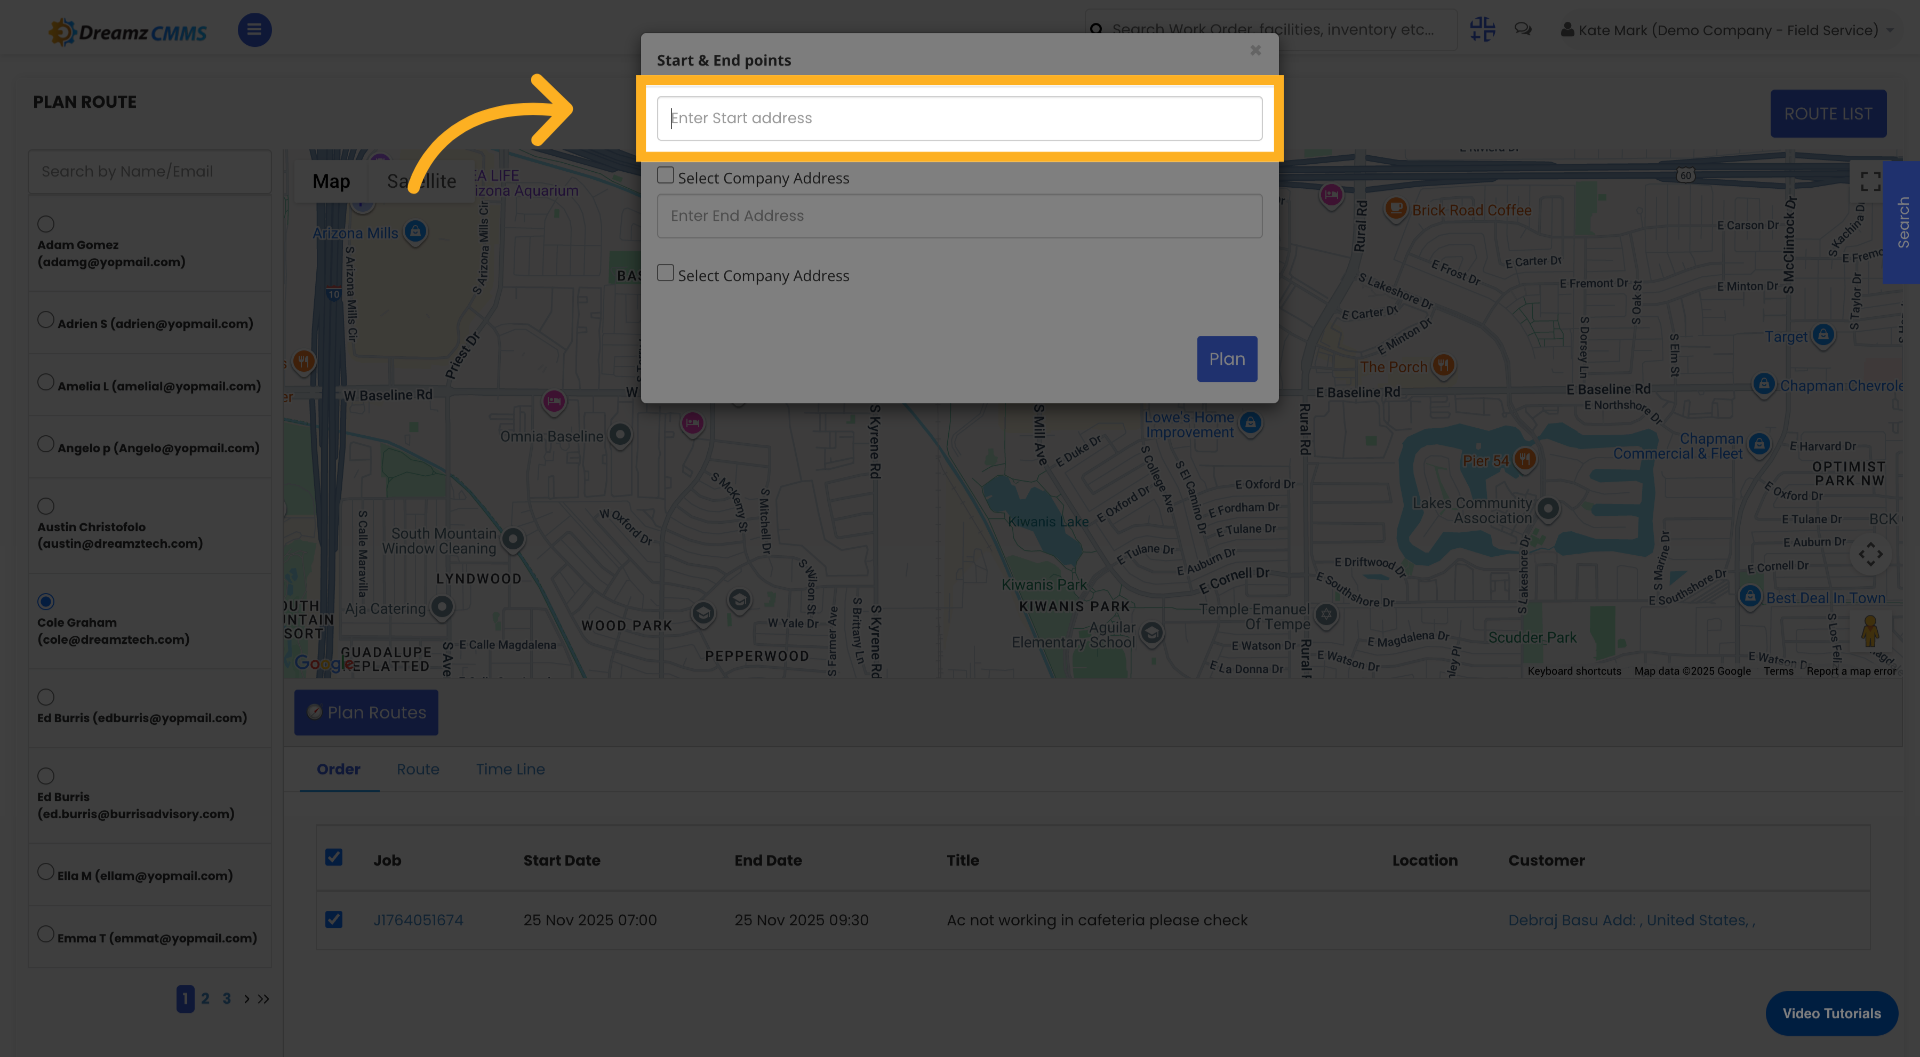
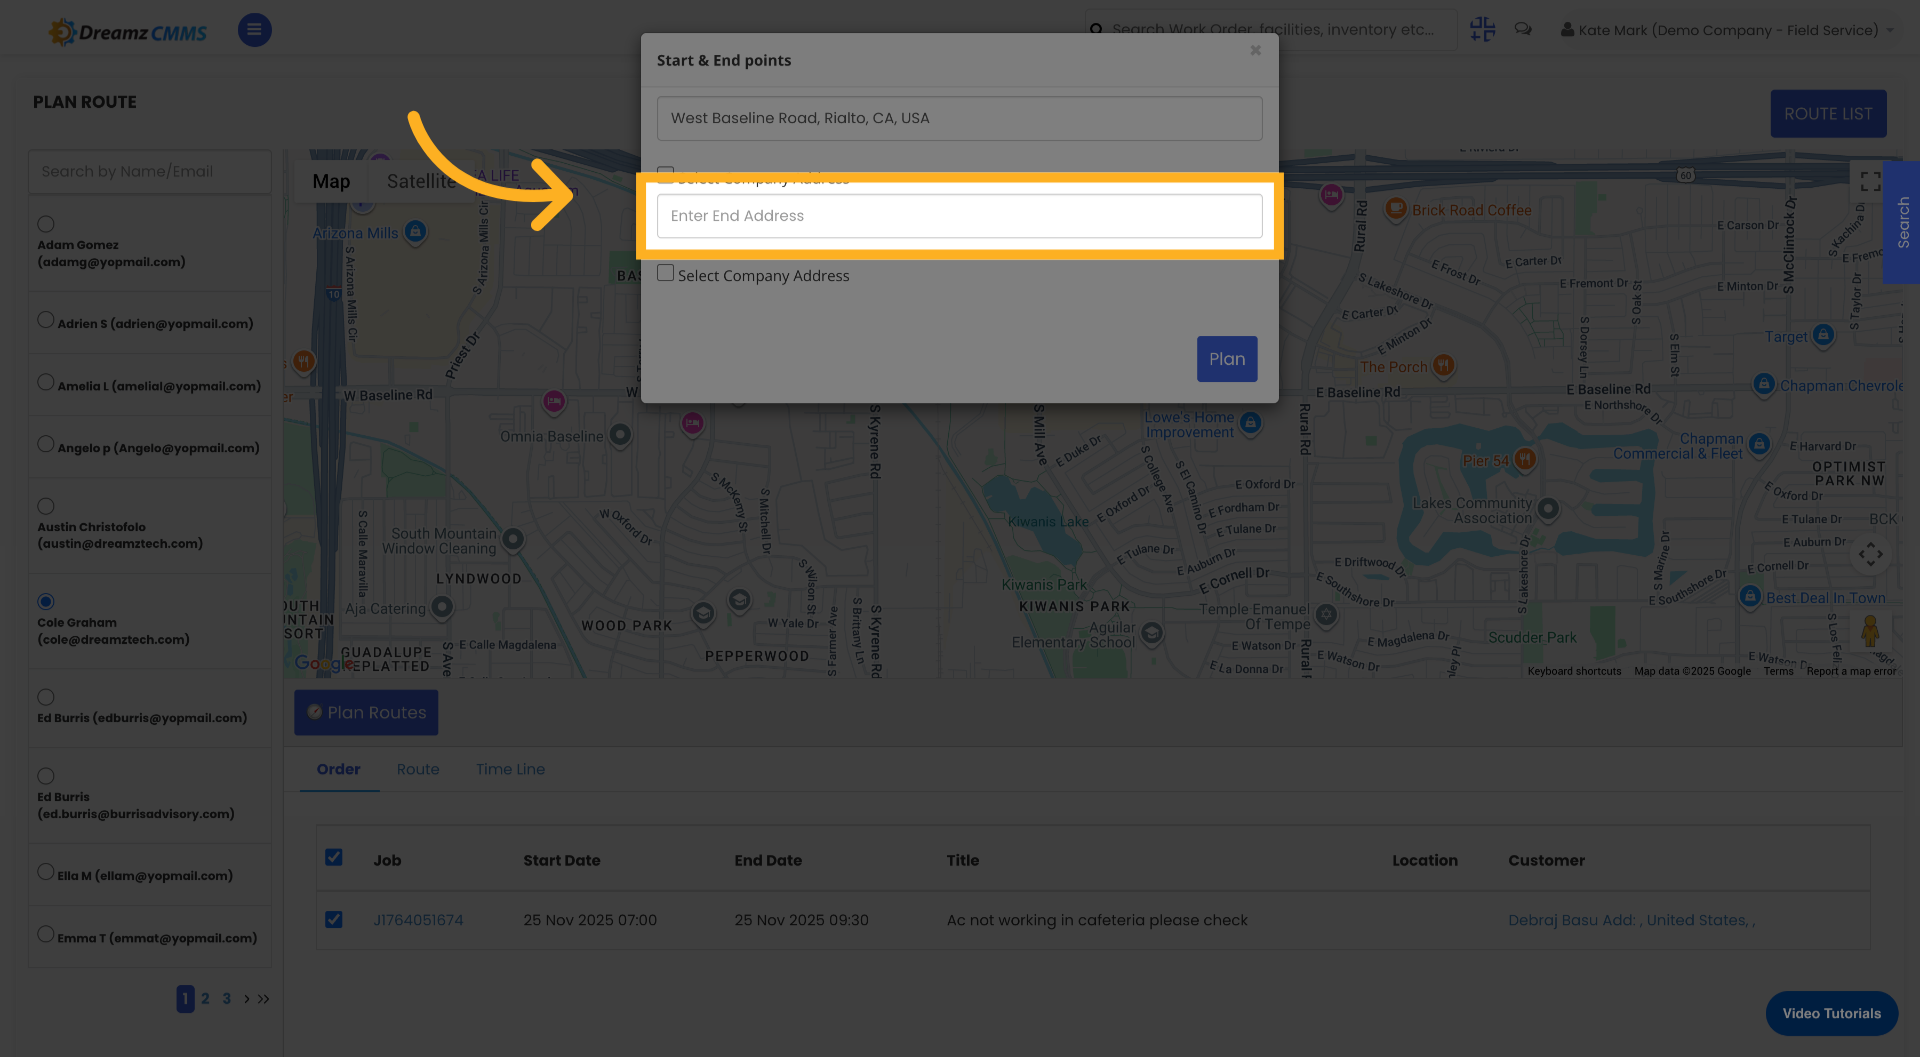
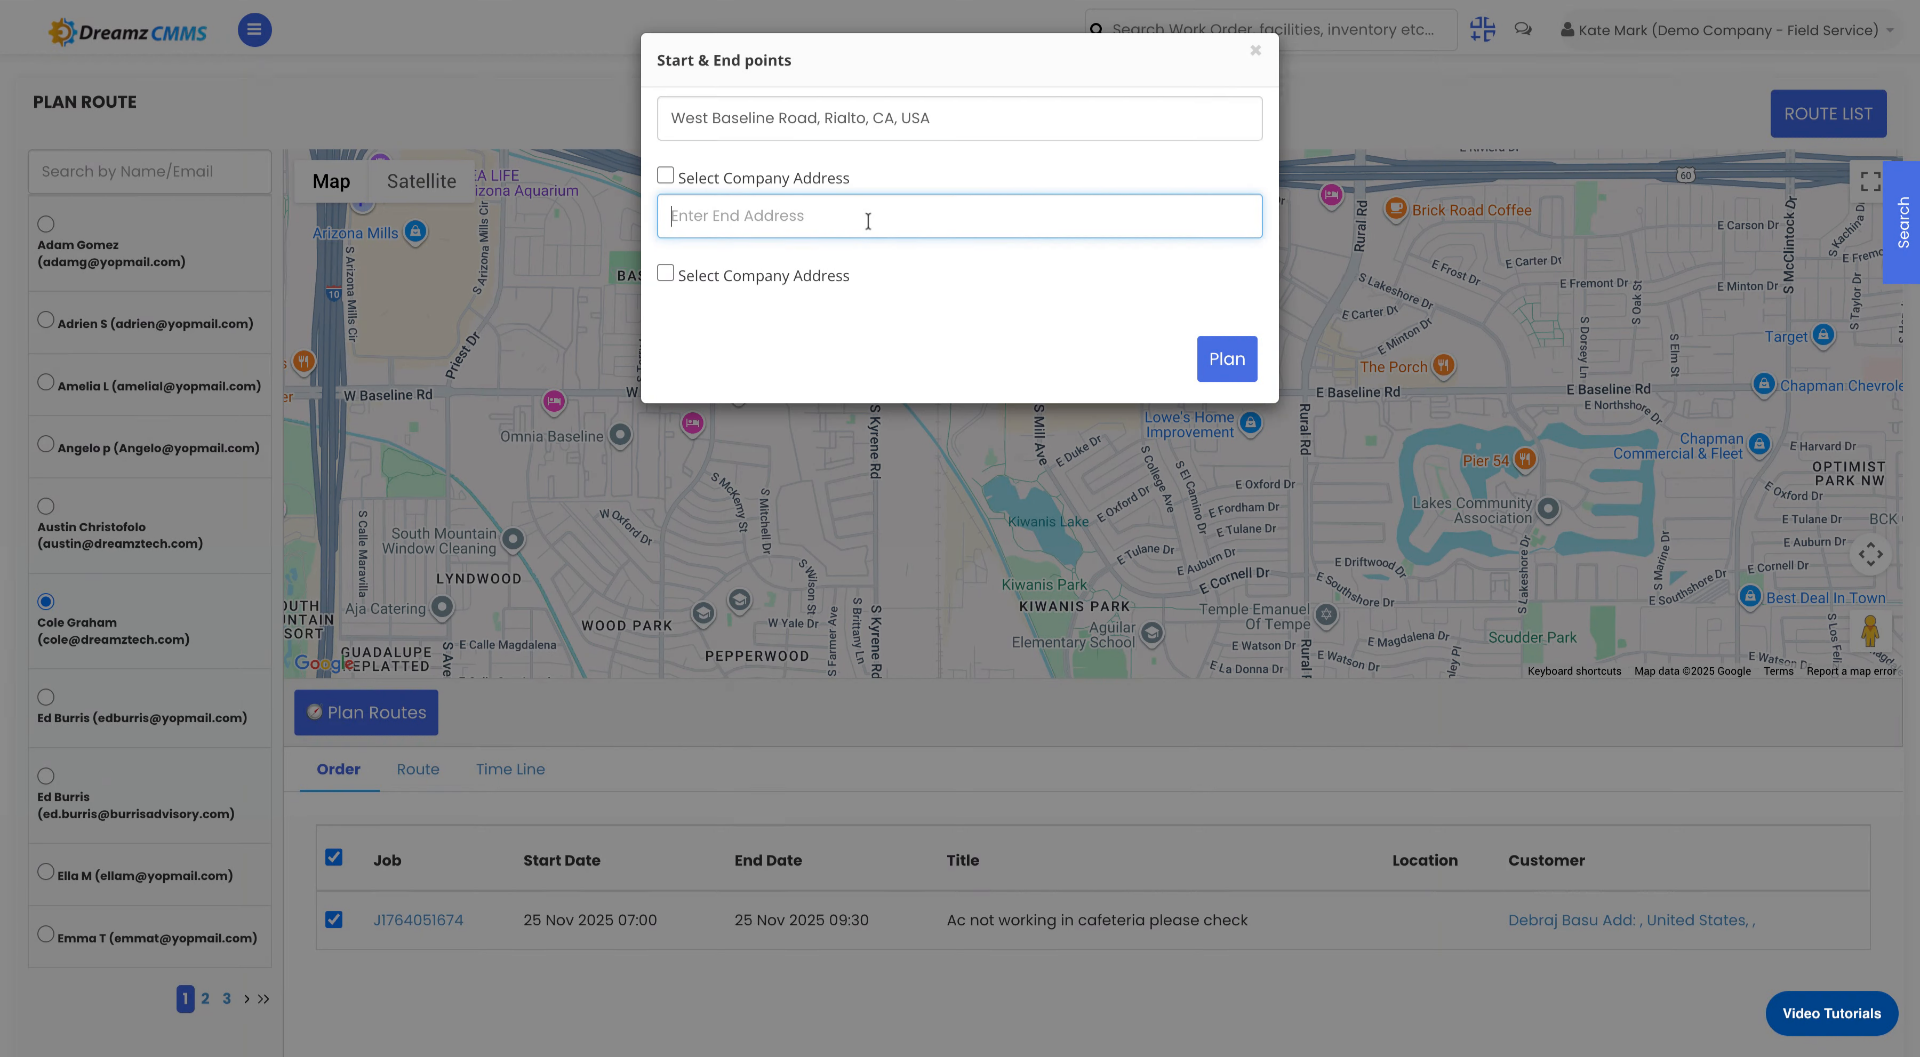
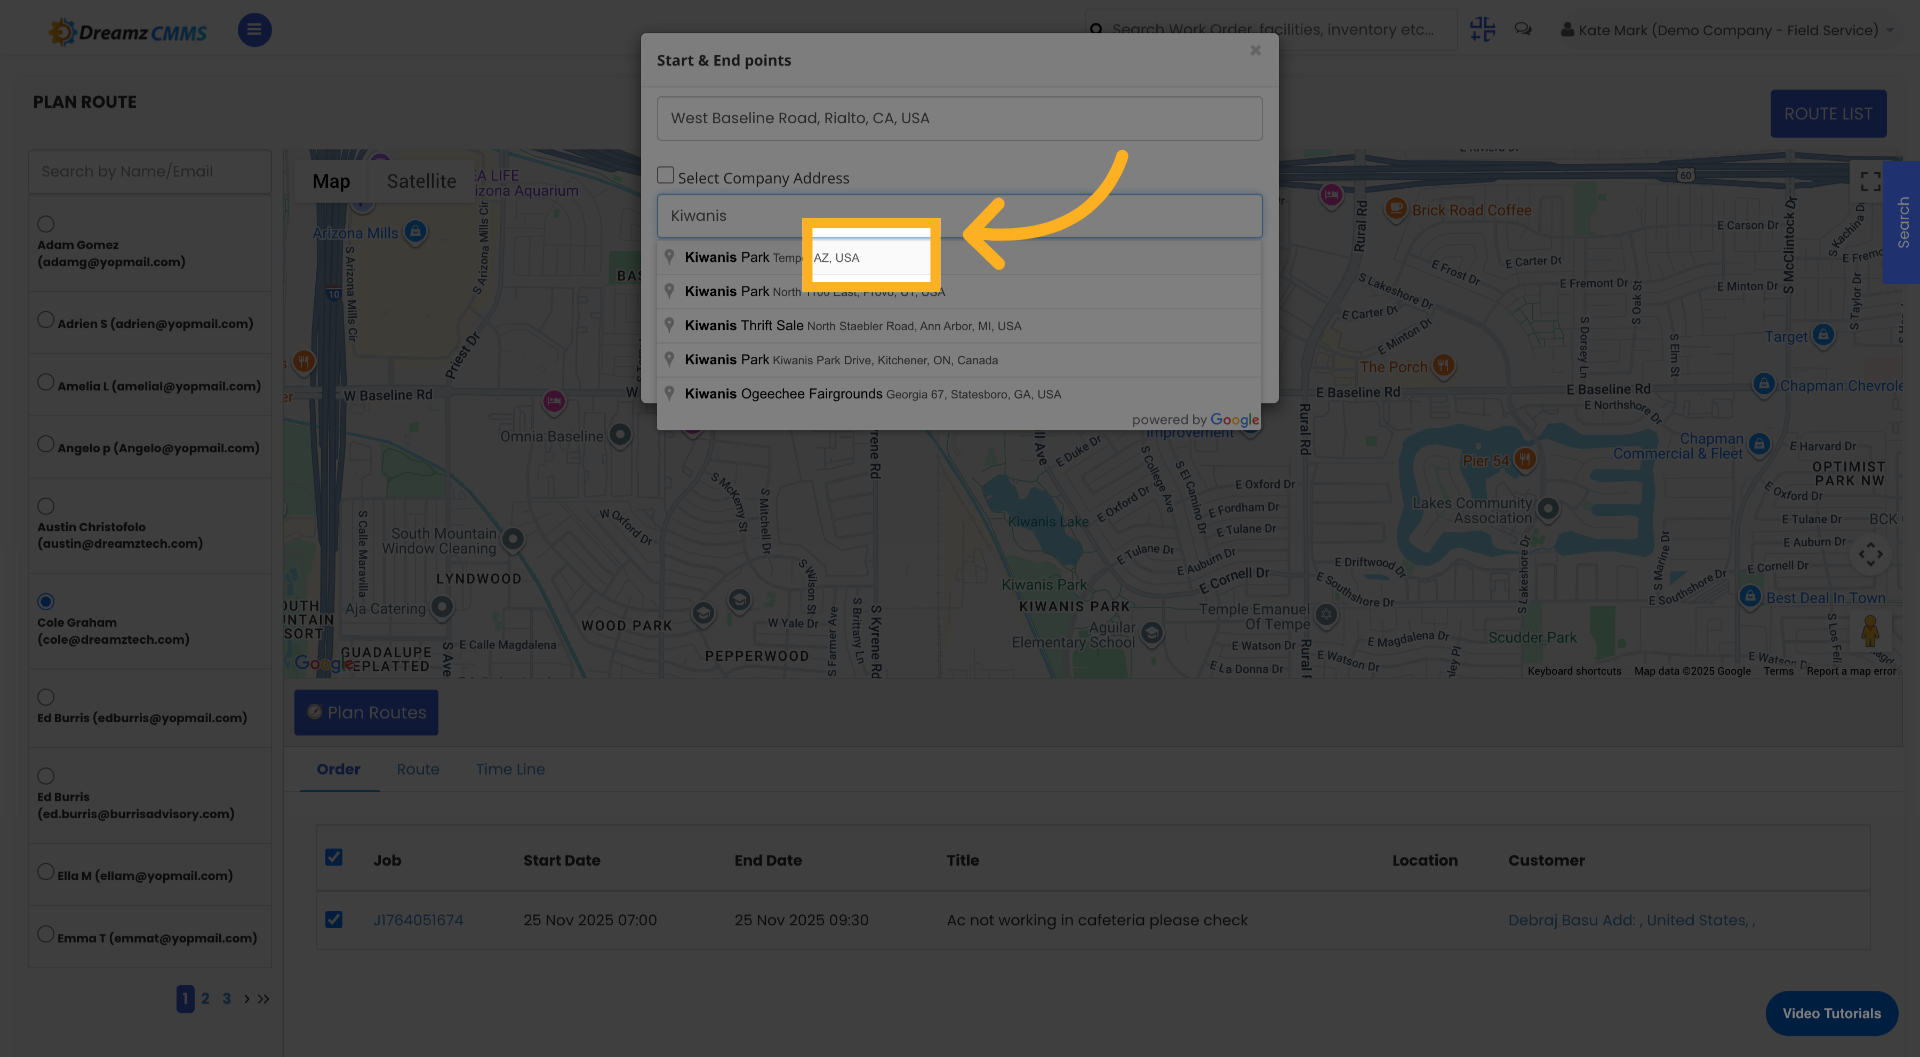
Step 9 – Enter the End Address
Click the field labelled Enter End Address to specify the route's destination, then enter your destination address. Select the correct destination address from the available suggestions.
Step 10 – Generate the Route
Click the Plan button to generate the route based on the entered start and end addresses.
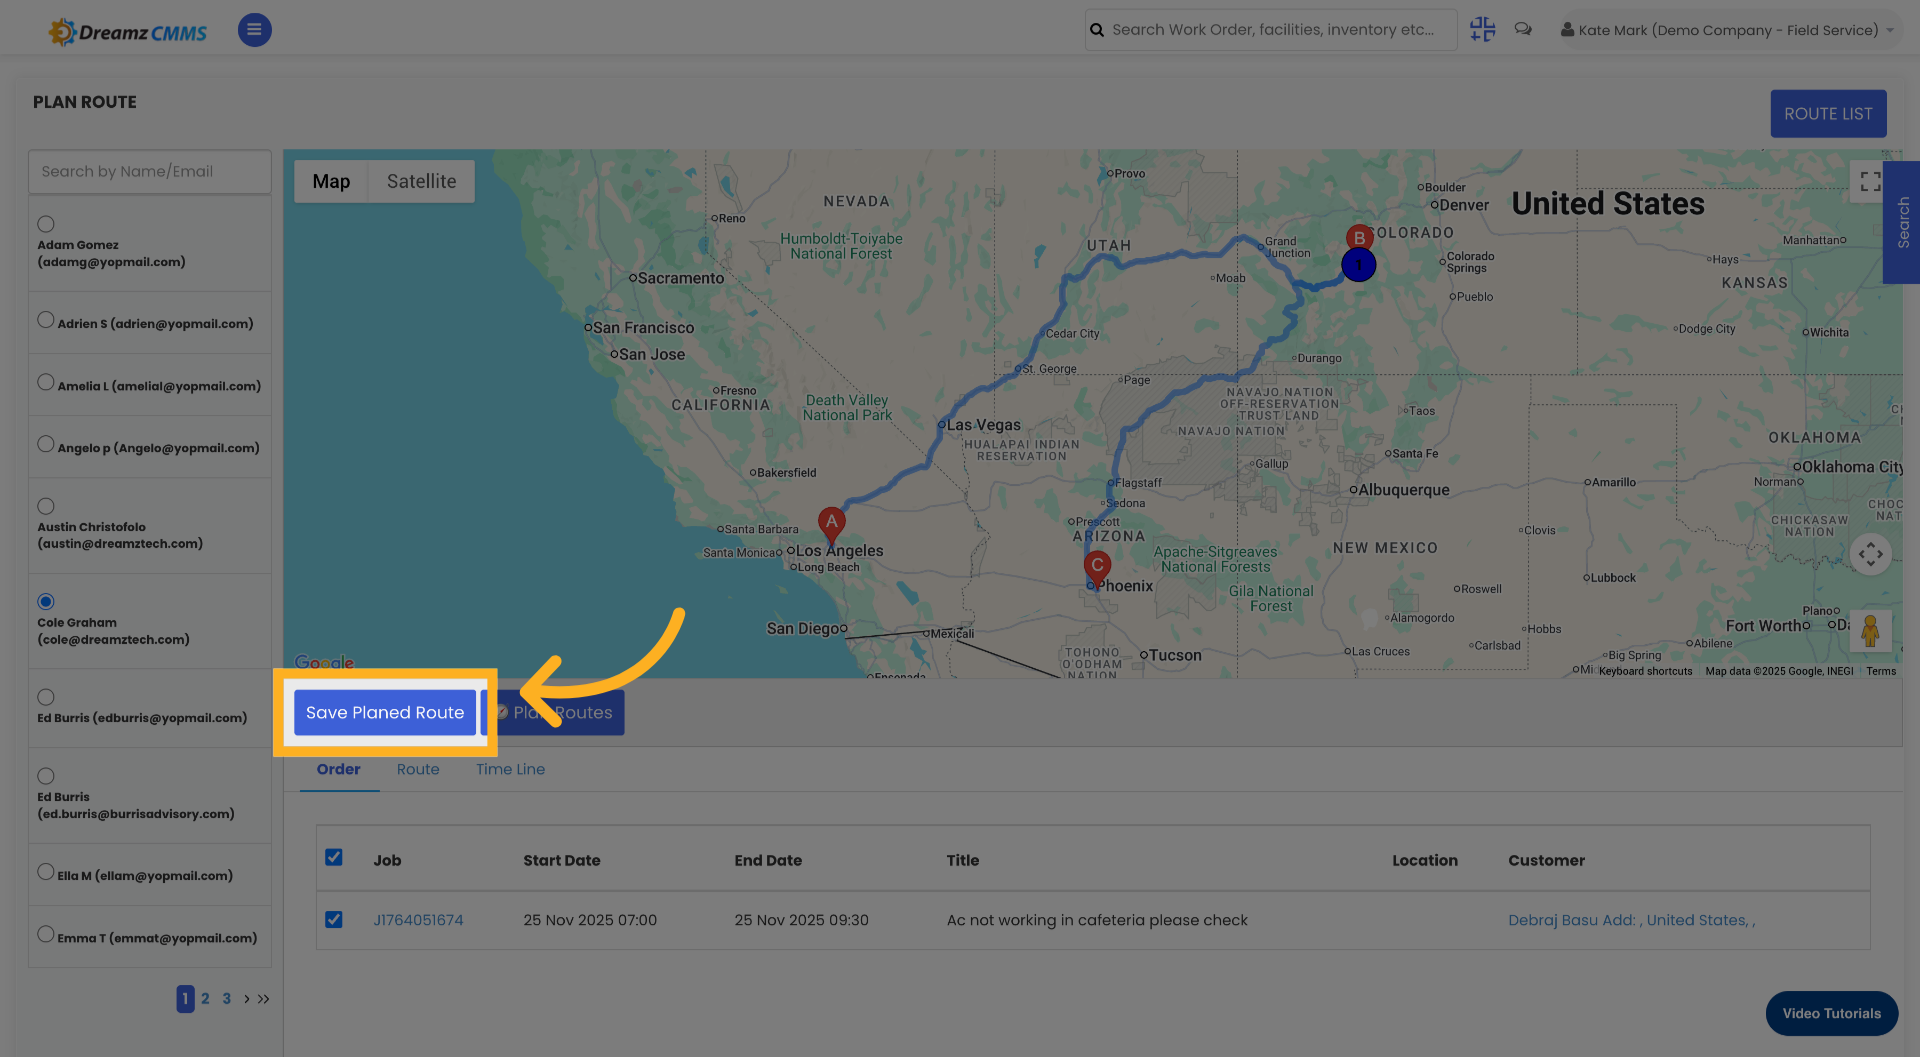
Step 11 – Save the Planned Route
Click Save Planned Route to store the generated route for future use, then click Save Routing Plan to finalise and save your routing configuration.

Managing Existing Route Plans
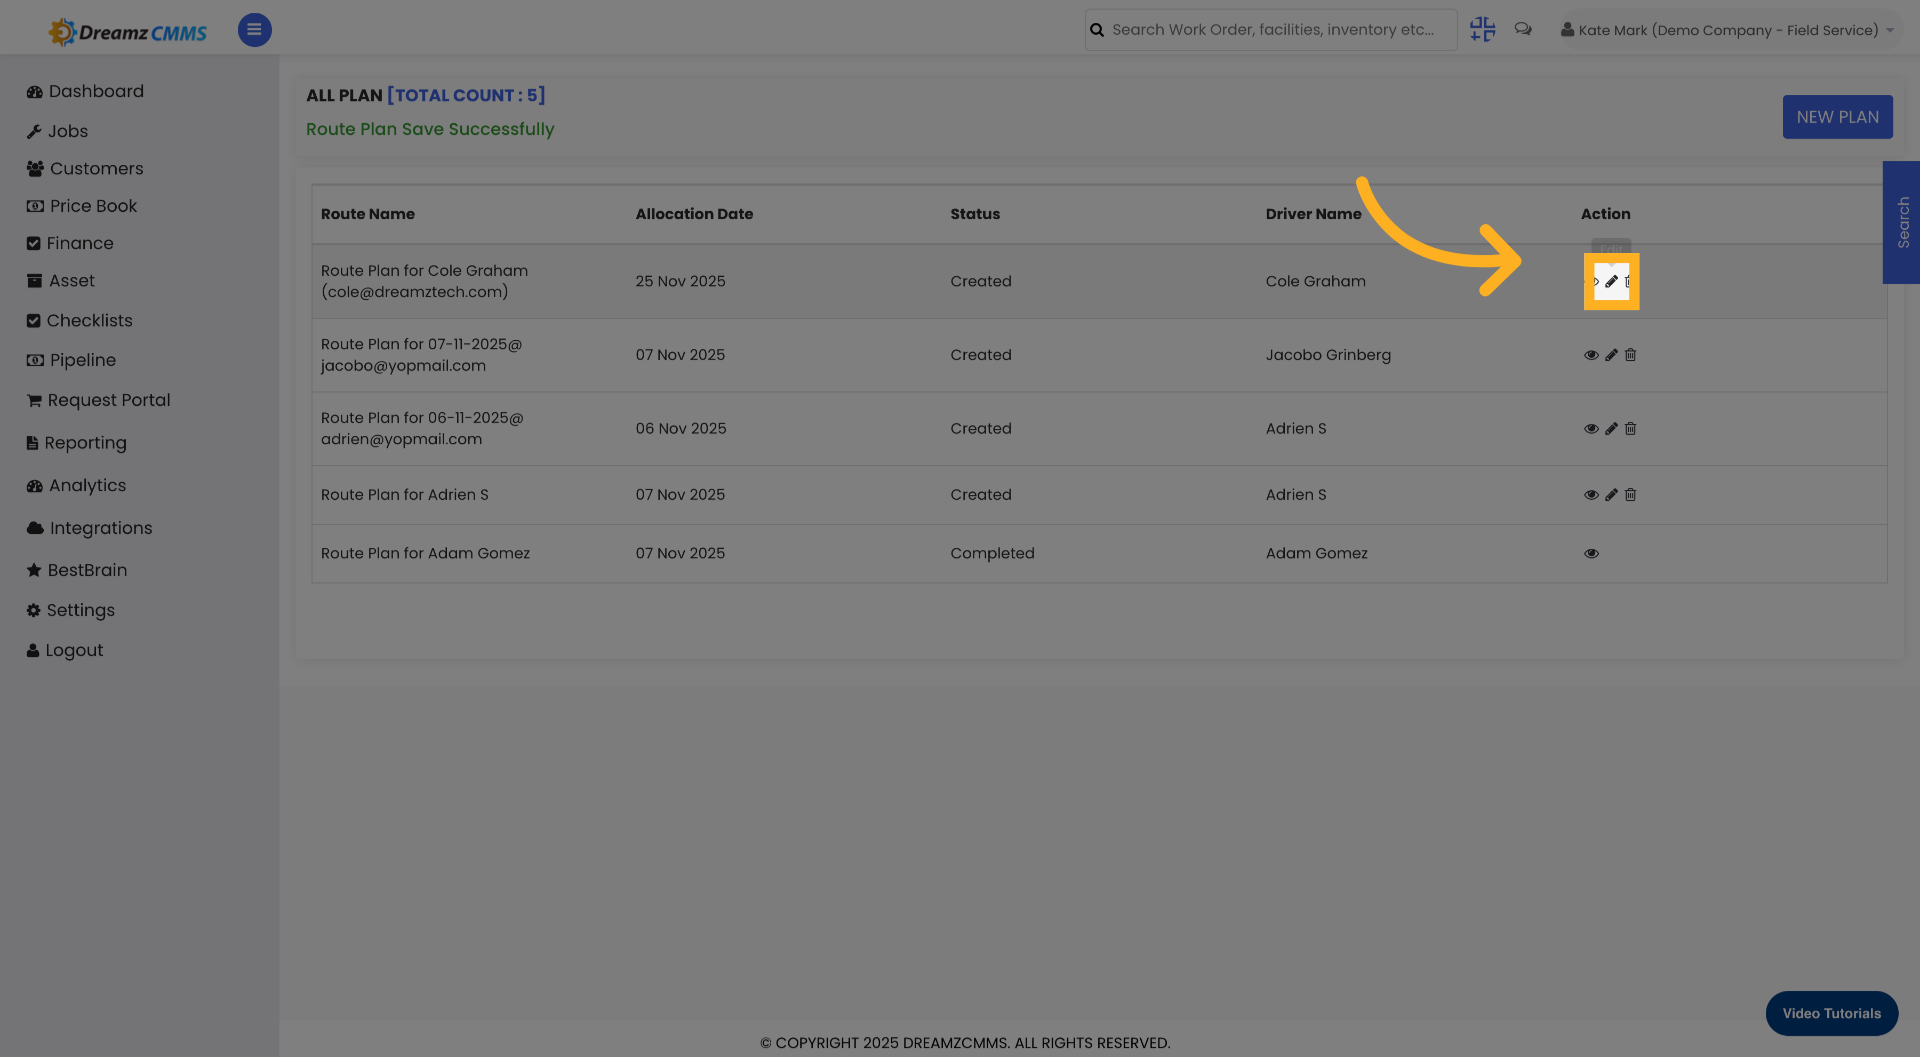
Edit a Route Plan
To edit a previously saved route plan, click the Edit icon on the relevant route in the Route List. This allows you to update the plan details, addresses, or assigned jobs.
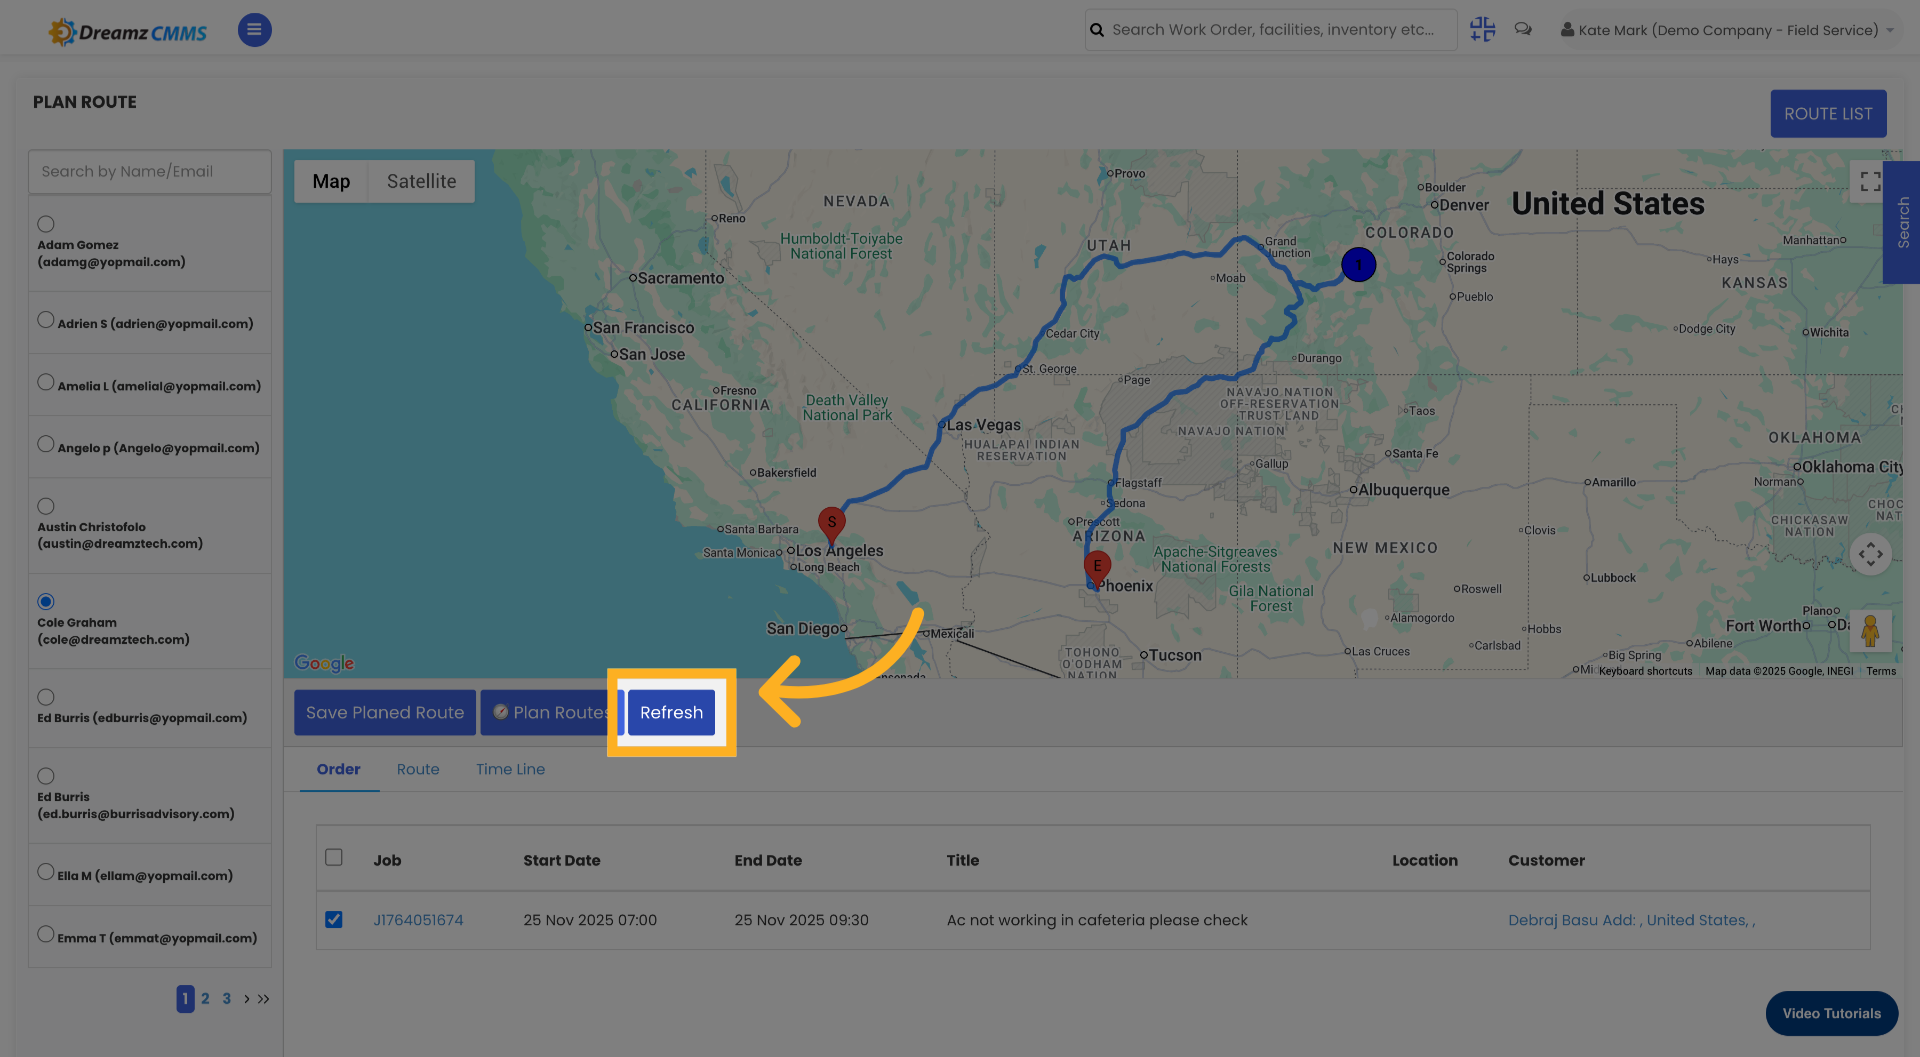
Refresh Route Data
Click Refresh to update the route information and ensure the data shown is accurate and up to date.
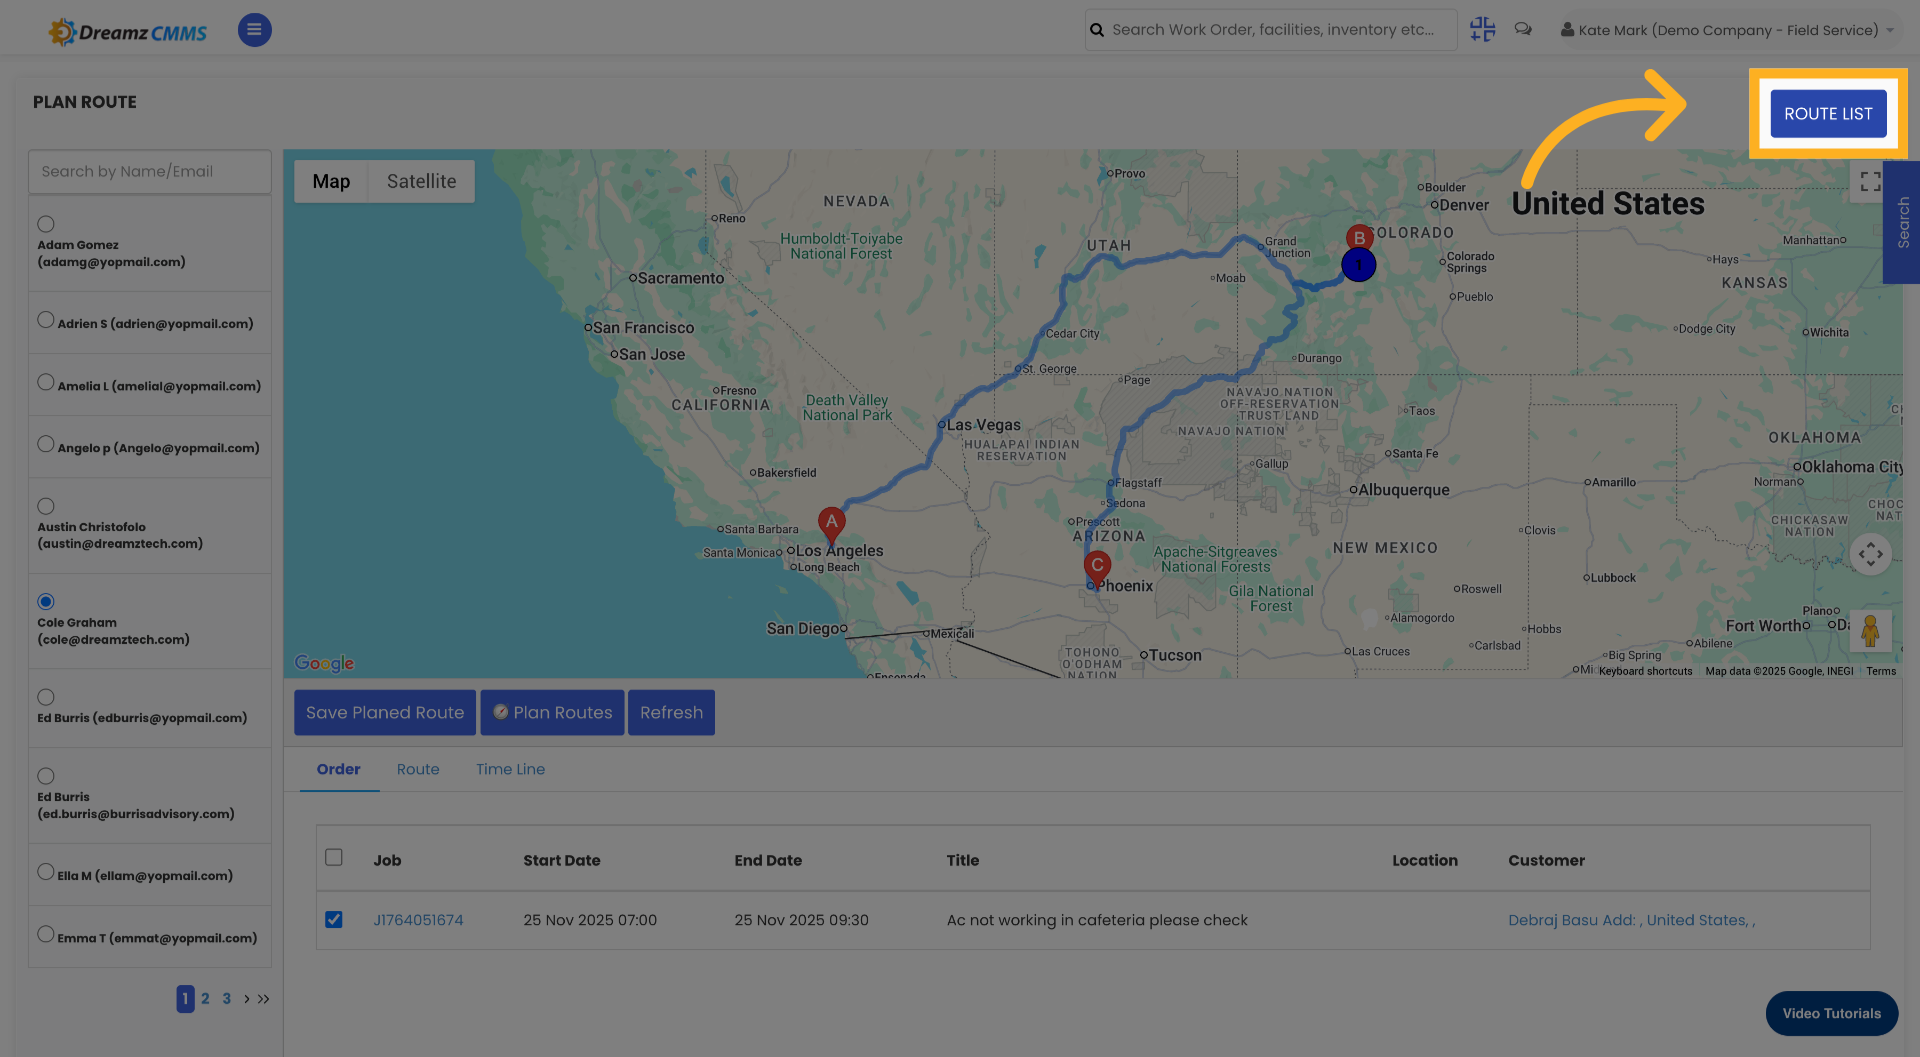
View the Route List
Click Route List to see all saved routes and manage them accordingly. From here you can review, edit, or refresh any existing routing plans.
Tips for Managing Job Routes
- Always select the correct employee before building a route to ensure the plan is attributed to the right field technician.
- Use the Plan Routes feature to generate an optimised route rather than manually tracking job locations — this saves time and reduces travel inefficiency.
- Click Refresh after making changes to a route plan to ensure the latest data is always reflected in the Route List.
- Use the Route List view at the start of each day to review all active routing plans and confirm field technicians are following the correct routes.
- When entering addresses, select from the suggestions provided rather than typing the full address manually — this ensures accuracy and avoids geocoding errors.
Frequently Asked Questions
Can I create route plans for multiple employees?
Yes. You can create individual route plans for each employee by selecting a different employee from the employee list when starting a new plan. Each employee will have their own route plan based on their assigned jobs.
Can I assign multiple jobs to a single route plan?
Yes. After selecting an employee, you can select multiple jobs from the job list to include in the route plan. The system will generate a route covering all selected job locations.
Can I edit a route plan after it has been saved?
Yes. From the Route List, click the Edit icon on the relevant route plan to update the plan details, addresses, or job selection at any time.
What does the Refresh button do?
The Refresh button updates the route information displayed in the Route List to ensure it reflects the most current data. Use it after making changes to a plan or when you want to confirm the latest routing details are shown.
Where can I view all saved route plans?
Click the Route List option to see all saved routing plans. From the Route List you can manage, edit, and refresh any existing plans.
Related Articles
- How to Create Jobs
- Job List
- Quickly Assign Technicians to Jobs
- Job Views in DreamzFSM
- Create User/Employee