Configure Option Sheets in Price Book
This tutorial guides you through creating and managing option sheets within the Price Book feature of DreamzCMMS. You will learn how to set up, customize, save, and share option sheets effectively.
Overview
The Option Sheets feature in the Price Book allows you to create structured pricing options that can be linked to specific appliances, tools, or service configurations. Each option sheet can contain multiple options, carry a custom name and description, and be shared directly with customers via email — making it a powerful tool for presenting service choices in a professional and organized way.
Here is a reference video:
Steps to Configure Option Sheets in Price Book
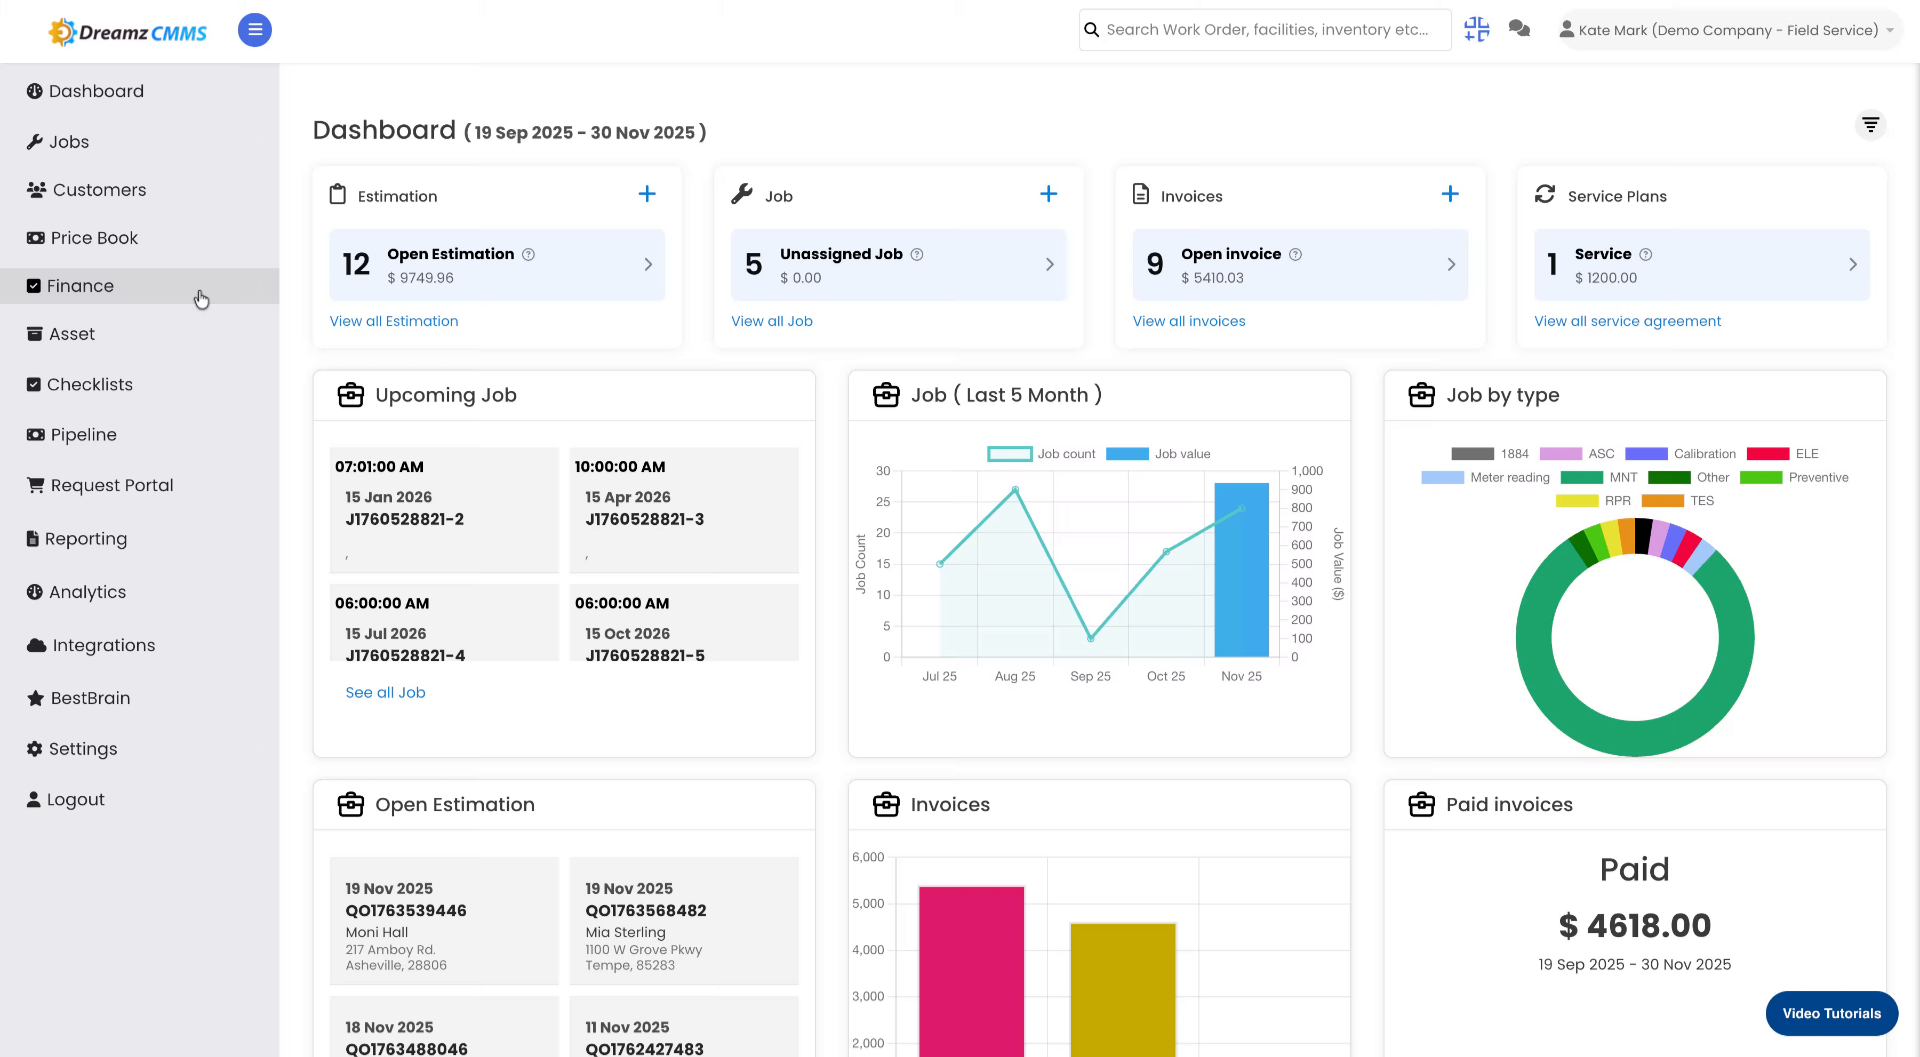
Step 1 – Navigate to Price Book
Click on Price Book to access the pricing options within DreamzCMMS.
Step 2 – Open the Option Sheet Section
Click Option Sheet to view and manage your option sheets.

Step 3 – Create a Default Option Sheet
Click Create Default Option Sheet to start a new option sheet with default settings.

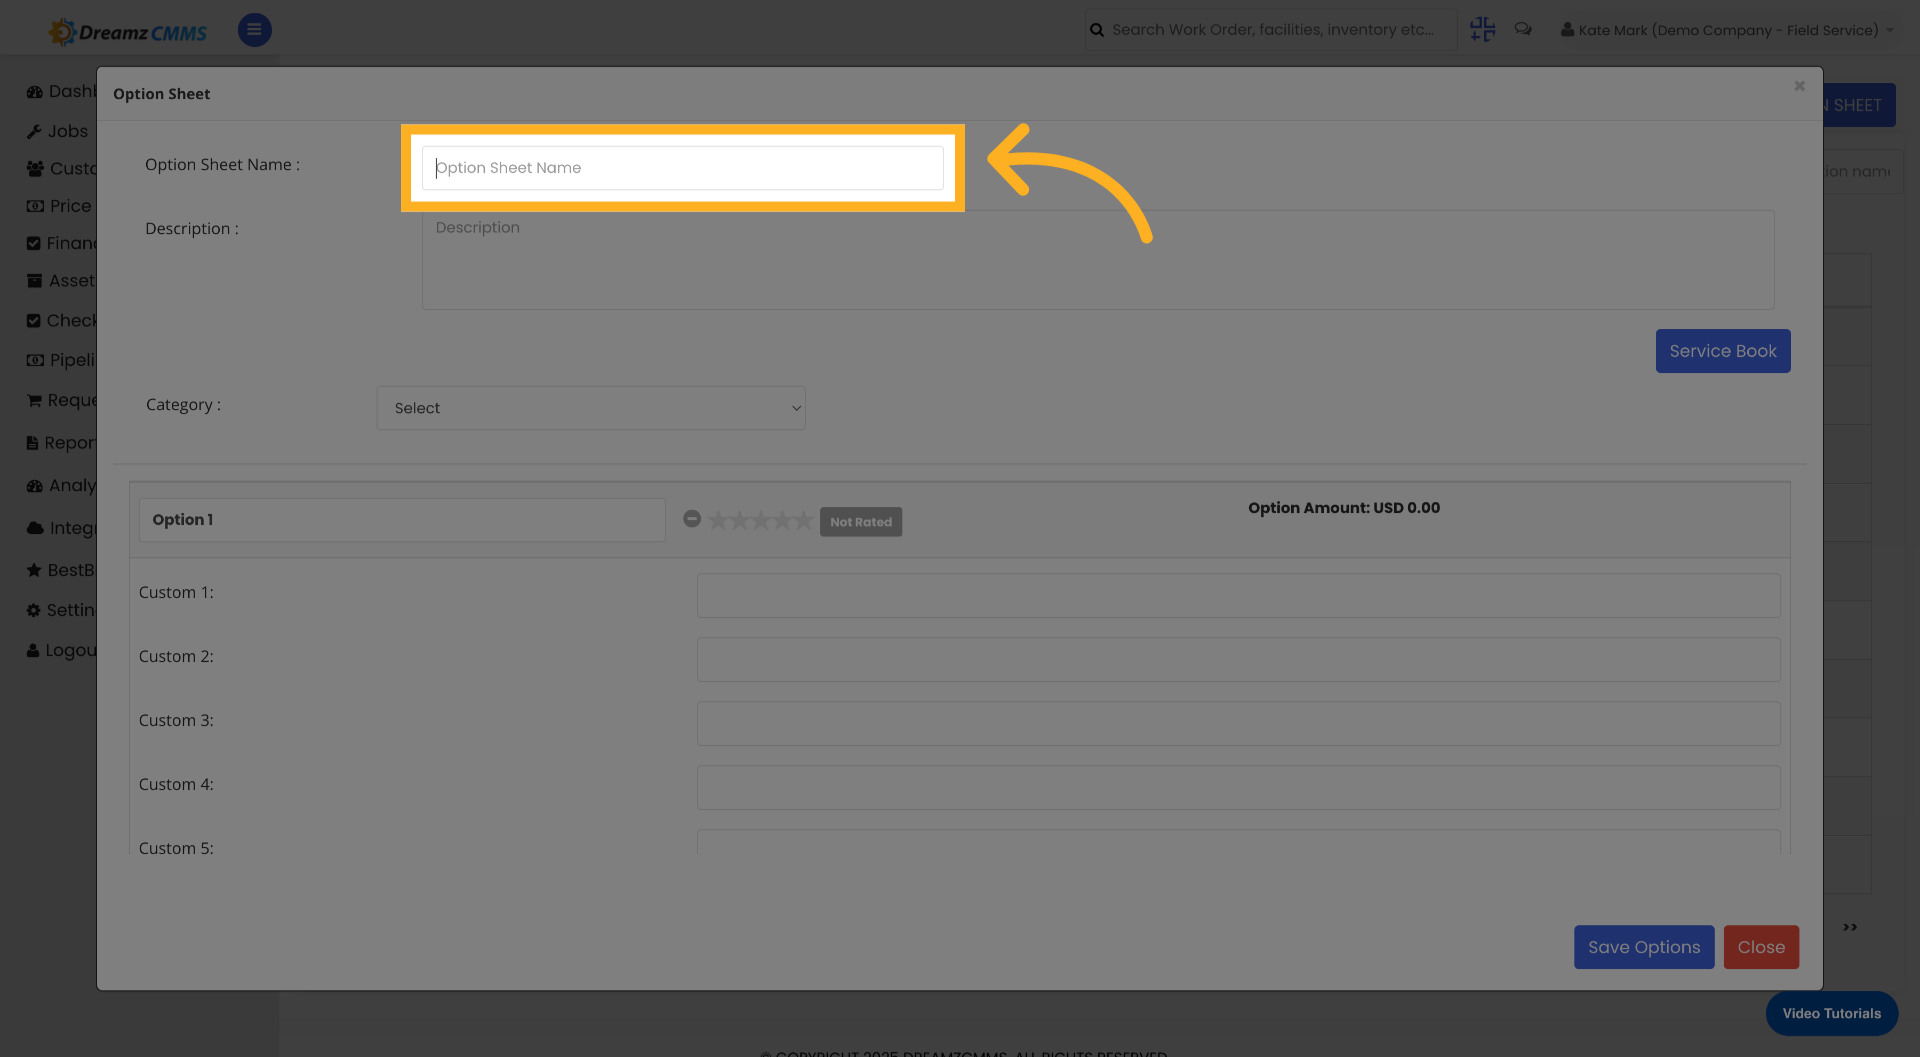
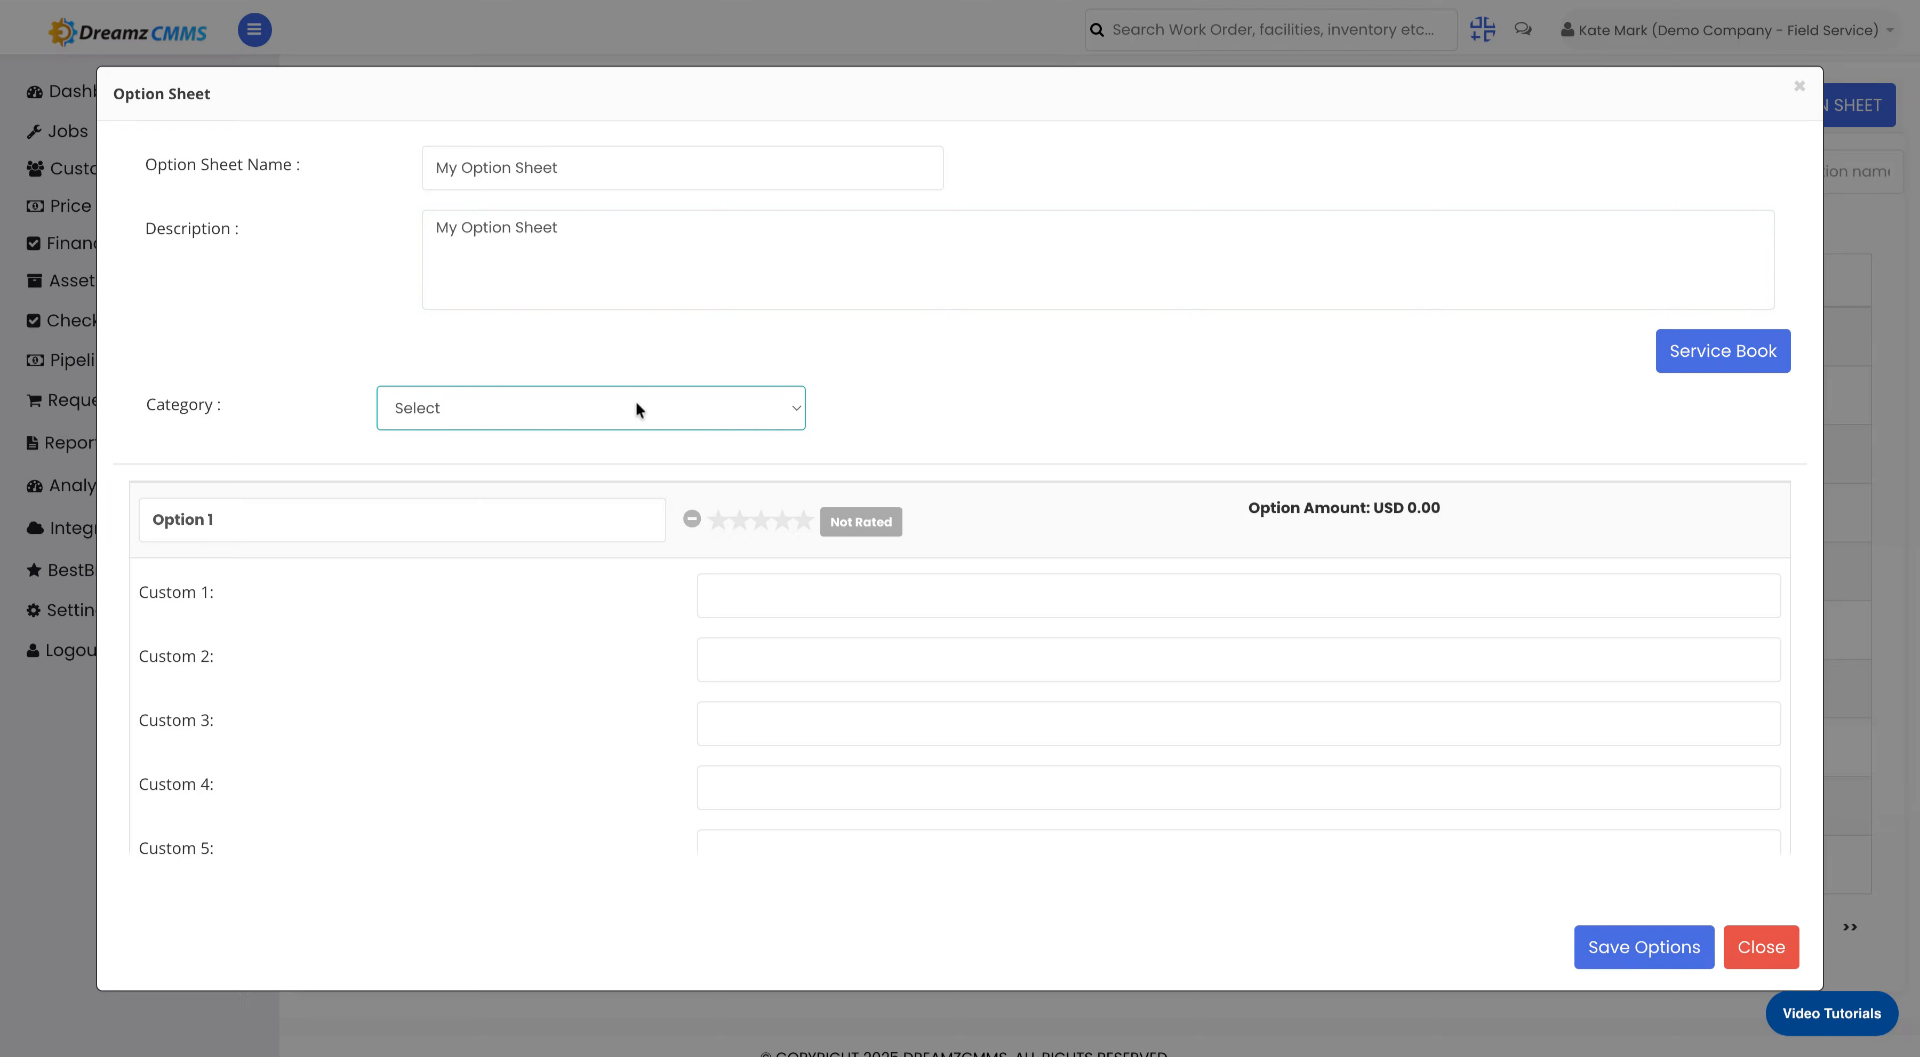
Step 4 – Enter the Option Sheet Name
Click the Option Sheet Name field and enter a name to clearly identify the option sheet within the system.

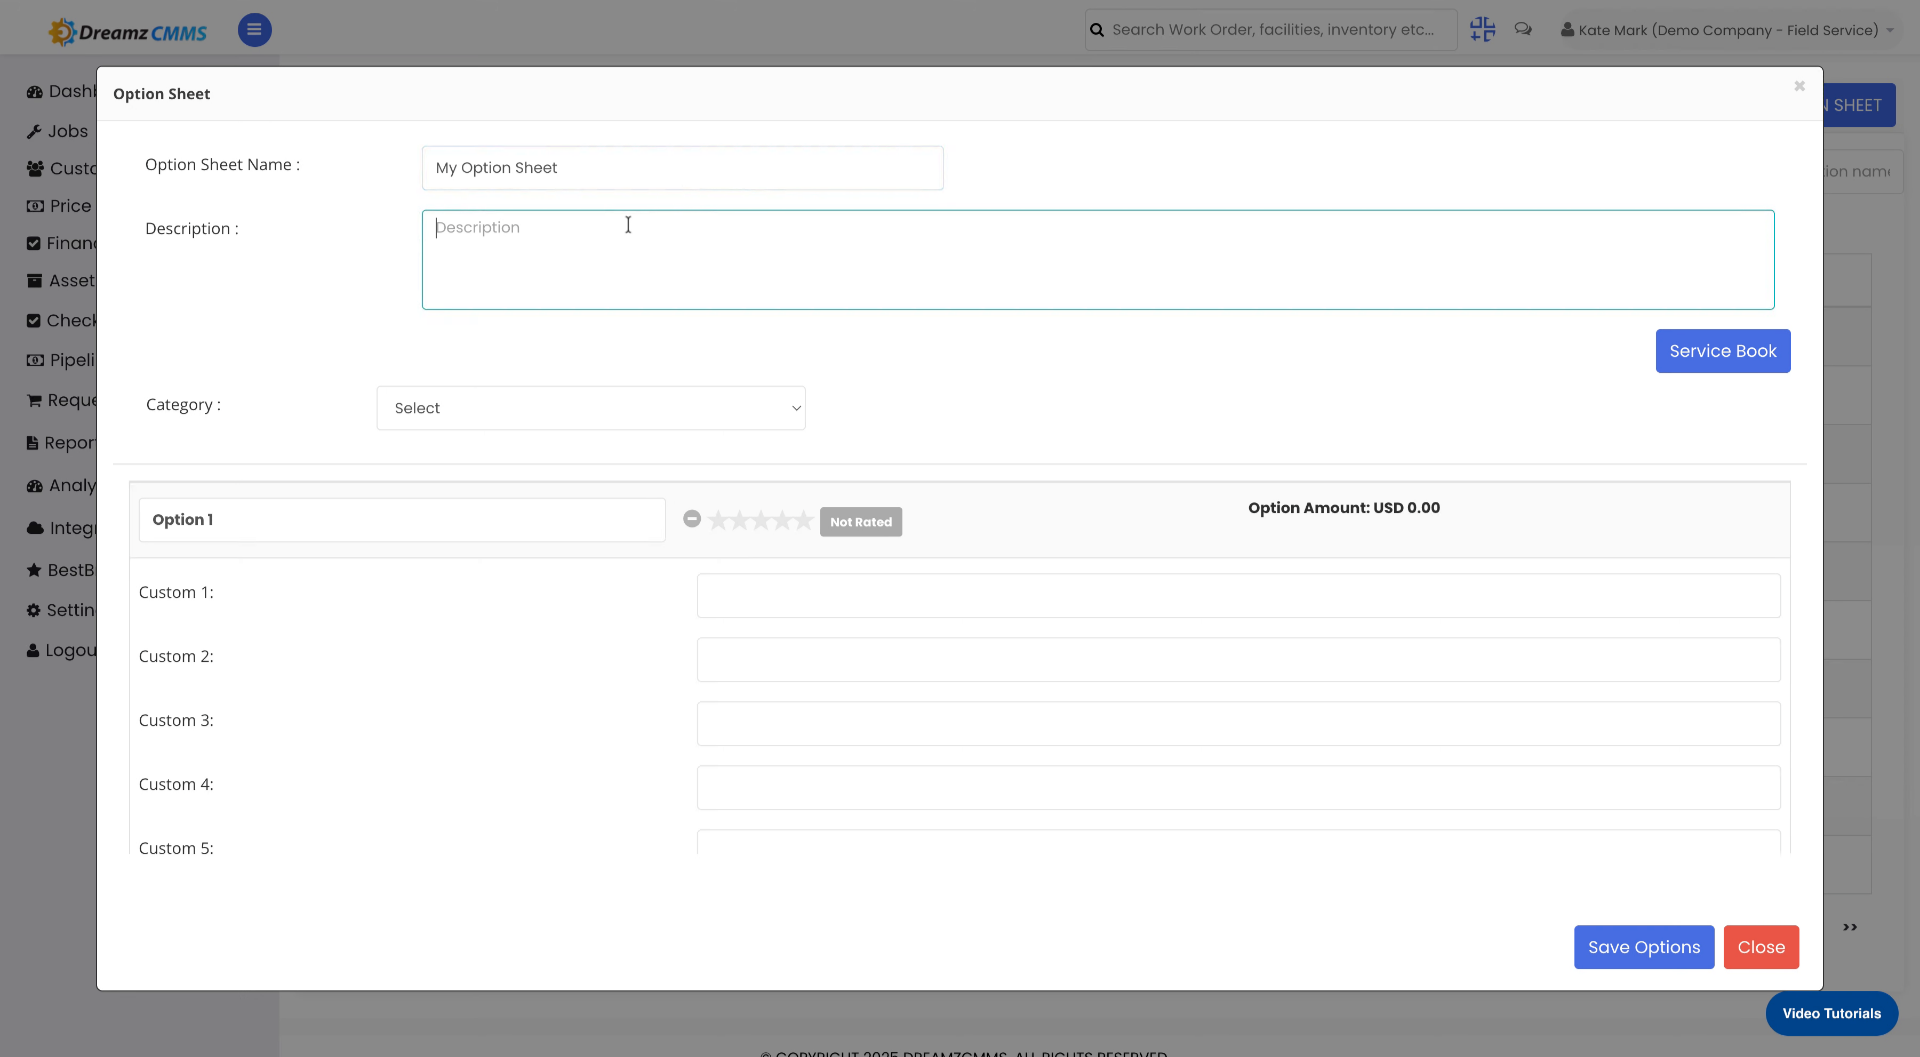
Step 5 – Enter a Description
Click the Description field and enter a description to provide context or notes about the option sheet's purpose.


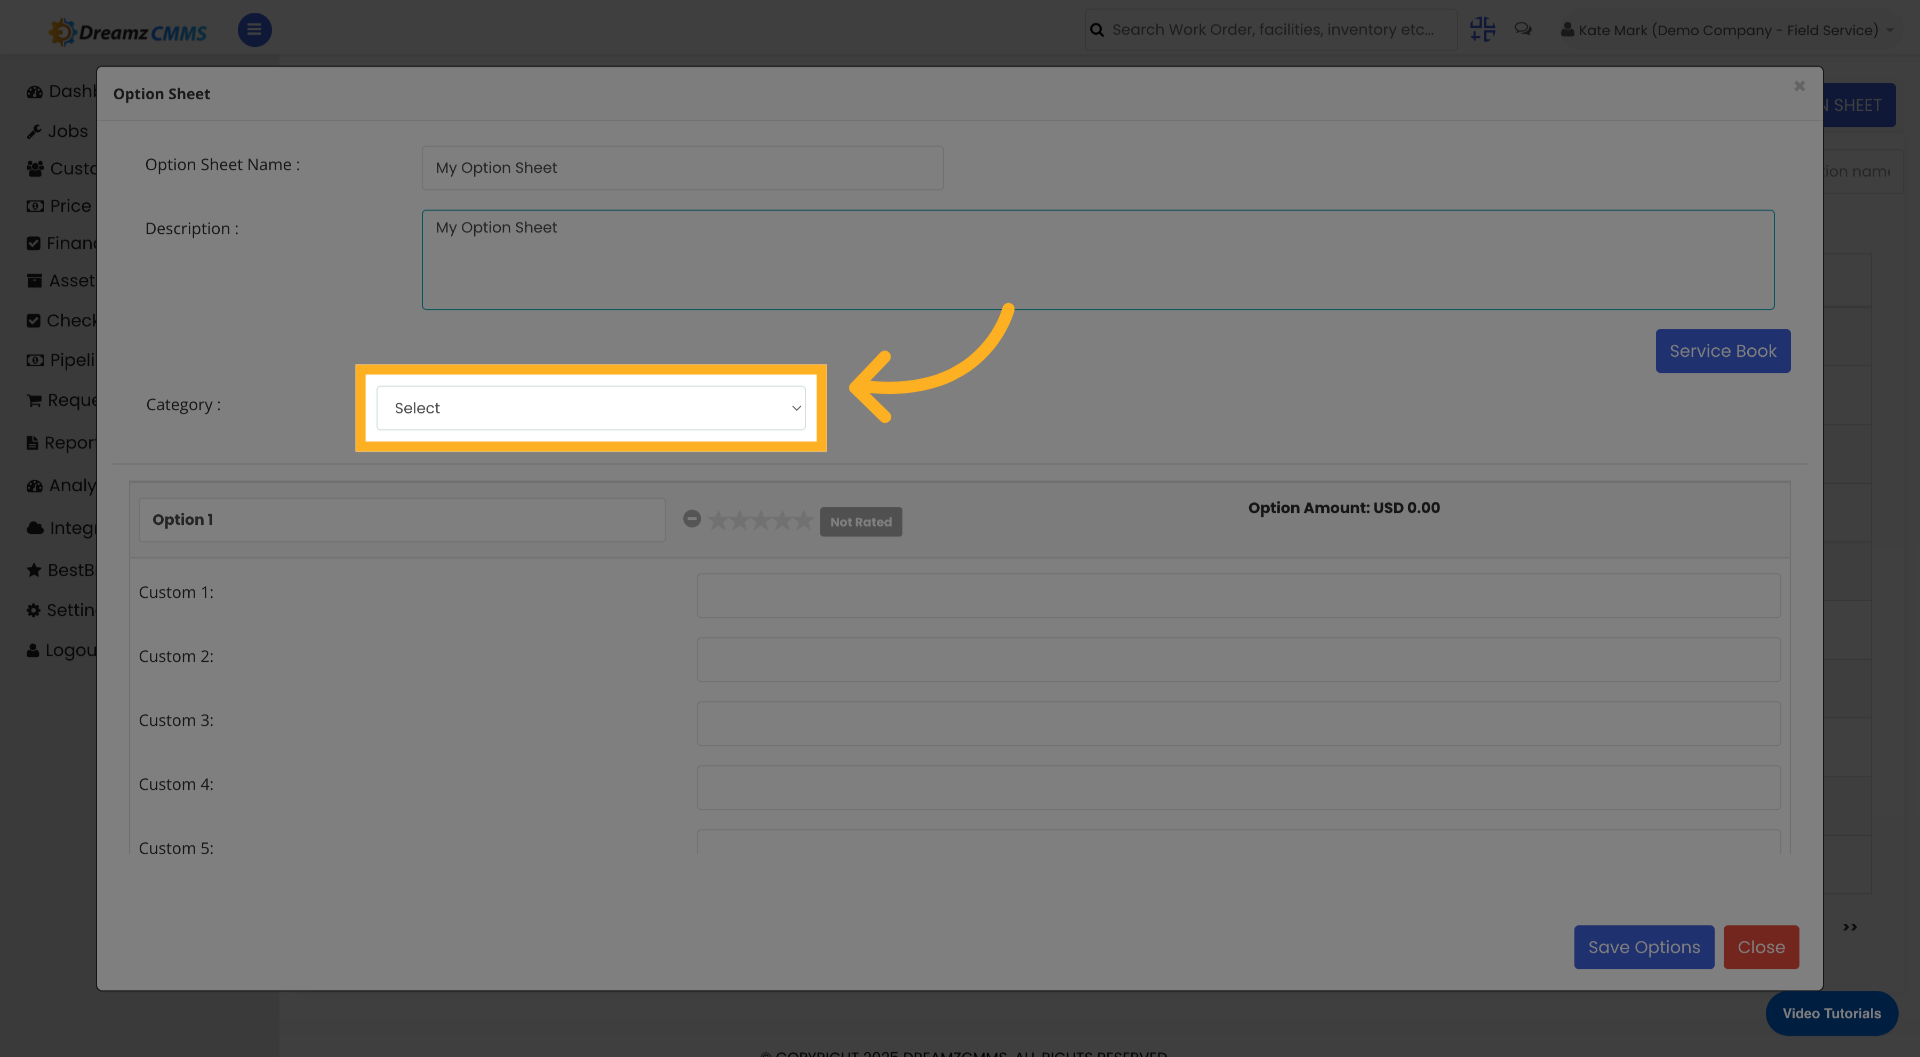
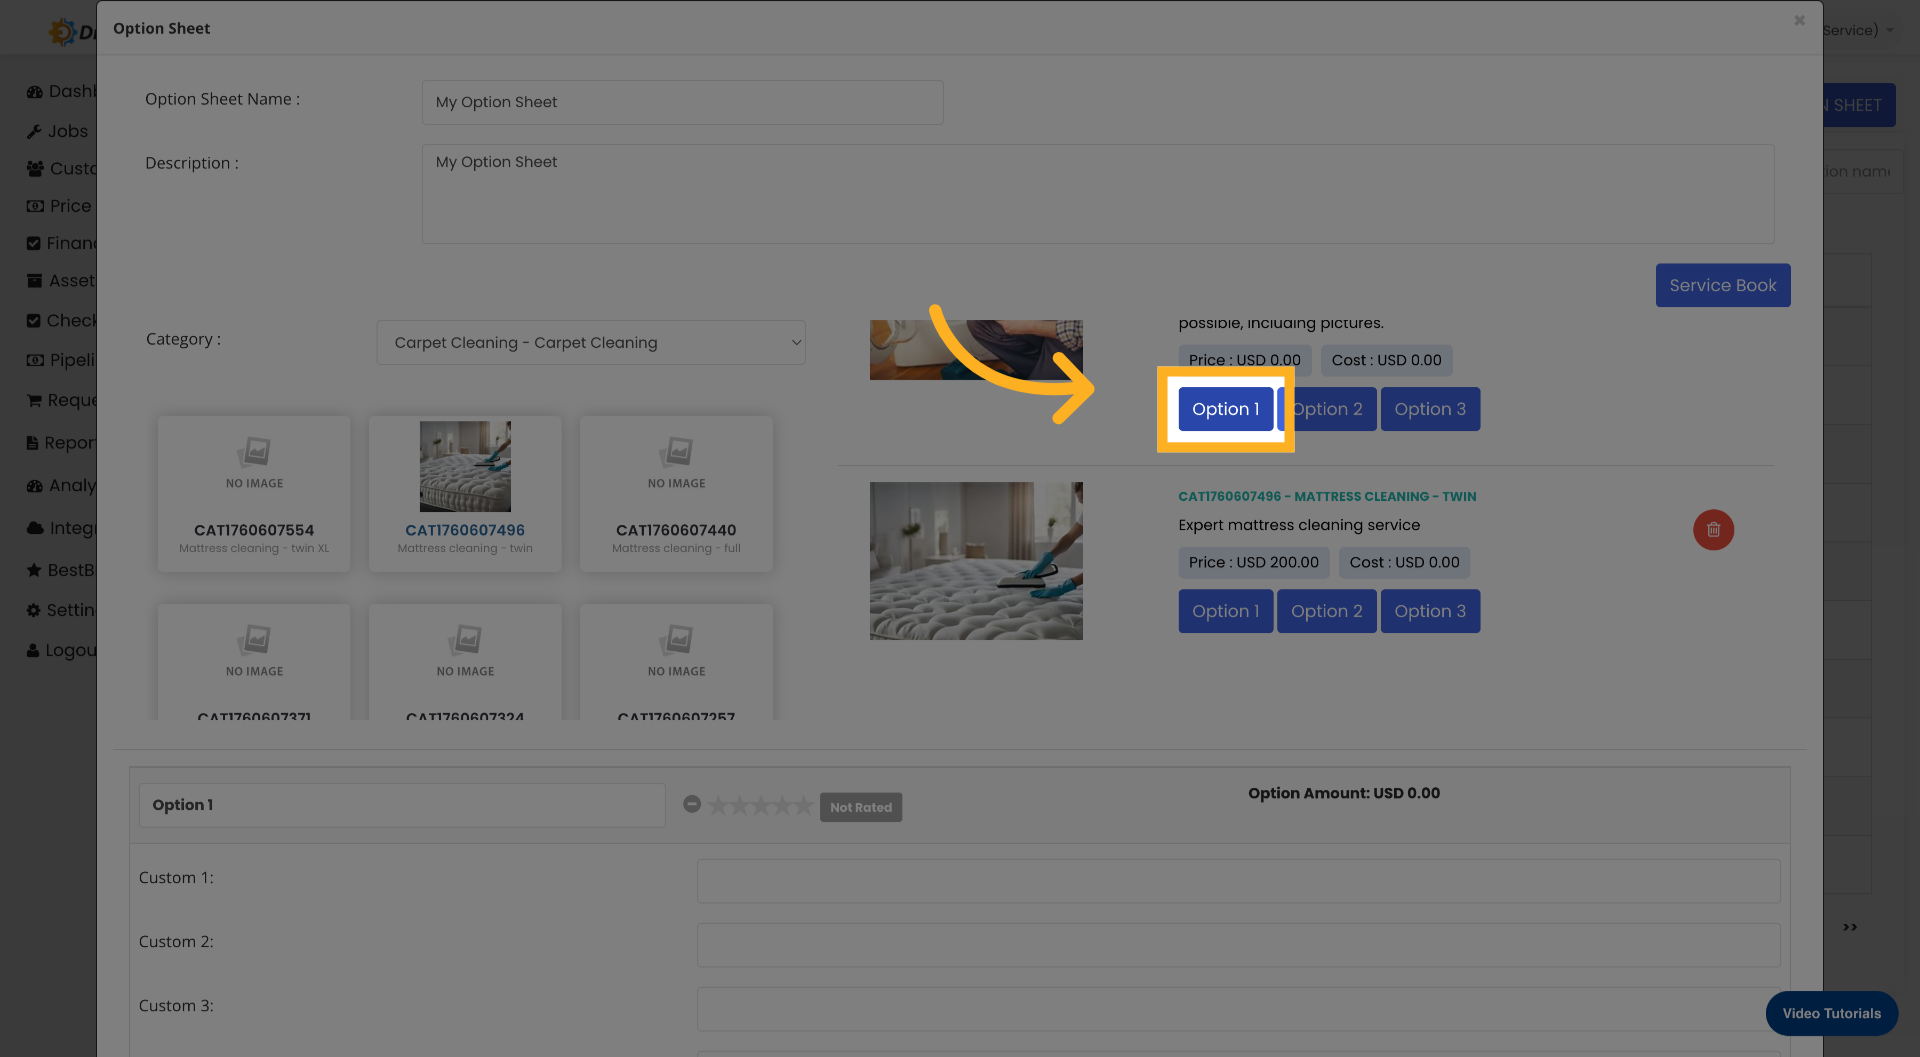
Step 6 – Select Appliances or Calibration Tools
Click the appliance selection field and enter the appliance or calibration tool to associate with your option sheet. You can add multiple items by clicking the field again and entering additional appliances or tools as needed.


Step 7 – Configure Option 1 and Option 2
Click Option 1 to configure the first option within your option sheet, then click Option 2 to configure the second option.

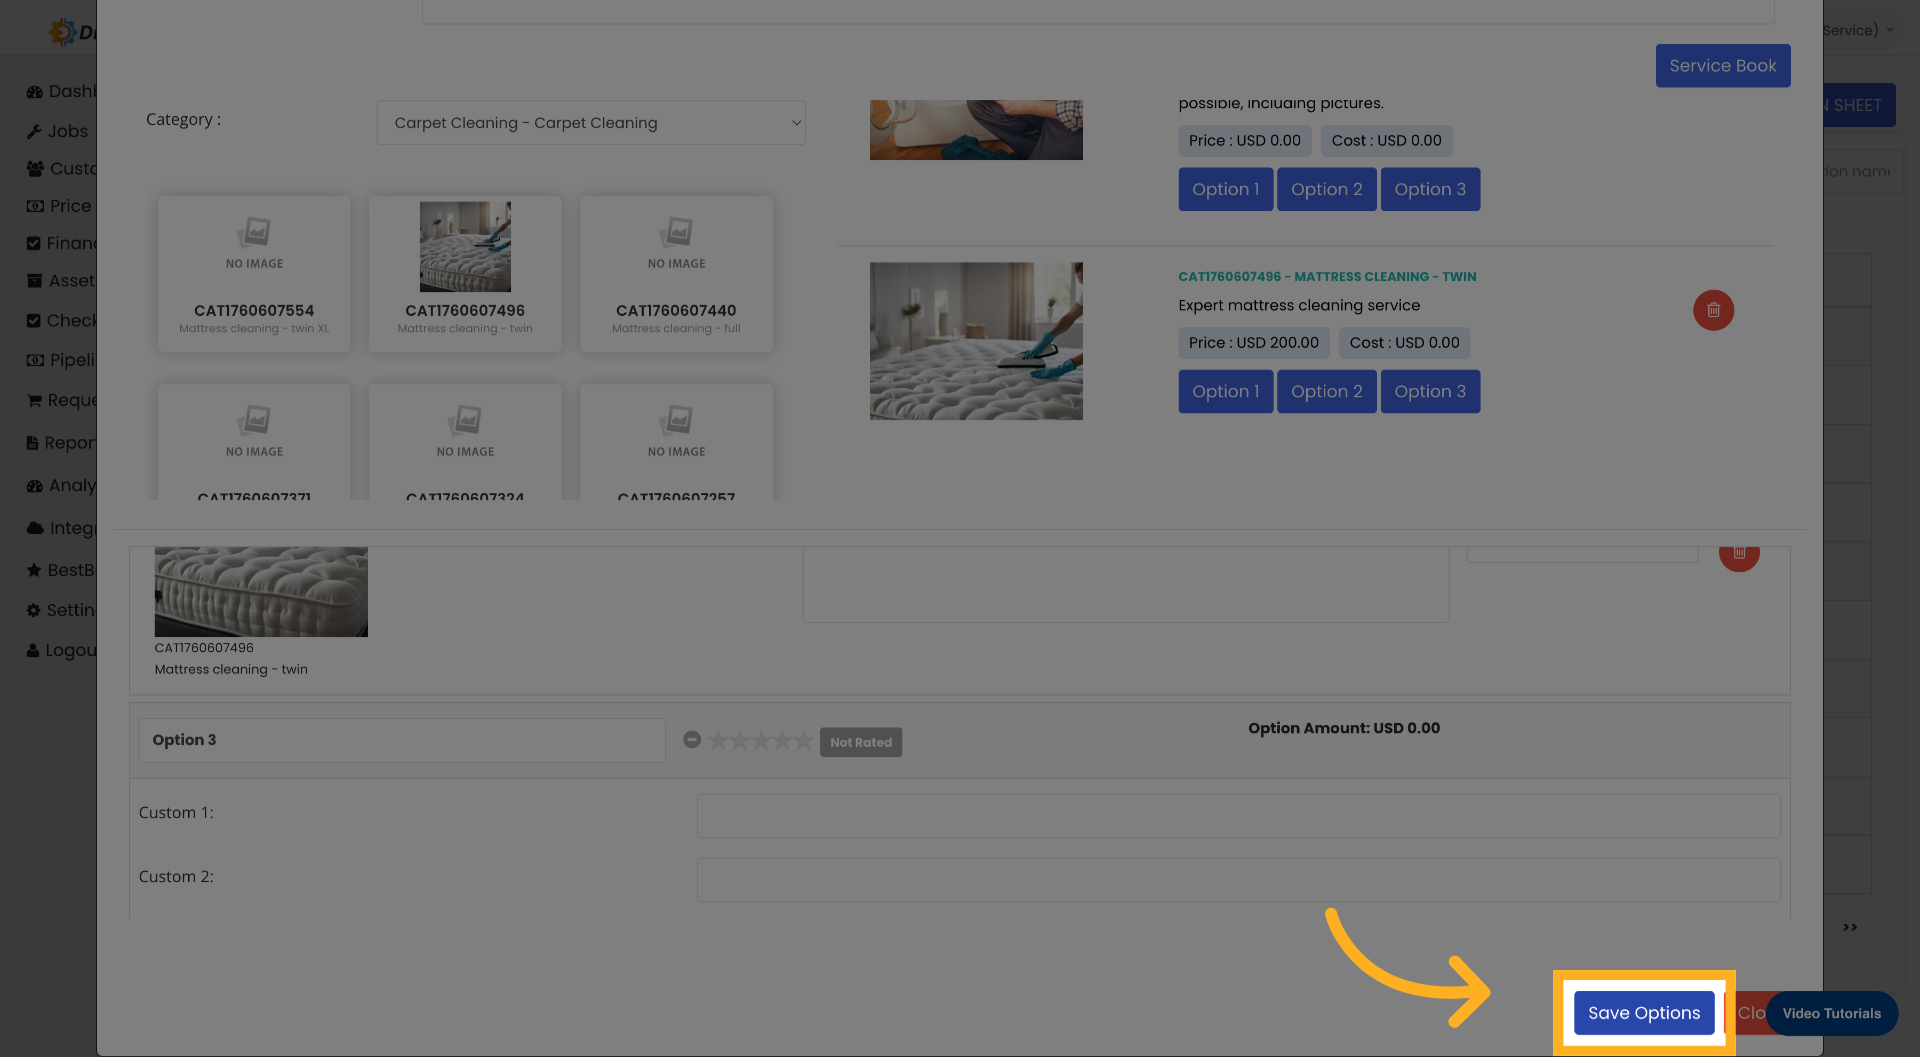
Step 8 – Save and Close the Option Sheet
Click Save Options to store the changes made to your option sheet. Then click Close to exit the option sheet editor.


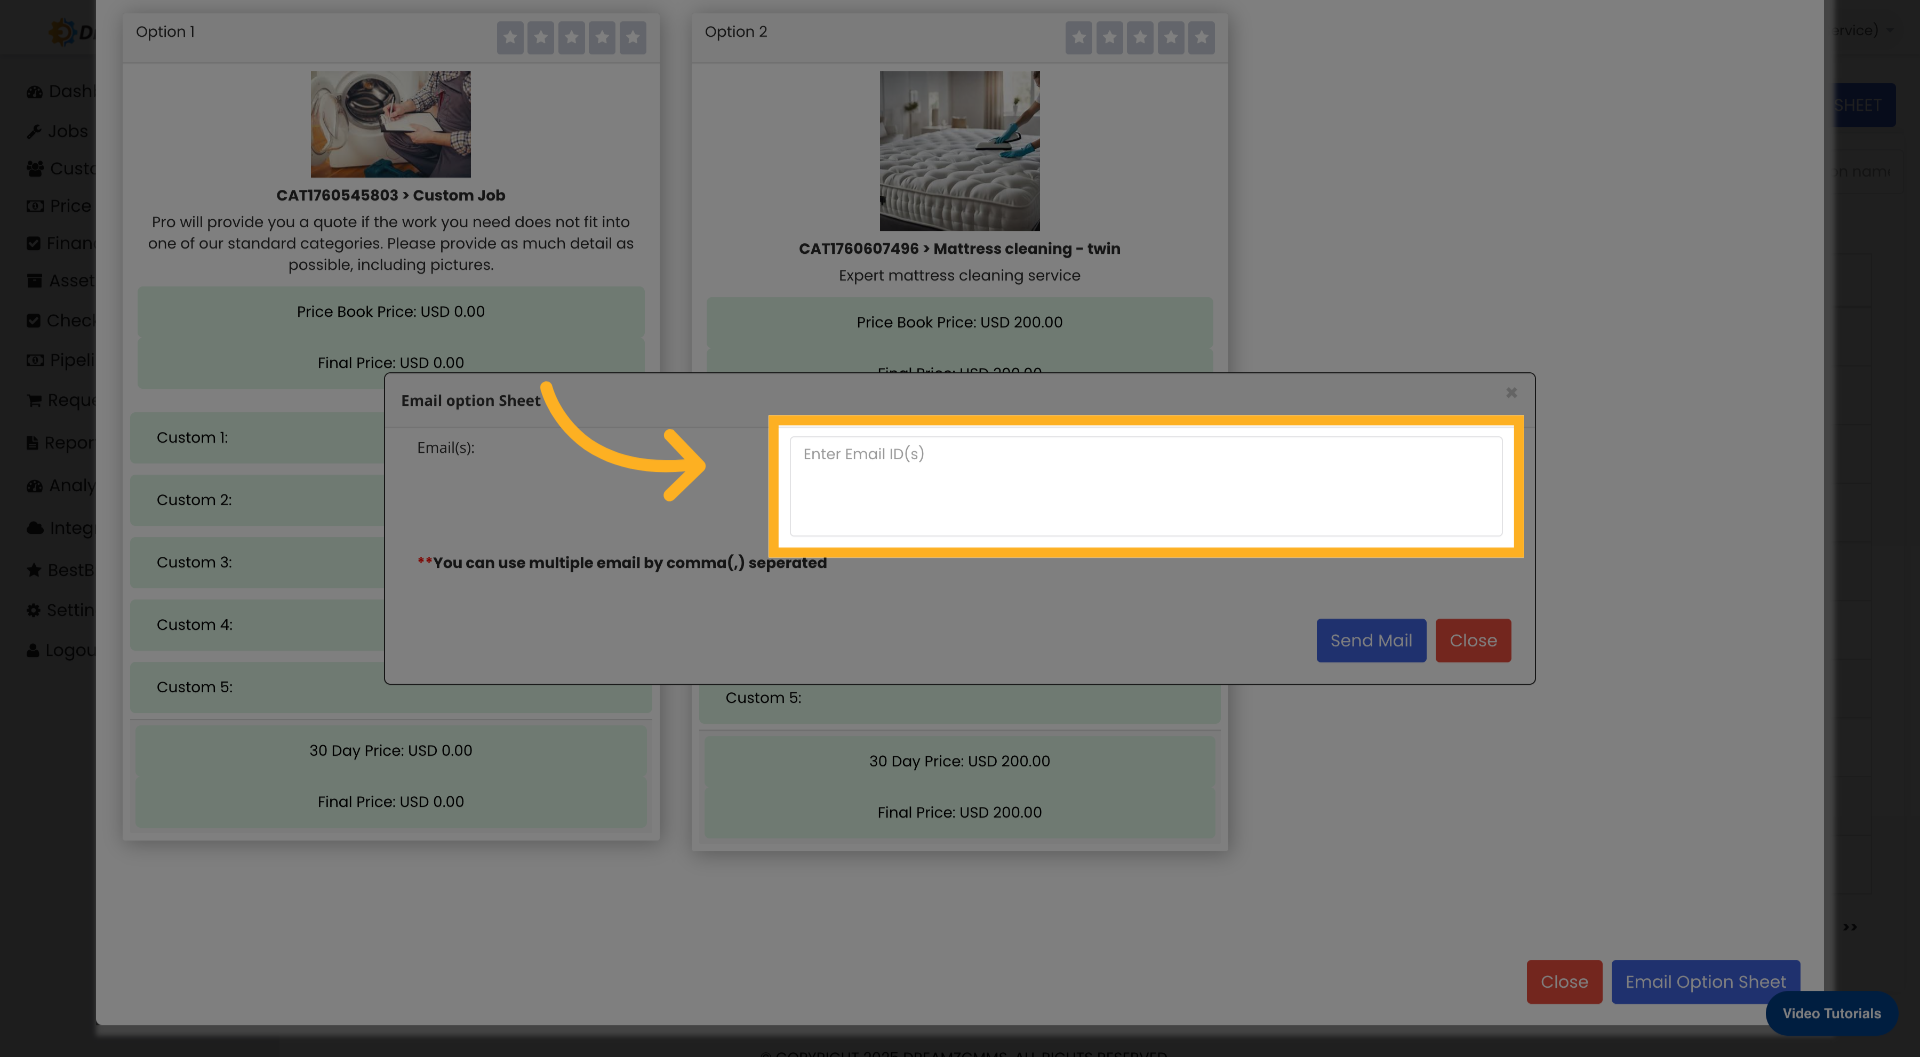
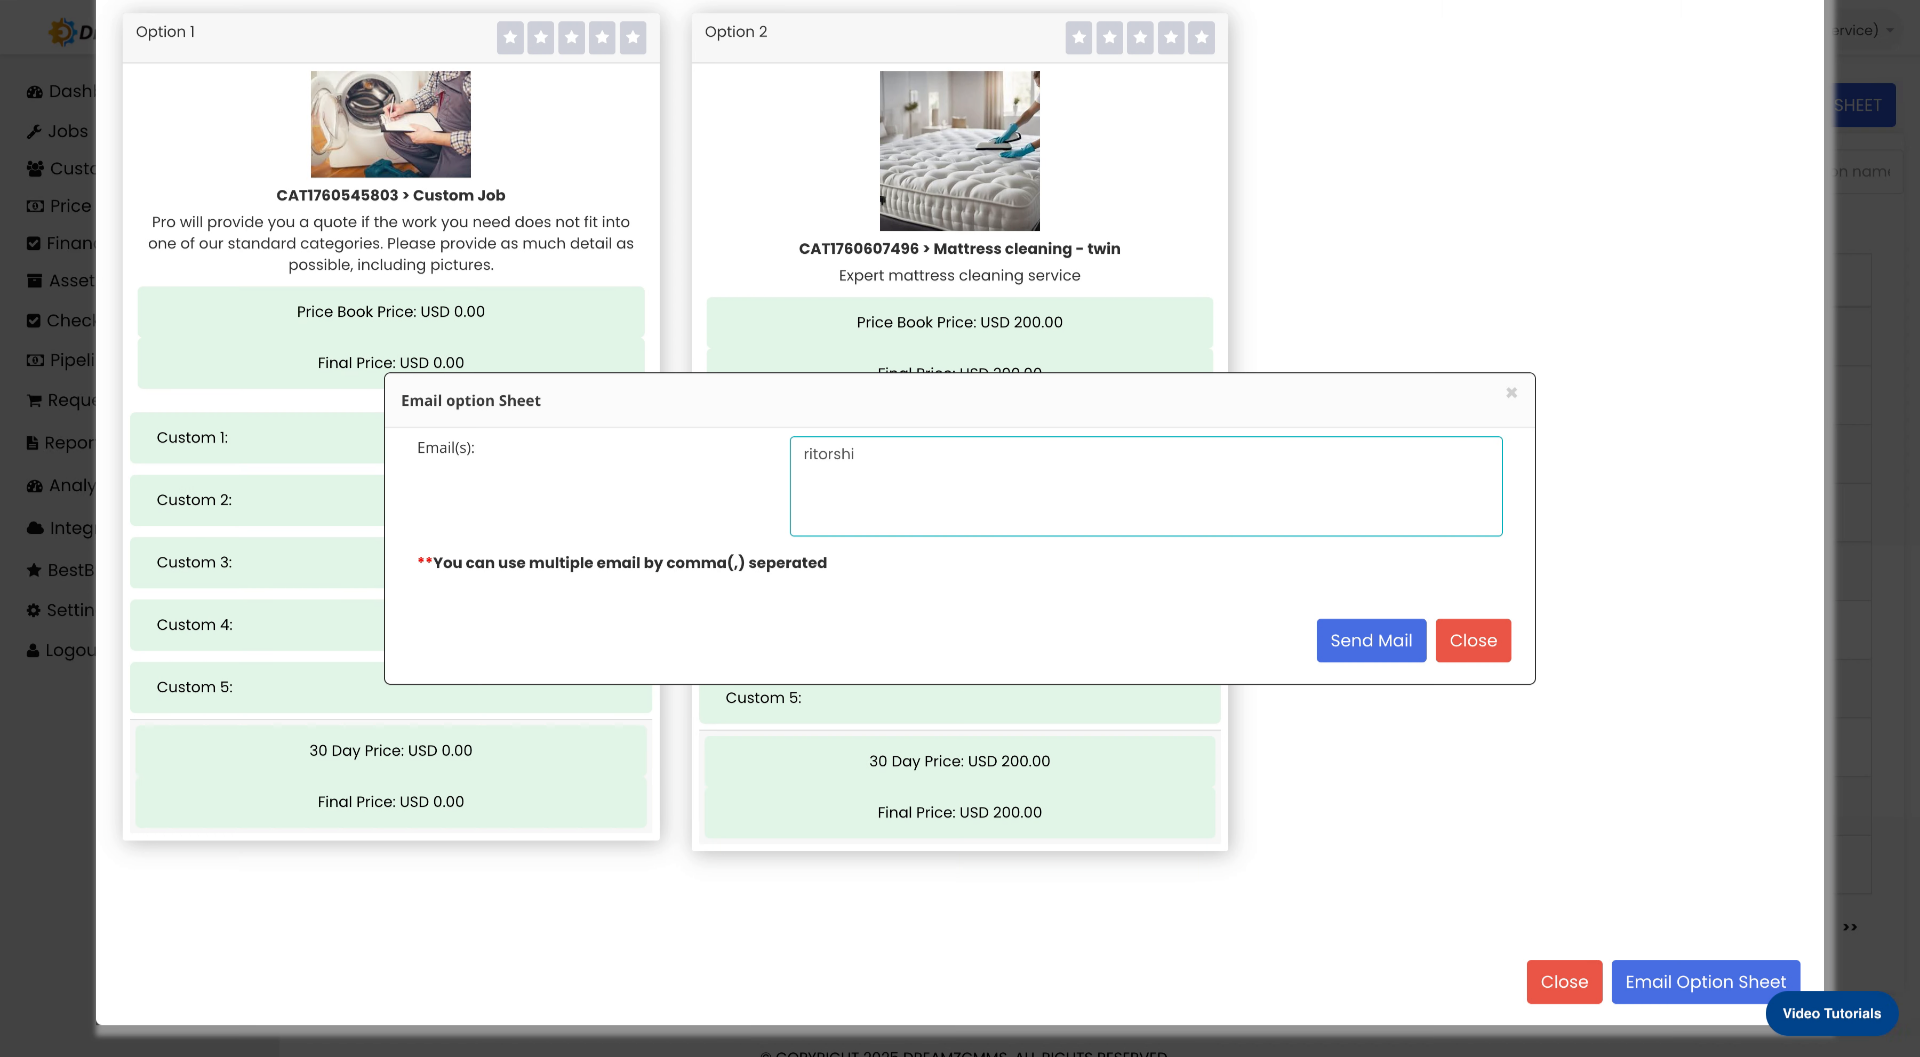
Step 9 – Email the Option Sheet to a Recipient
Click the additional menu (⋯) to access more actions, then click Email Option Sheet. Click the Enter Email ID(s) field, type the recipient's email address, and click Send Mail to dispatch the option sheet. Click Close to exit the email interface after sending.


Step 10 – Exit the Option Sheet Module
Click × to close the option sheet module and return to the option sheet listing.

Tips for Configuring Option Sheets
- Use clear and meaningful Option Sheet Names so your team can quickly identify and select the right sheet when building estimates or work orders.
- Always fill in the Description field with enough context so team members and customers understand the purpose of the option sheet without needing to open it.
- When adding appliances or tools, you can include multiple items in a single option sheet — take advantage of this to cover all relevant equipment in one place.
- Configure both Option 1 and Option 2 within each sheet to give customers clearly differentiated service or pricing choices.
- Always click Save Options before closing the editor to ensure no changes are lost.
- Use the Email Option Sheet feature to send finalized option sheets directly to customers from within DreamzCMMS, keeping communication and documentation in one system.
Frequently Asked Questions
How do I access the Option Sheets section in DreamzFSM?
Click on Price Book from the main navigation, then select Option Sheet to view and manage all existing option sheets.
Can I add multiple appliances or tools to a single option sheet?
Yes. You can add as many appliances or calibration tools as needed by clicking the selection field multiple times and entering each item individually.
How many options can I configure within an option sheet?
Each option sheet supports at least two configurable options (Option 1 and Option 2), allowing you to present multiple service or pricing tiers to your customers.
How do I share an option sheet with a customer?
Open the additional menu (⋯) on the option sheet, select Email Option Sheet, enter the recipient's email address in the Enter Email ID(s) field, and click Send Mail to deliver the option sheet directly to the customer.
What happens if I close the option sheet editor without saving?
Any unsaved changes will be lost. Always click Save Options before clicking Close or the × button to ensure your configurations are stored correctly.
Related Articles
- Configure Price Book For Services And Materials
- Configure Estimate Templates in Price Book
- Create Estimates and Estimate Listing
- How to Create Jobs
- Invoicing from App