Create Estimates and Estimate Listing
This tutorial guides you through creating estimates and listings using DreamzCMMS. You will learn how to navigate the system, add service options, and configure pricing details for accurate estimates.
Overview
The Estimates feature in DreamzFSM allows you to create detailed, multi-option estimates for customers. You can build estimates with multiple option sheets, add services from the Service Book or Price Book, apply service templates, rename and reorder options, and present the final estimate directly to your customer — all from one centralized interface.
Here is a reference video:
Steps to Create an Estimate
Step 1 – Navigate to the Customers Section
Click the Customers section to access customer-related options.

Step 2 – Open the Estimates Tab
Click the Estimates tab to view and manage existing estimates.

Step 3 – View an Existing Estimate
Click on an existing estimate to review its details.

Step 4 – Start a New Estimation
Click New Estimation to begin creating a new estimate.

Step 5 – Search for or Add a Customer
Click the search field labeled Search by name/email, or enter the details for a new customer to find or add a customer.

Step 6 – Open the 3-Dot Menu
Click the 3-Dot Menu to access option settings.
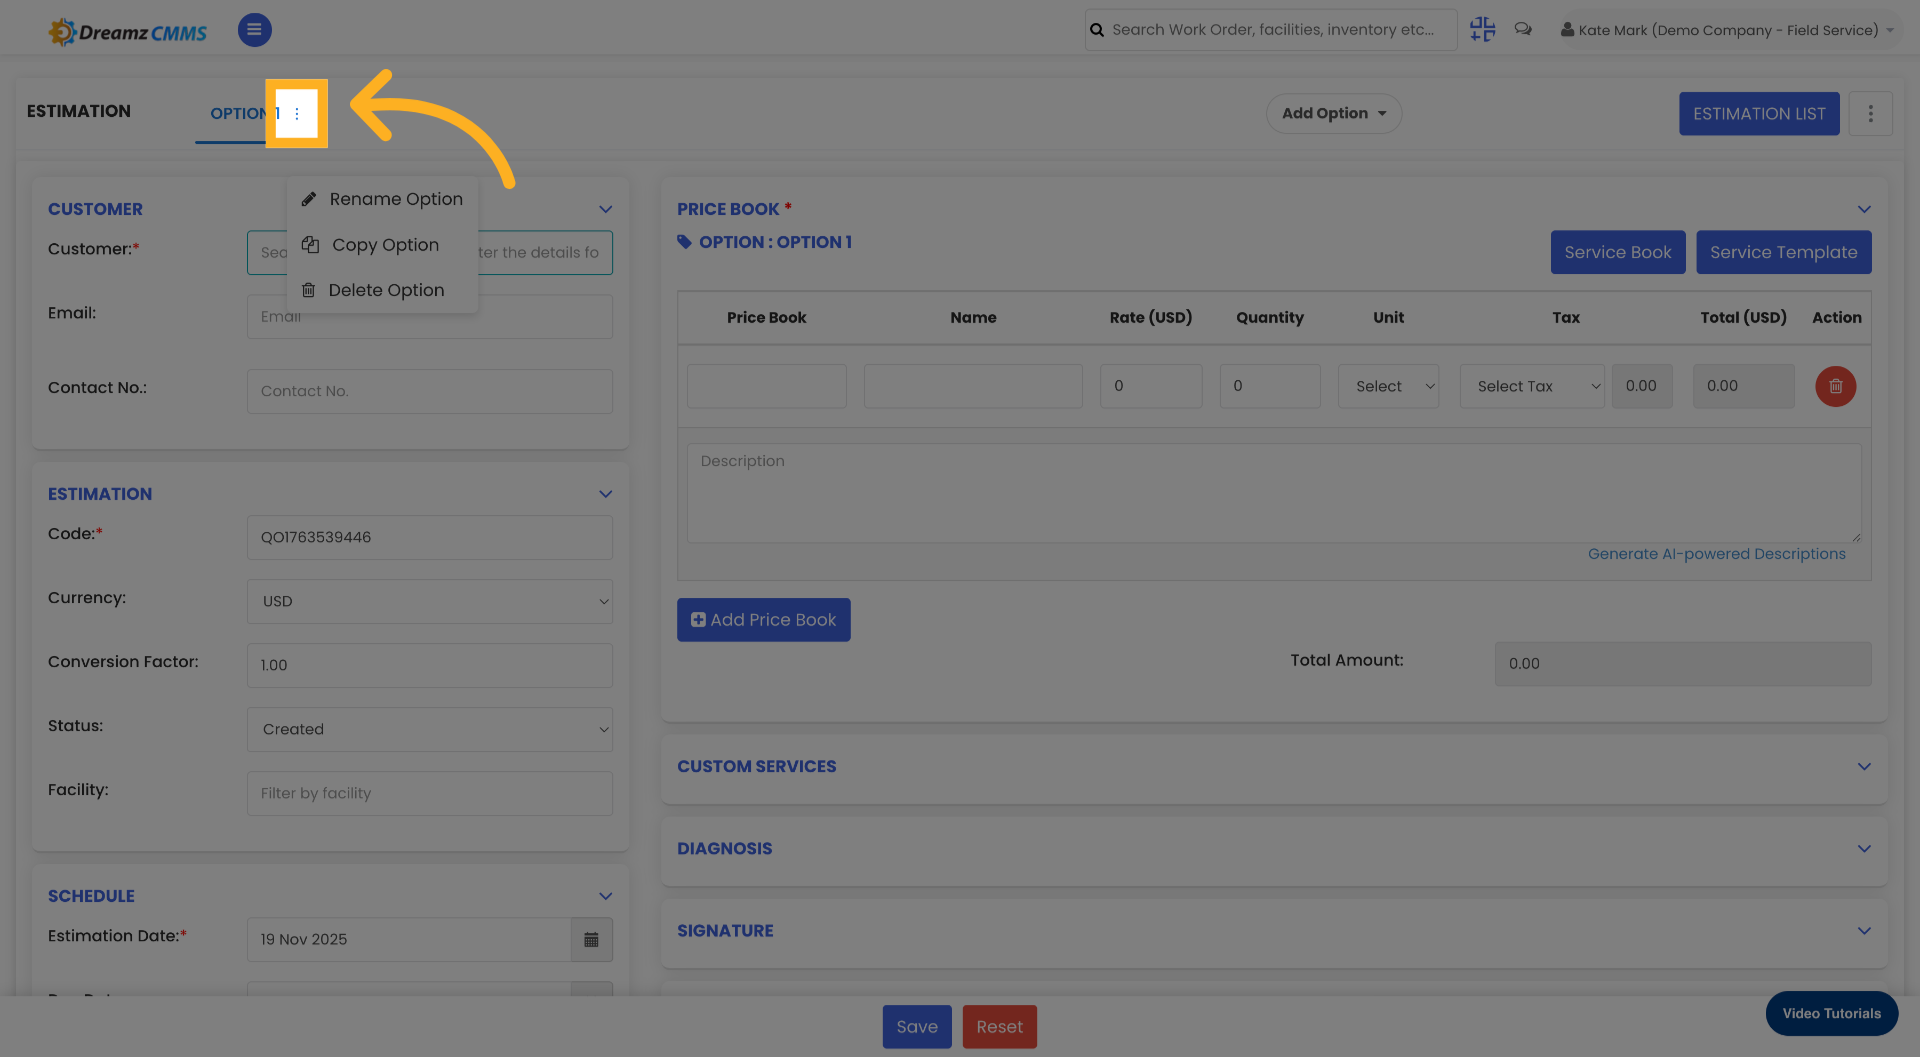
Step 7 – Select Rename Option
Click Rename Option to modify the current option's name.
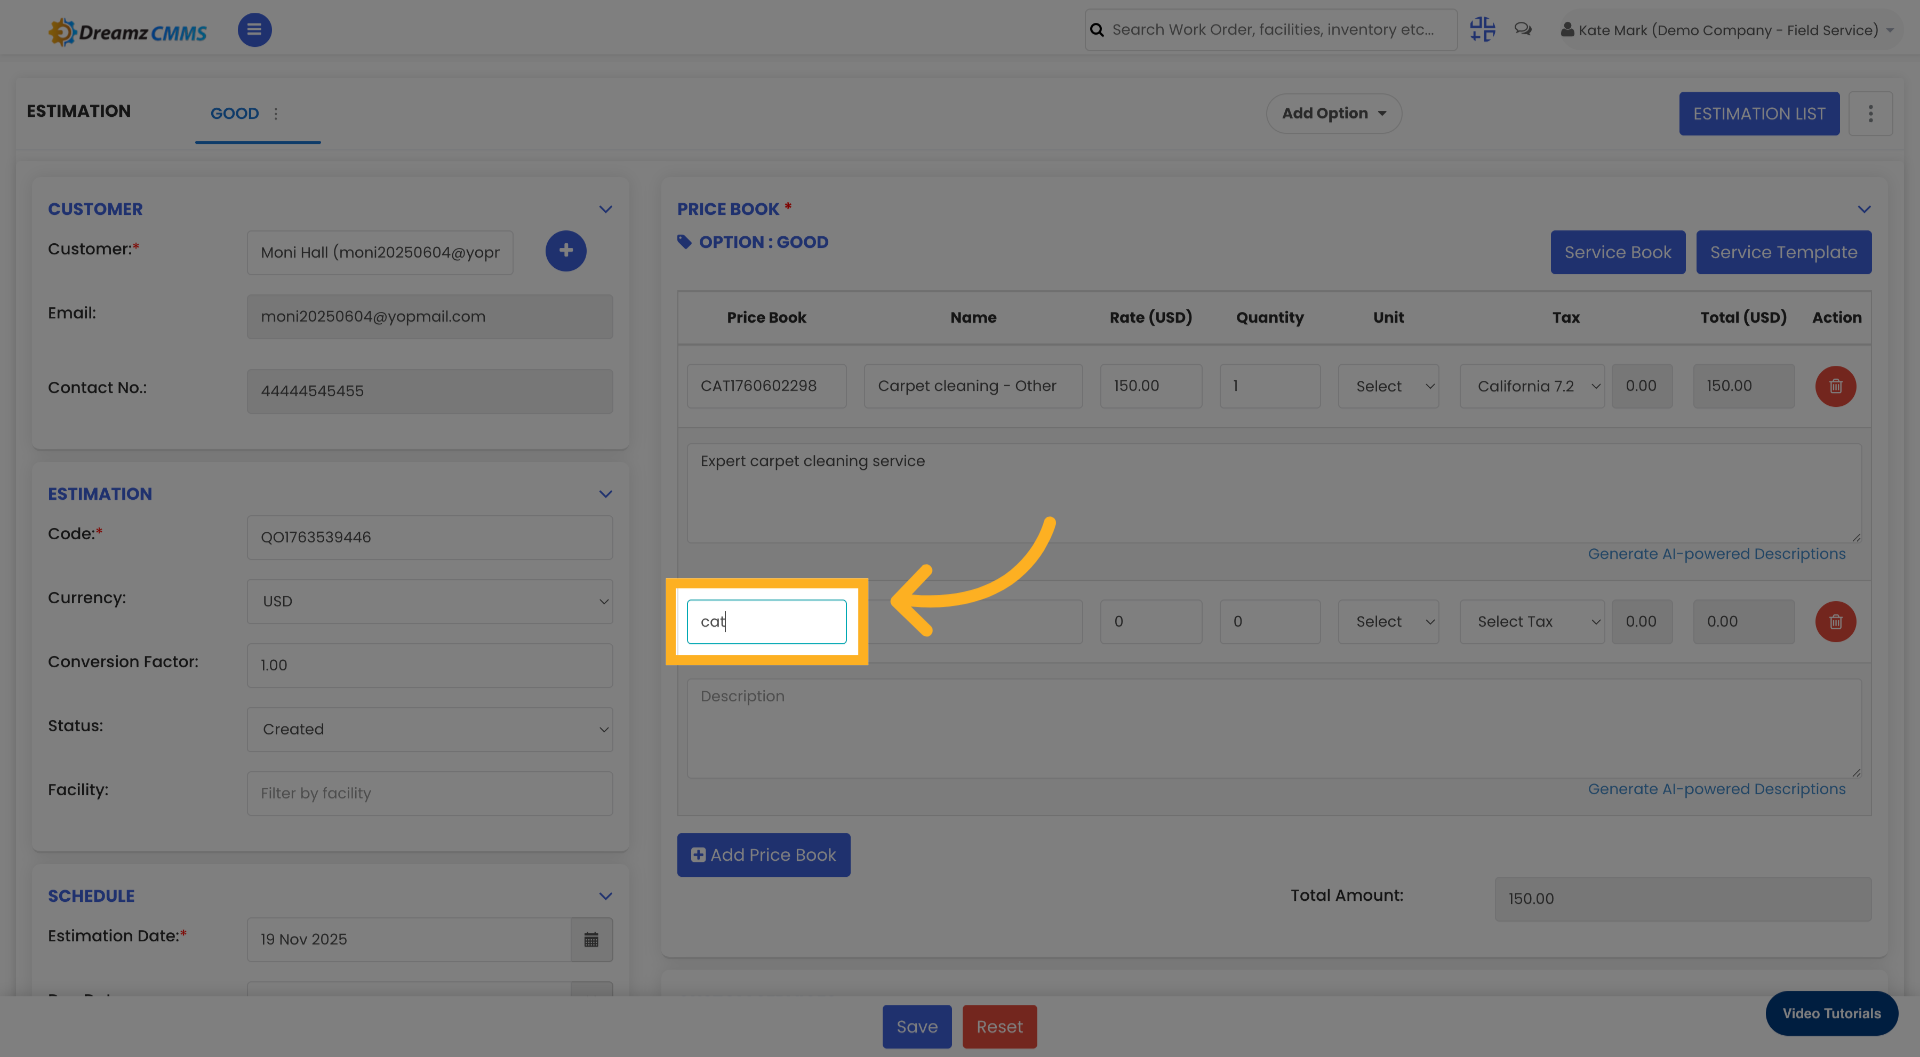
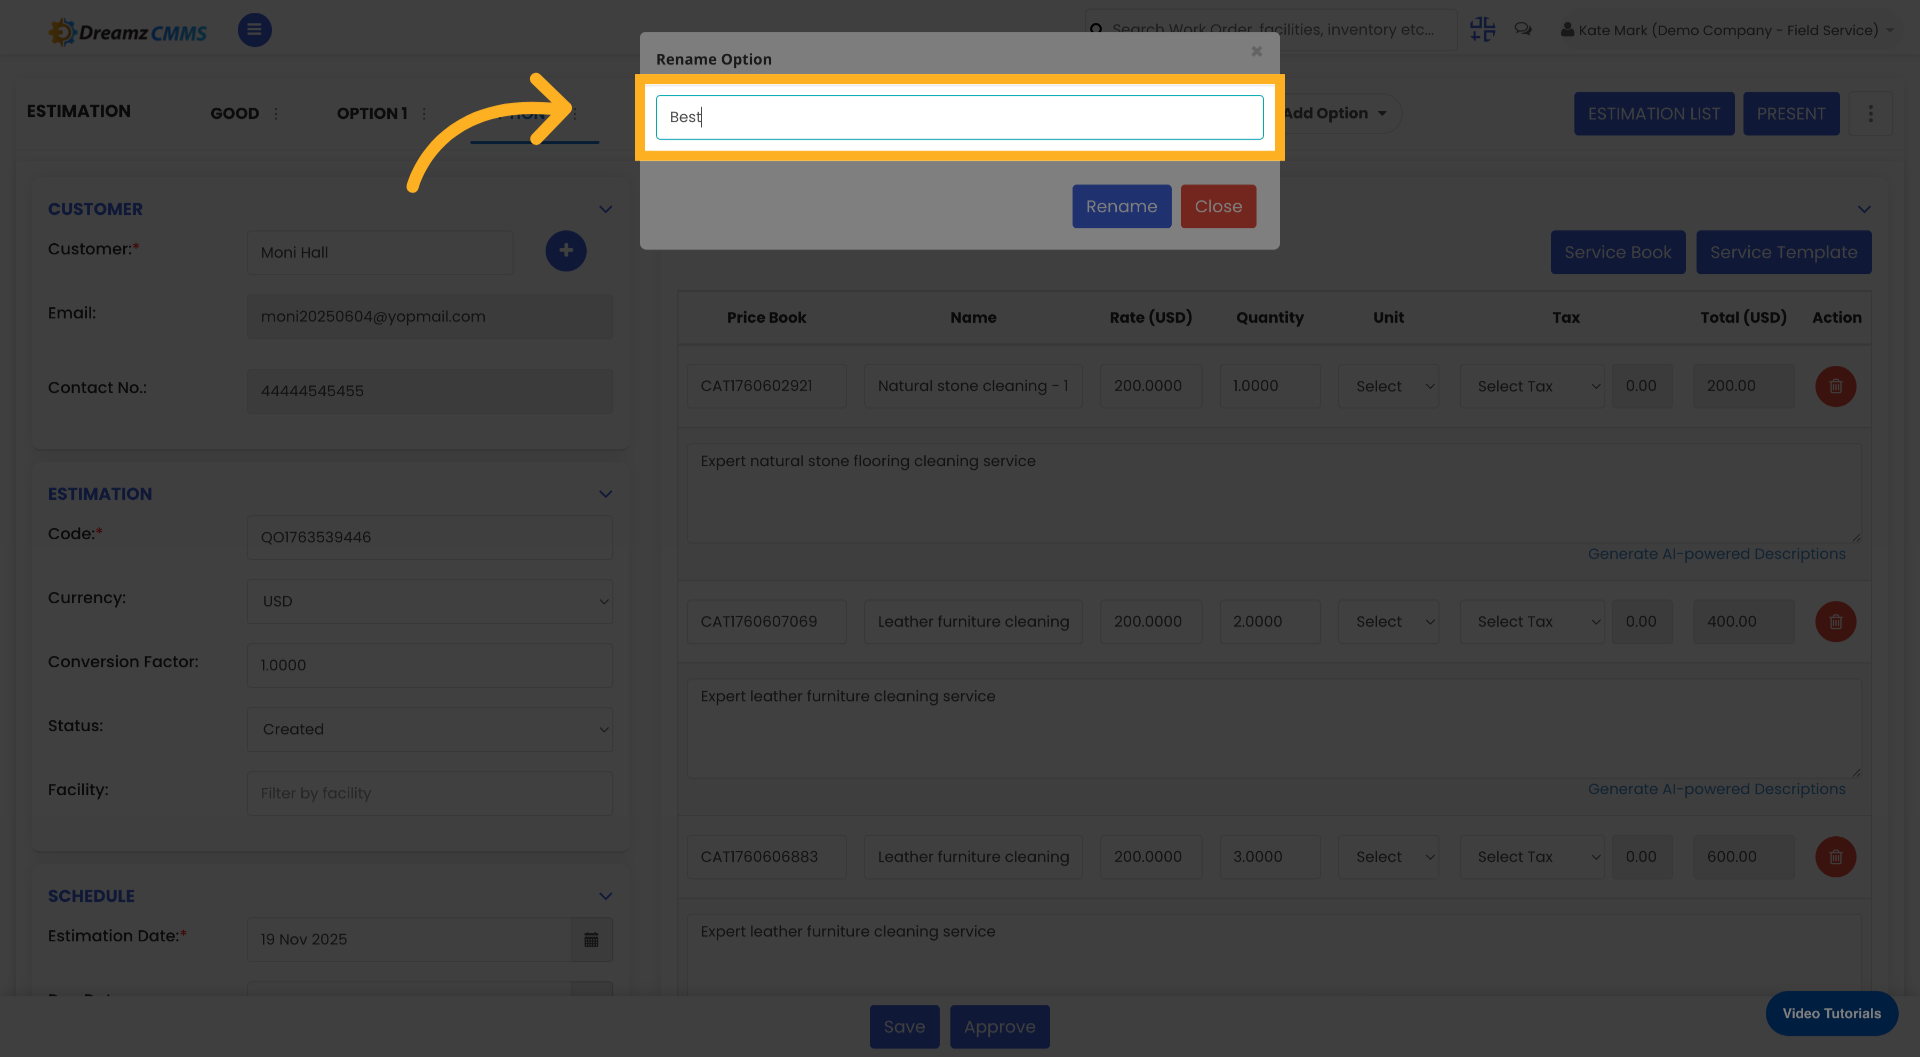
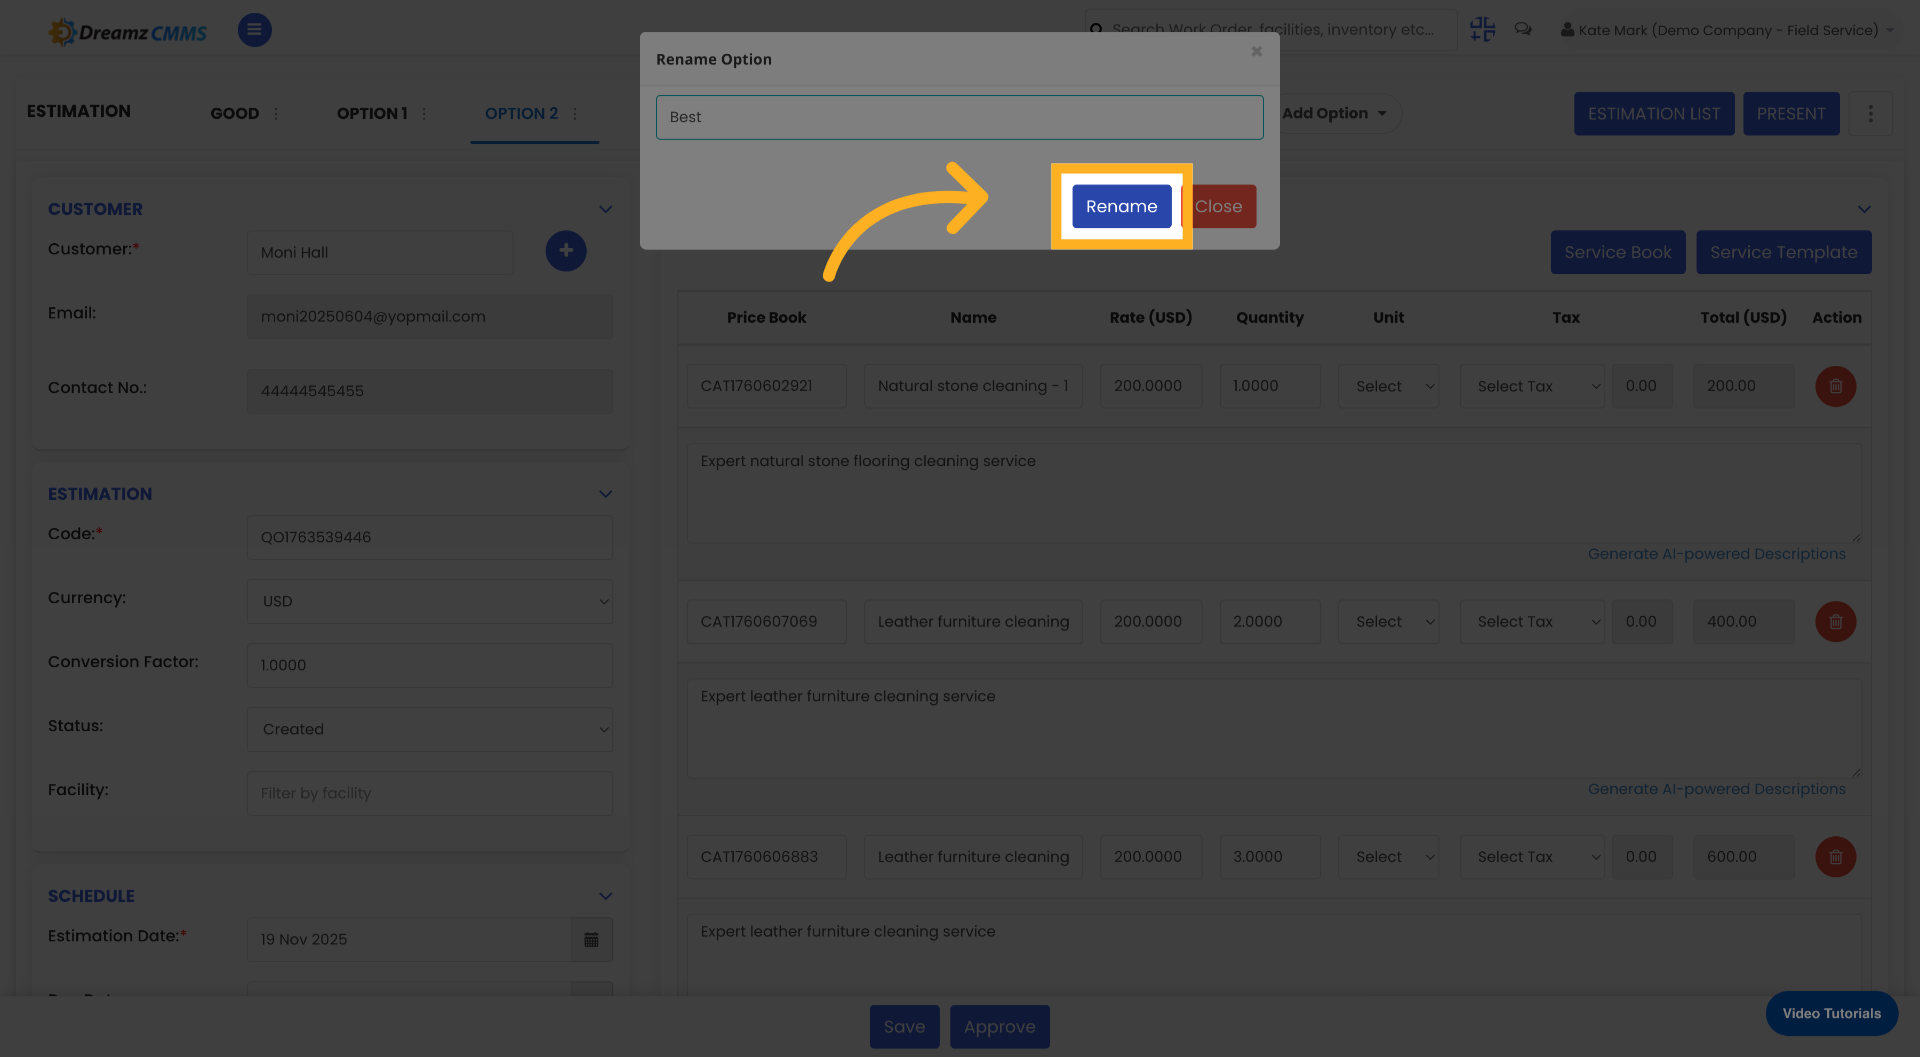
Step 8 – Enter and Confirm New Option Name
Enter the new name for the option (e.g., Good) and click Rename to save.


Step 9 – Select a Customer from the List
Search for the customer by name and click on the matching result to select them for the estimate.
Step 10 – Open the Service Book
Click Service Book to view available service options.
Step 11 – Select a Service Category
Click Service to filter services by category, then select a category to view its products and sub-categories.


Step 12 – Add a New Service
Click Add Service to include a new service in the estimate, then click Close to exit the service addition window.

Step 13 – Add a Price Book
Click Add Price Book to include pricing details for the services, then search for and select the relevant price book category.


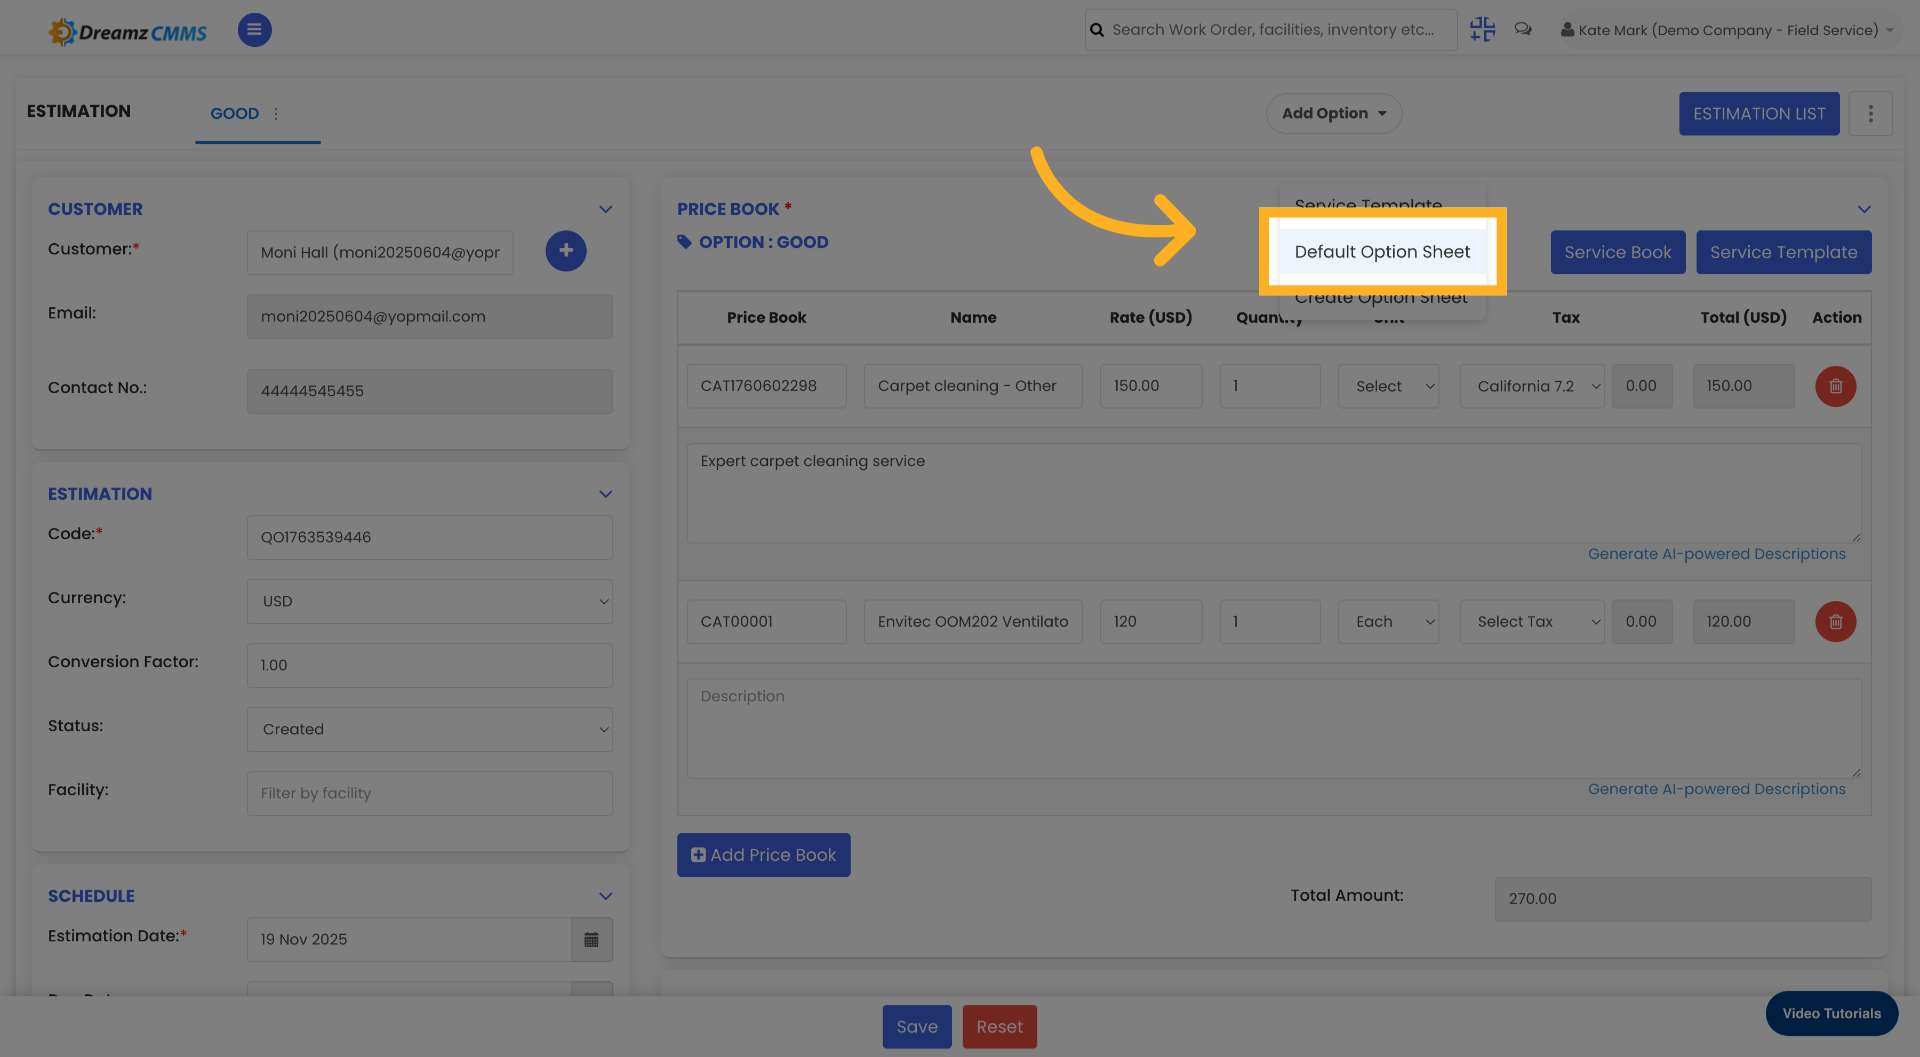
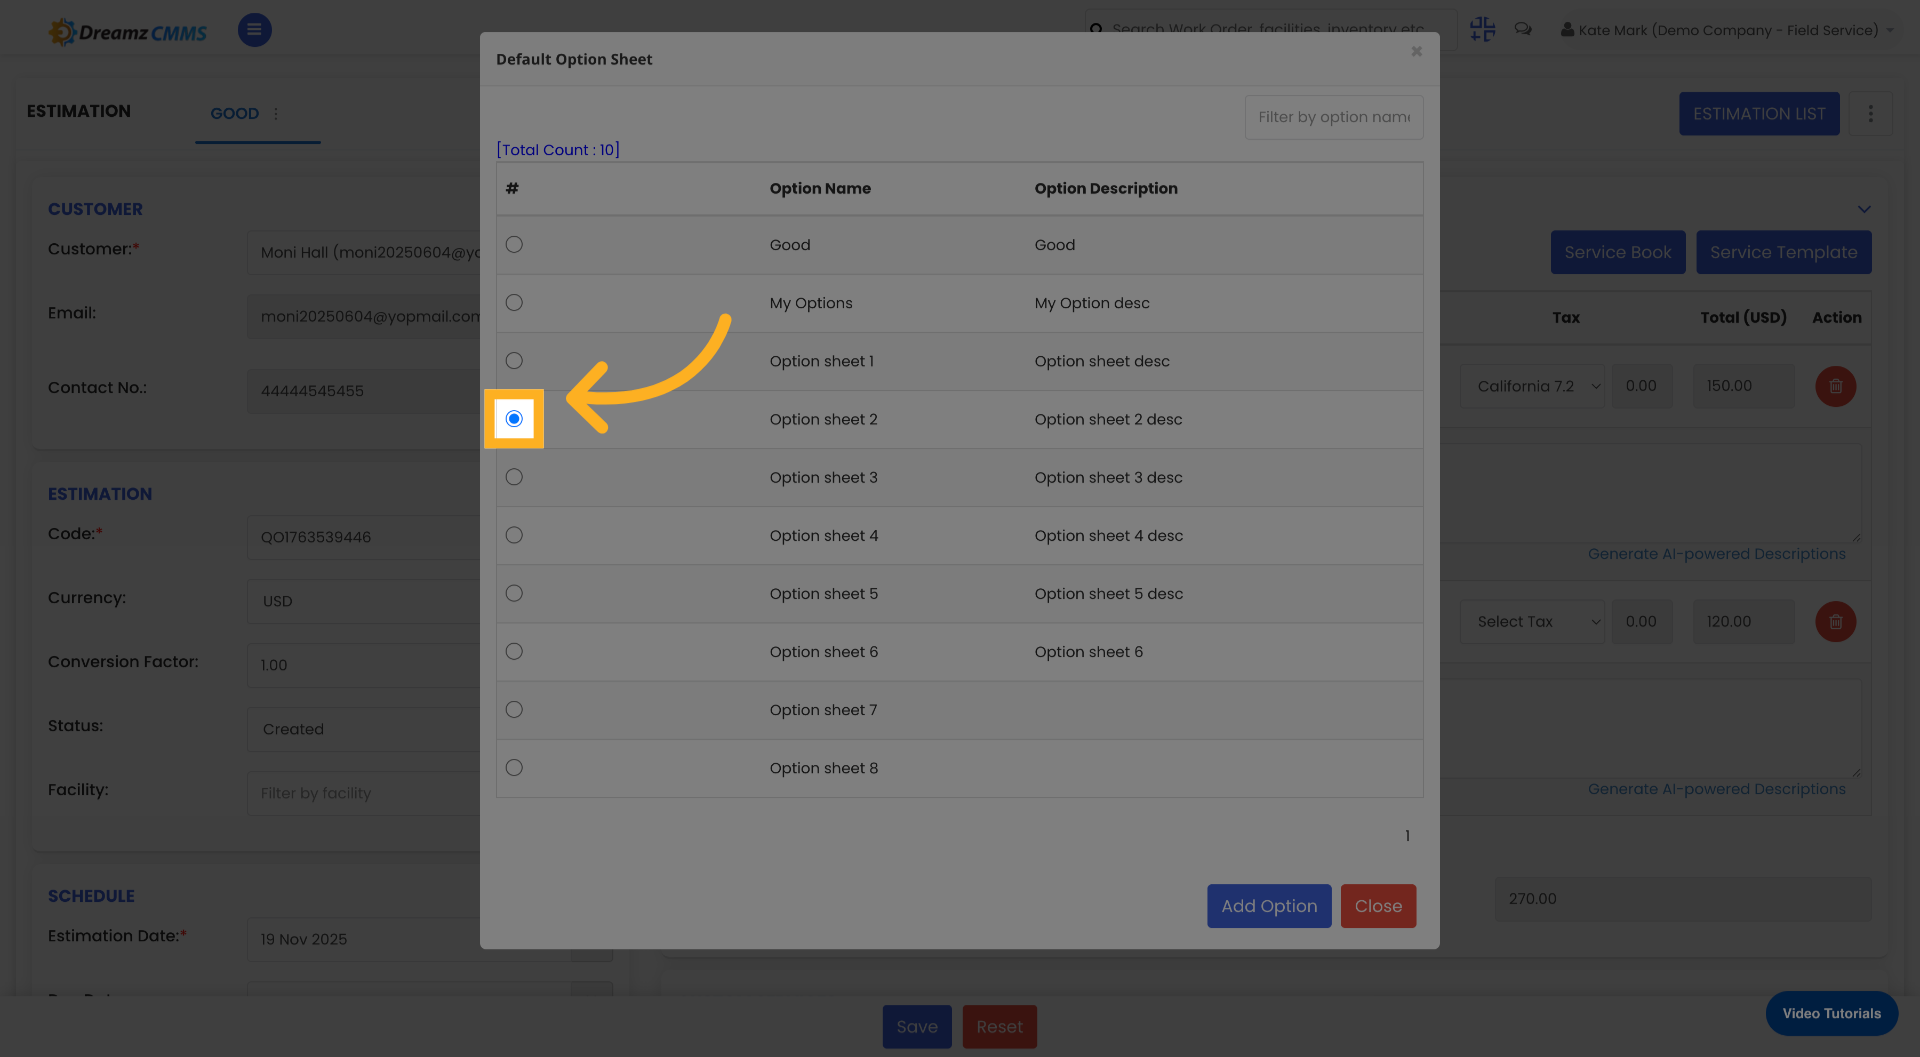
Step 14 – Add Option Sheets to the Price Book
Click Add Option to include a new option sheet. You can select the Default Option Sheet or enter a custom name (e.g., Option Sheet 2). Repeat to add additional options as needed.

Step 15 – Apply a Service Template
Click Service Template, enter the template name (e.g., Maintenance KPI and Dashboard Template), and click Select to apply the chosen template.

Step 16 – Save the Estimate
Click Save to store all modifications made to the estimate.
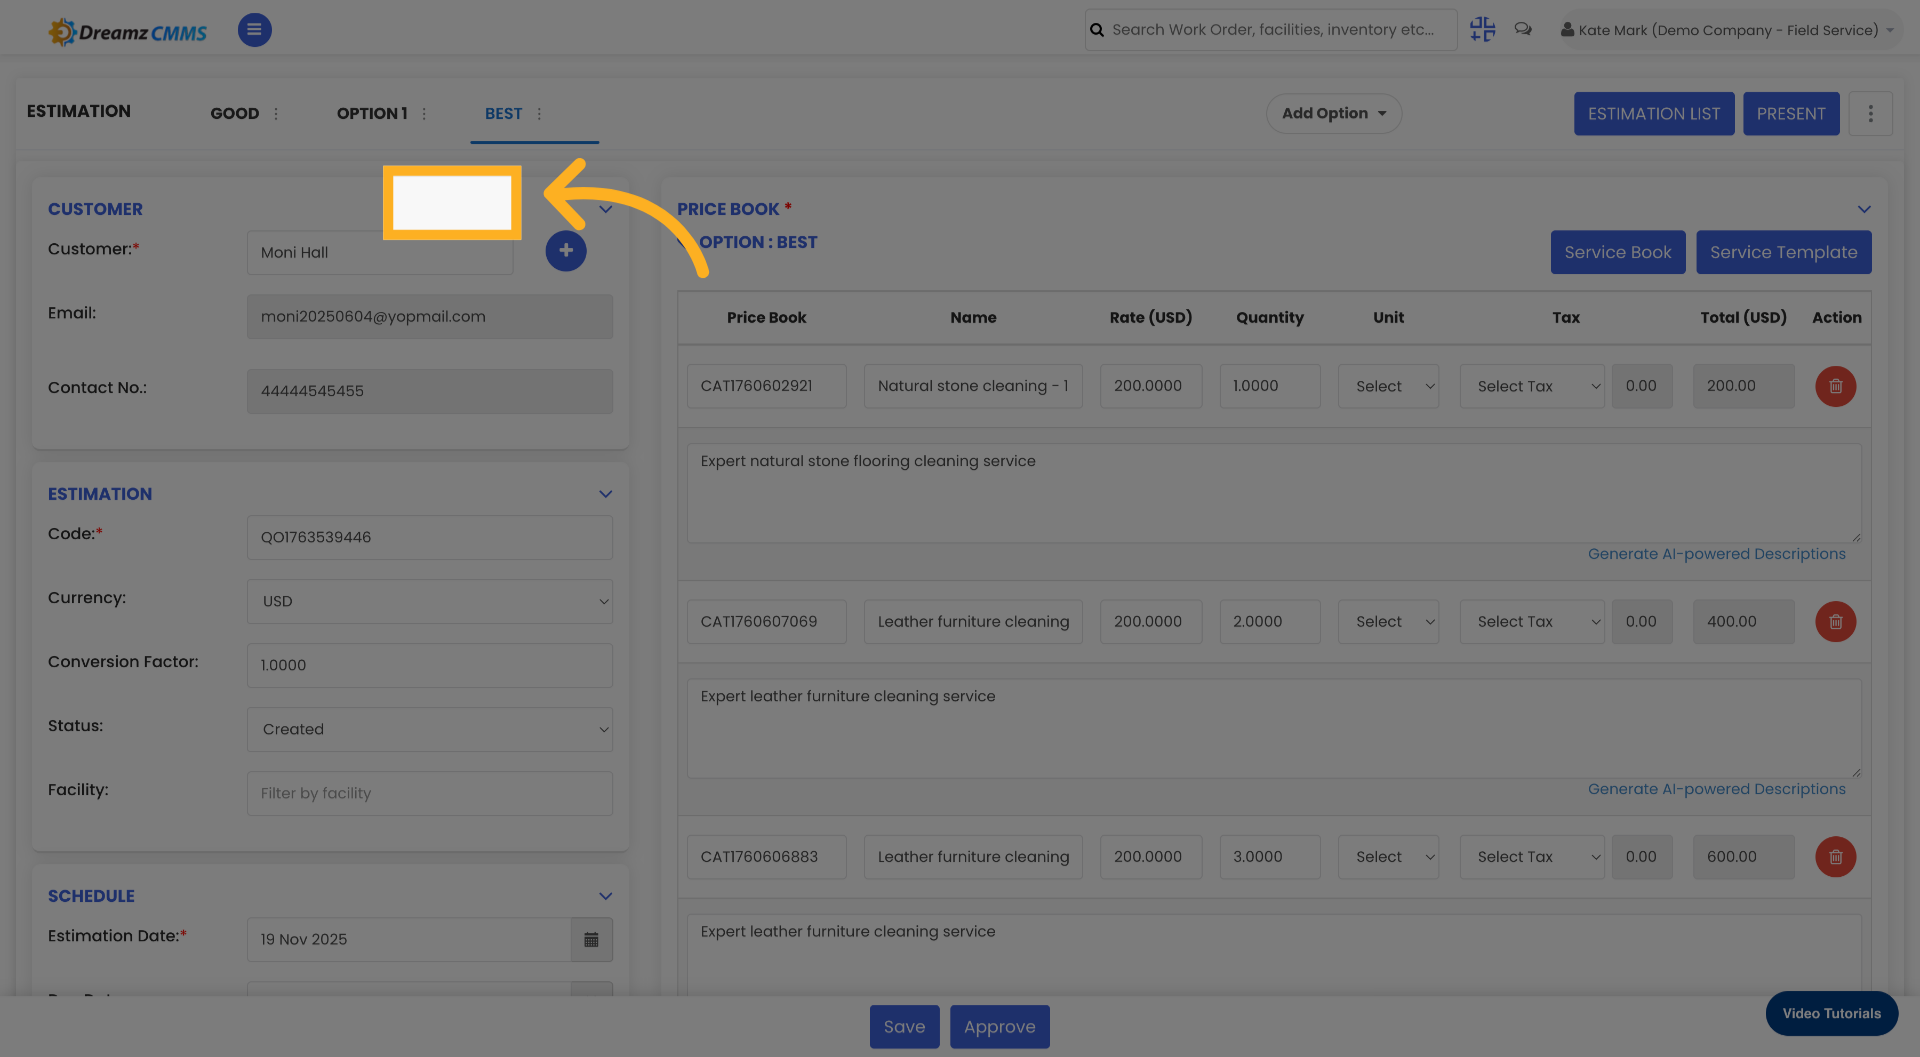
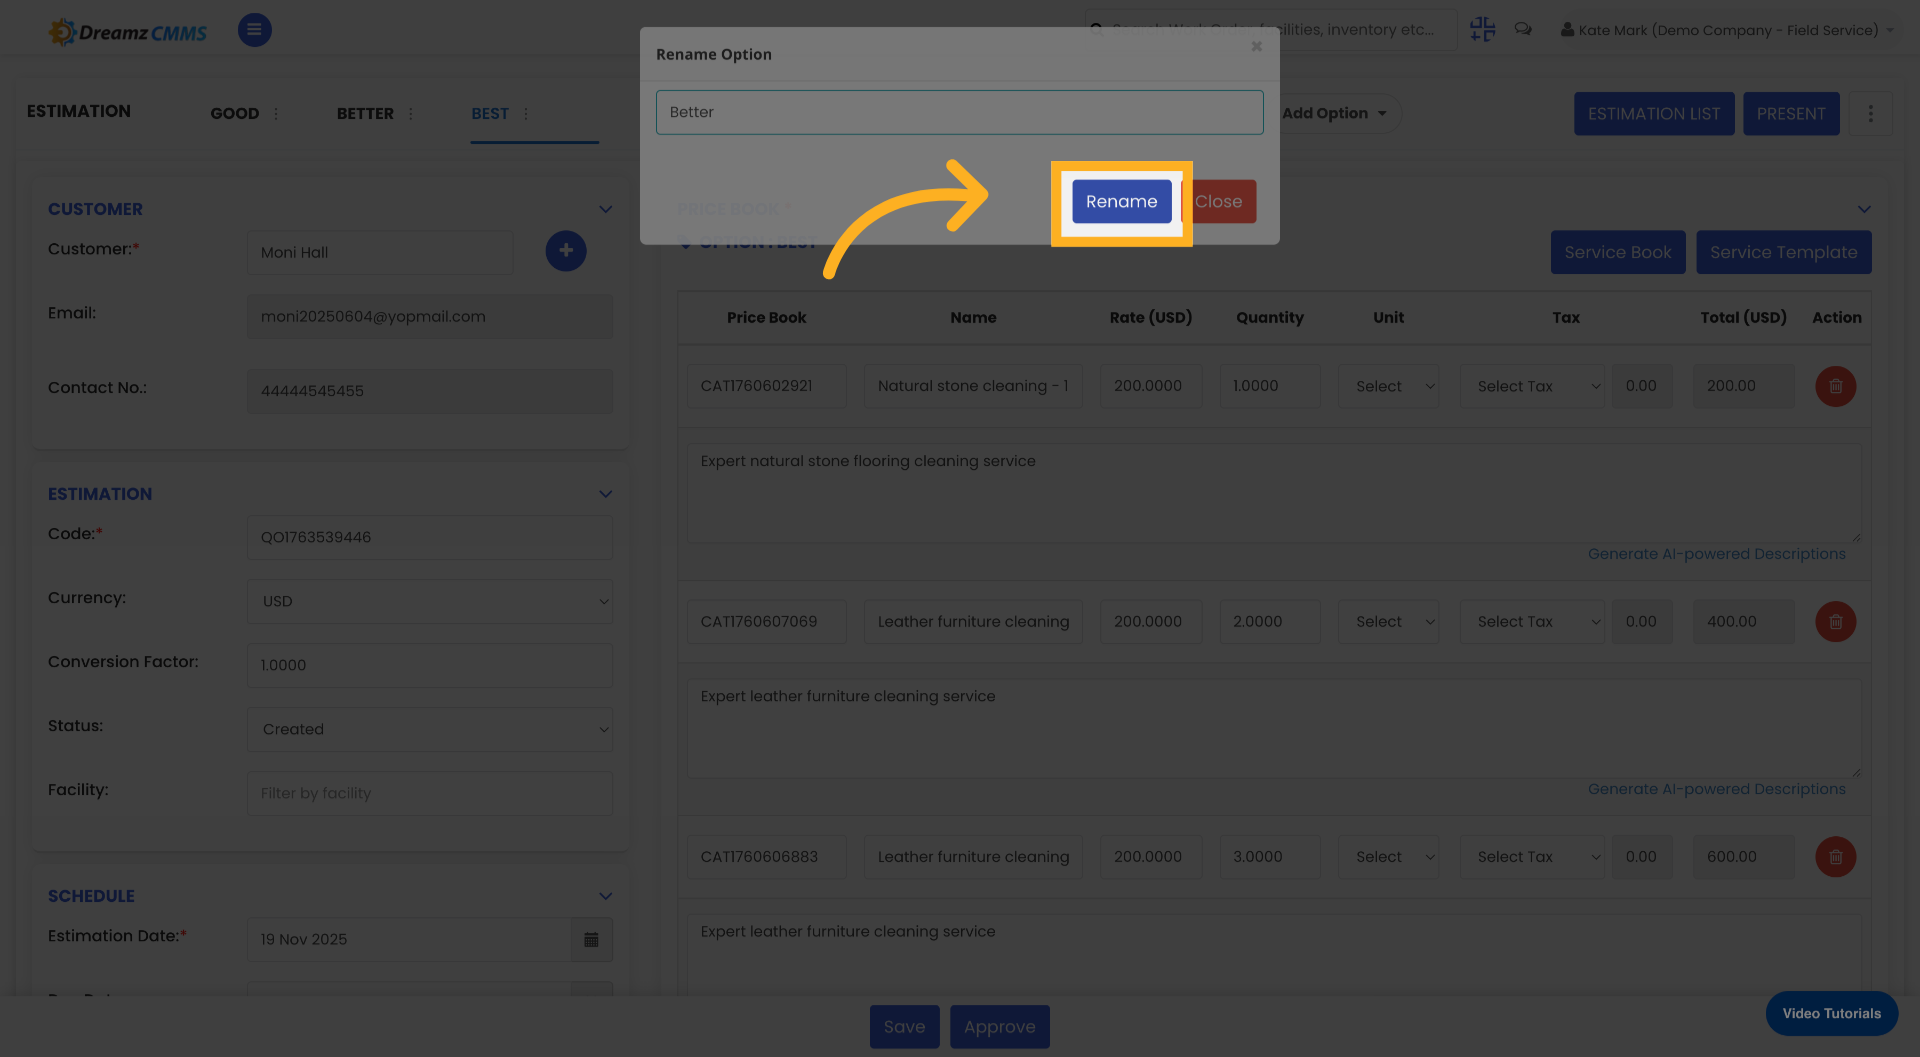
Step 17 – Rename Additional Options
Use the 3-Dot Menu next to each option to rename them as needed (e.g., rename to Best and Better) following the same rename workflow from Steps 6–8.
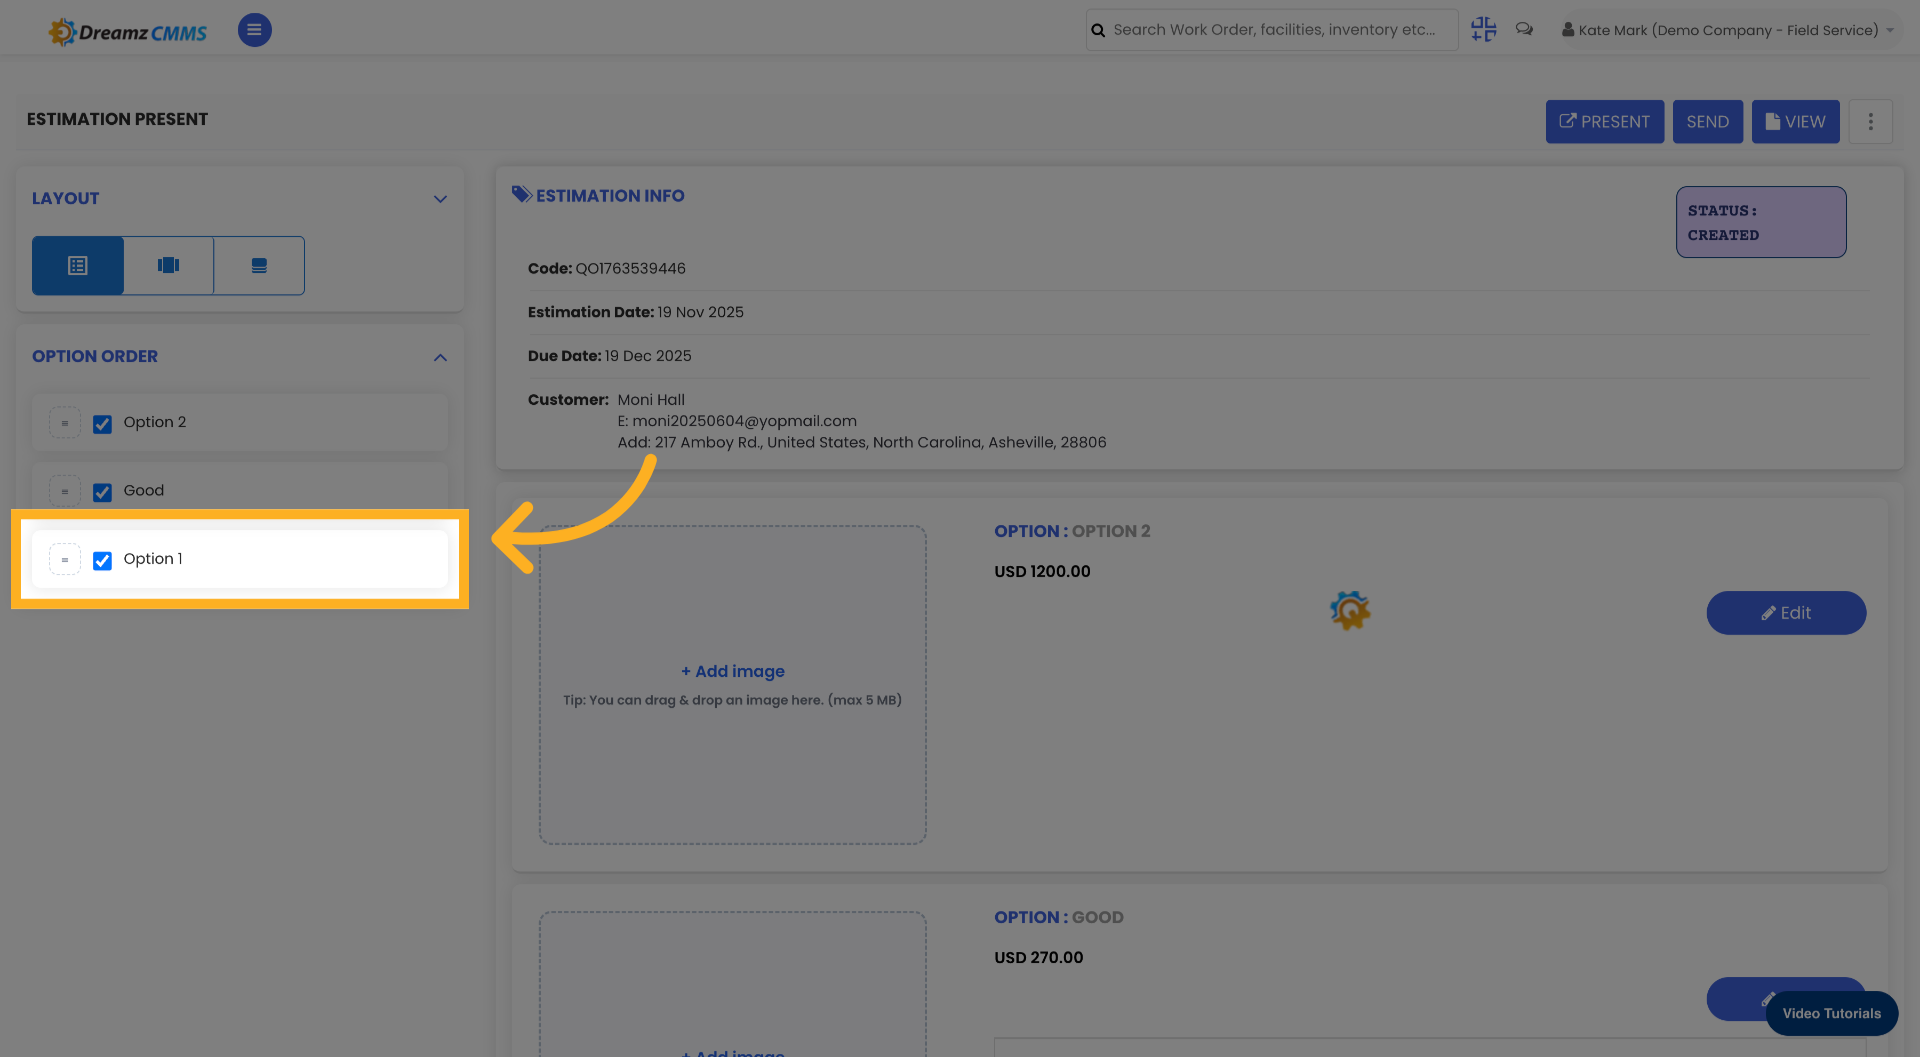
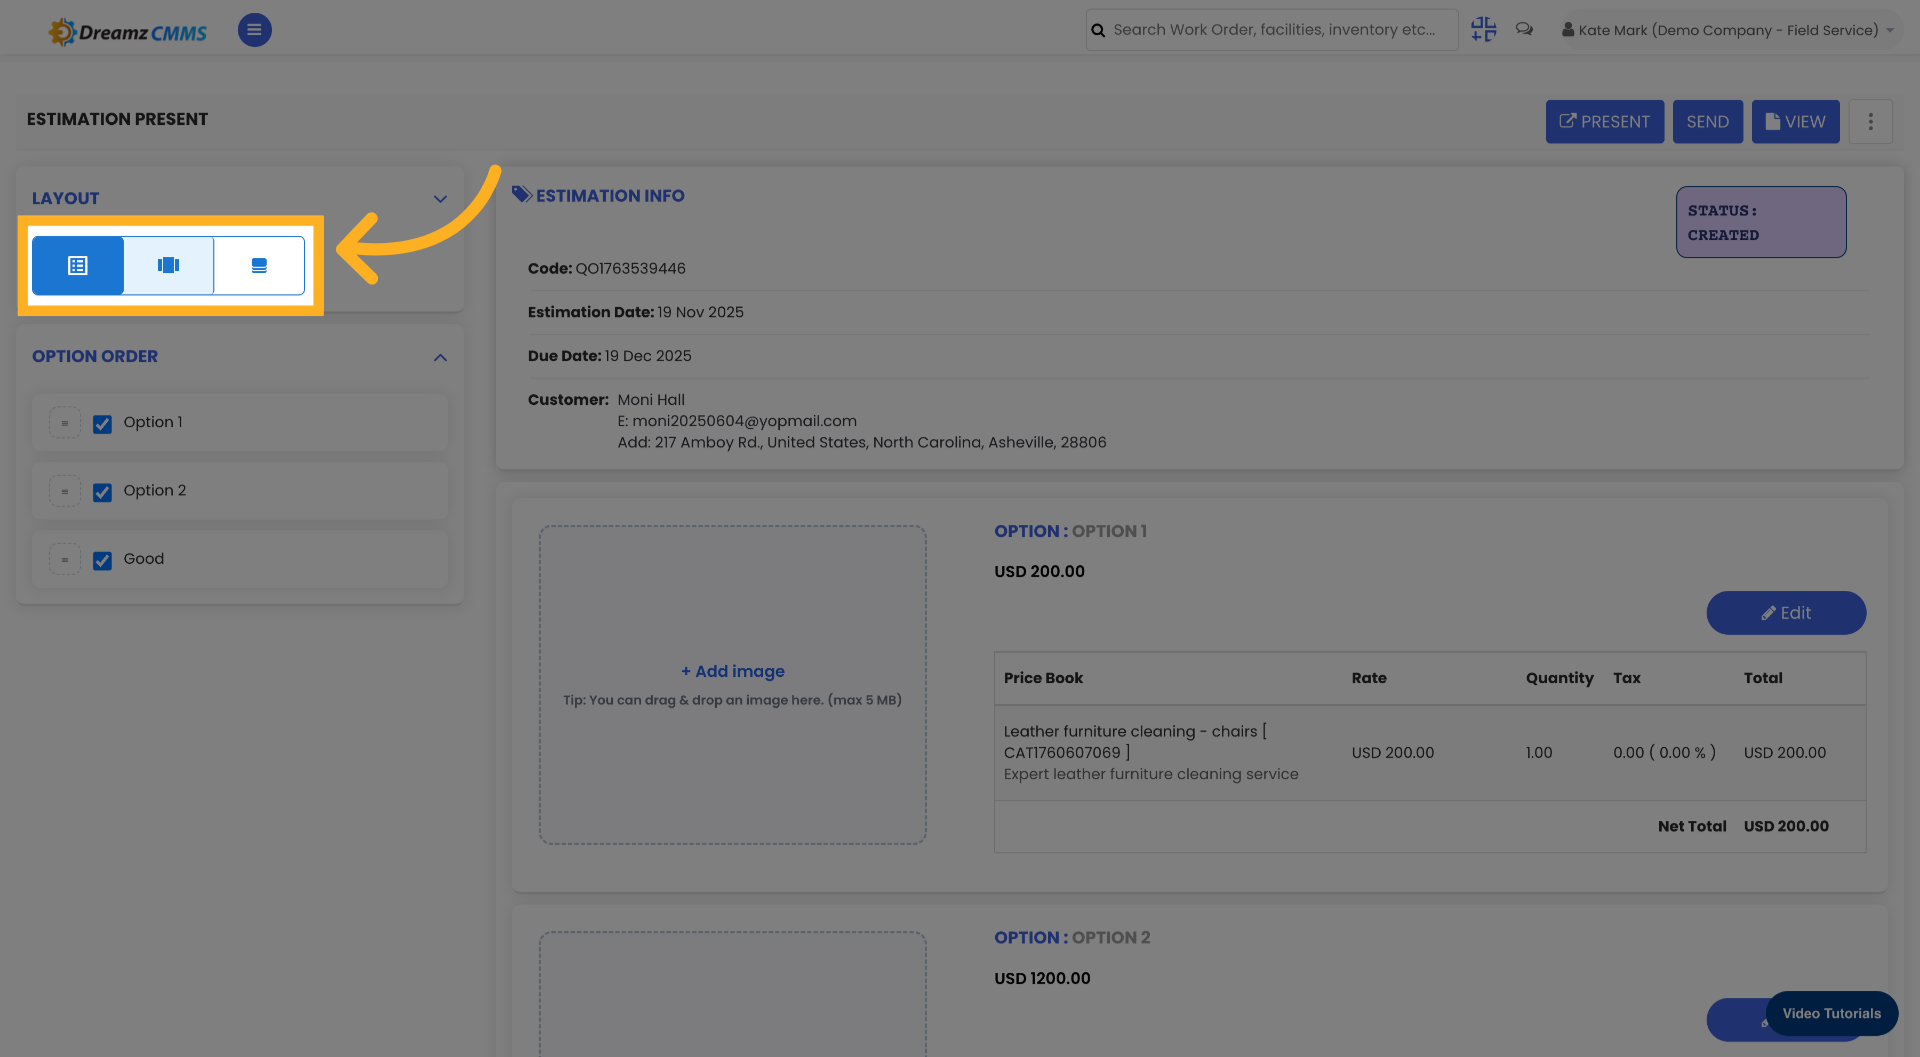
Step 18 – Reorder Options and Present the Estimate
Drag and reorder the option sheets as needed to arrange them in the desired sequence. Then click the Present menu to present the estimate to your customer.
Tips for Creating Estimates
- Use multiple option sheets (e.g., Good, Better, Best) to give customers tiered pricing choices, which can improve conversion rates.
- Take advantage of the Service Book and Price Book to quickly populate estimate line items without having to enter details manually each time.
- Apply Service Templates to pre-fill common service configurations, saving time when creating recurring or standard estimates.
- Rename your option sheets with descriptive labels so customers can easily understand and compare the choices being presented to them.
- Use the drag-and-drop reordering feature to arrange option sheets in the most logical or impactful order before presenting to the customer.
- Always click Save after making changes to ensure no data is lost before using the Present function.
Frequently Asked Questions
How do I start creating a new estimate in DreamzFSM?
Navigate to the Customers section, open the Estimates tab, and click New Estimation. From there, search for or add a customer and begin building your estimate.
Can I add multiple option sheets to a single estimate?
Yes. Use the Add Option button within the Price Book section to create multiple option sheets. You can name each one (e.g., Good, Better, Best) and populate them with different services and pricing.
How do I add services to an estimate?
You can add services either through the Service Book, by browsing categories and sub-categories, or through the Price Book. You can also apply a Service Template to pre-fill a standard set of services.
Can I rename the option sheets on an estimate?
Yes. Click the 3-Dot Menu next to any option sheet, select Rename Option, enter the new name, and click Rename to save the updated label.
How do I present the estimate to a customer?
Once the estimate is complete and saved, click the Present menu to launch the customer-facing presentation view of the estimate.
Related Articles
- Import / Manage Customer
- Add New Customer Manually
- How to Use the Price Book
- How to Create Jobs
- Invoicing from App