Workflow Automation
This tutorial guides you through configuring workflow automation in DreamzCMMS. You will learn how to create and customize workflows to streamline your processes effectively.
Overview
Workflow Automation lets you set up rules that automatically trigger actions — like creating a work order — based on conditions you define, such as when a request is created or reaches a certain priority. This reduces manual steps and keeps your team responding consistently.
Before You Begin
- You must have the appropriate permissions to create and manage workflows.
- Have a clear idea of the trigger event, conditions, and resulting action before you start building the workflow.
How to Set Up Workflow Automation
Step 1 – Access Workflow Automation
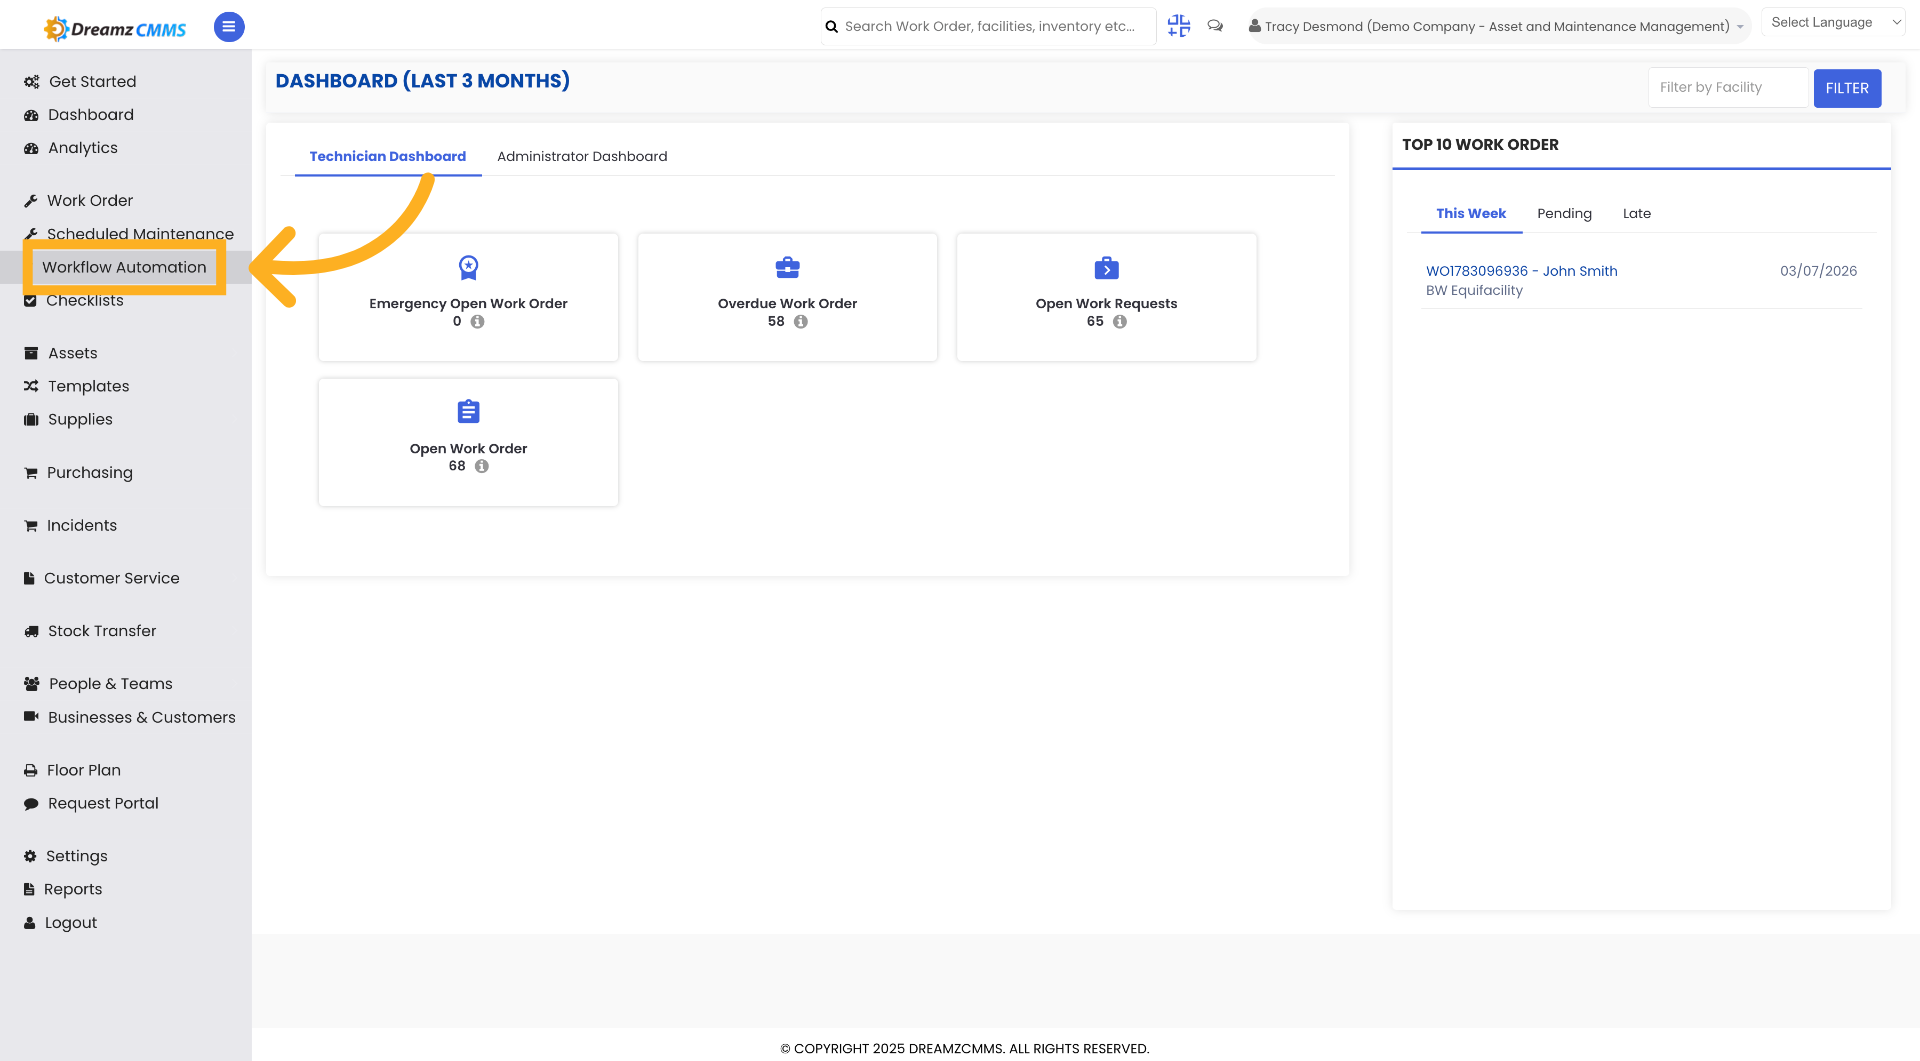
Click "Workflow Automation" on the main menu to begin managing your workflows.
Step 2 – Workflow Automation Listing
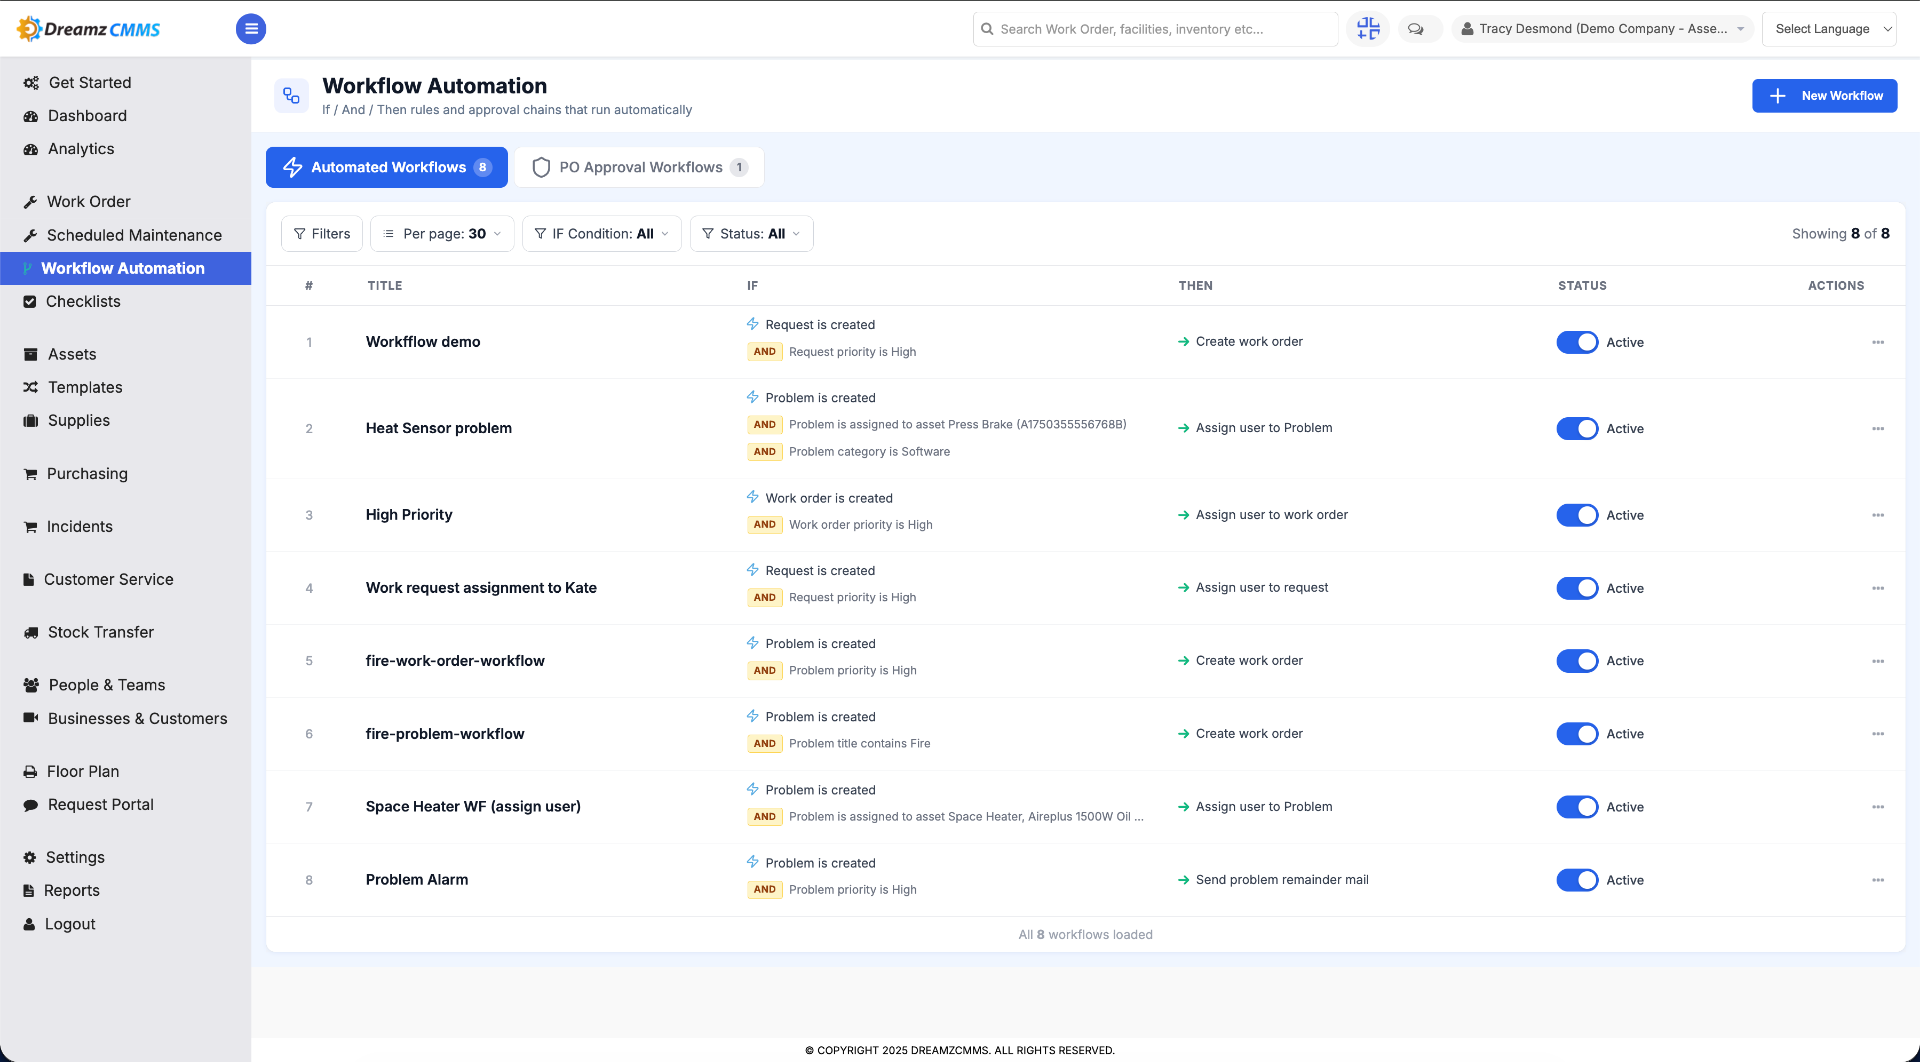
Clicking "Workflow Automation" on the main menu takes you to the Workflow Automation listing page.
Step 3 – Open Workflow Options
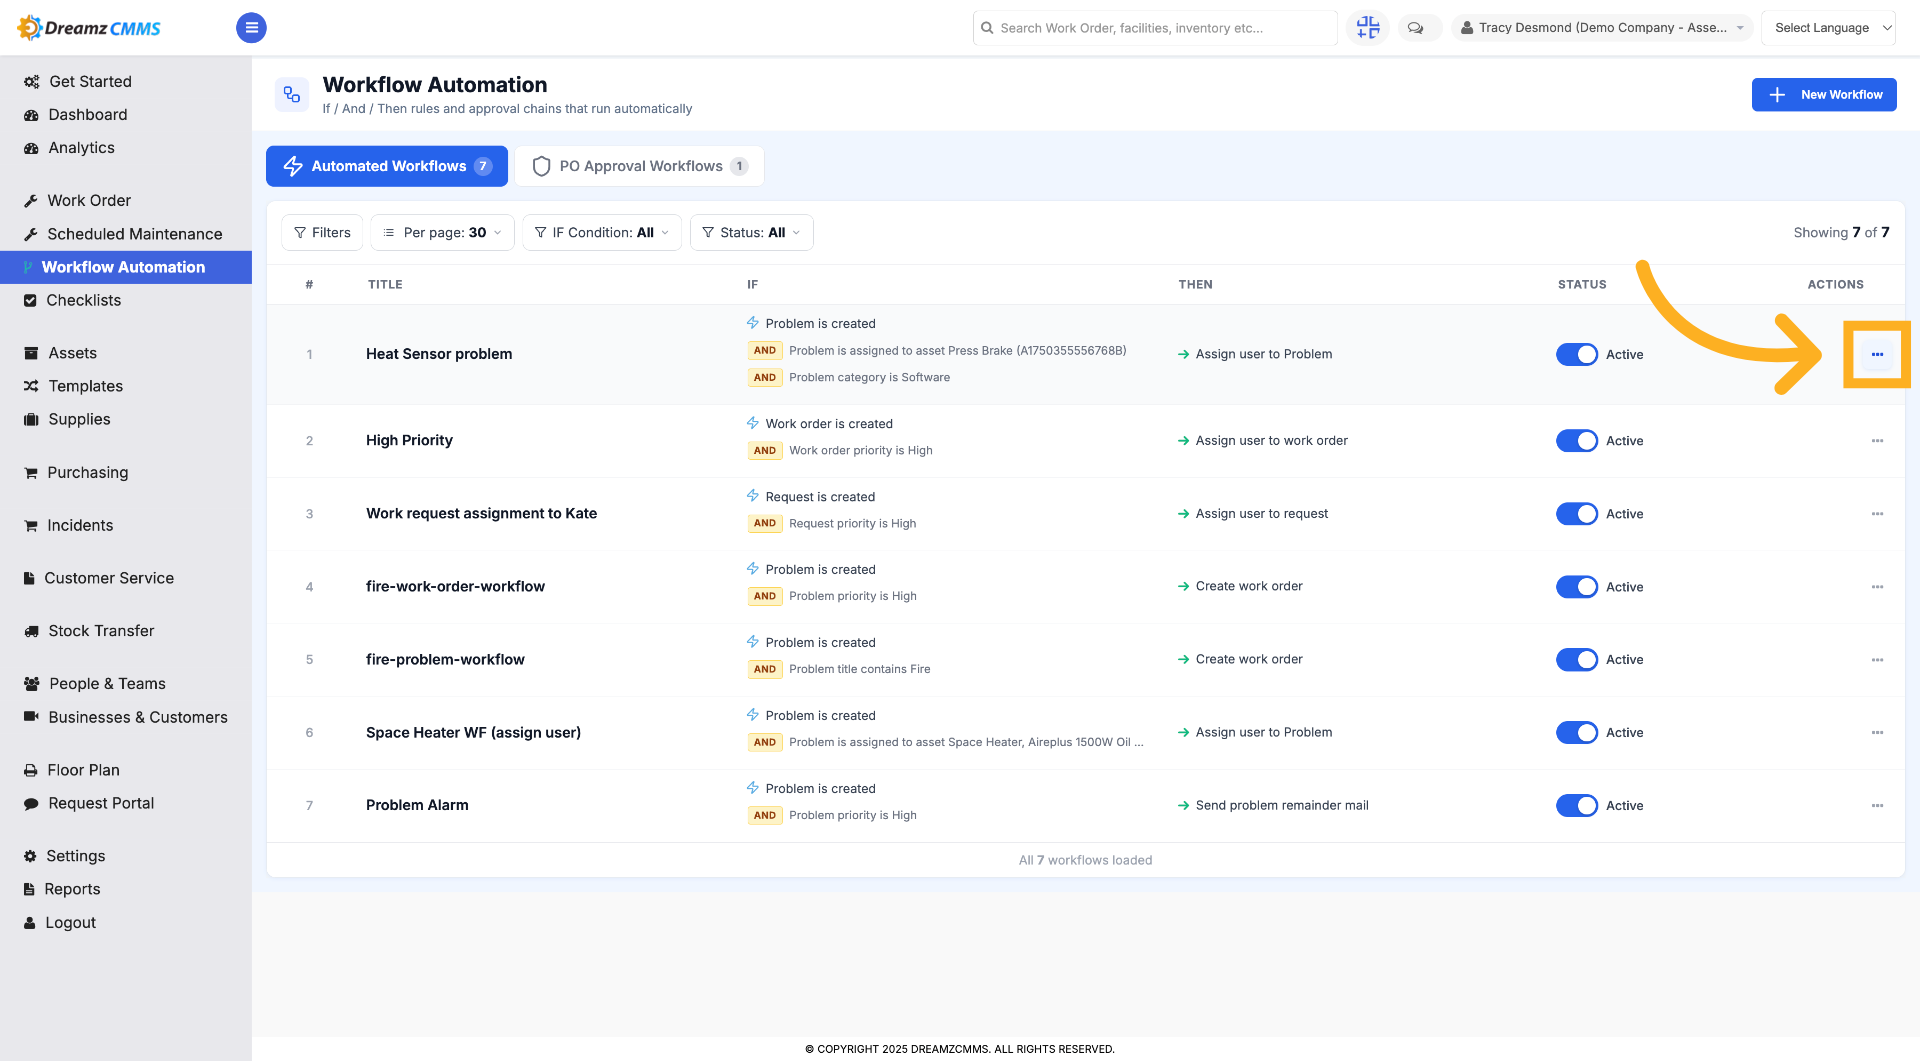
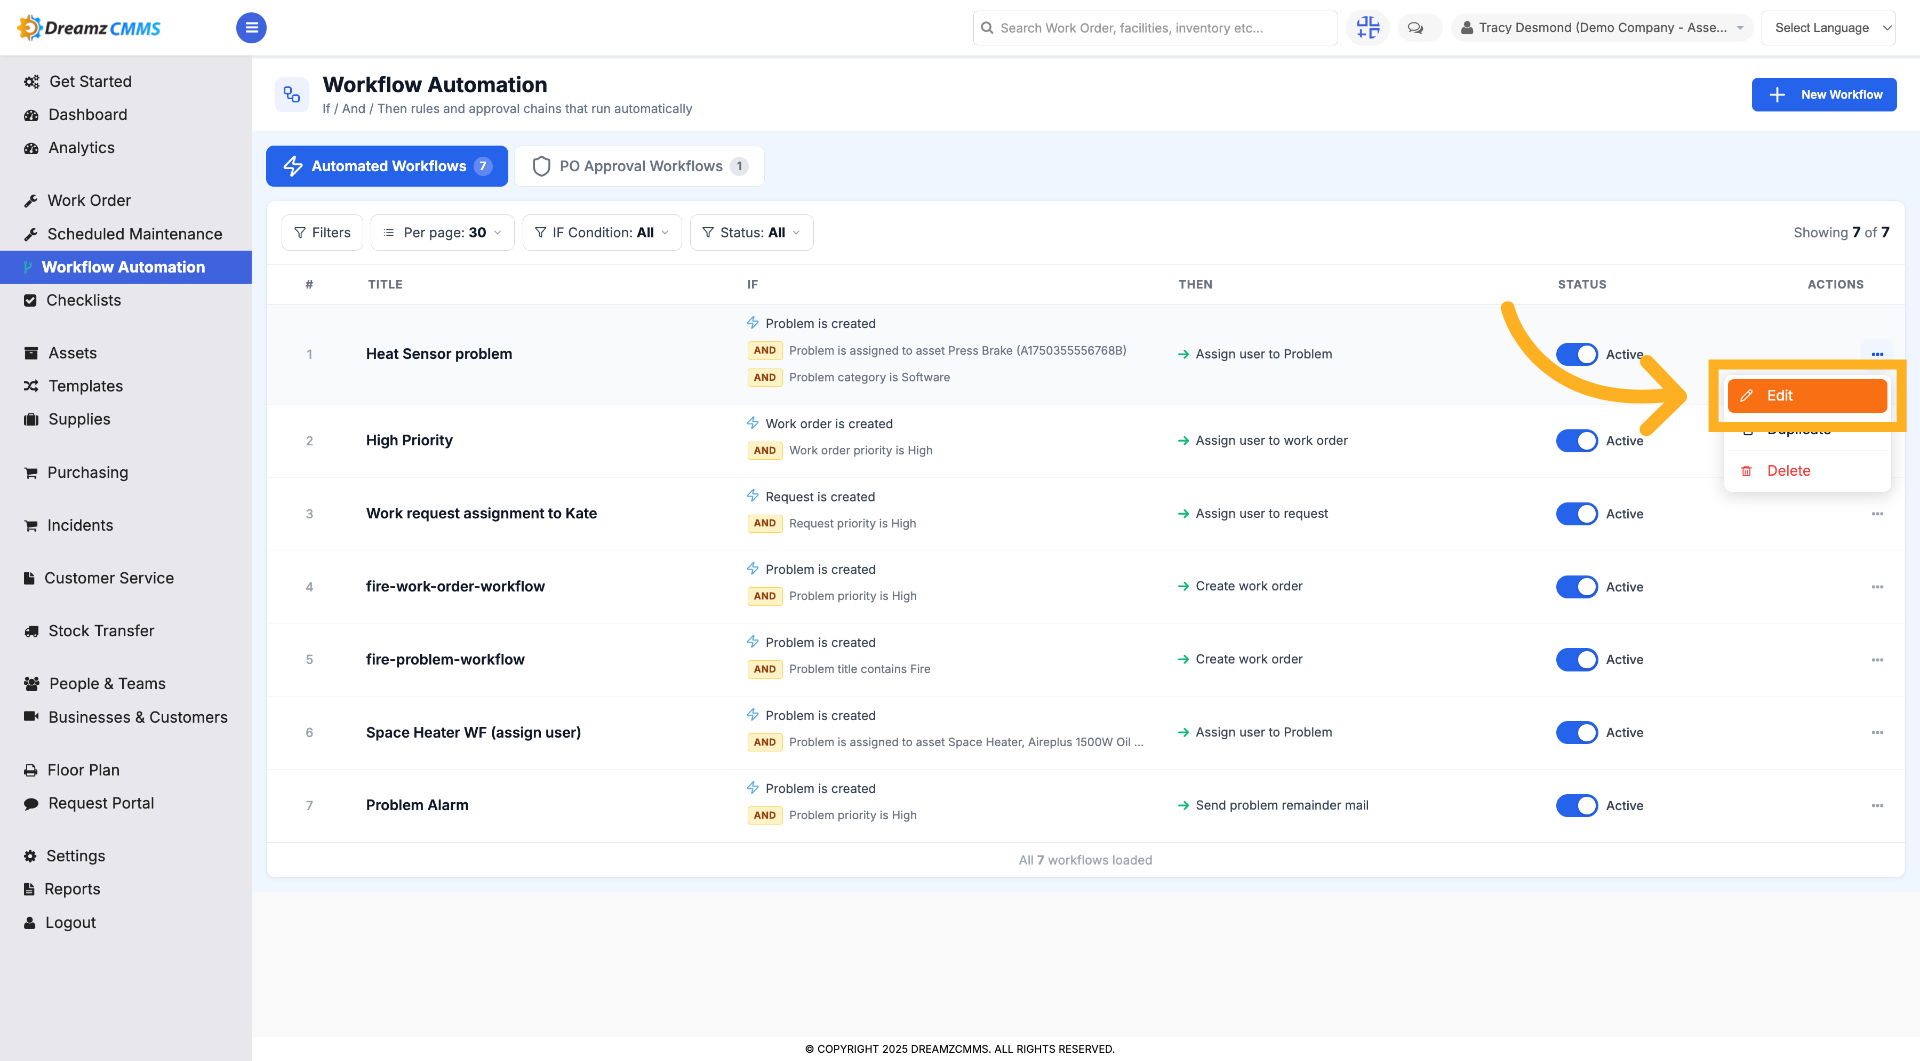
Click here to open the action items of existing workflows for review or editing.
Step 4 – Open Action Items
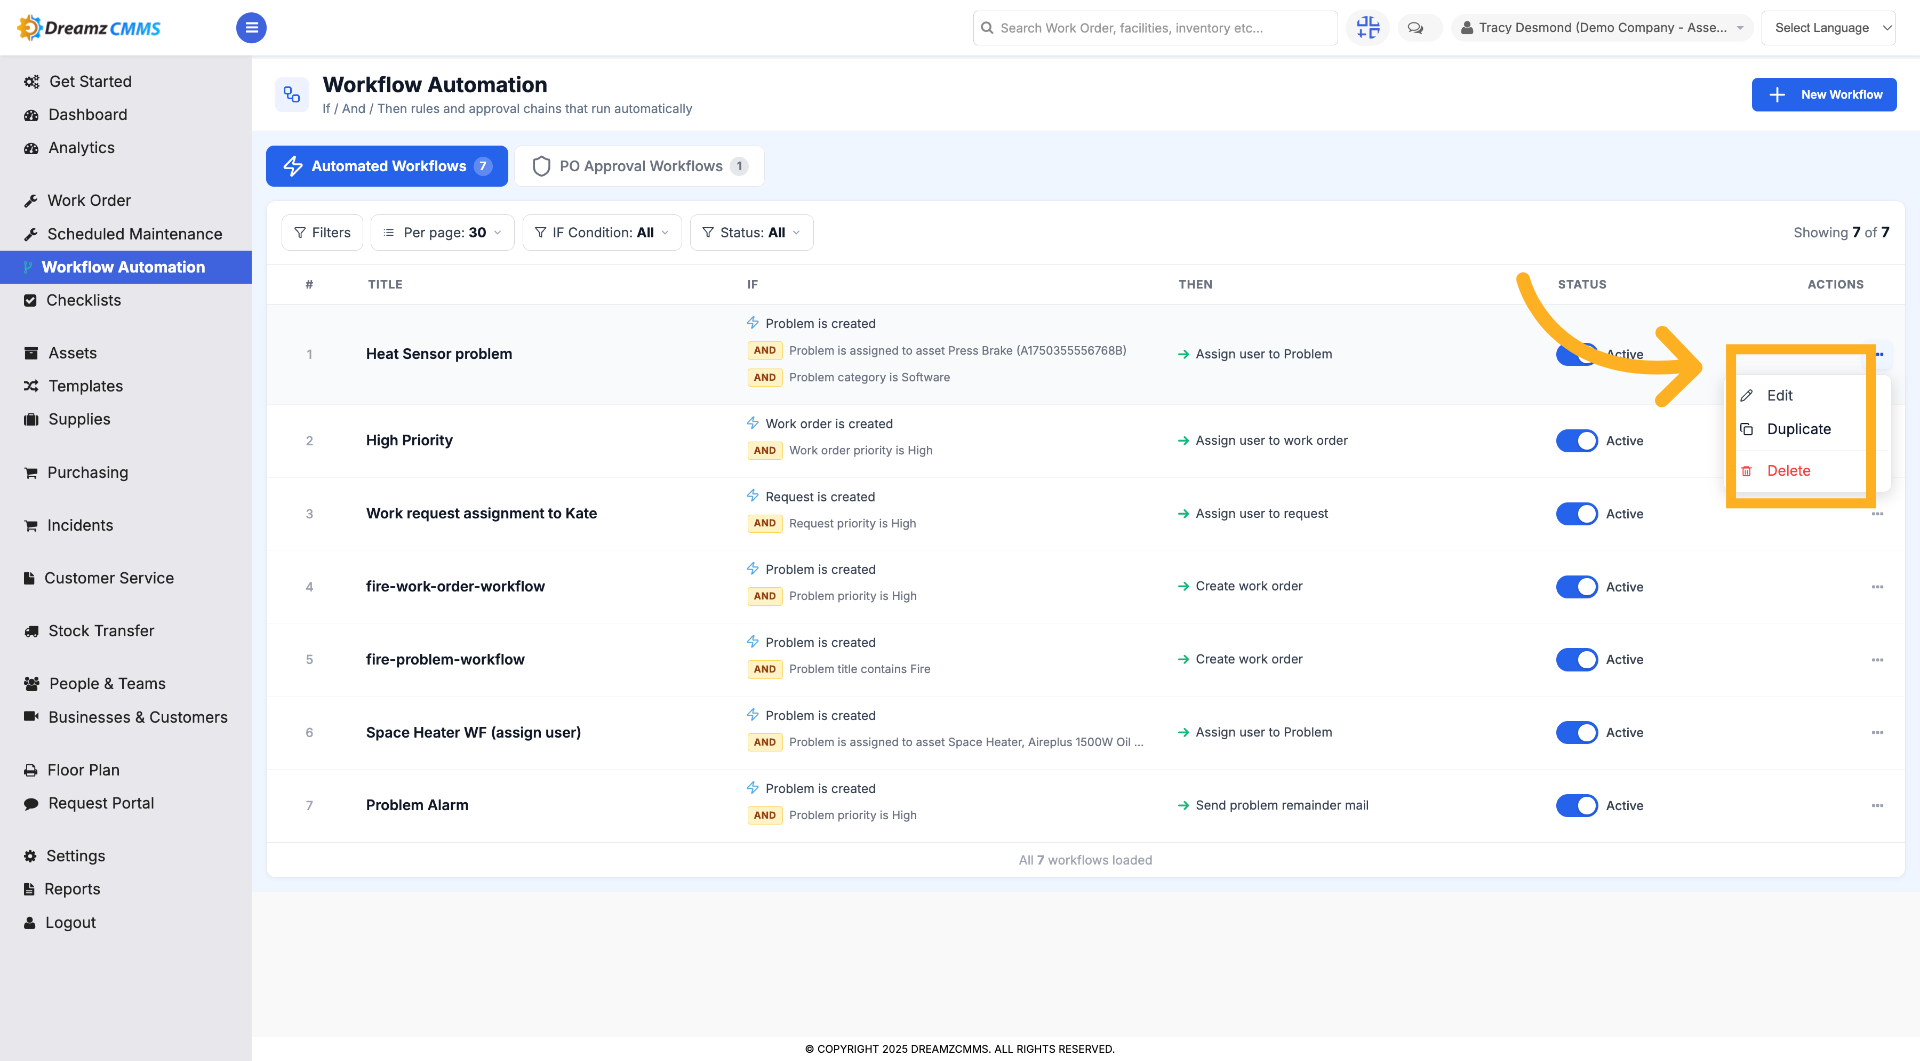
Click on the three dots to open the action items, which include Edit, Duplicate, and Delete options.
Step 5 – Select Edit Workflow
Click "Edit" to modify the selected workflow's settings and conditions.
Step 6 – Access Conditional Logic
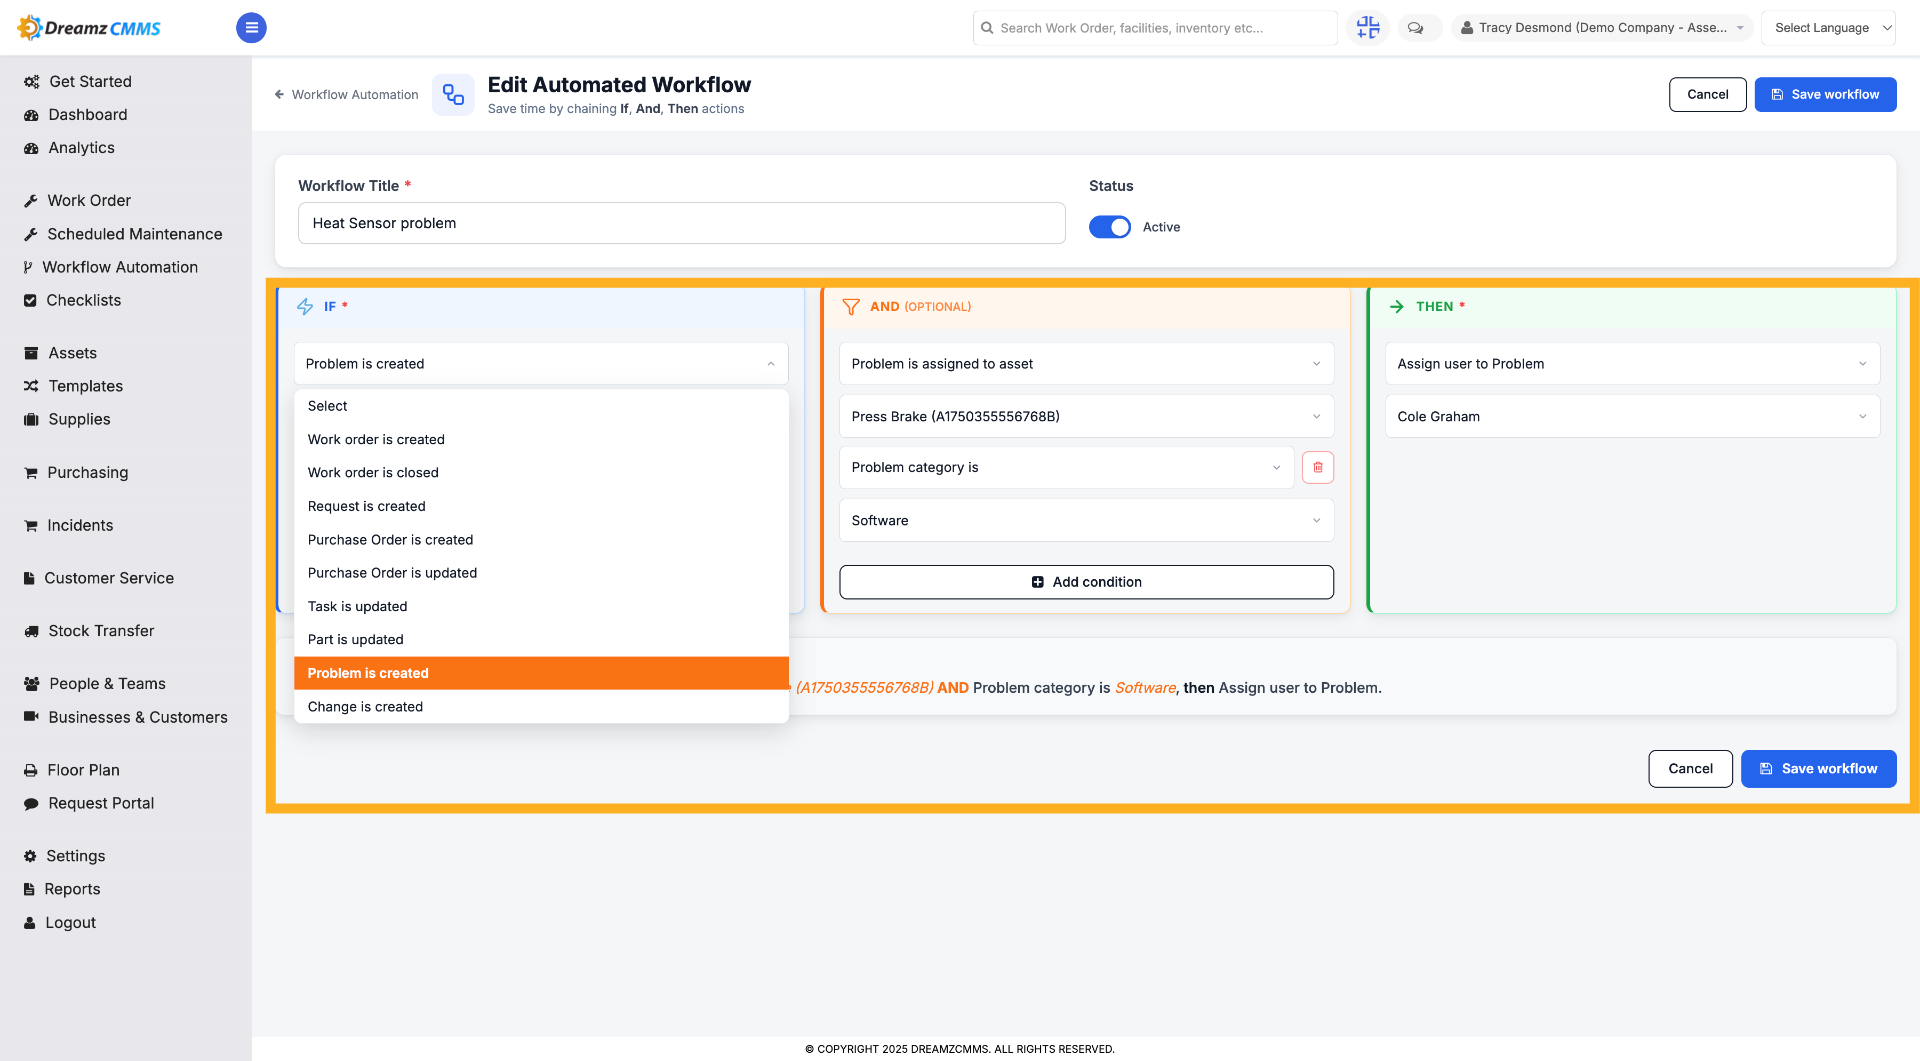
In the edit option, if you want to change the current conditions, select from the given list of "IF," "AND," and "THEN," then click Save Workflow to save the changes.
Step 7 – Return to Workflow Automation
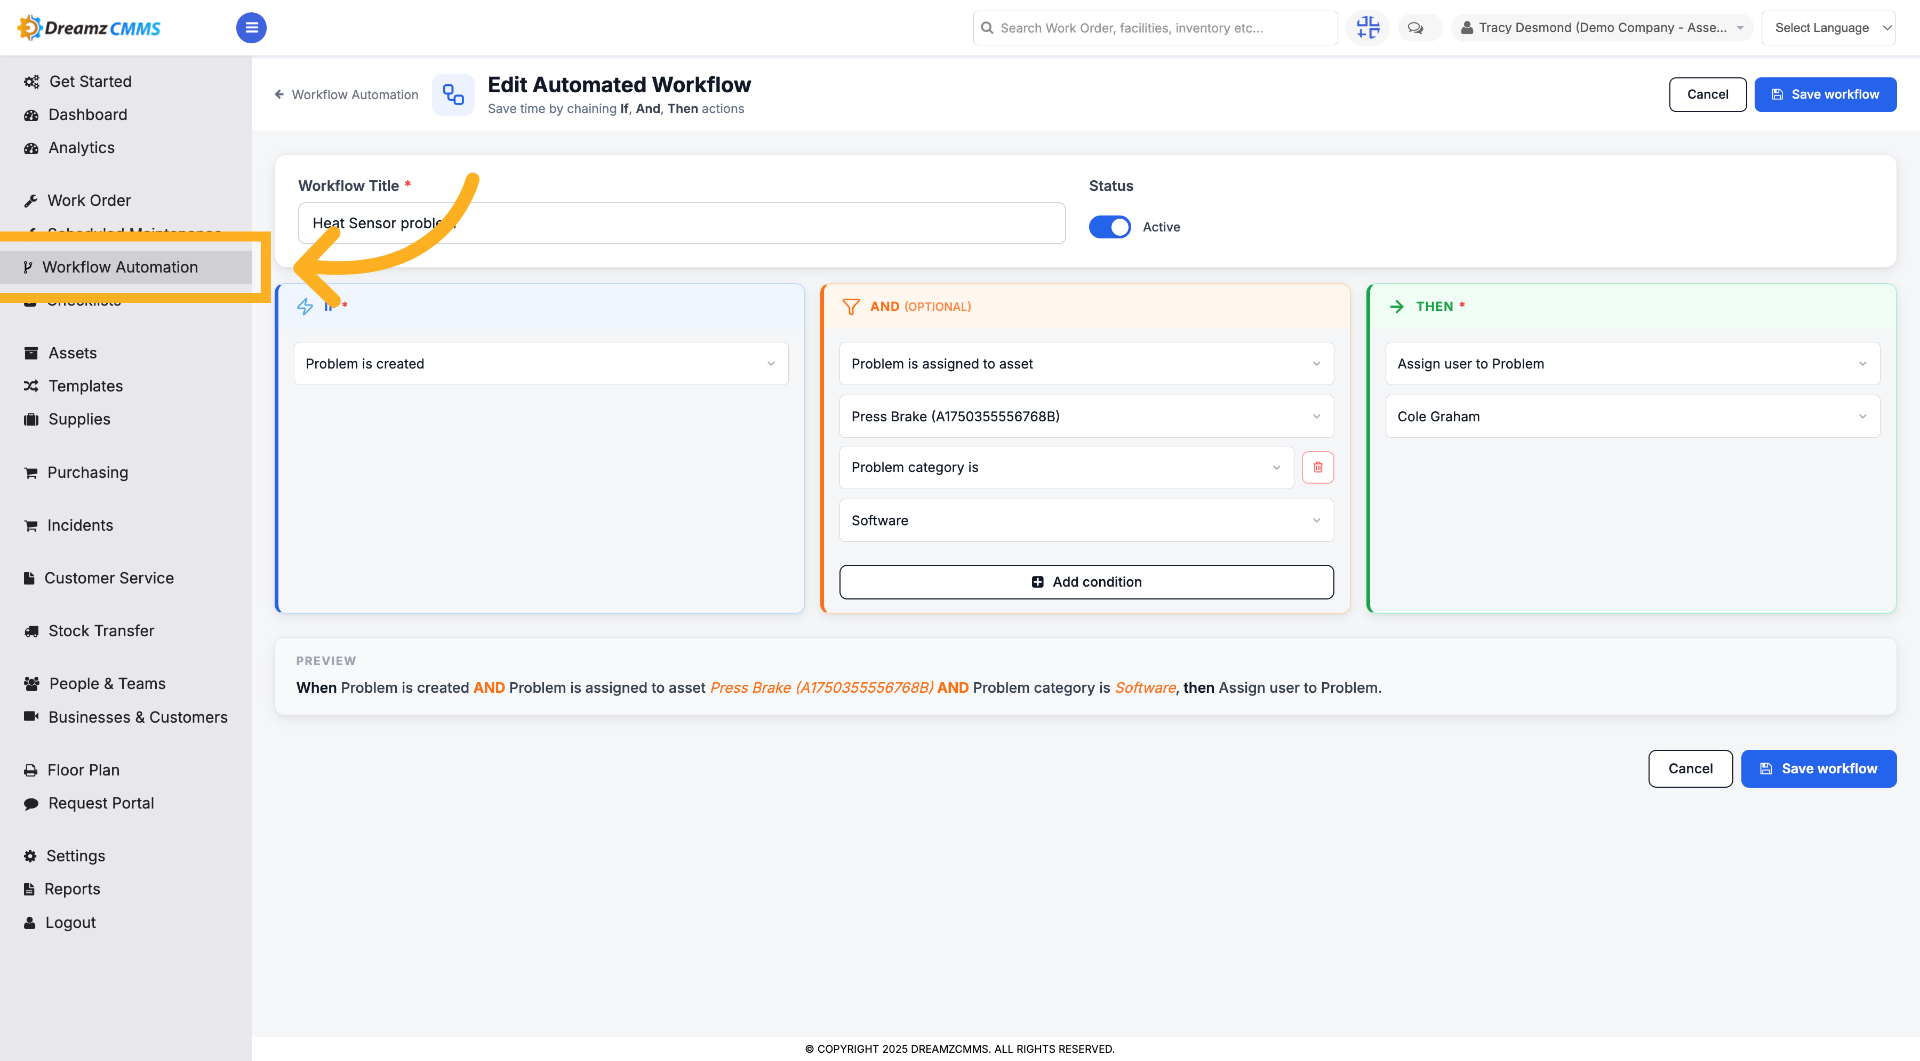
Click "Workflow Automation" to navigate back to the main automation page.
Step 8 – Initiate New Workflow
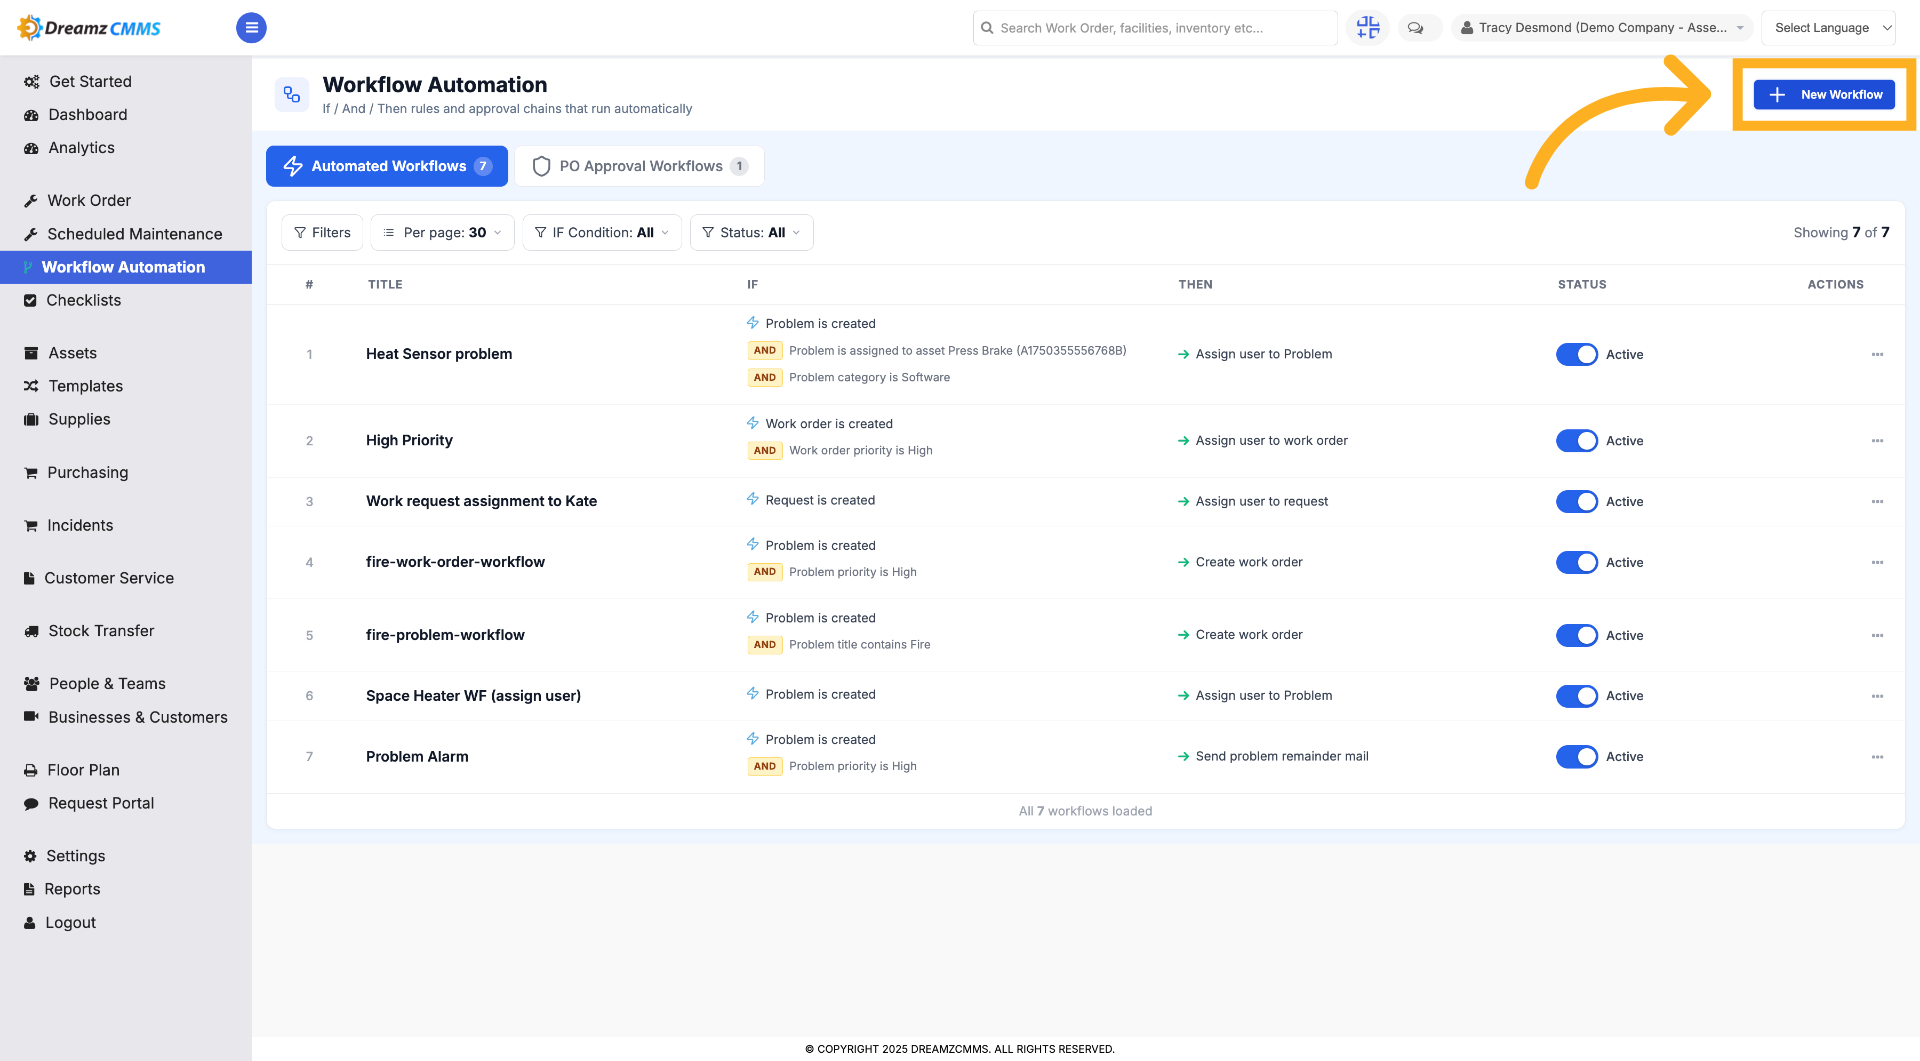
Click "New Workflow" to start creating a new automated process.
Step 9 – Name Your Workflow
Fill in "Workflow Title" to assign a name to your new workflow.
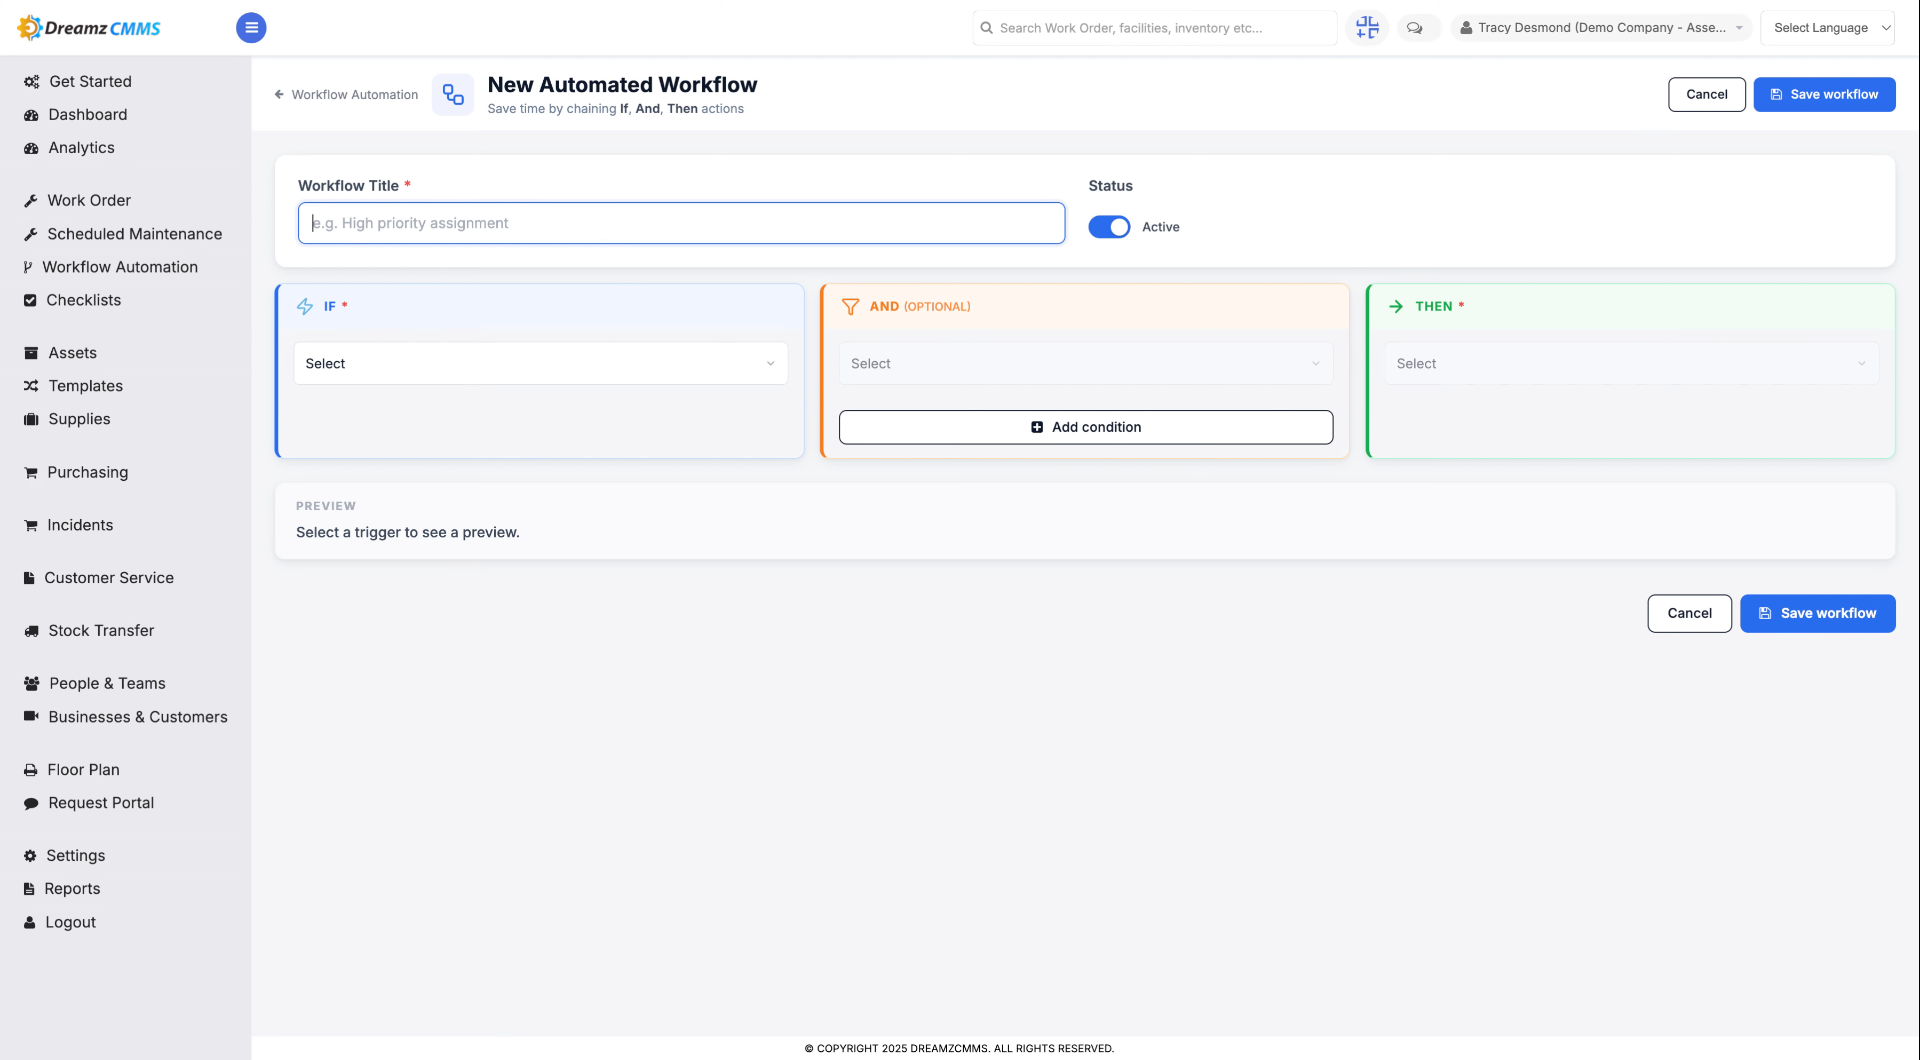
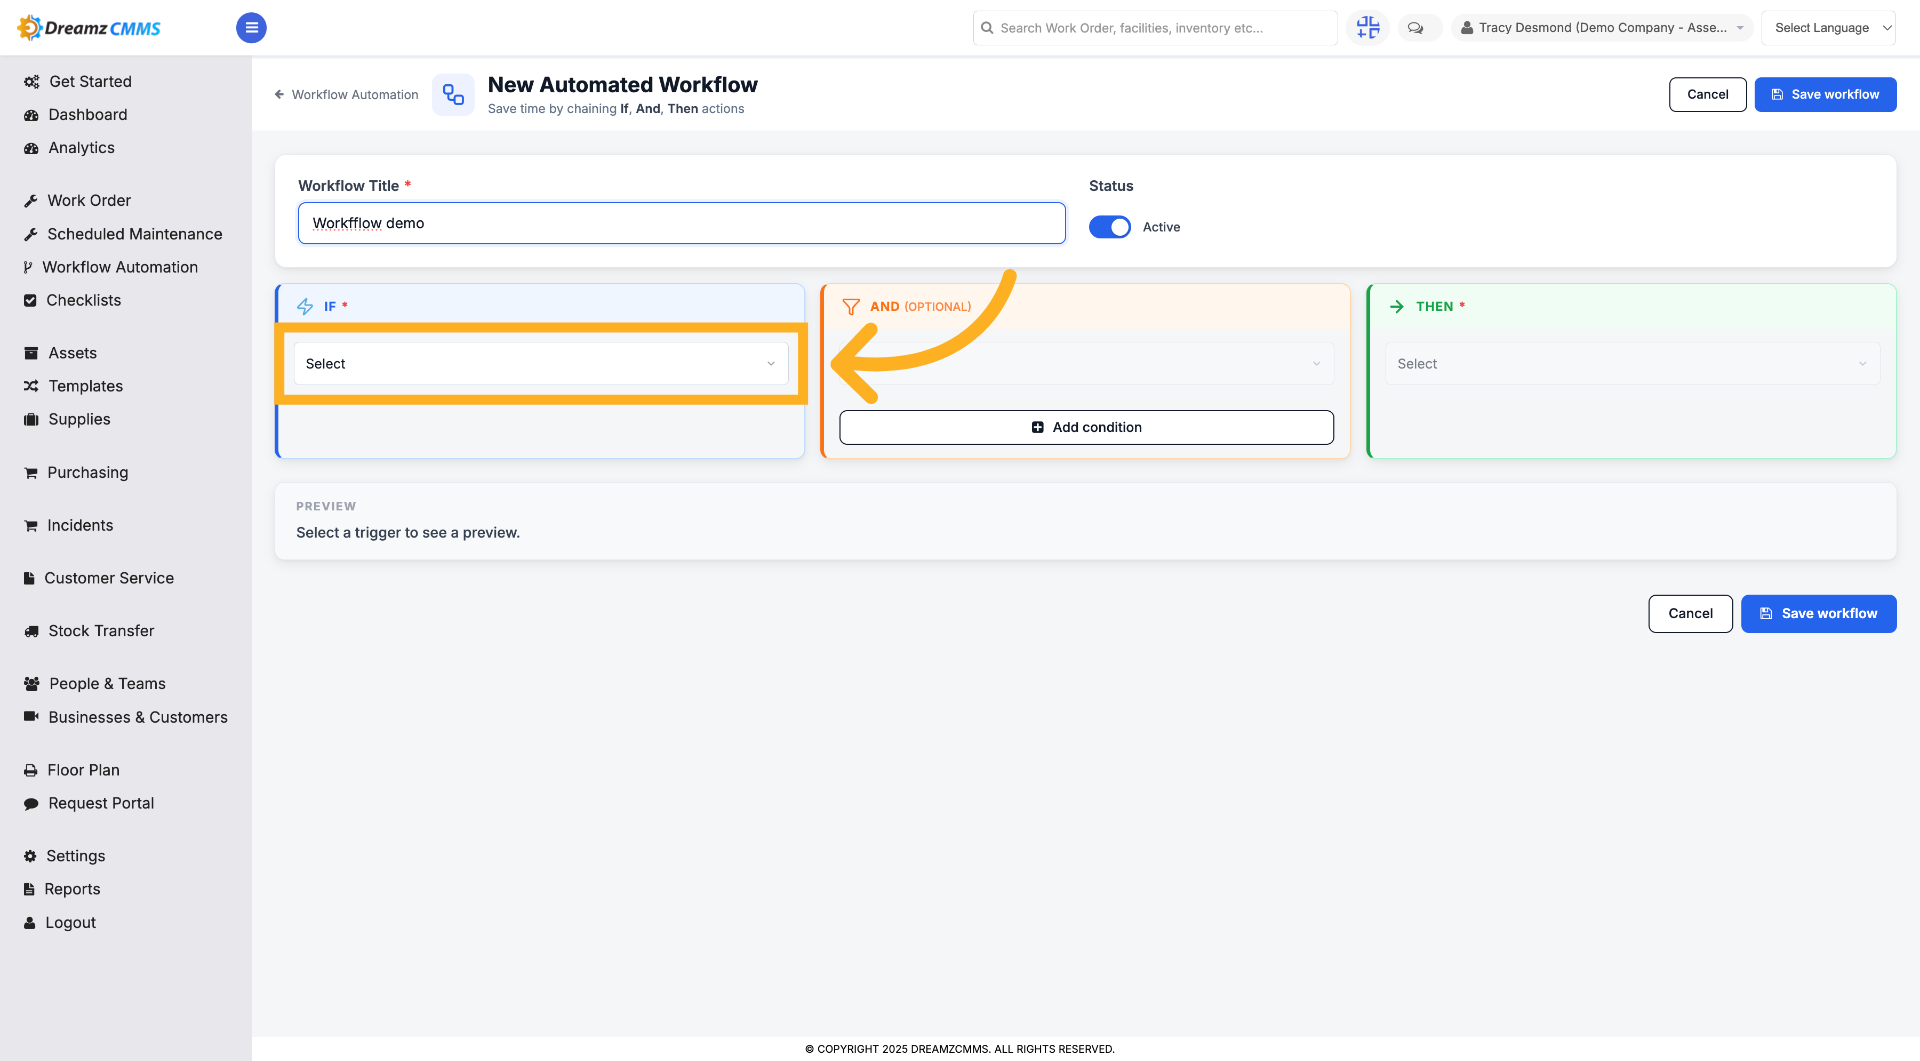
Step 10 – Open Selection Menu
Click "Select" to choose specific workflow parameters or options for the IF criteria.
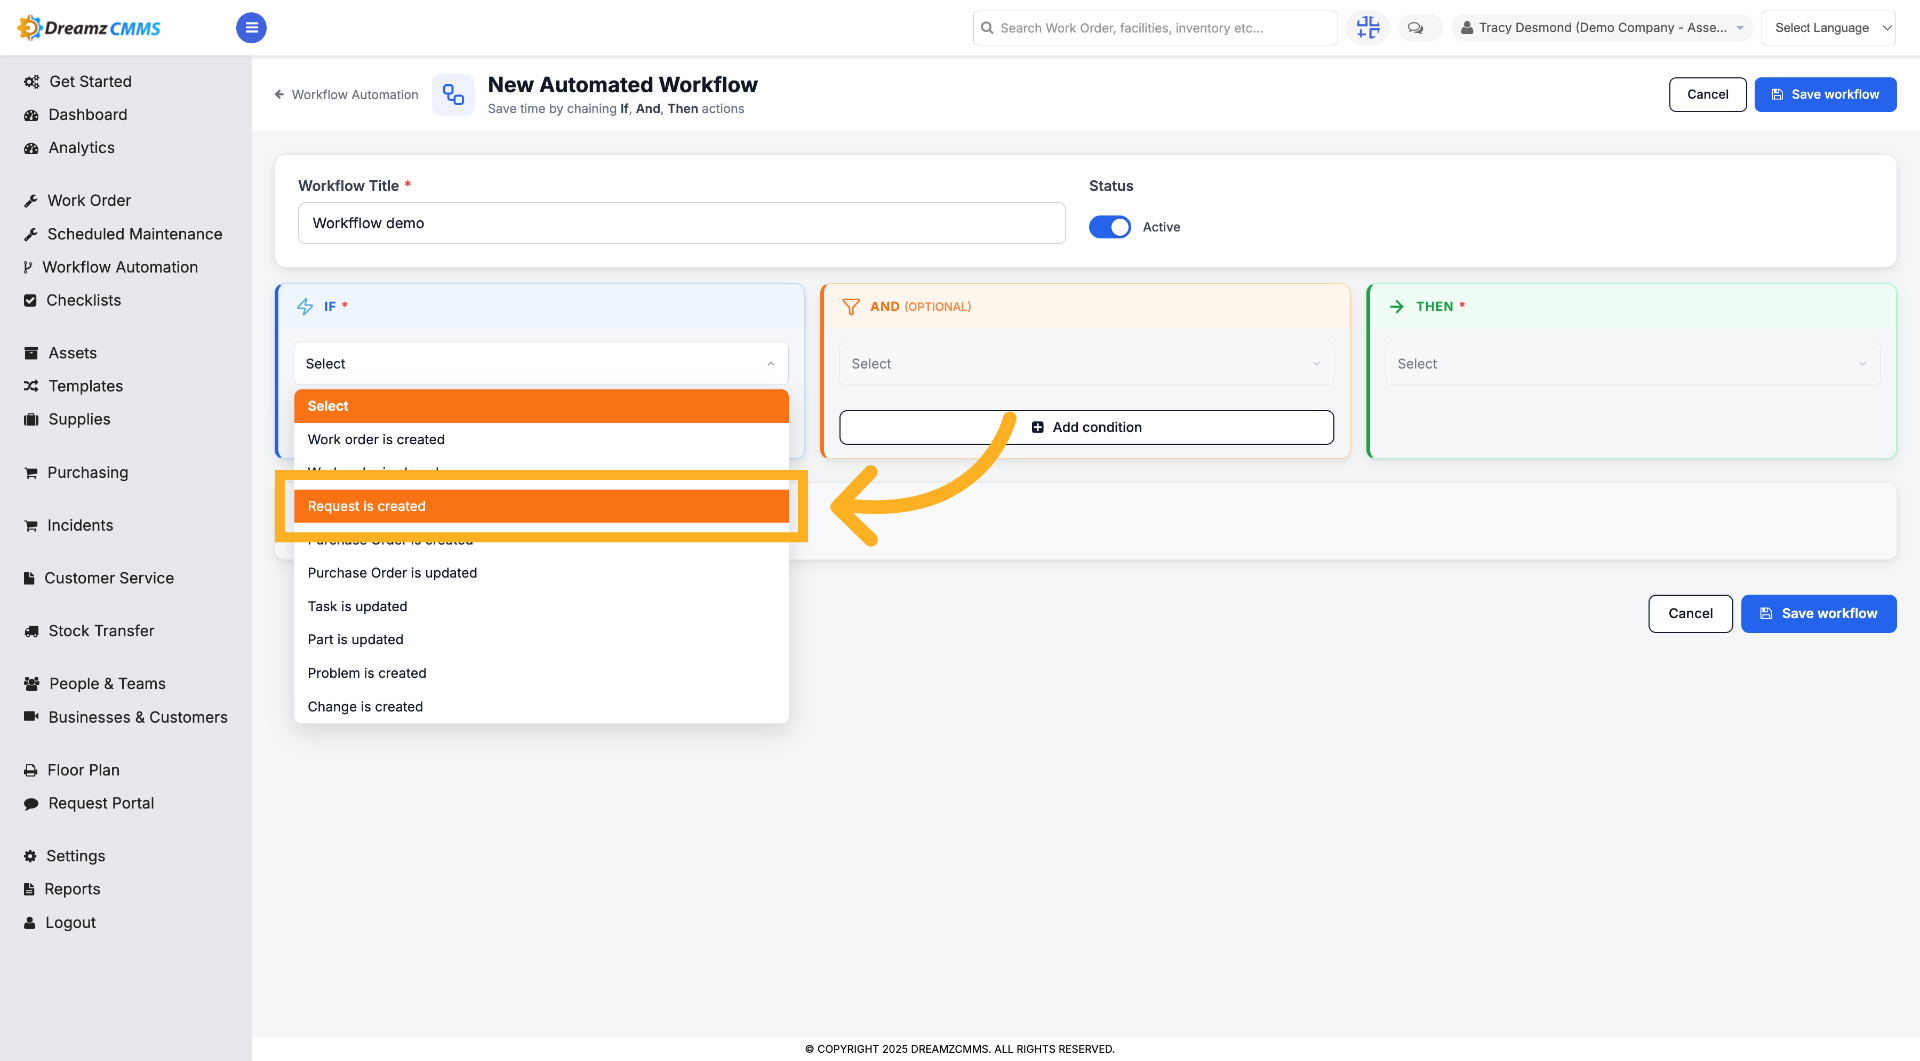
Step 11 – Set Request Creation Trigger
Select "Request is created" to define this event as a workflow trigger.
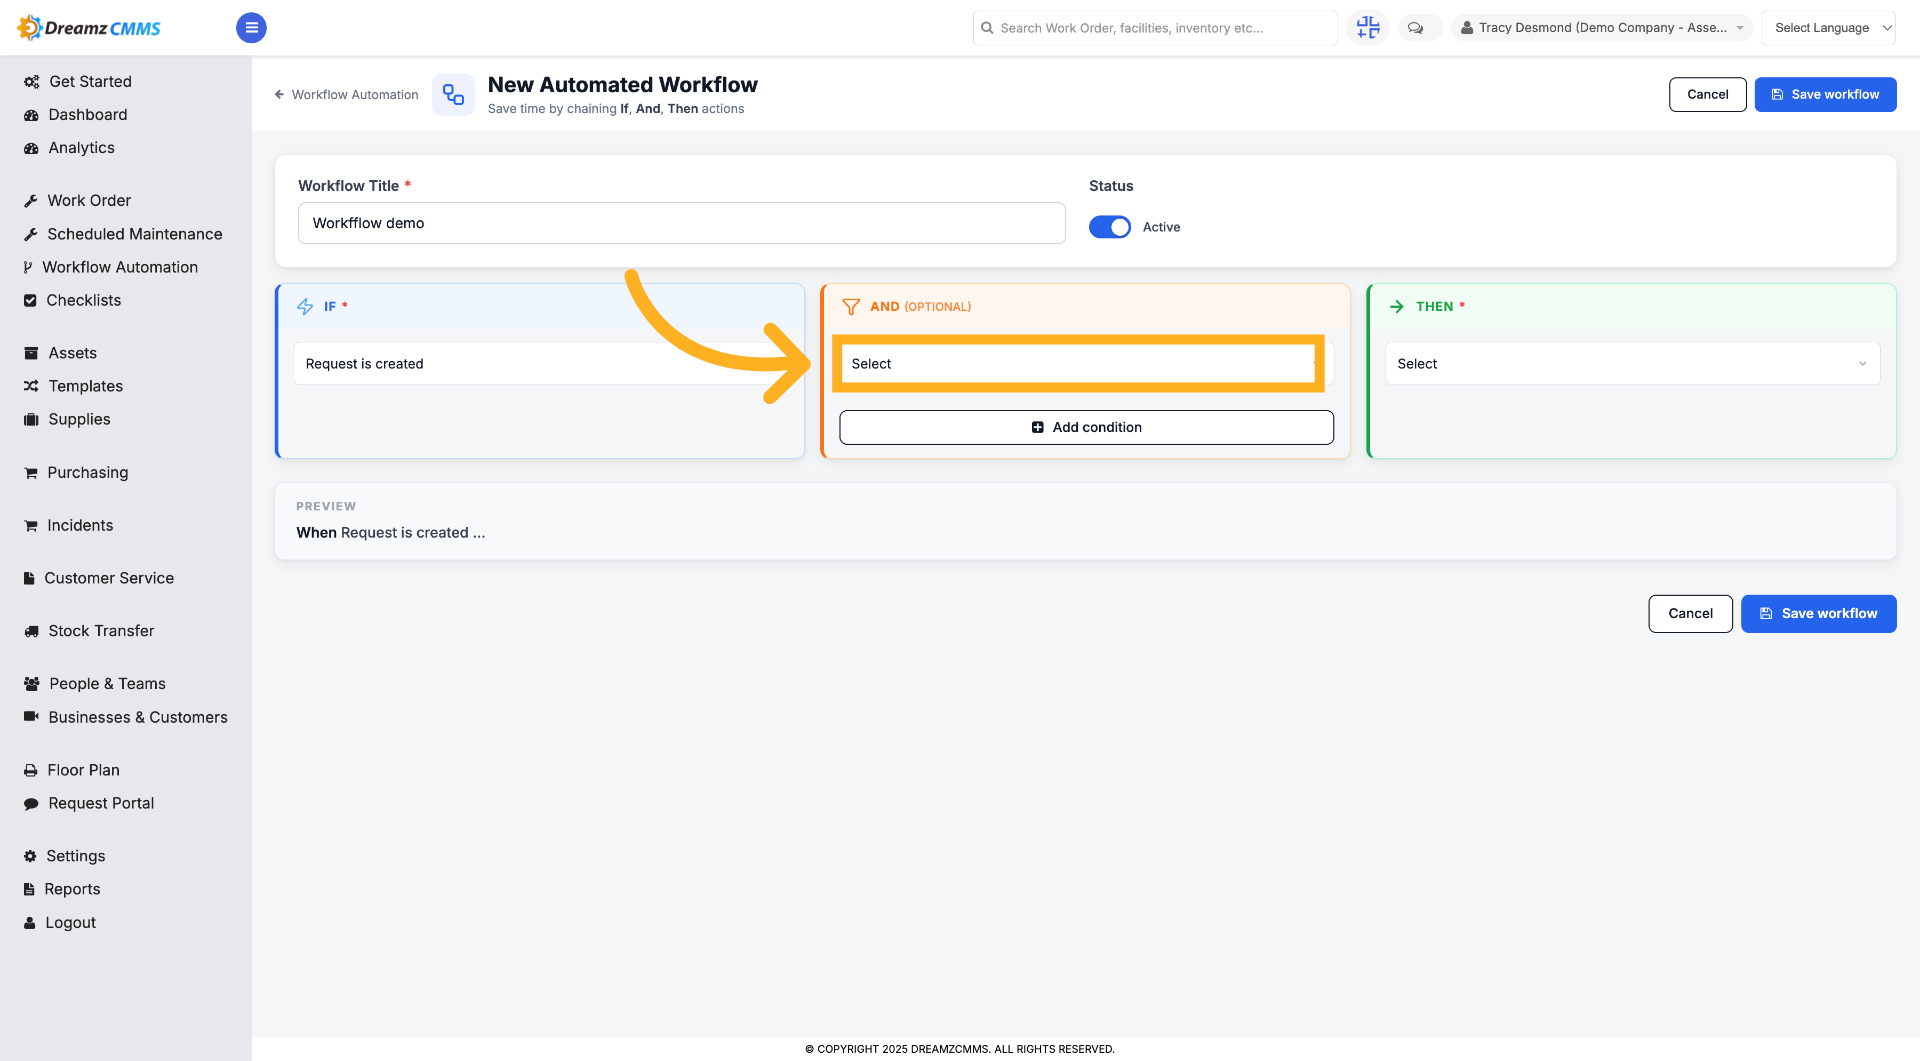
Step 12 – Open Selection Menu
Click "Select" to specify conditions related to the request under the AND option.
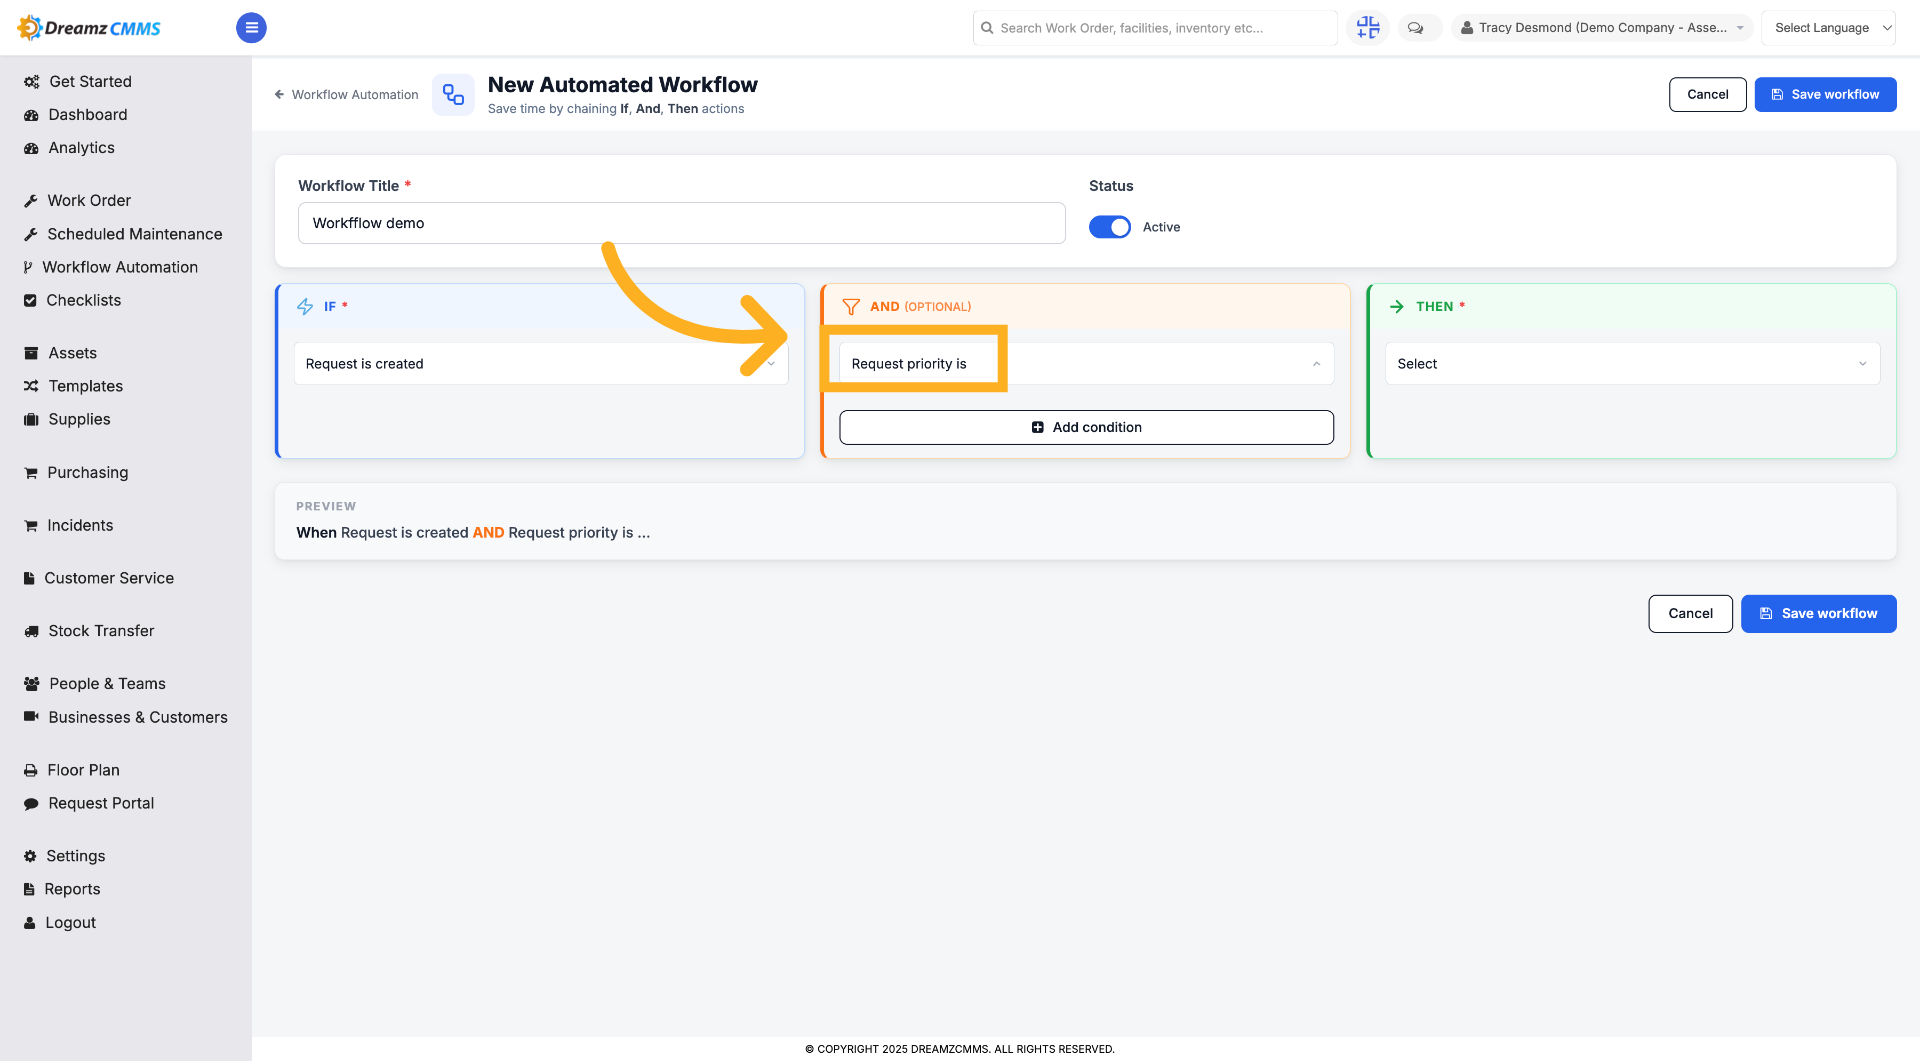
Step 13 – Choose Priority Condition
After choosing the AND option, select "Request priority is" to set priority-based workflow criteria.
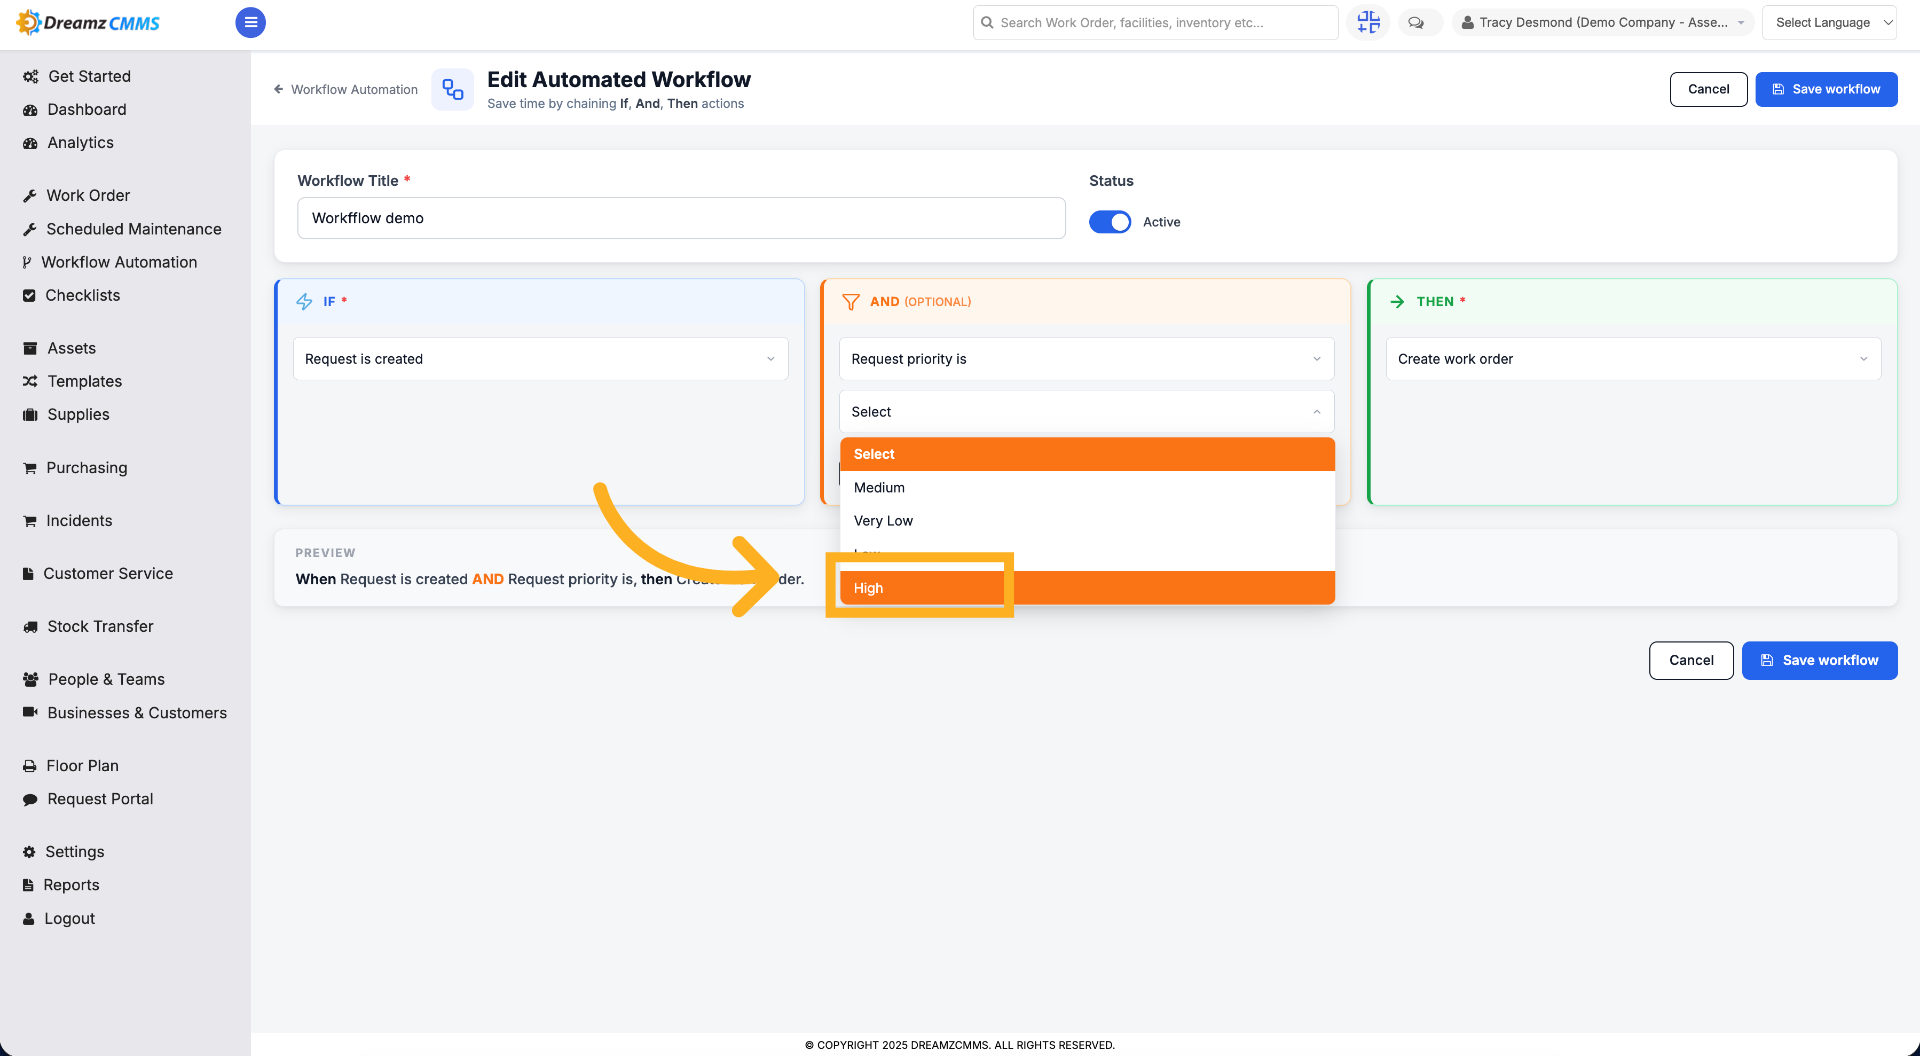
Step 14 – Select High Priority
Click "High" to designate high priority as a trigger for the workflow.
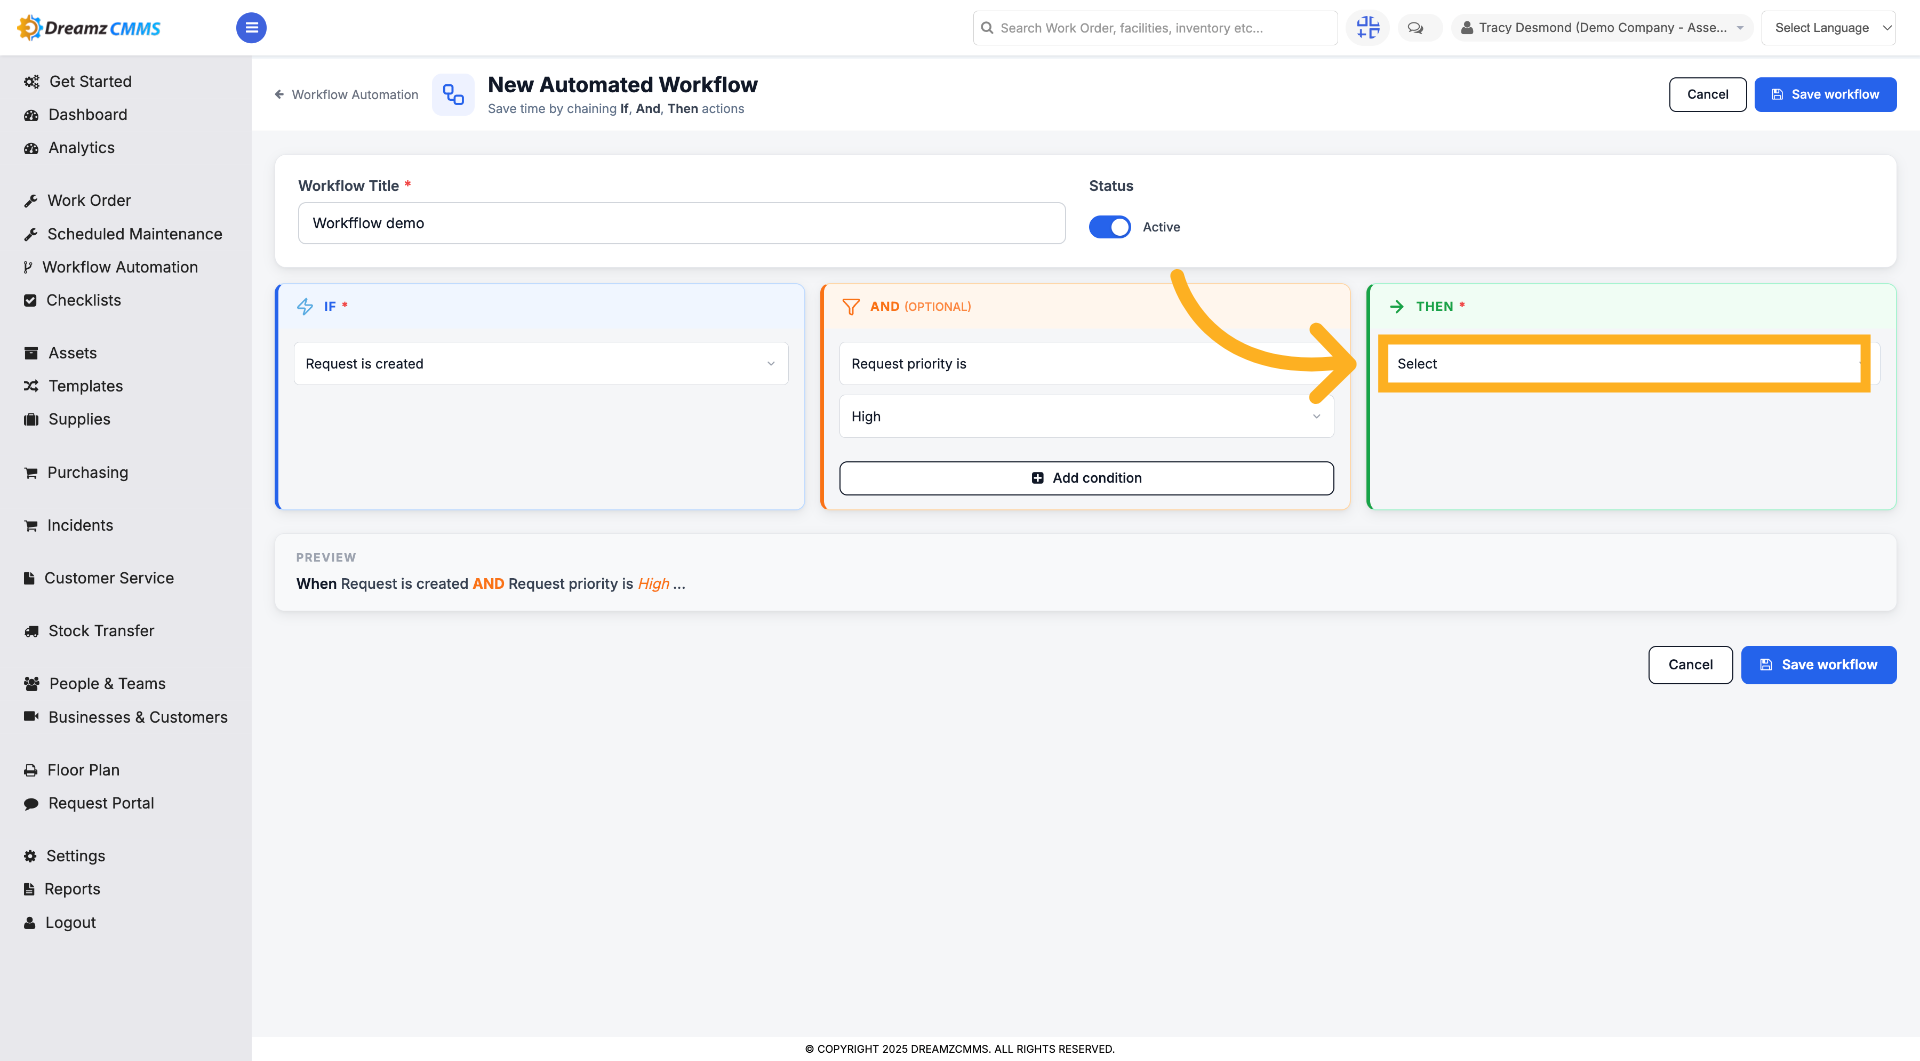
Step 15 – Open Action Selection
Click "Select" to choose the action the workflow will perform.
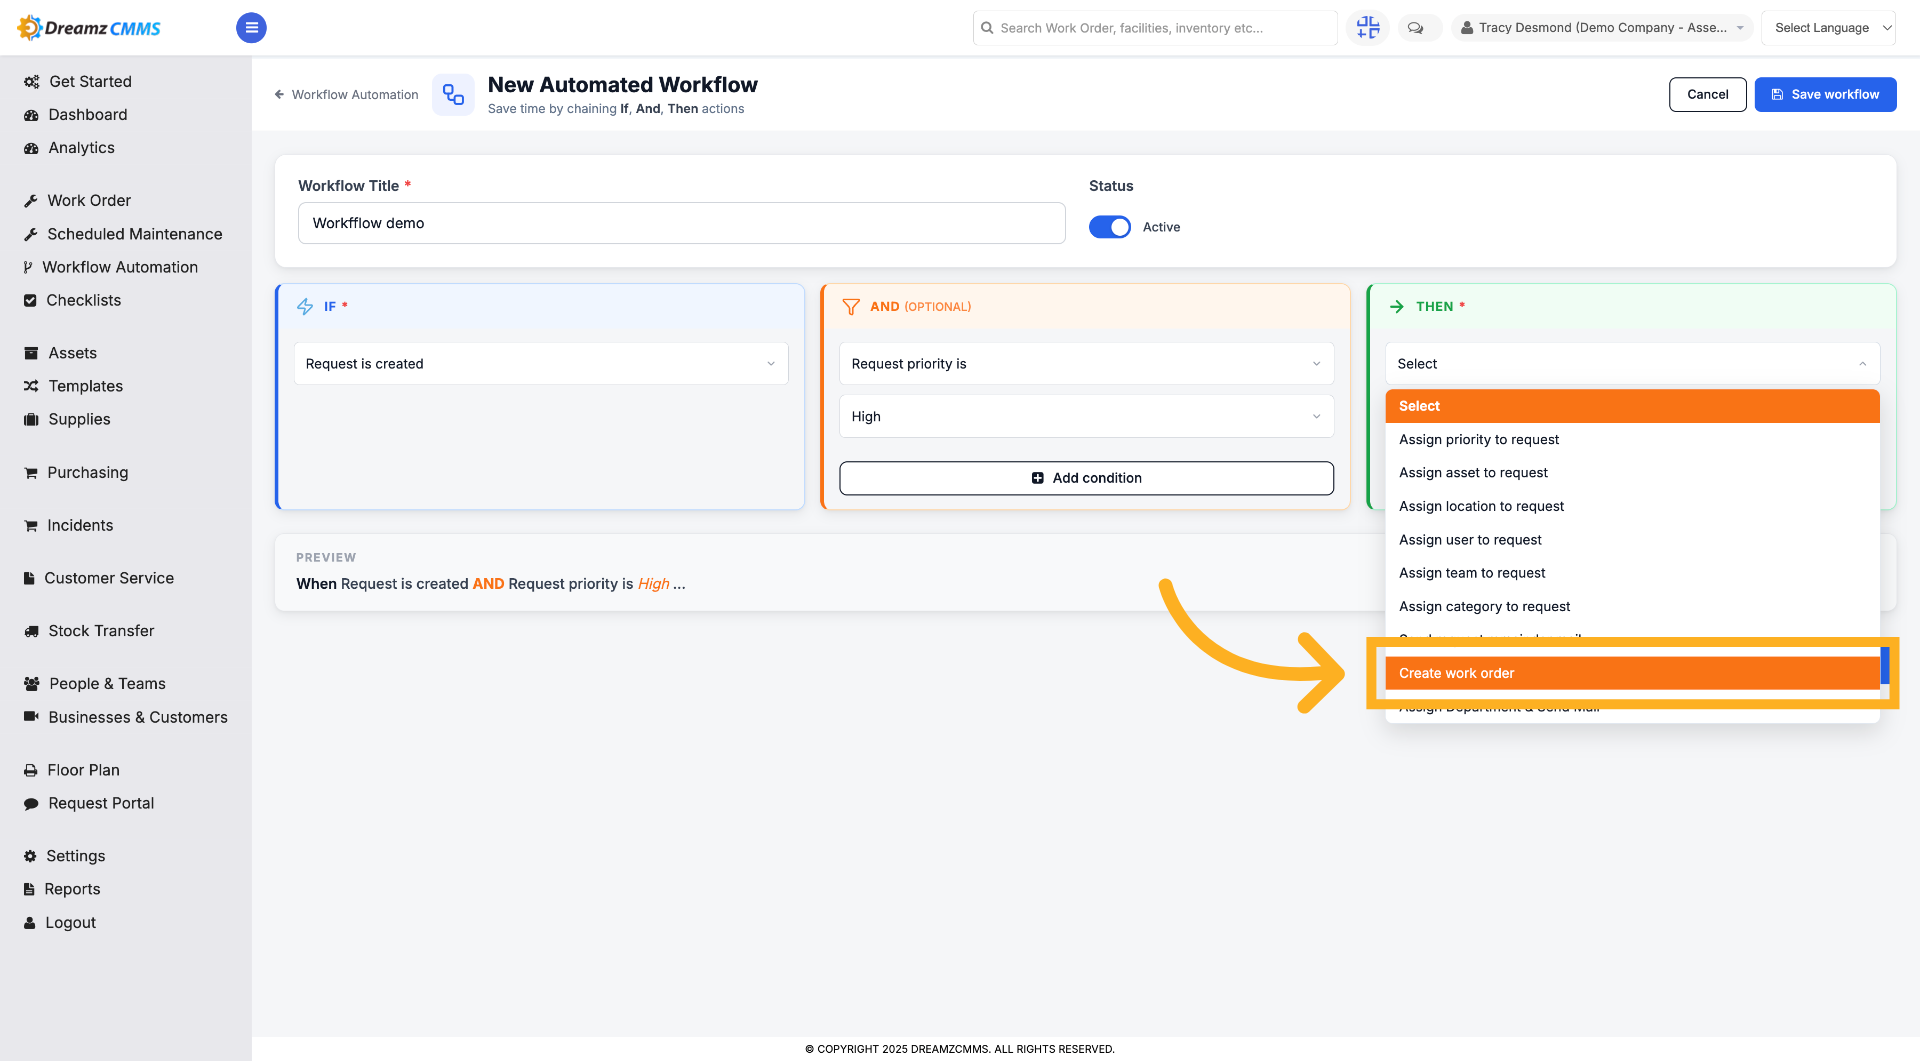
Step 16 – Choose Create Work Order Action
Click "Create work order" to set this as the workflow's automated action.
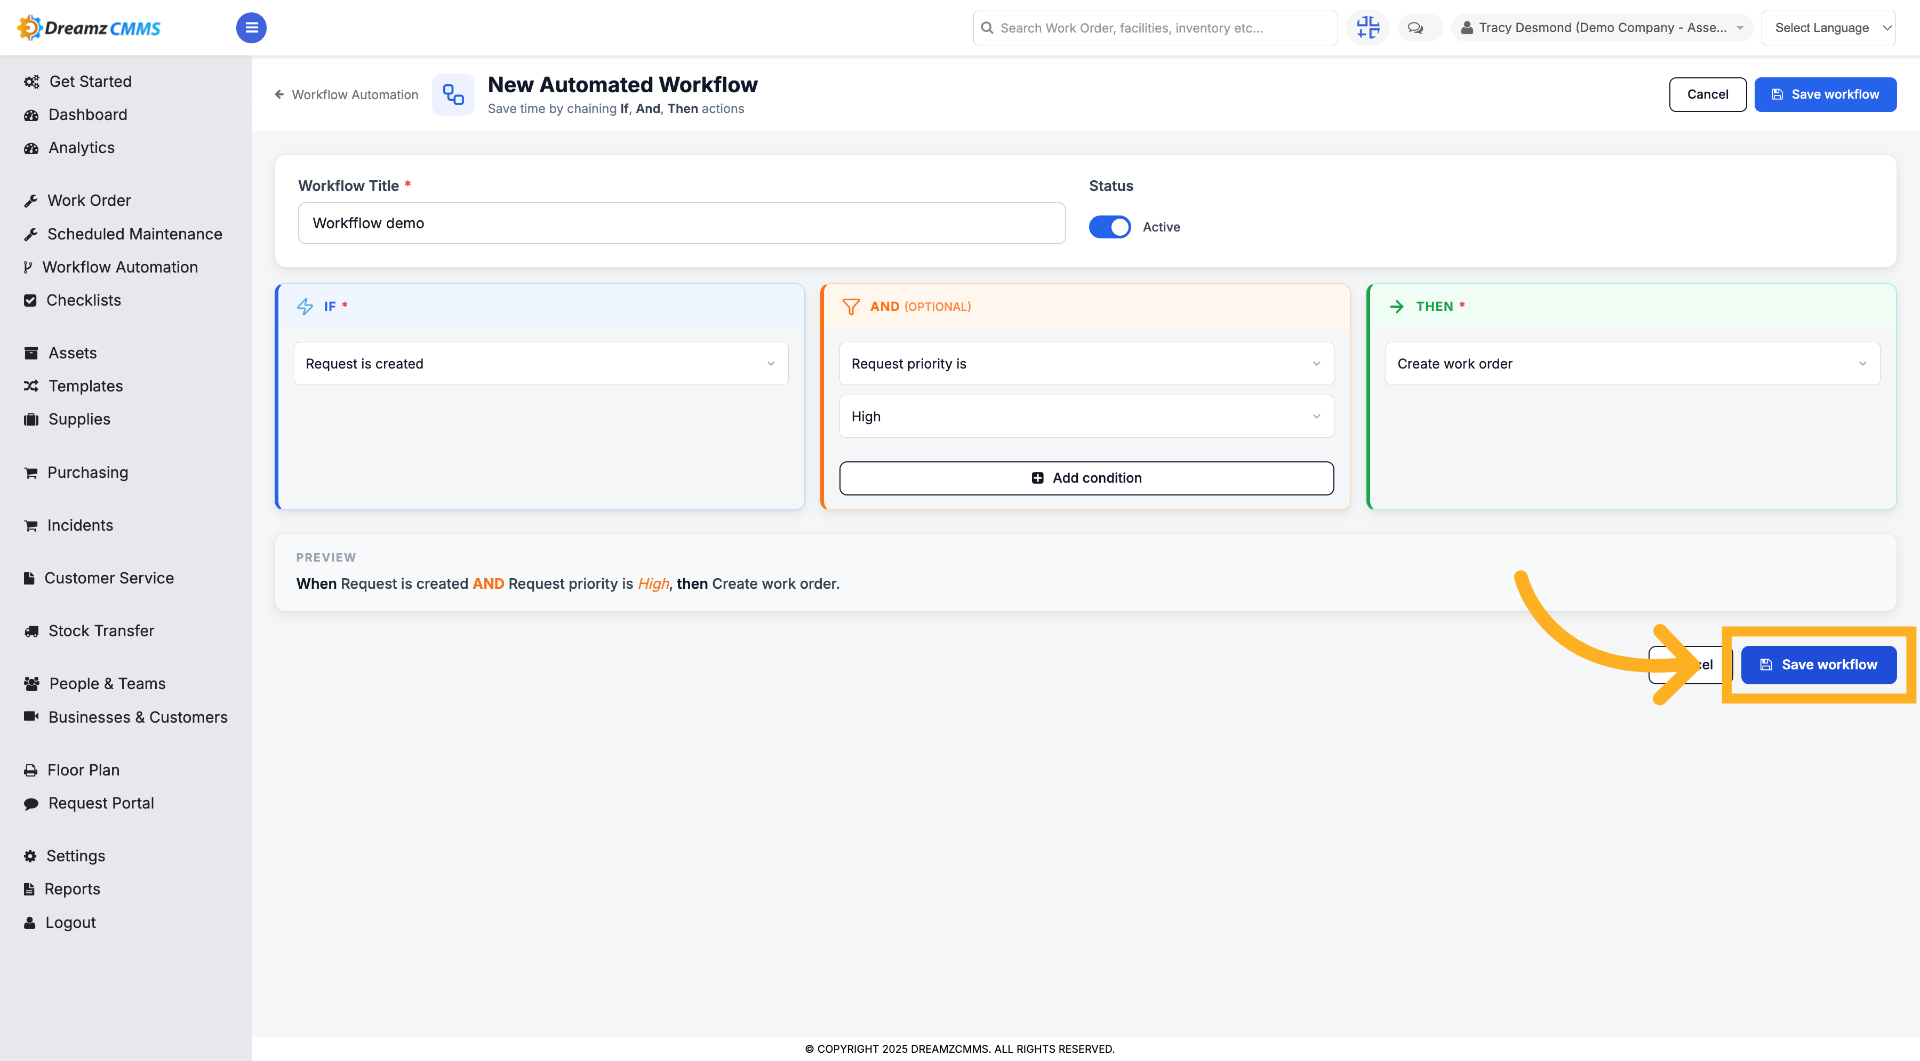
Step 17 – Save Workflow Configuration
Click "Save workflow" to finalize and activate your workflow settings.
Tips for Workflow Automation
- Start with simple, single-condition workflows before building more complex IF/AND/THEN chains.
- Use clear, descriptive workflow titles so your team can identify what each automation does at a glance.
- Review existing workflows periodically using the three-dot menu to keep automations aligned with current processes.
- Test a new workflow with a sample request to confirm it triggers the correct action before relying on it fully.
Frequently Asked Questions
Can I edit a workflow after it's been created?
Yes. Go to the Workflow Automation listing, click the three-dot menu next to the workflow, and select Edit.
Can I duplicate an existing workflow?
Yes. Use the three-dot menu next to any workflow and select Duplicate.
What kind of conditions can I set?
You can combine IF, AND, and THEN conditions — for example, triggering on request creation, filtering by priority, and defining an automated action such as creating a work order.
What actions can a workflow perform?
You can select from available actions in the workflow builder, such as automatically creating a work order.