Manage Assets: Asset List, Filters, Asset Details and Add New Asset
This tutorial covers everything you need to know about manage assets in DreamzCMMS — from navigating and filtering the Asset List, to viewing and editing asset details, to adding brand-new assets to the system.
Overview
The Asset List is where all your equipment records are displayed in one place. From here, you can search, filter, sort, and take action on one or many assets at a time — making it easier to find exactly what you're looking for, even in large inventories.
Before You Begin
- You must have access to view and manage assets in your account.
- Familiarize yourself with your asset categories and conditions, as these are used as filter options.
Part 1: Asset Listing and Filters
How to Navigate and Filter the Asset List
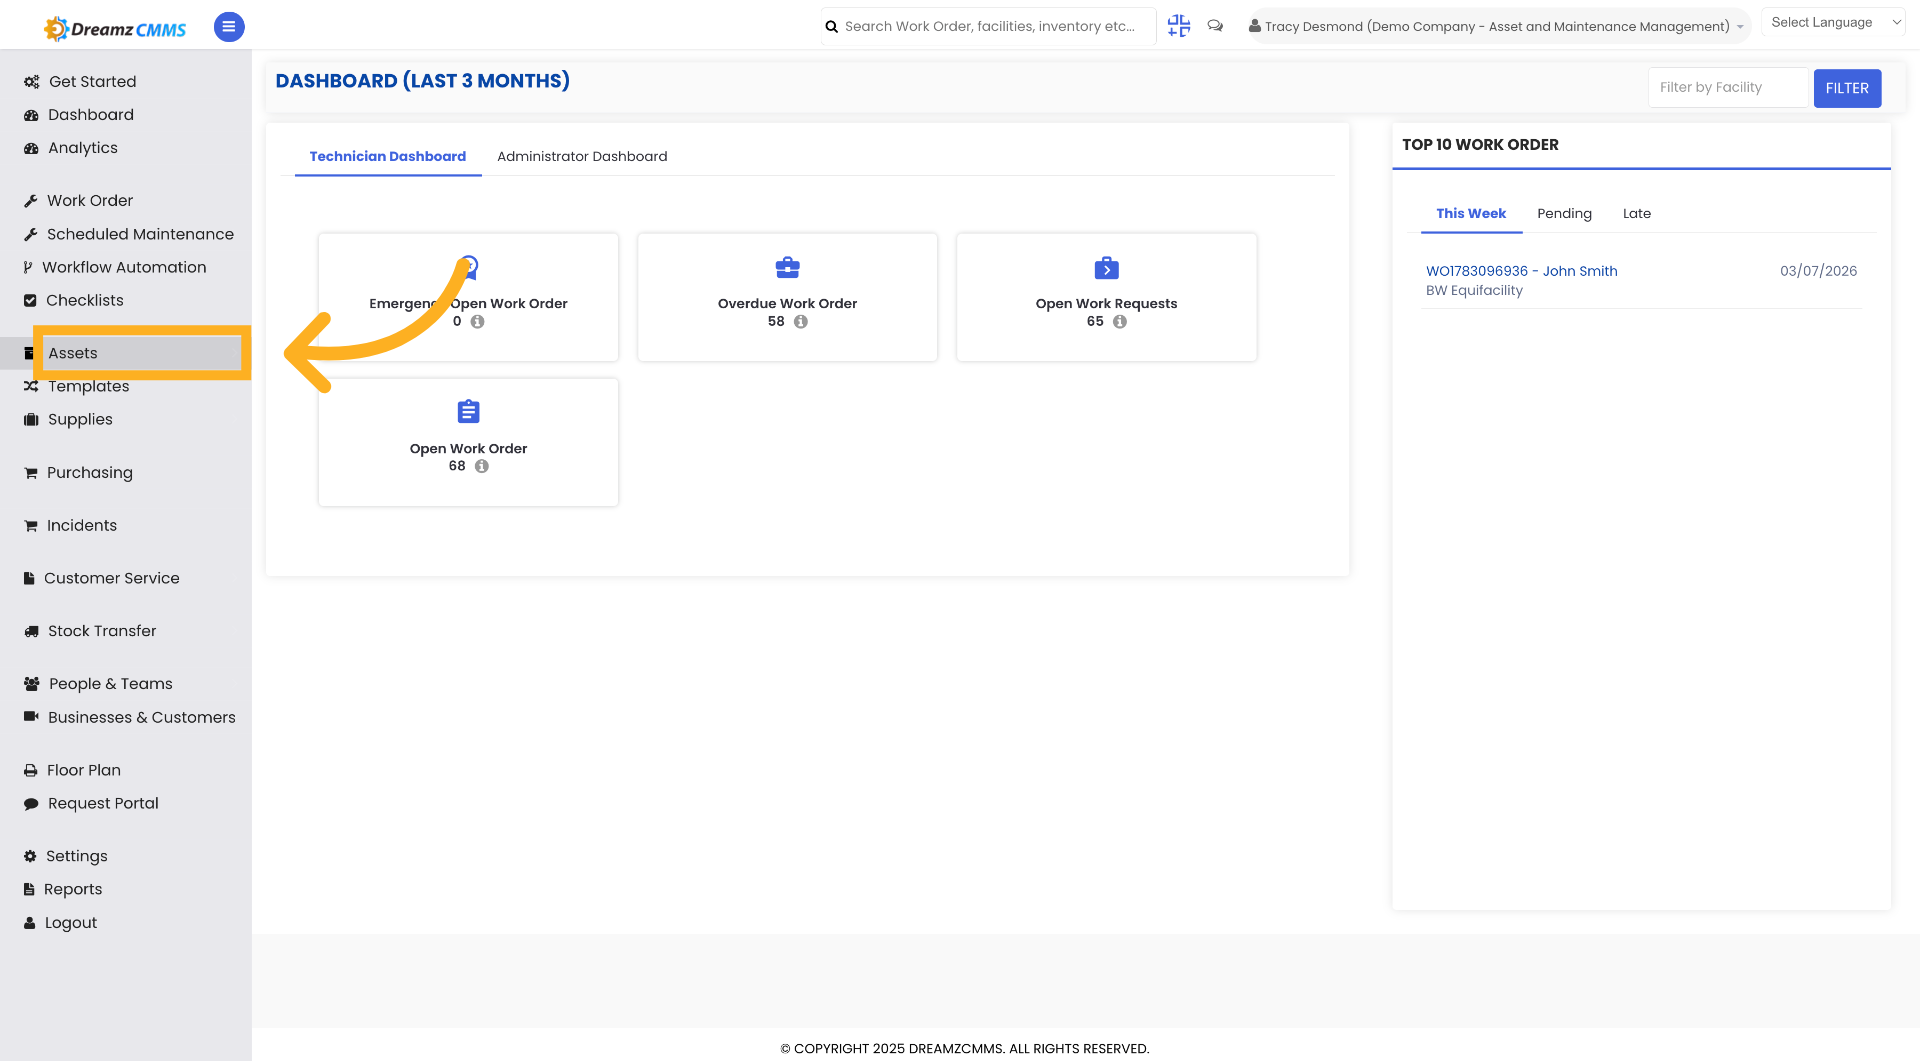
Step 1 – Access Dashboard Main Menu
Click here to open the main menu on the Dashboard.
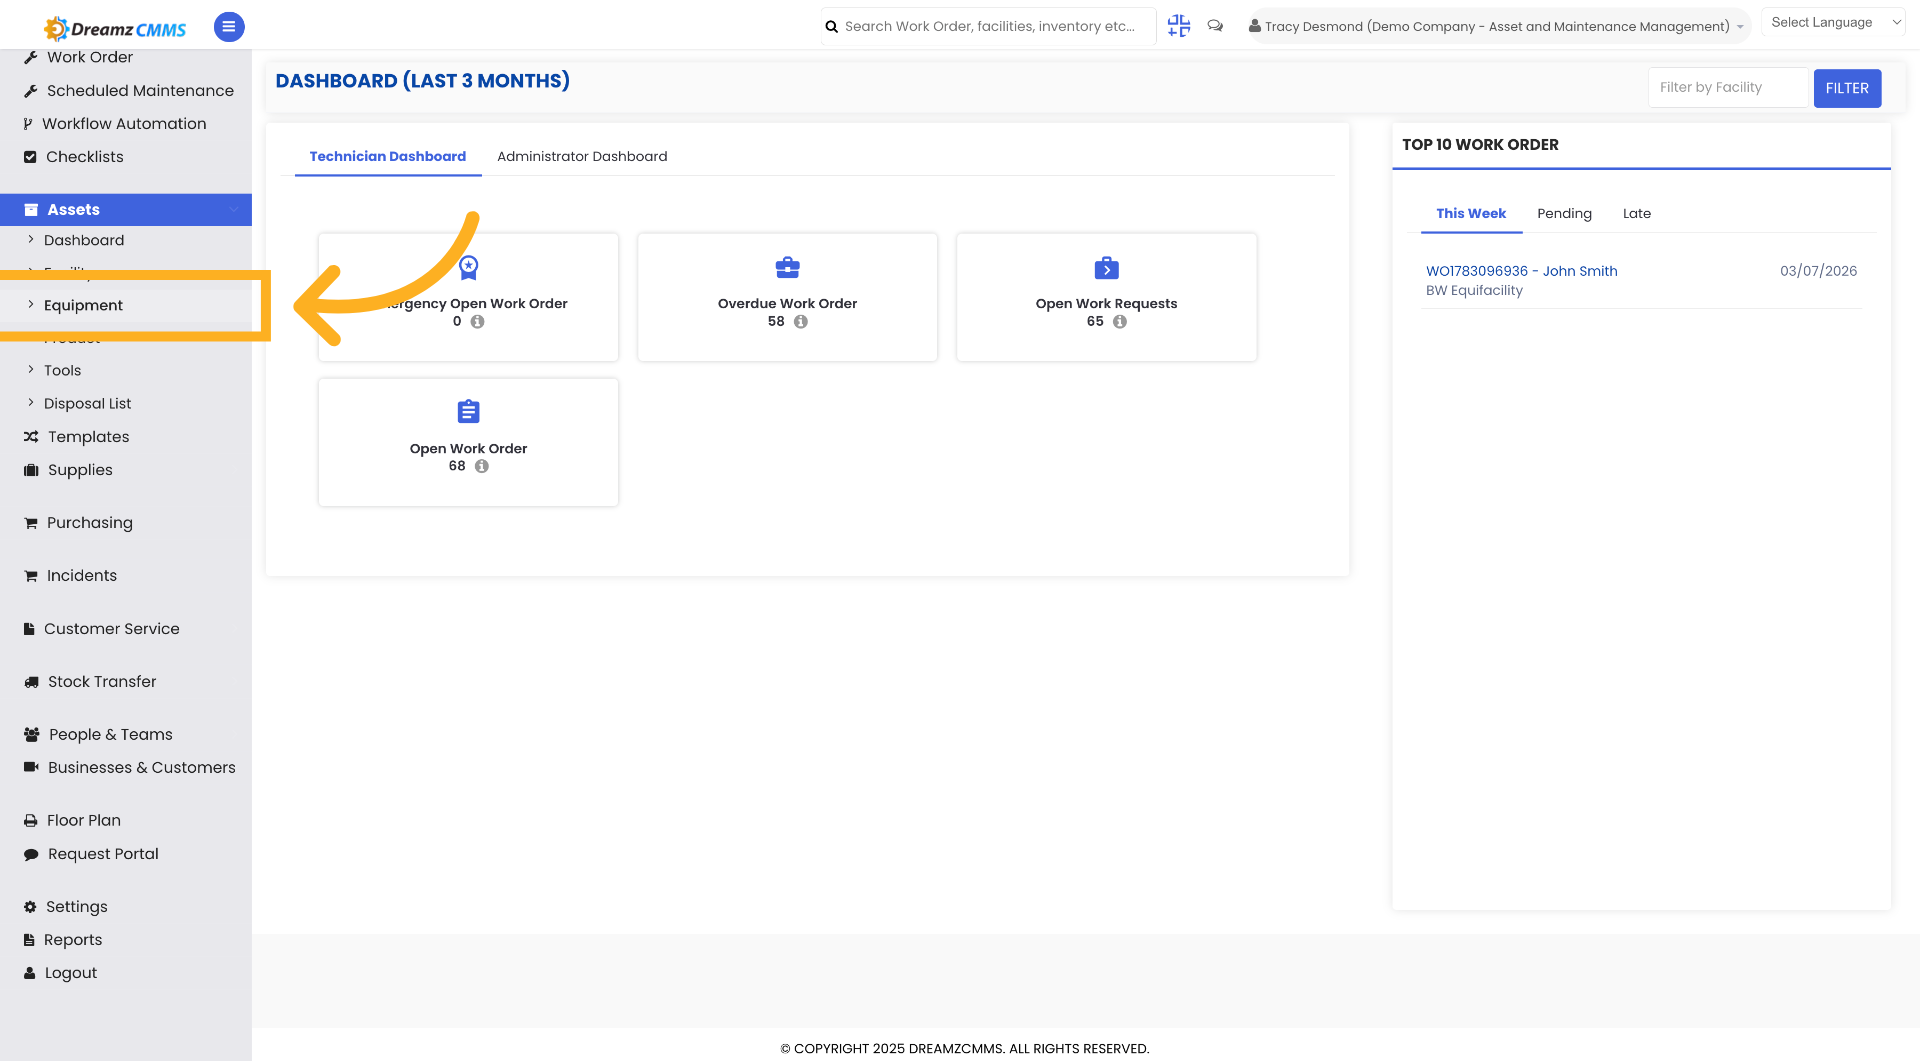
Step 2 – Open Equipment Section
Click "Equipment" to access the equipment management area.
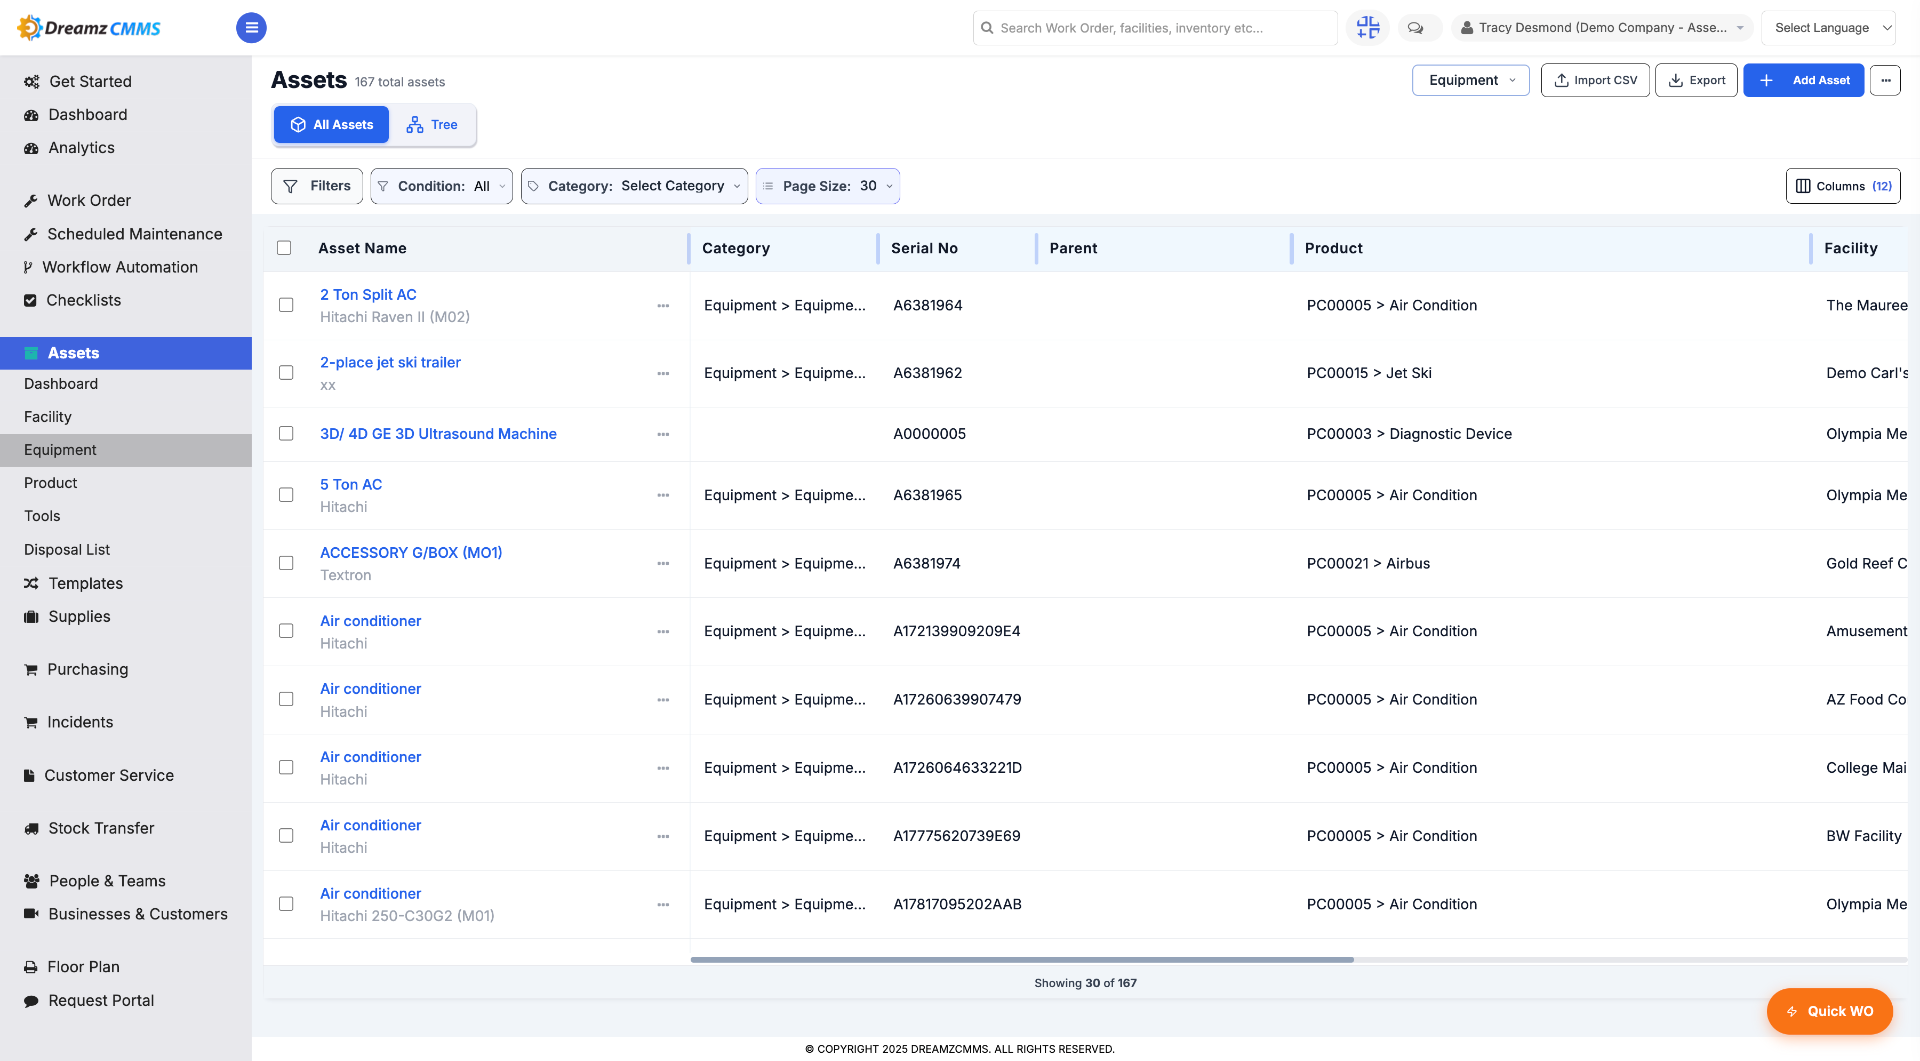
Step 3 – Navigate to Asset List
After clicking on Equipment, you will see the asset listing page where all the assets are listed.
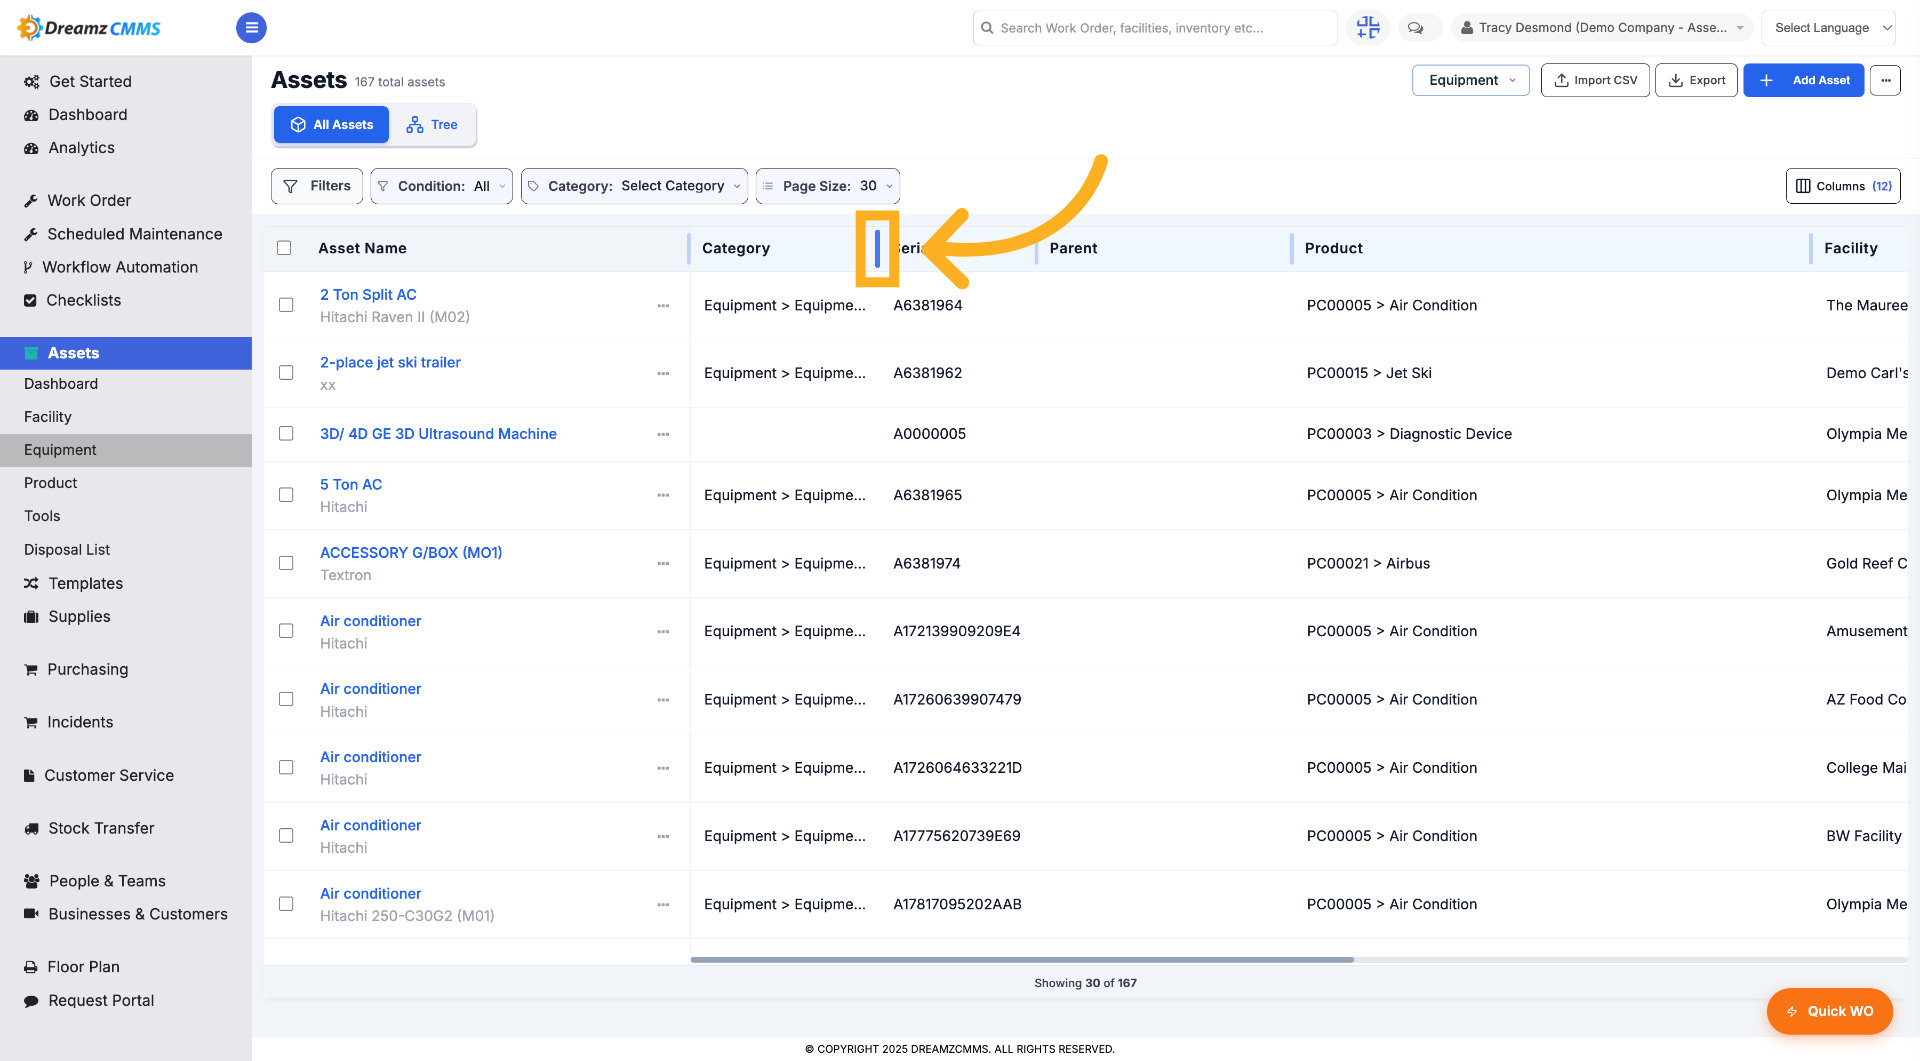
Step 4 – Select the Option in the Header
Drag the line to increase or decrease the width of the columns.
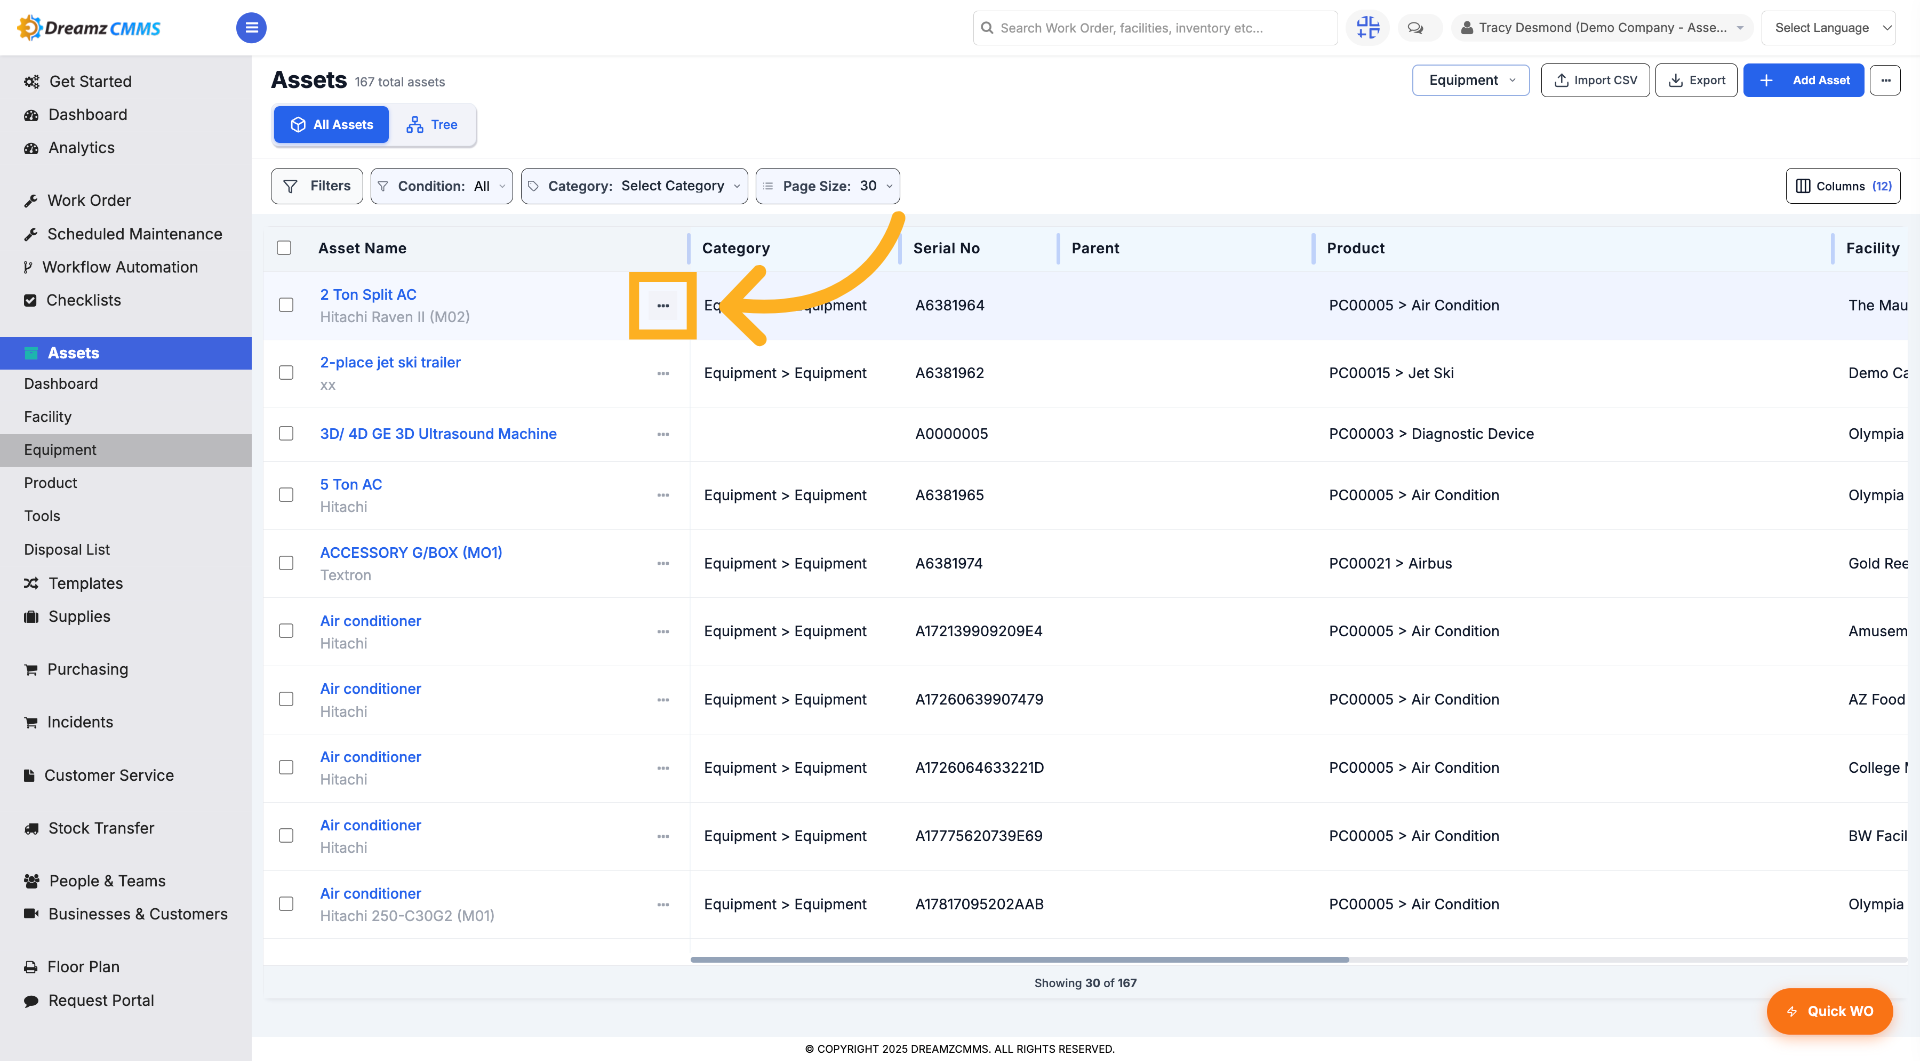
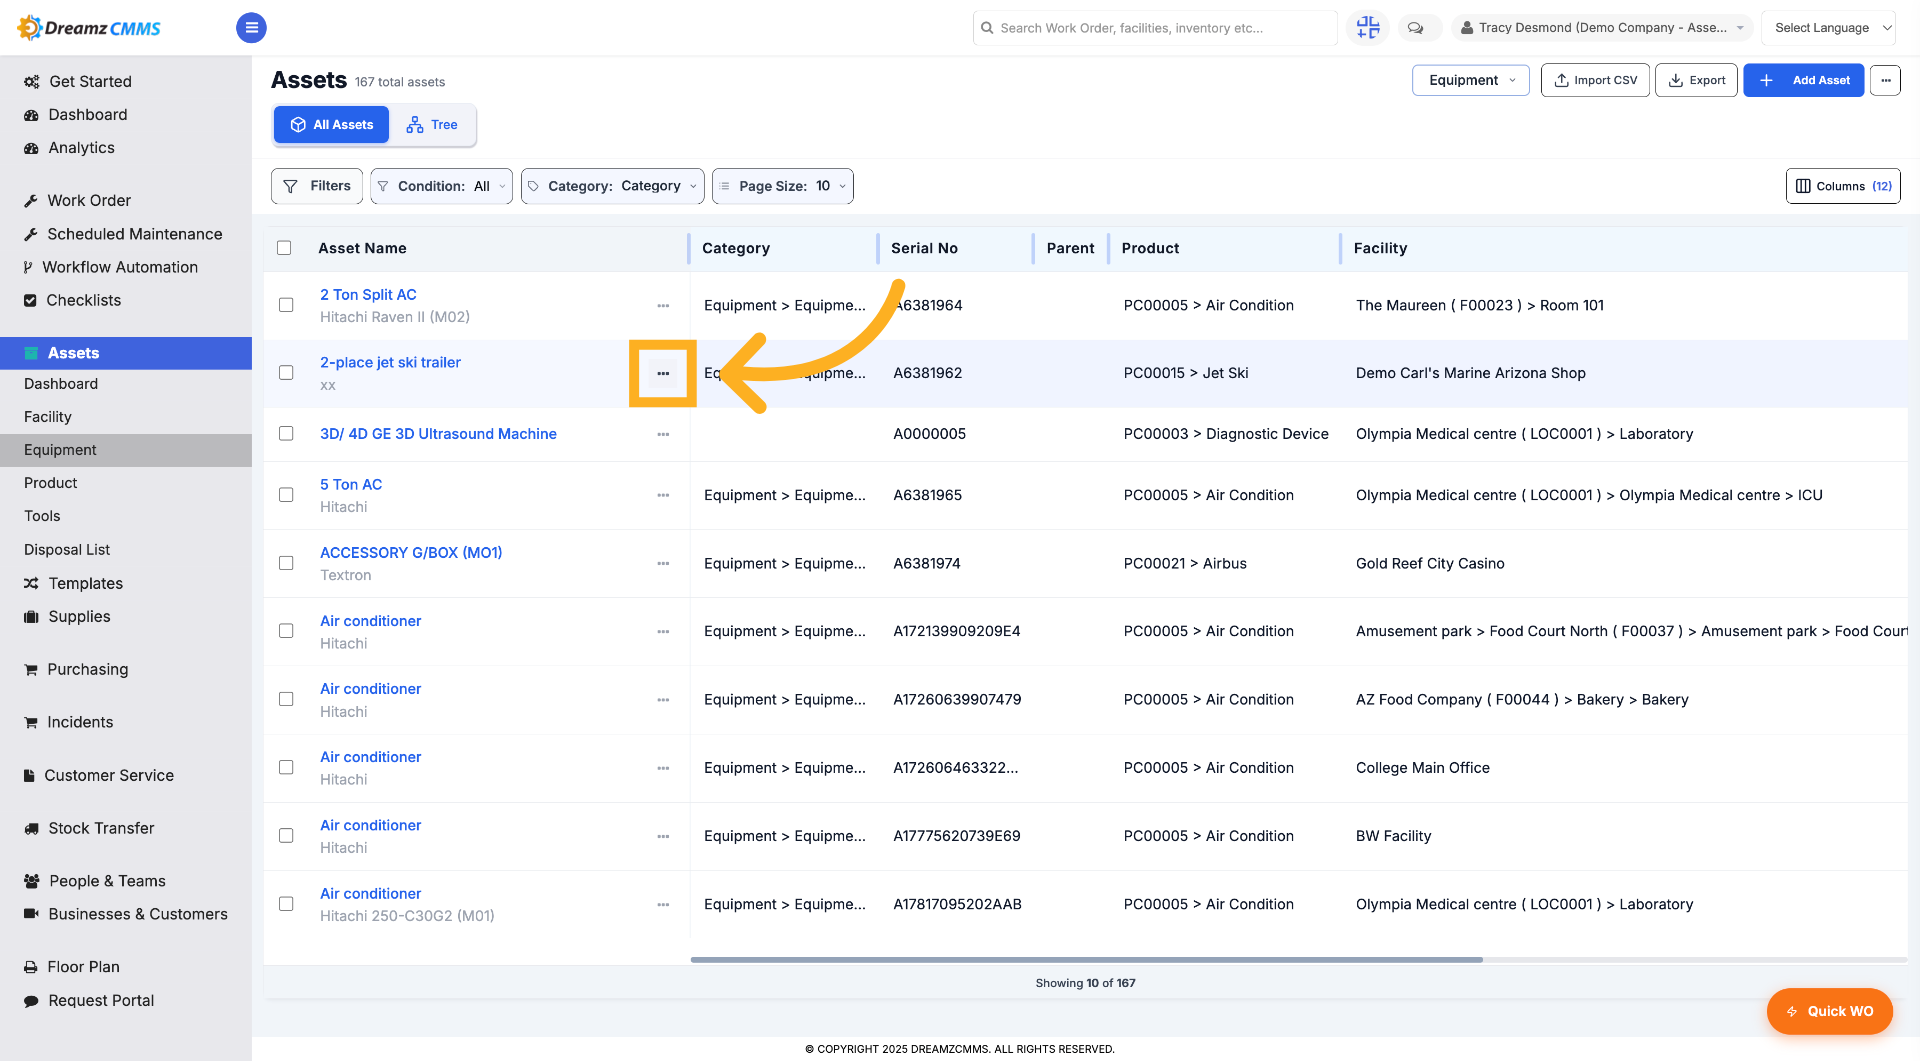
Step 5 – Choose the 3 Dots Options
Choose the 3 dots options to see the full menu regarding an asset.
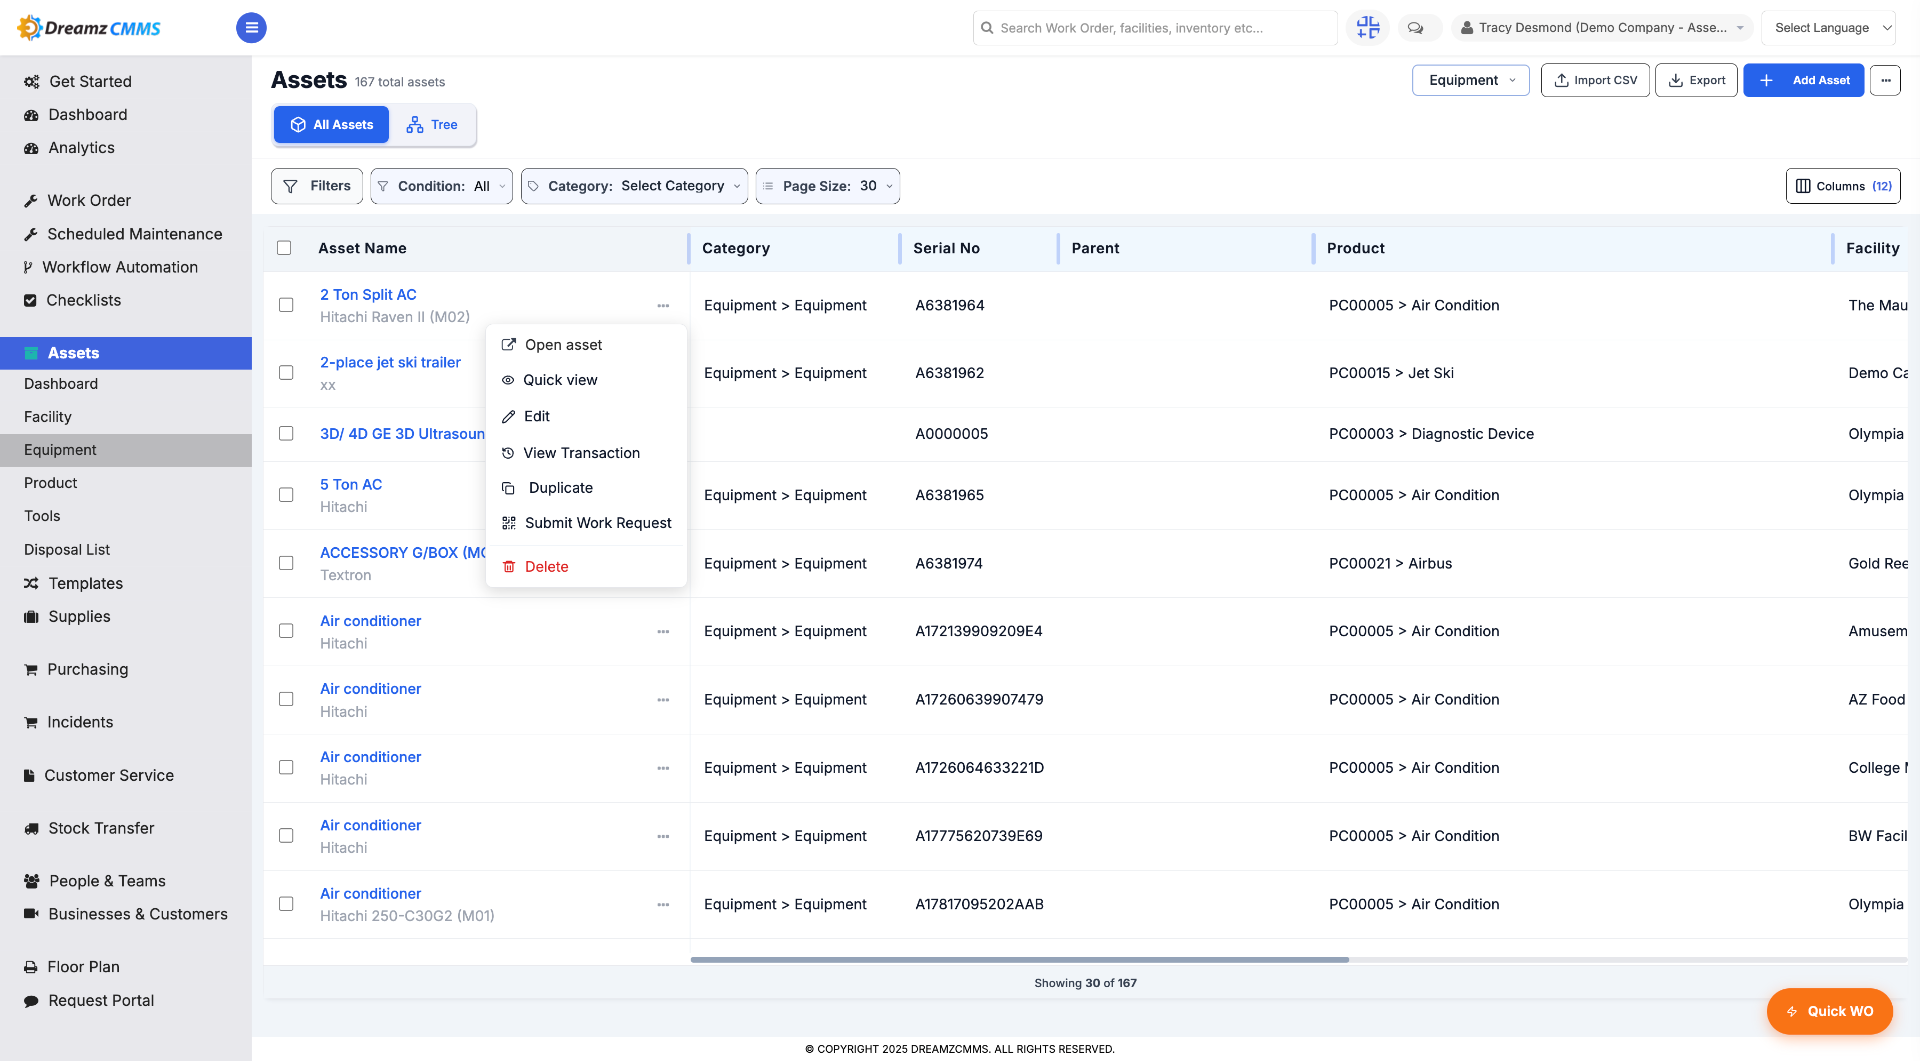
Step 6 – Open the Asset Options
Click on options like Open Asset, Quick View, and other options to perform that task.
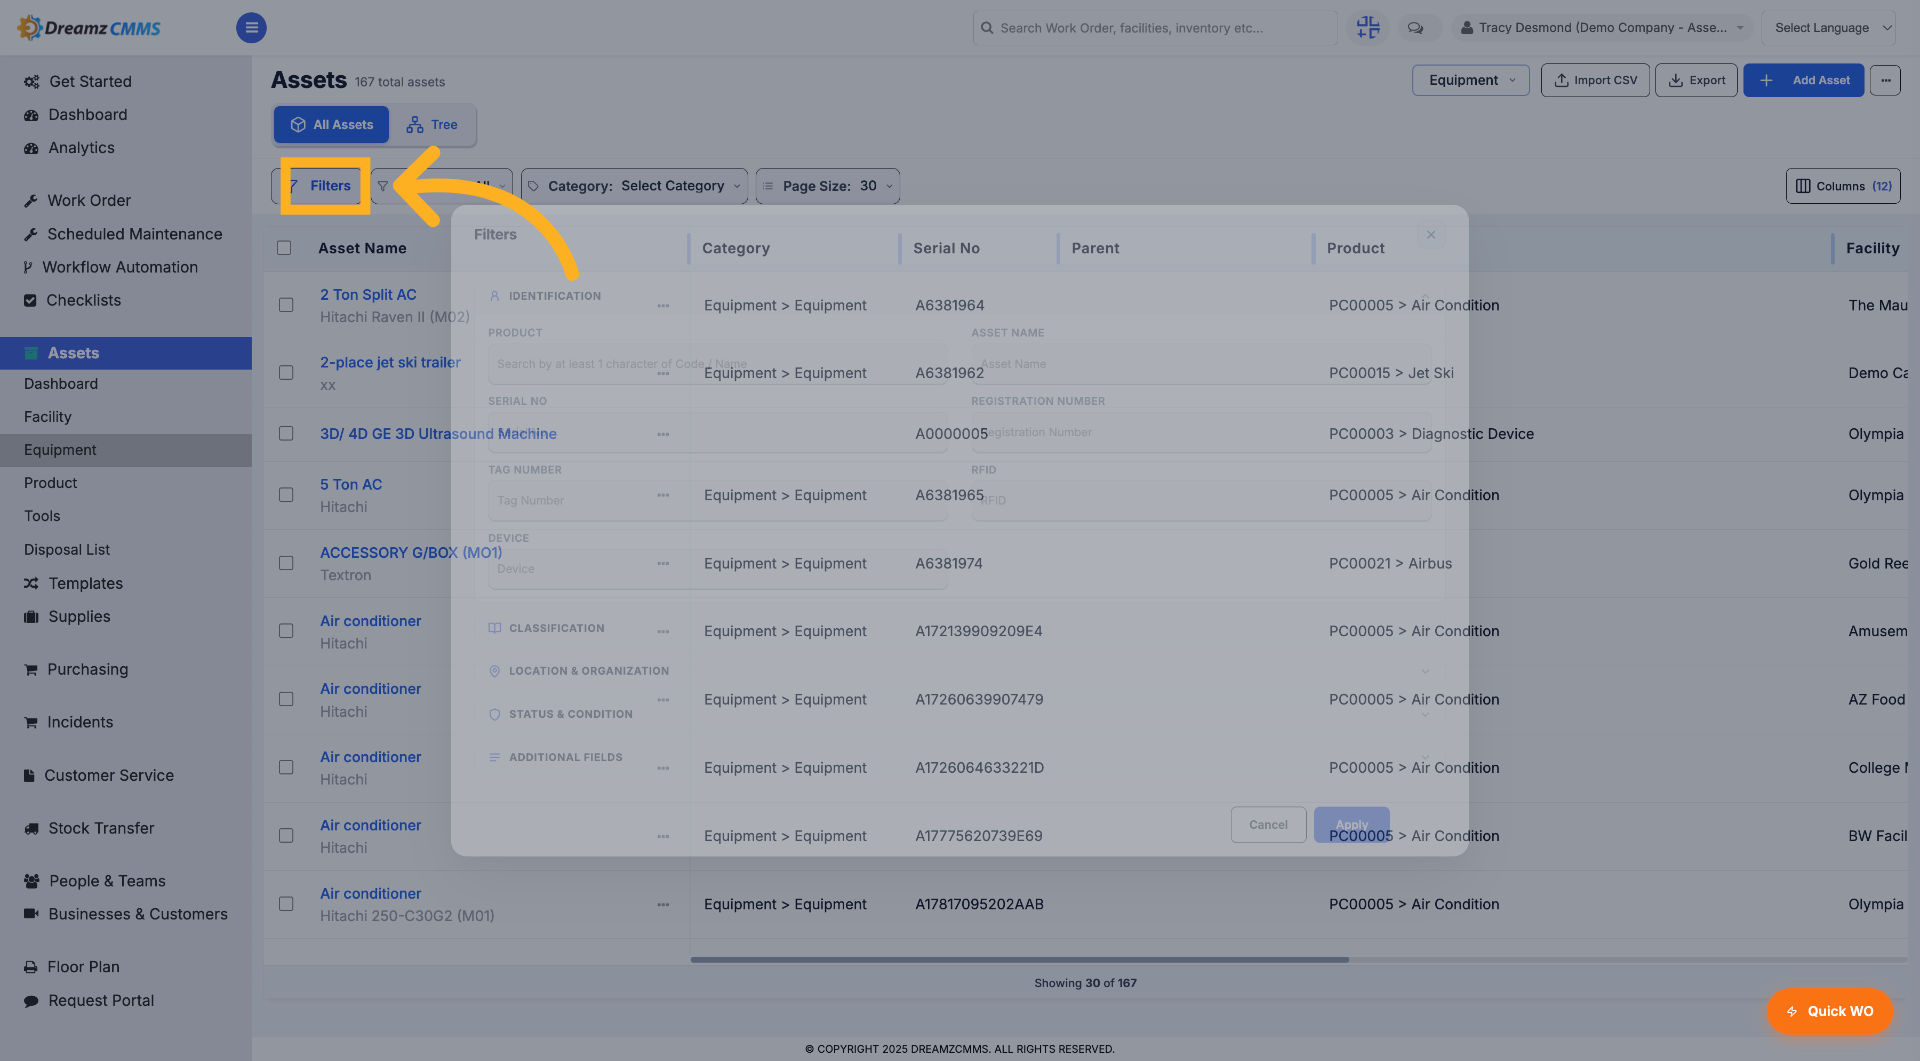
Step 7 – Access Filters Menu
Click "Filters" to access the filtering options.
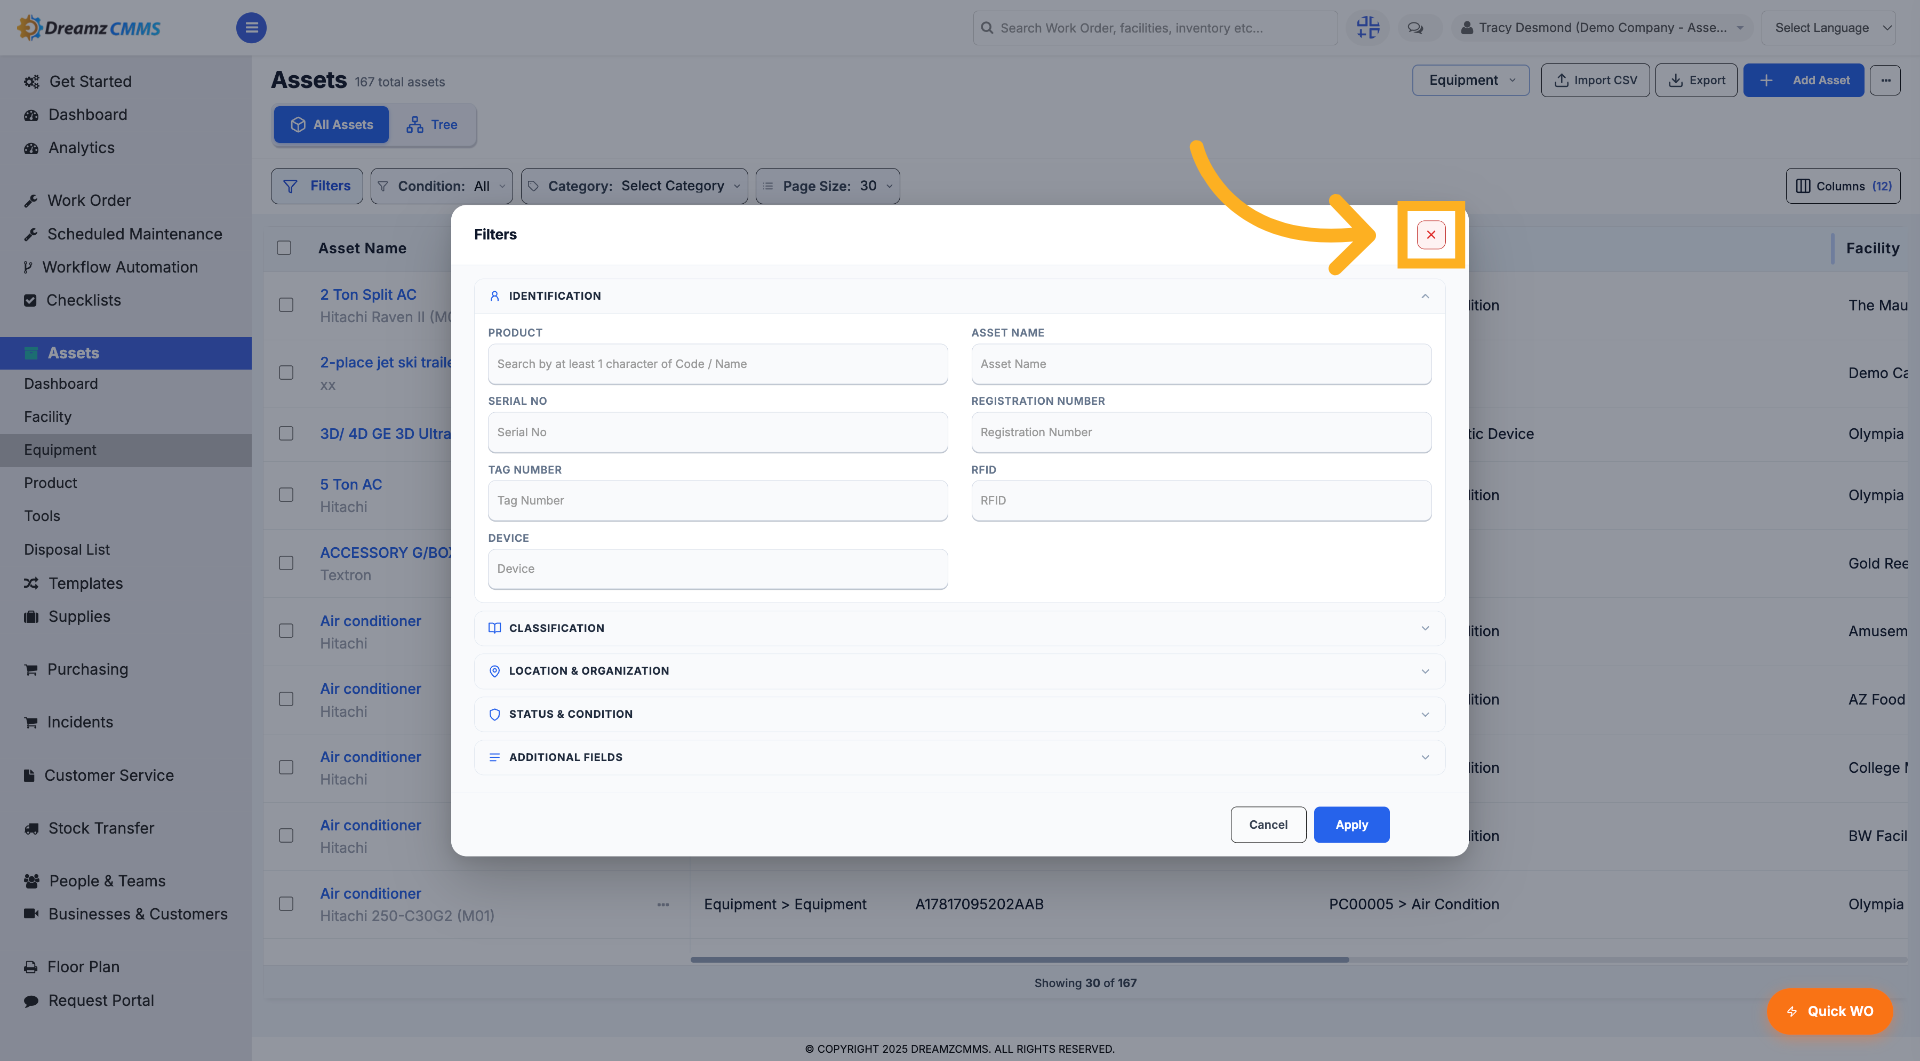
Step 8 – Select Filter Option
Make a search by asset name, serial number, etc., and click Apply to see the results — or click the cross button to close the filter.
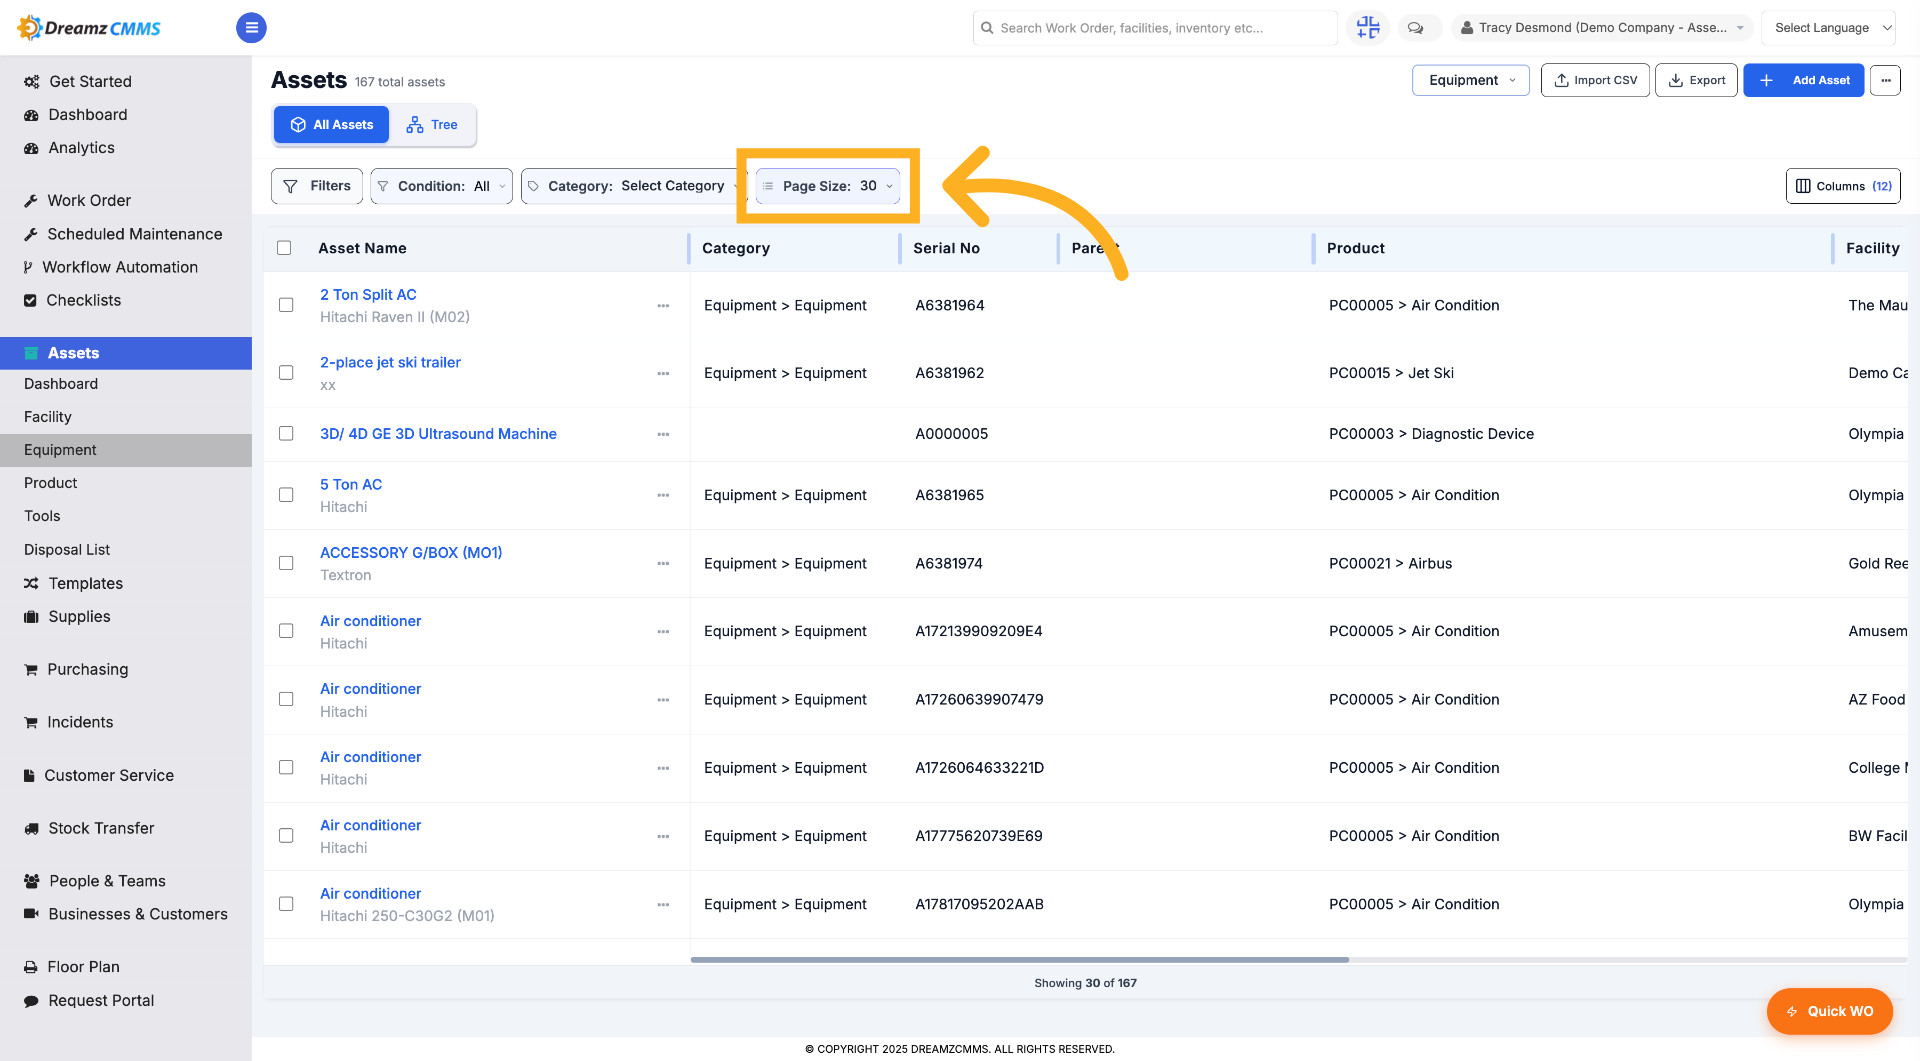
Step 9 – Adjust Page Size
Click "Page Size" and choose ten, twenty, or thirty to change the number of assets displayed per page.
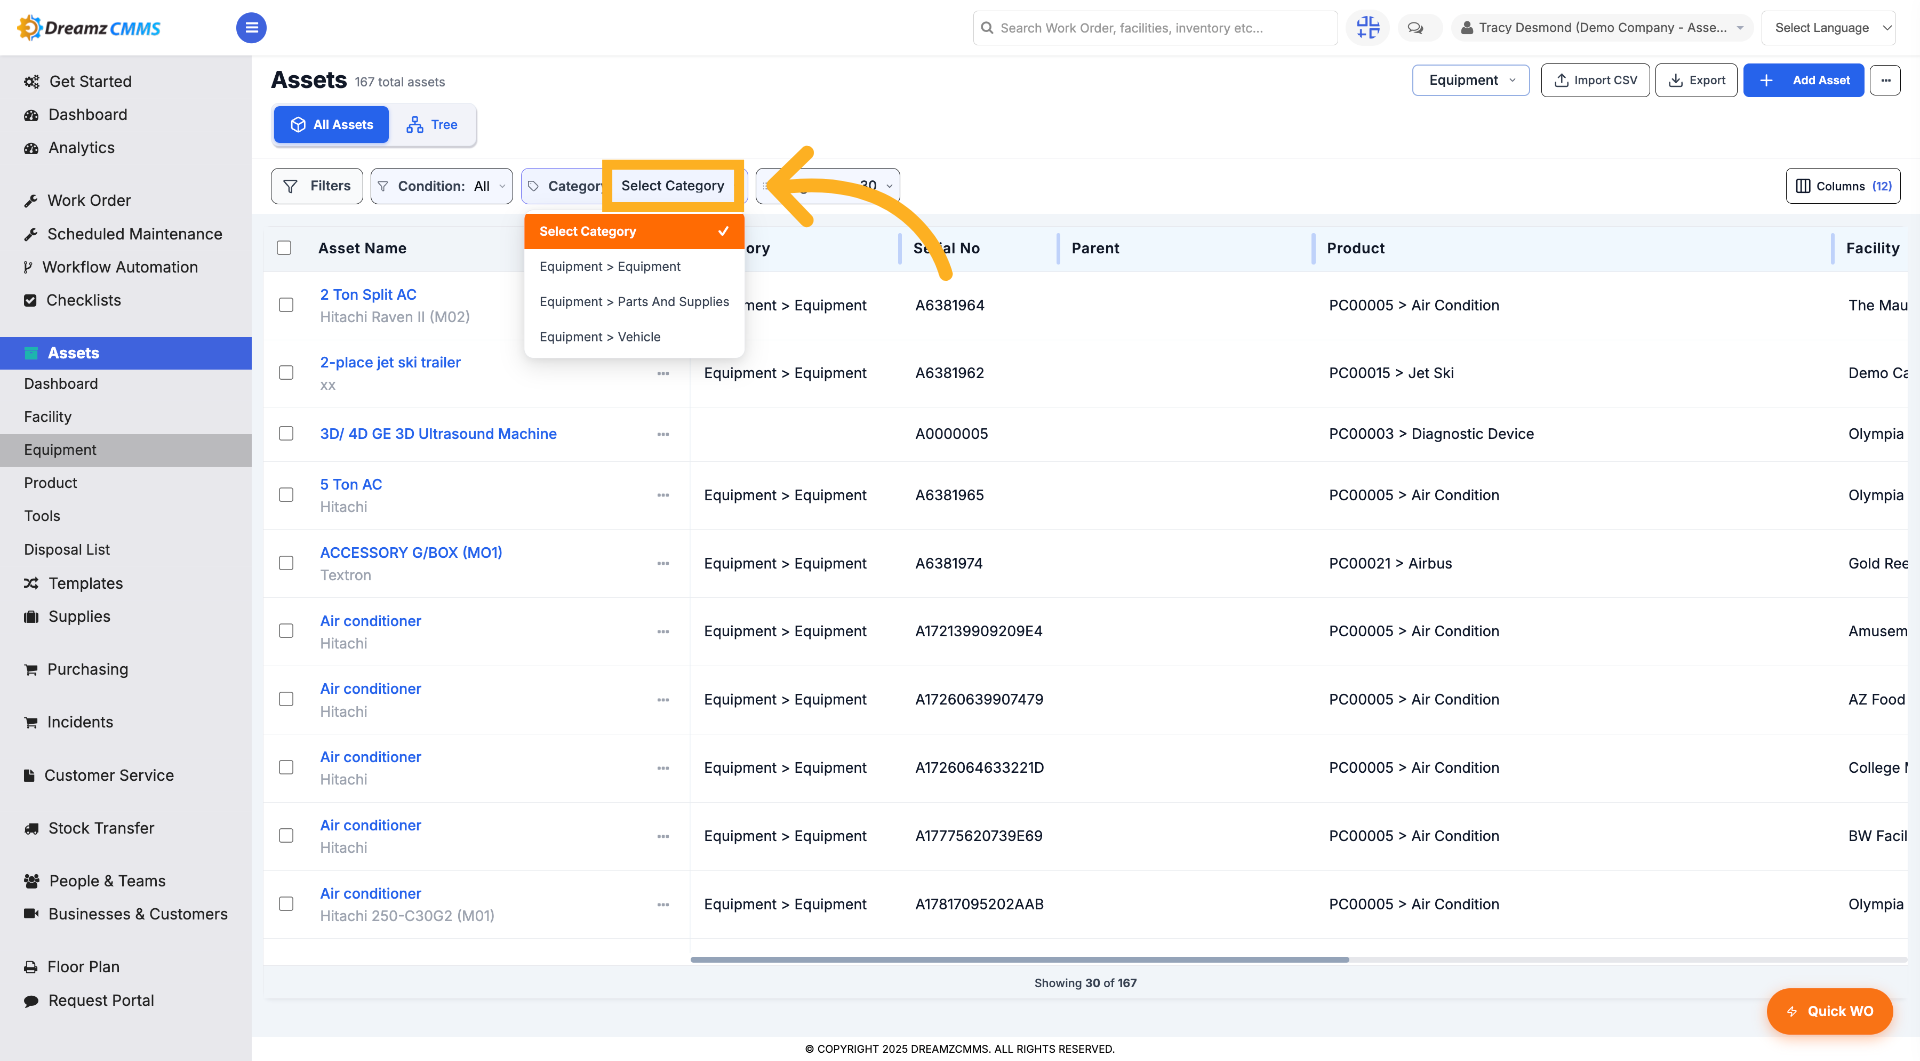
Step 10 – Select Category Filter
Click "Select Category" to choose an asset category for filtering.
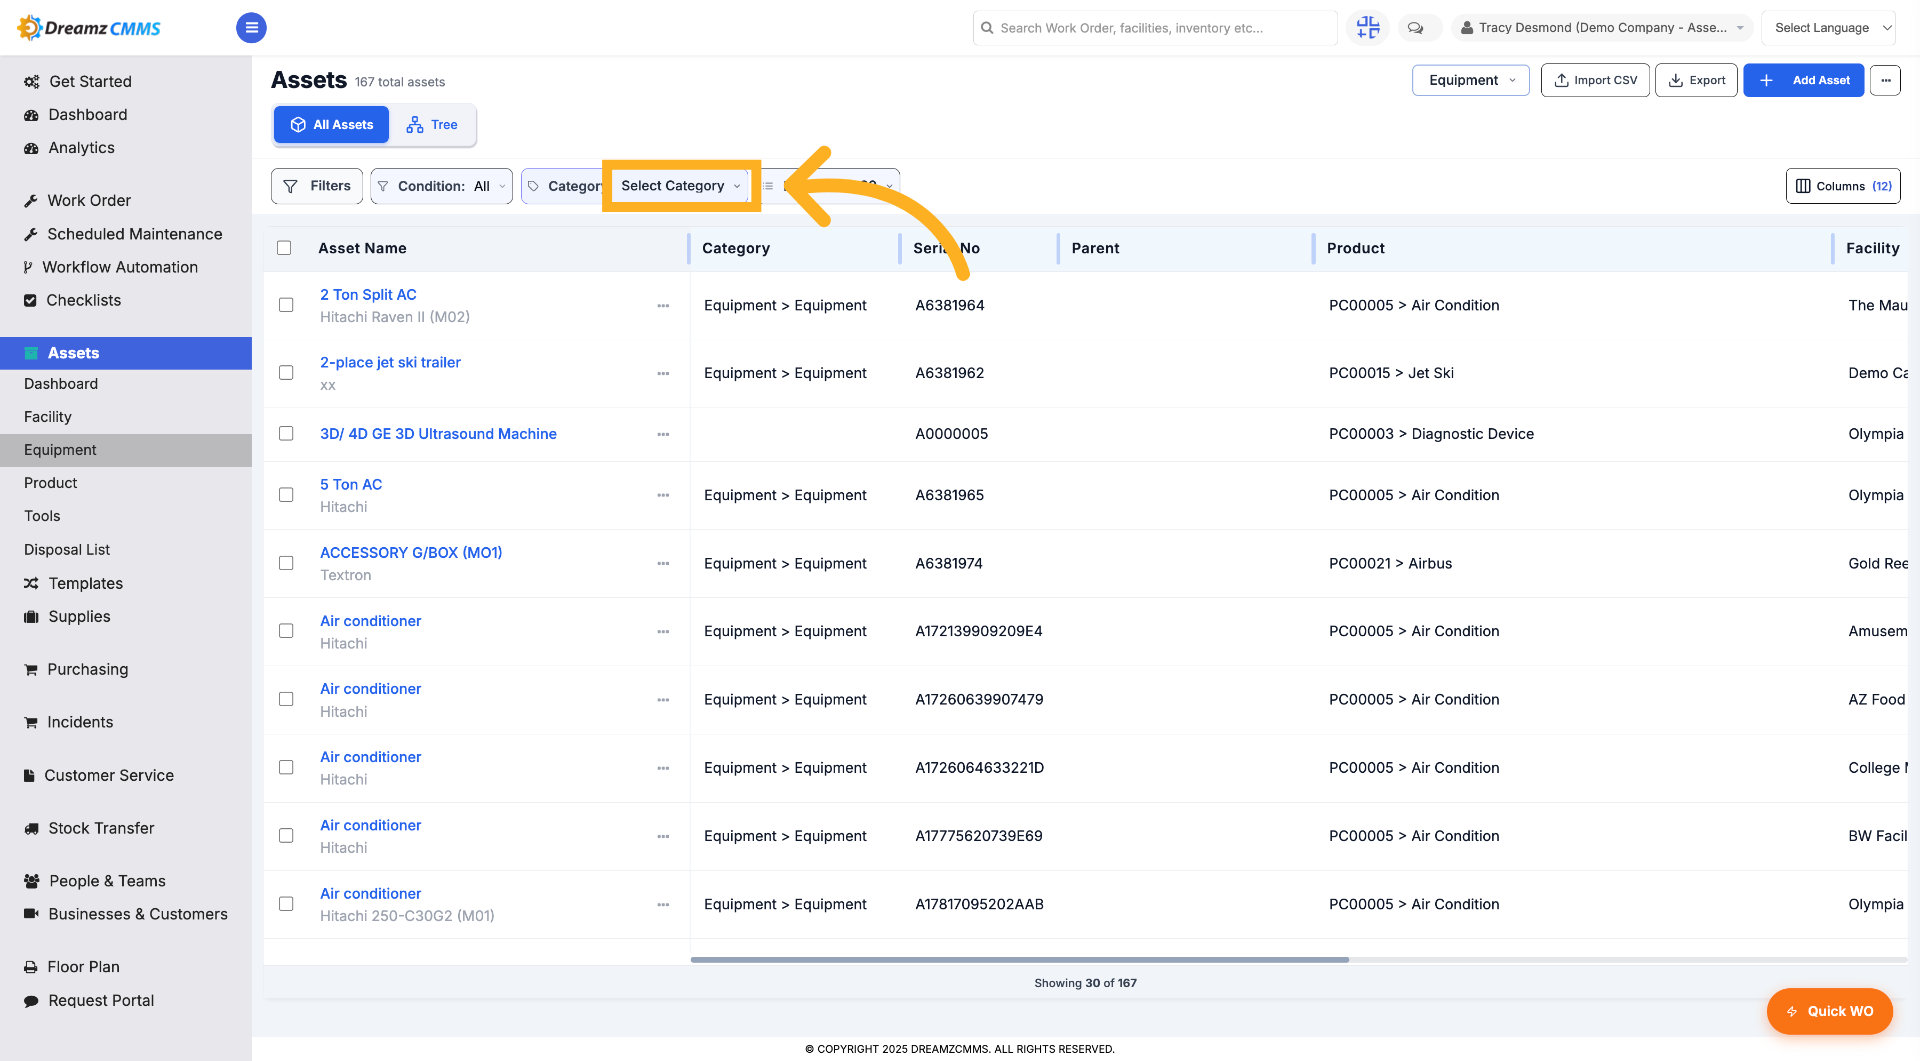
Step 11 – Choose Category Filter
Click "Select Category" to specify the category filter.
Step 12 – Select All Categories
Click "All" to include all categories in the filter.
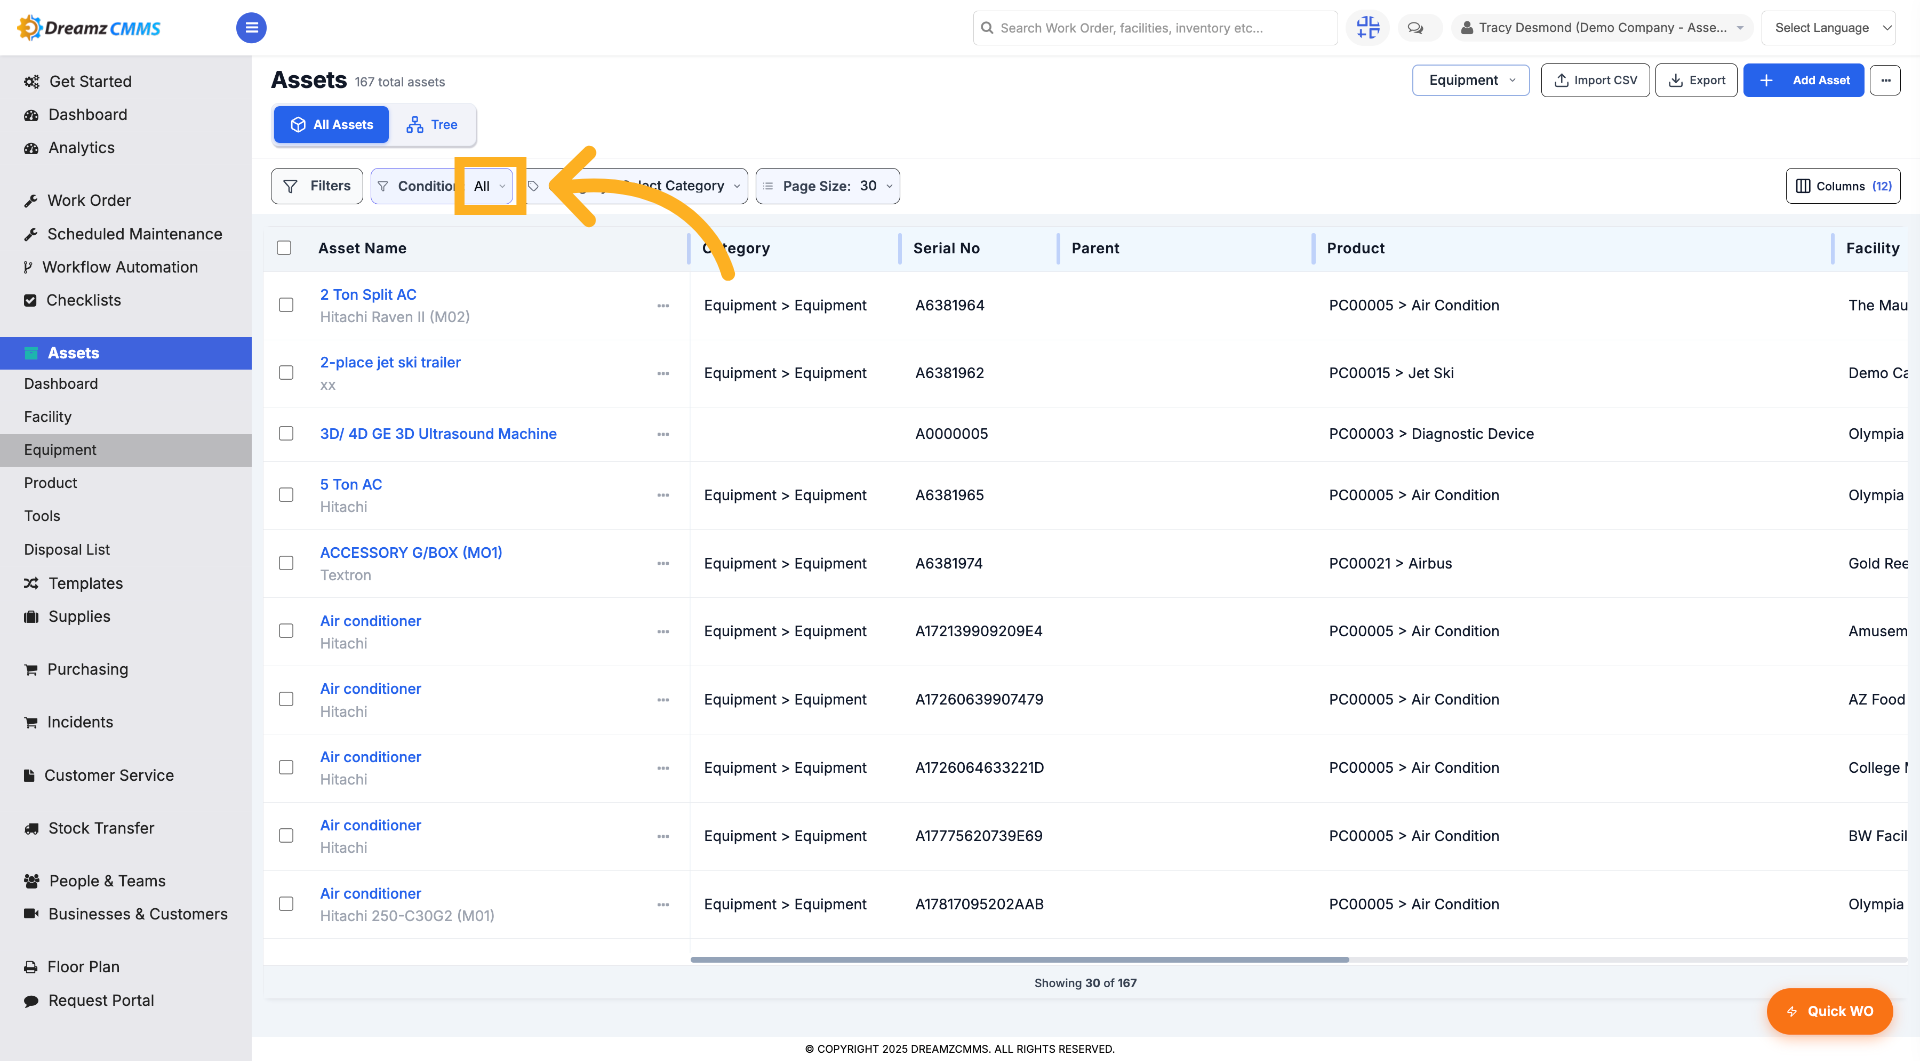
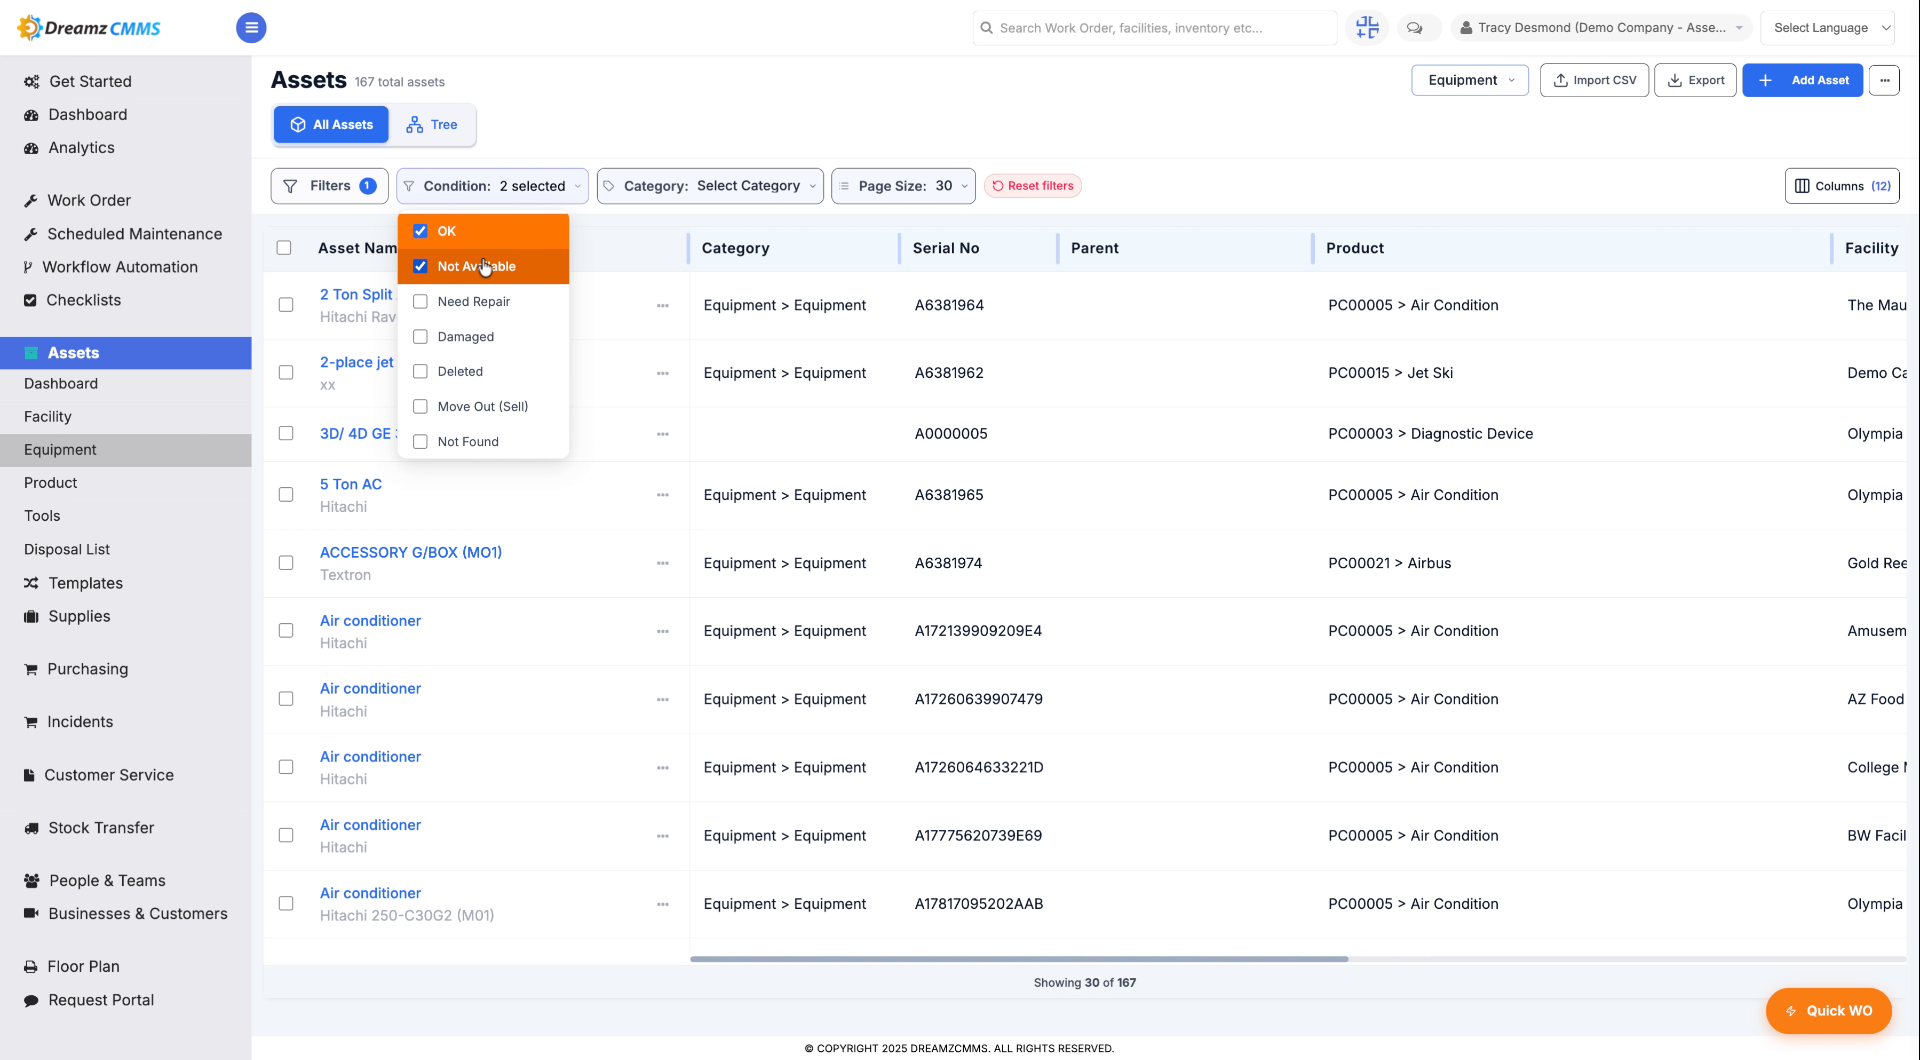
Step 13 – Enter Filter Value
Choose from OK, Not Available, Need Repair, or other options to filter the asset list by asset condition.
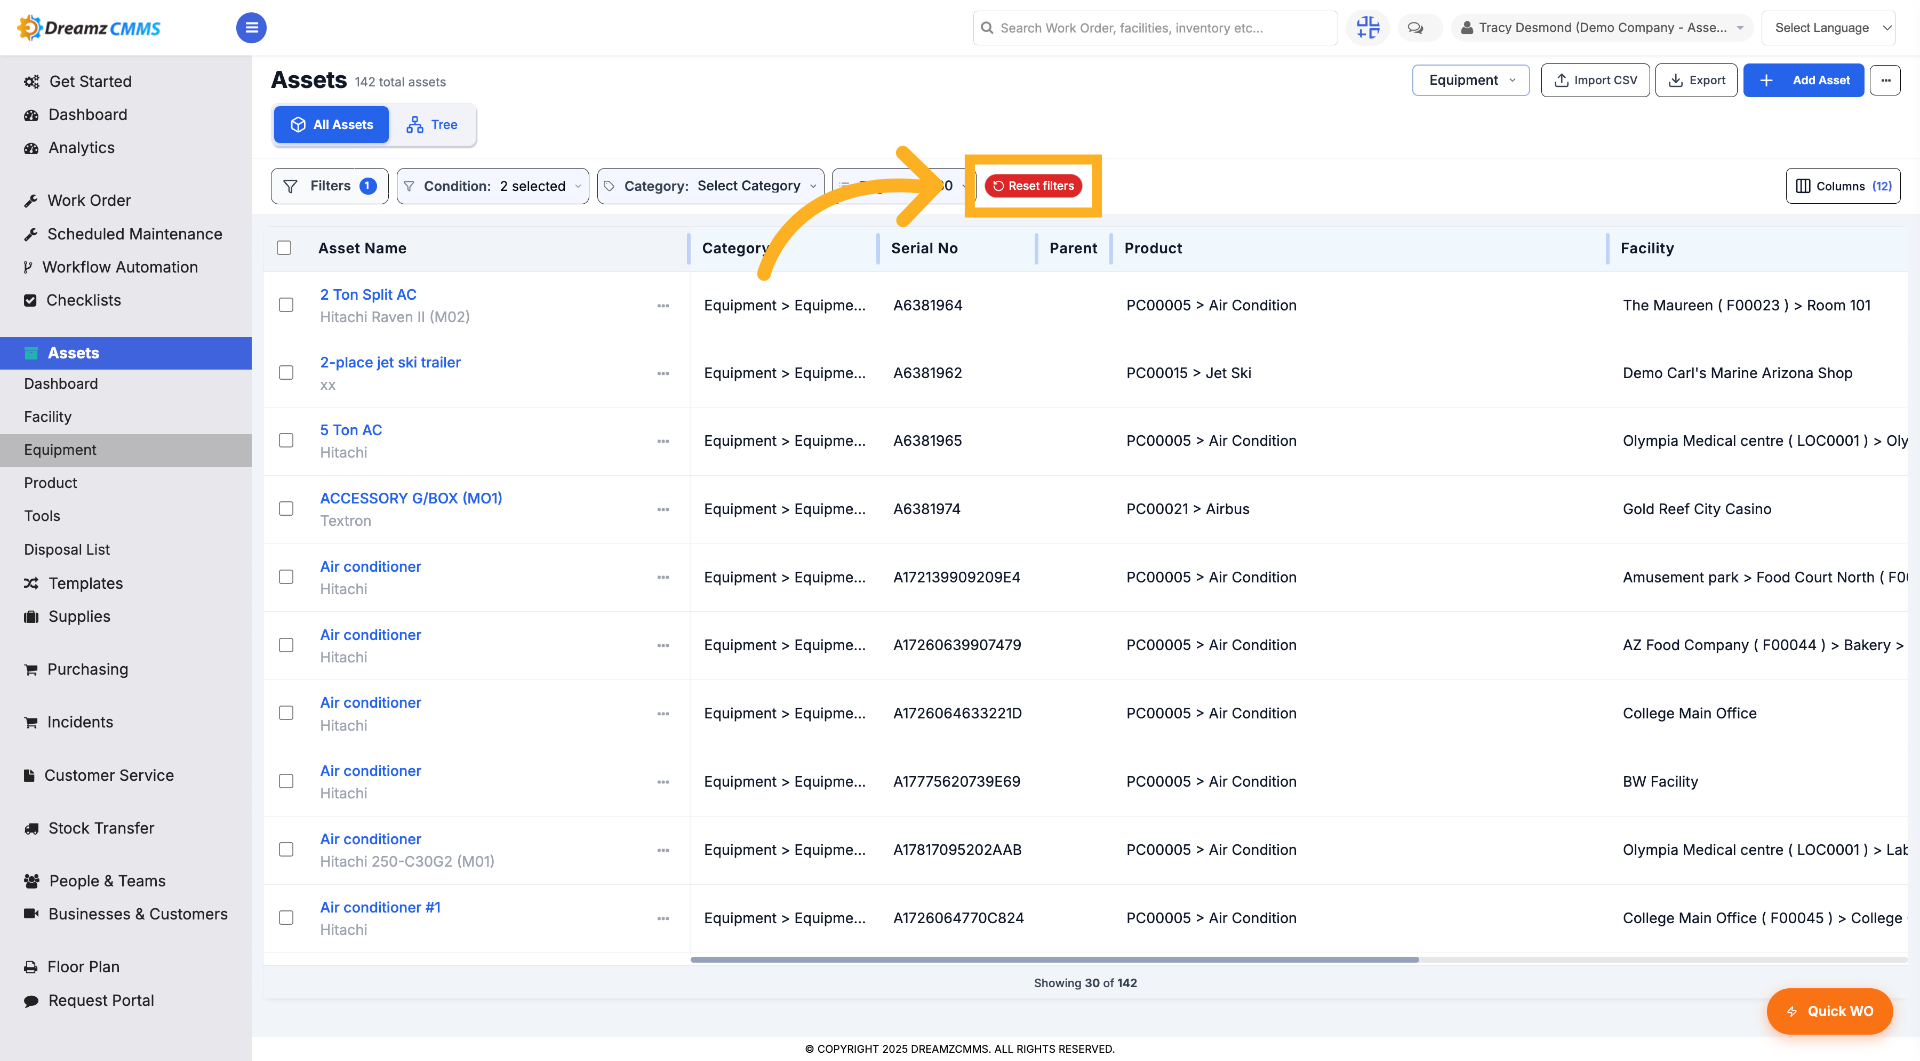
Step 14 – Reset All Filters
Click "Reset filters" to clear all applied filters and view the full asset list.
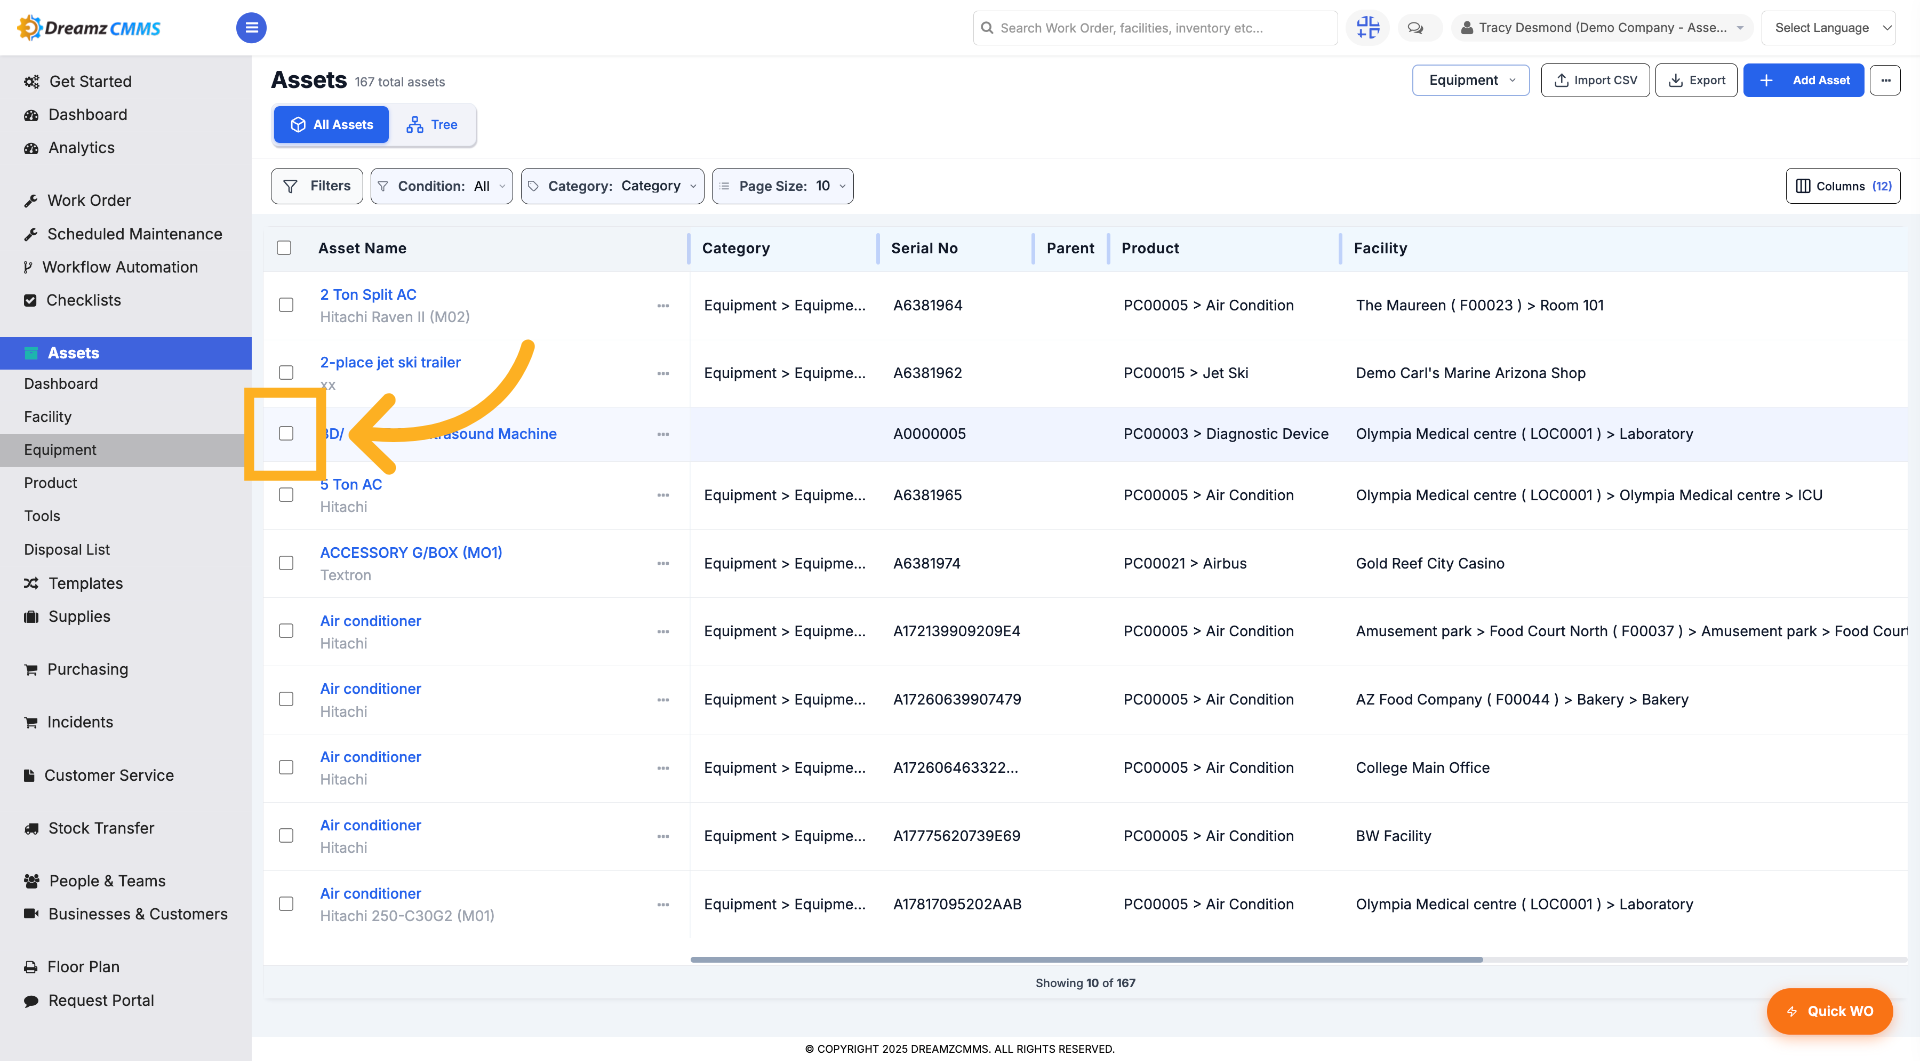
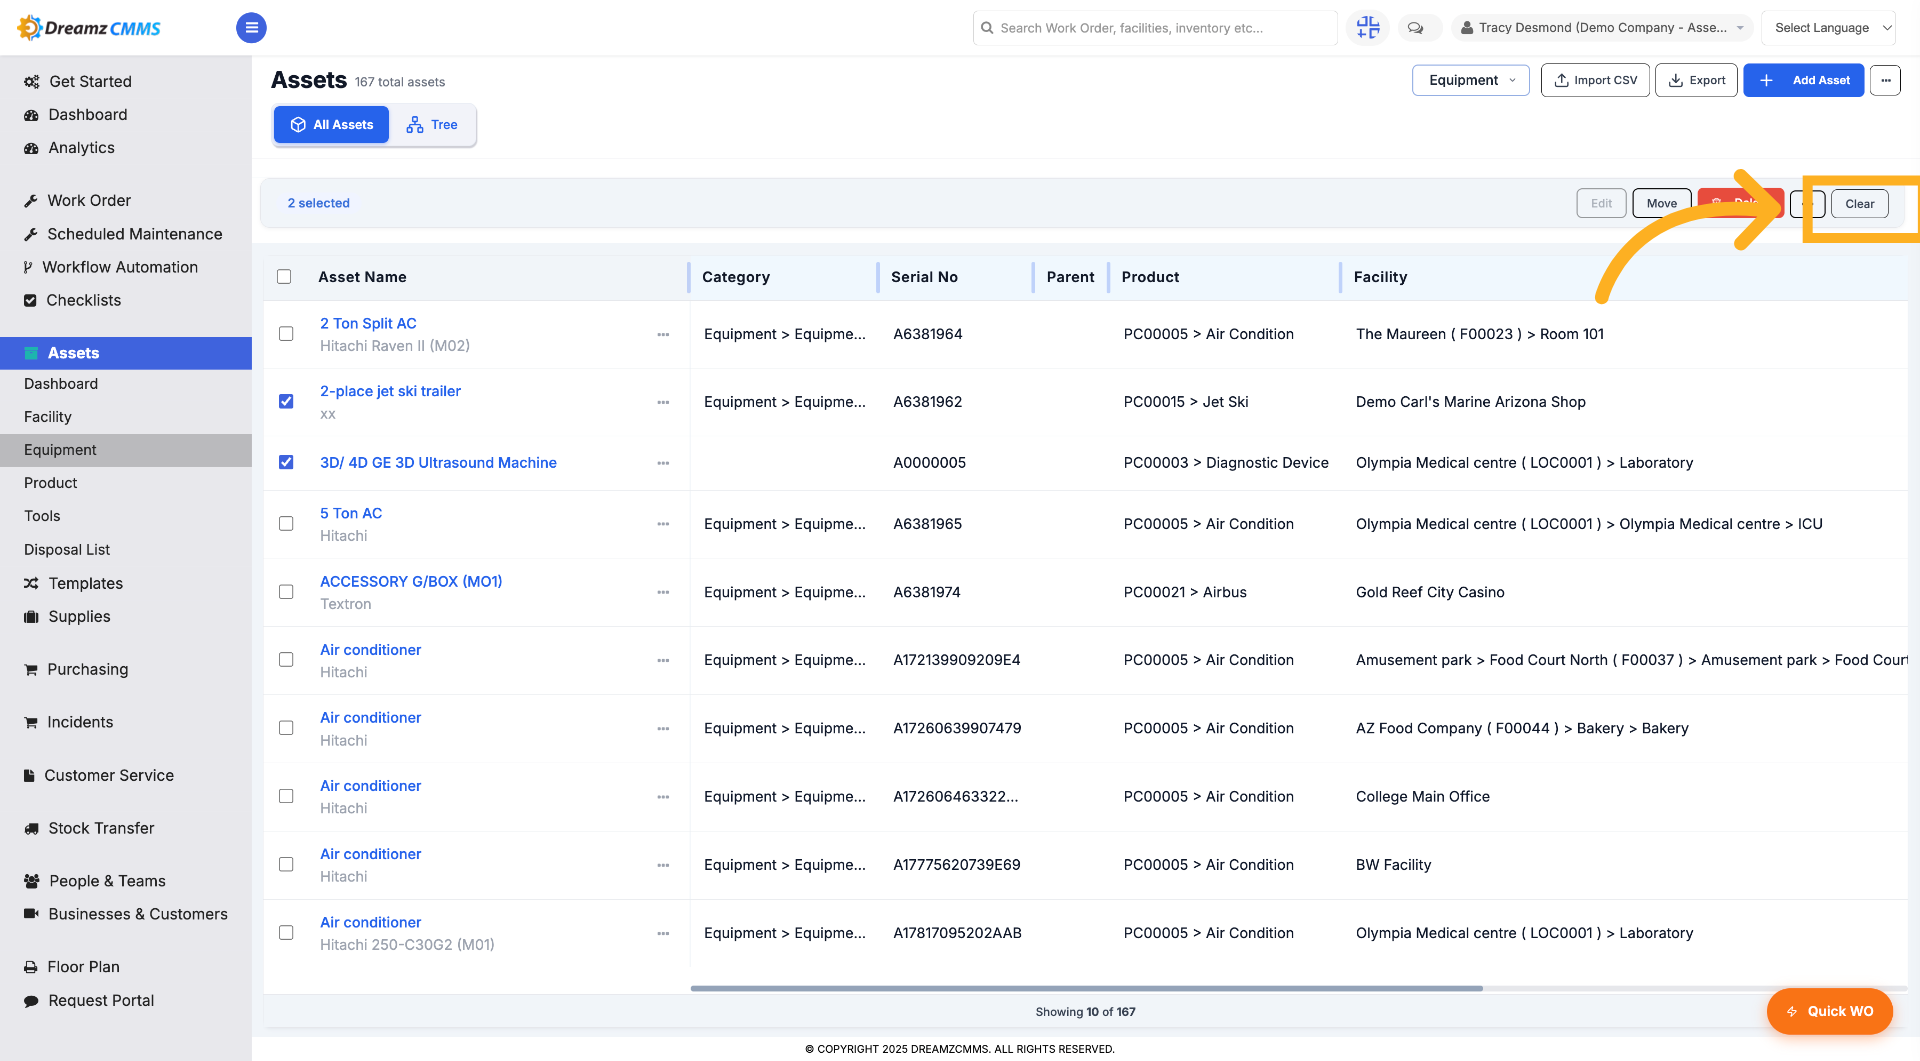
Step 15 – Select Assets
Click here to select an asset (or multiple assets) from the list.
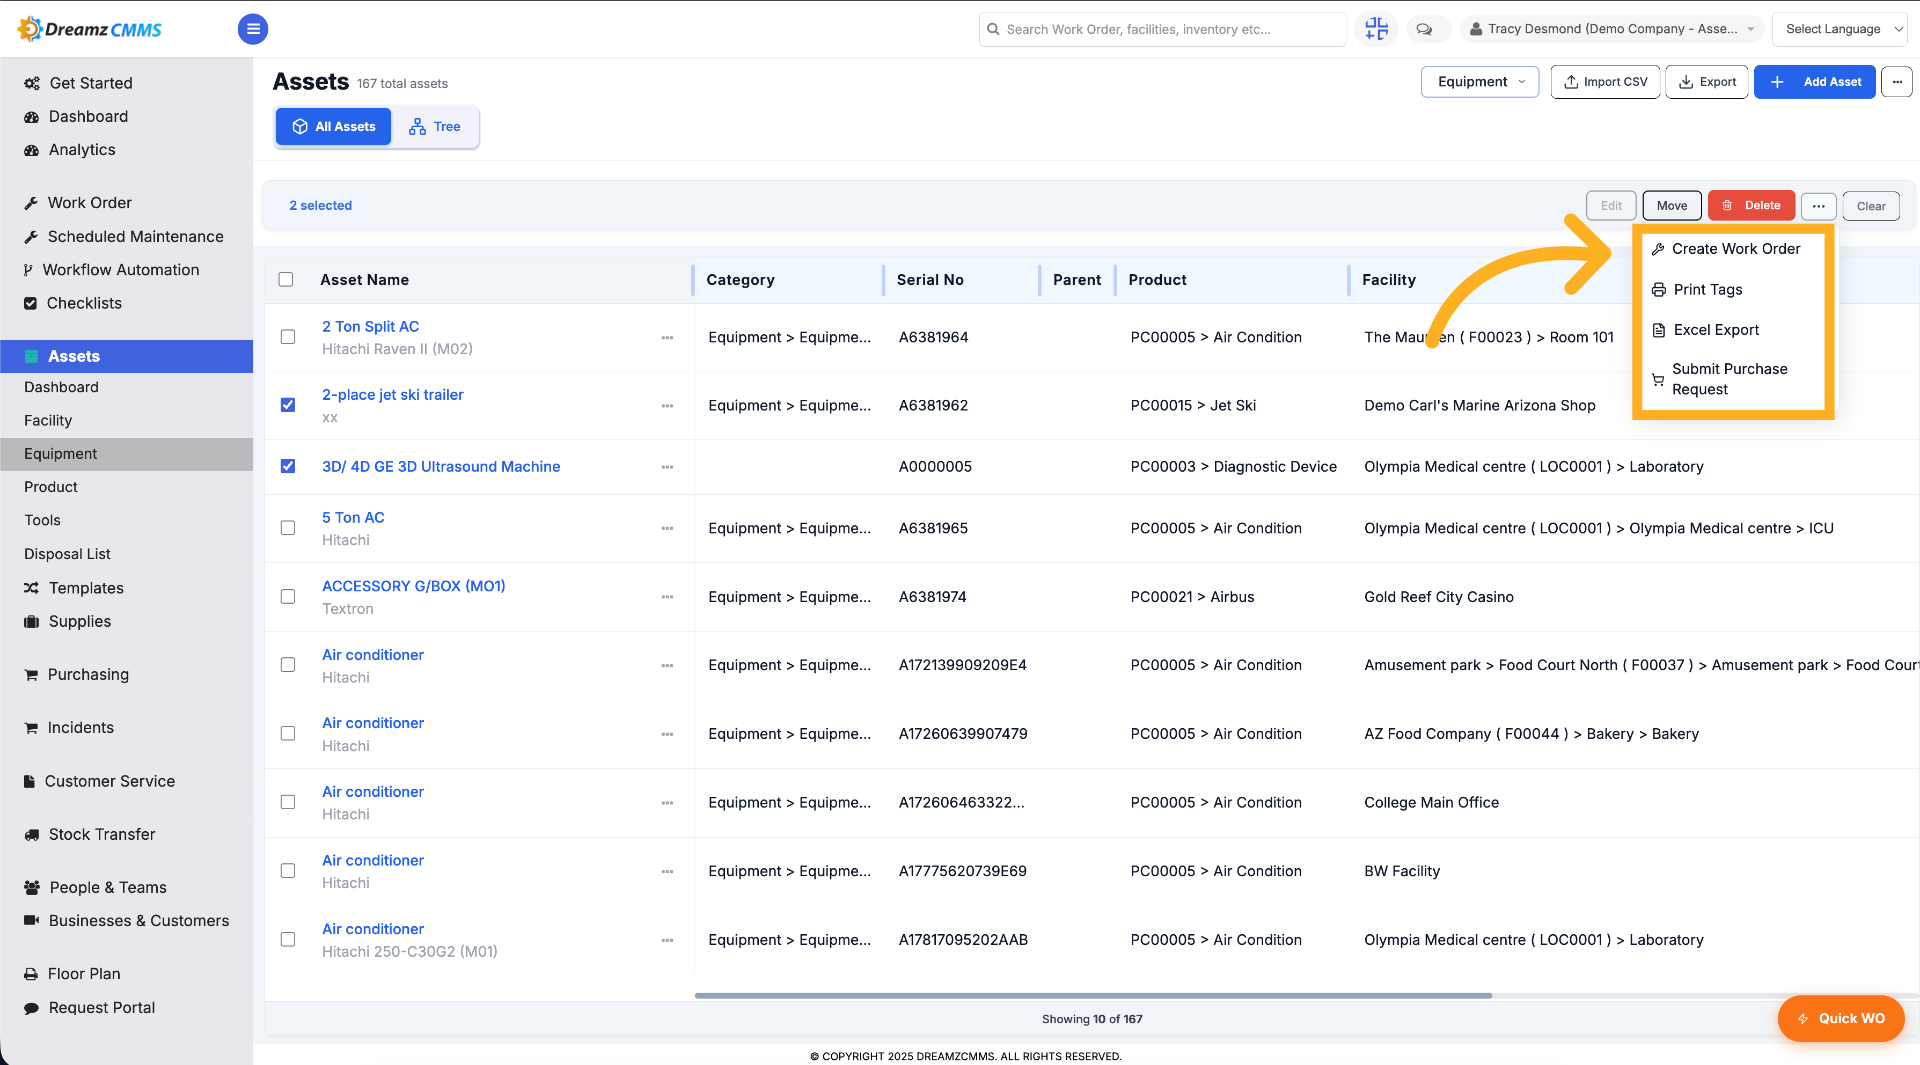
Step 16 – Select Options to Perform Against Selected Assets
Select options from the list to perform against multiple selected assets.
Step 17 – Clear Applied Filters
Click "Clear" to remove all filters and reset the asset list view.
Step 18 – Select Asset Options
Click here to select options that can be applied to the asset list.
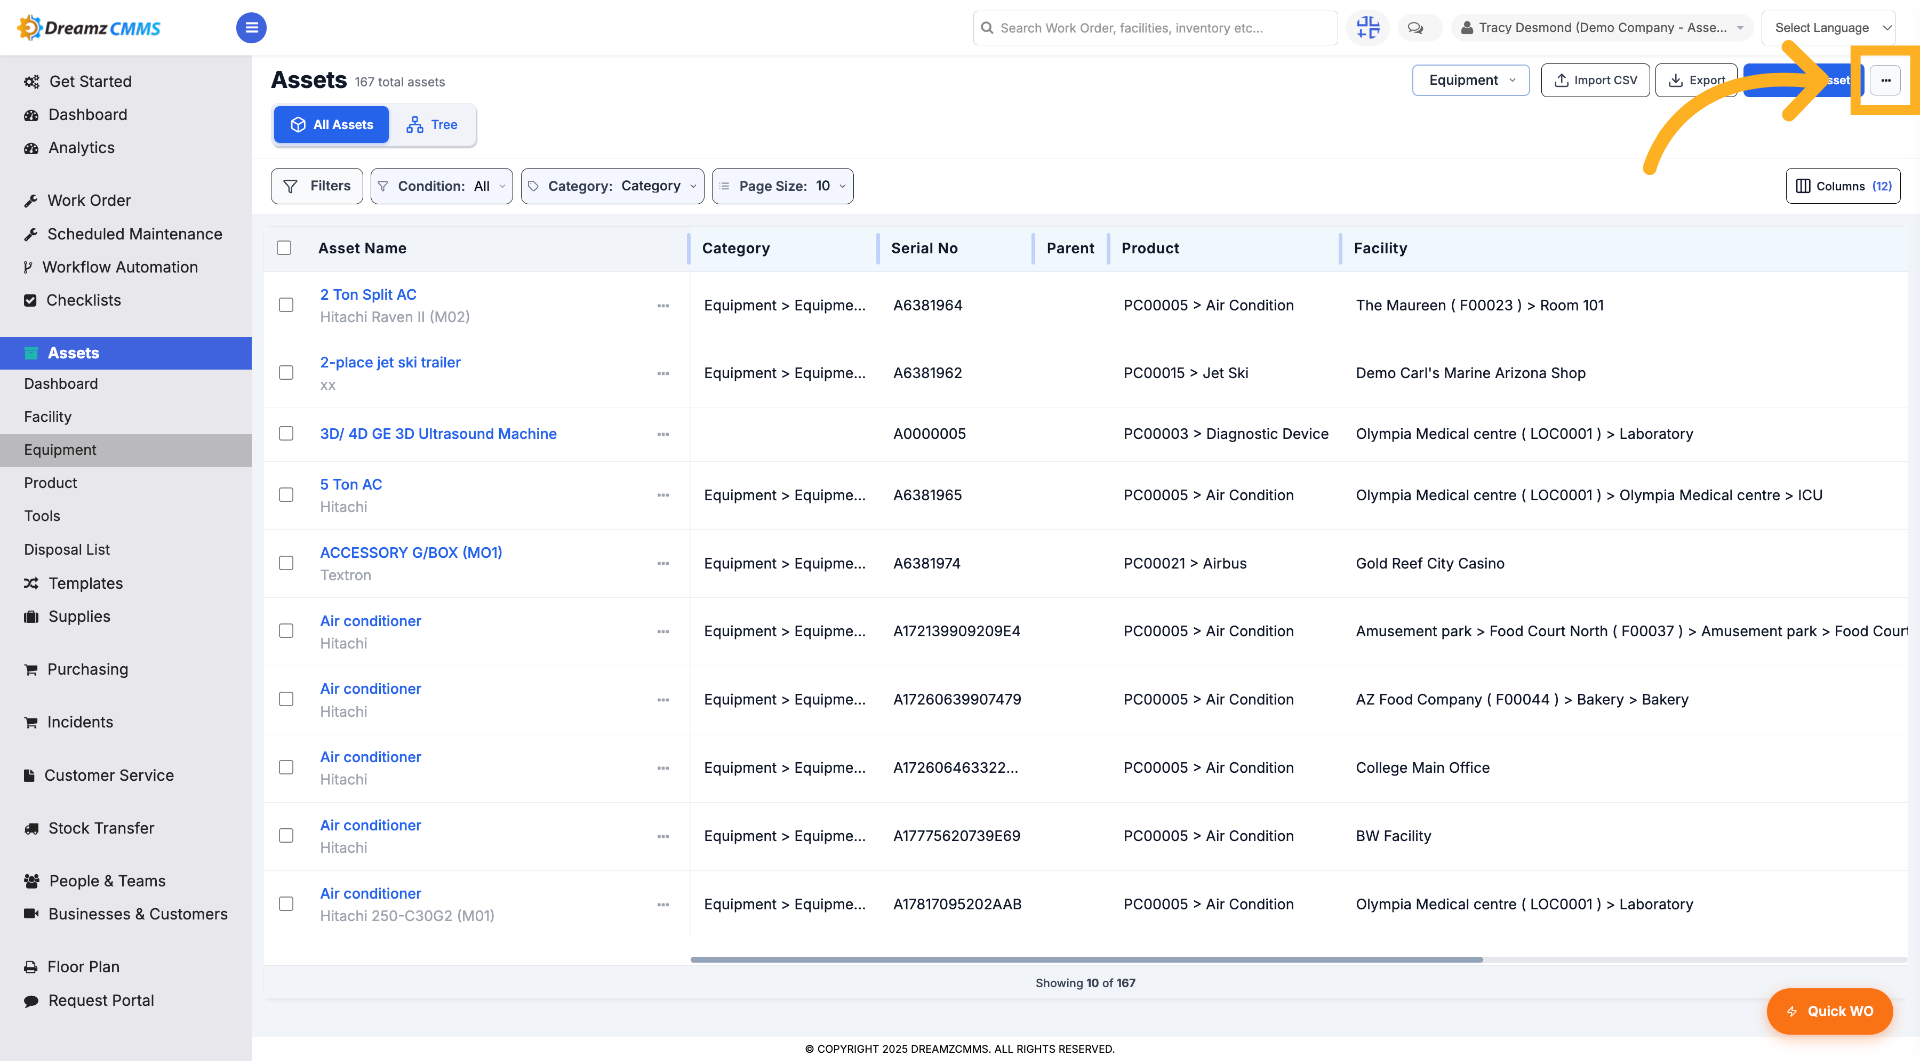
Step 19 – Select Asset Options
Click on any option from the list to perform against the asset list.

Part 2: Add New Assets and Asset Details
Overview
Once assets exist in your system, you can open any asset to view or update its full profile — general information, location, grouping, identities, key dates, depreciation, and pricing. The same detail form is used when adding a brand-new asset.
Before You Begin
- You must have access to view and manage assets in your account.
- Set up your Locations and Asset Categories beforehand, since these are assigned to assets from this form.
How to View and Edit Asset Details
Step 1 – Access Asset Details
Click here to open the asset details page in DreamzCMMS.
Step 2 – Open Asset Edit Mode
Click "Edit" to modify the selected asset's information.
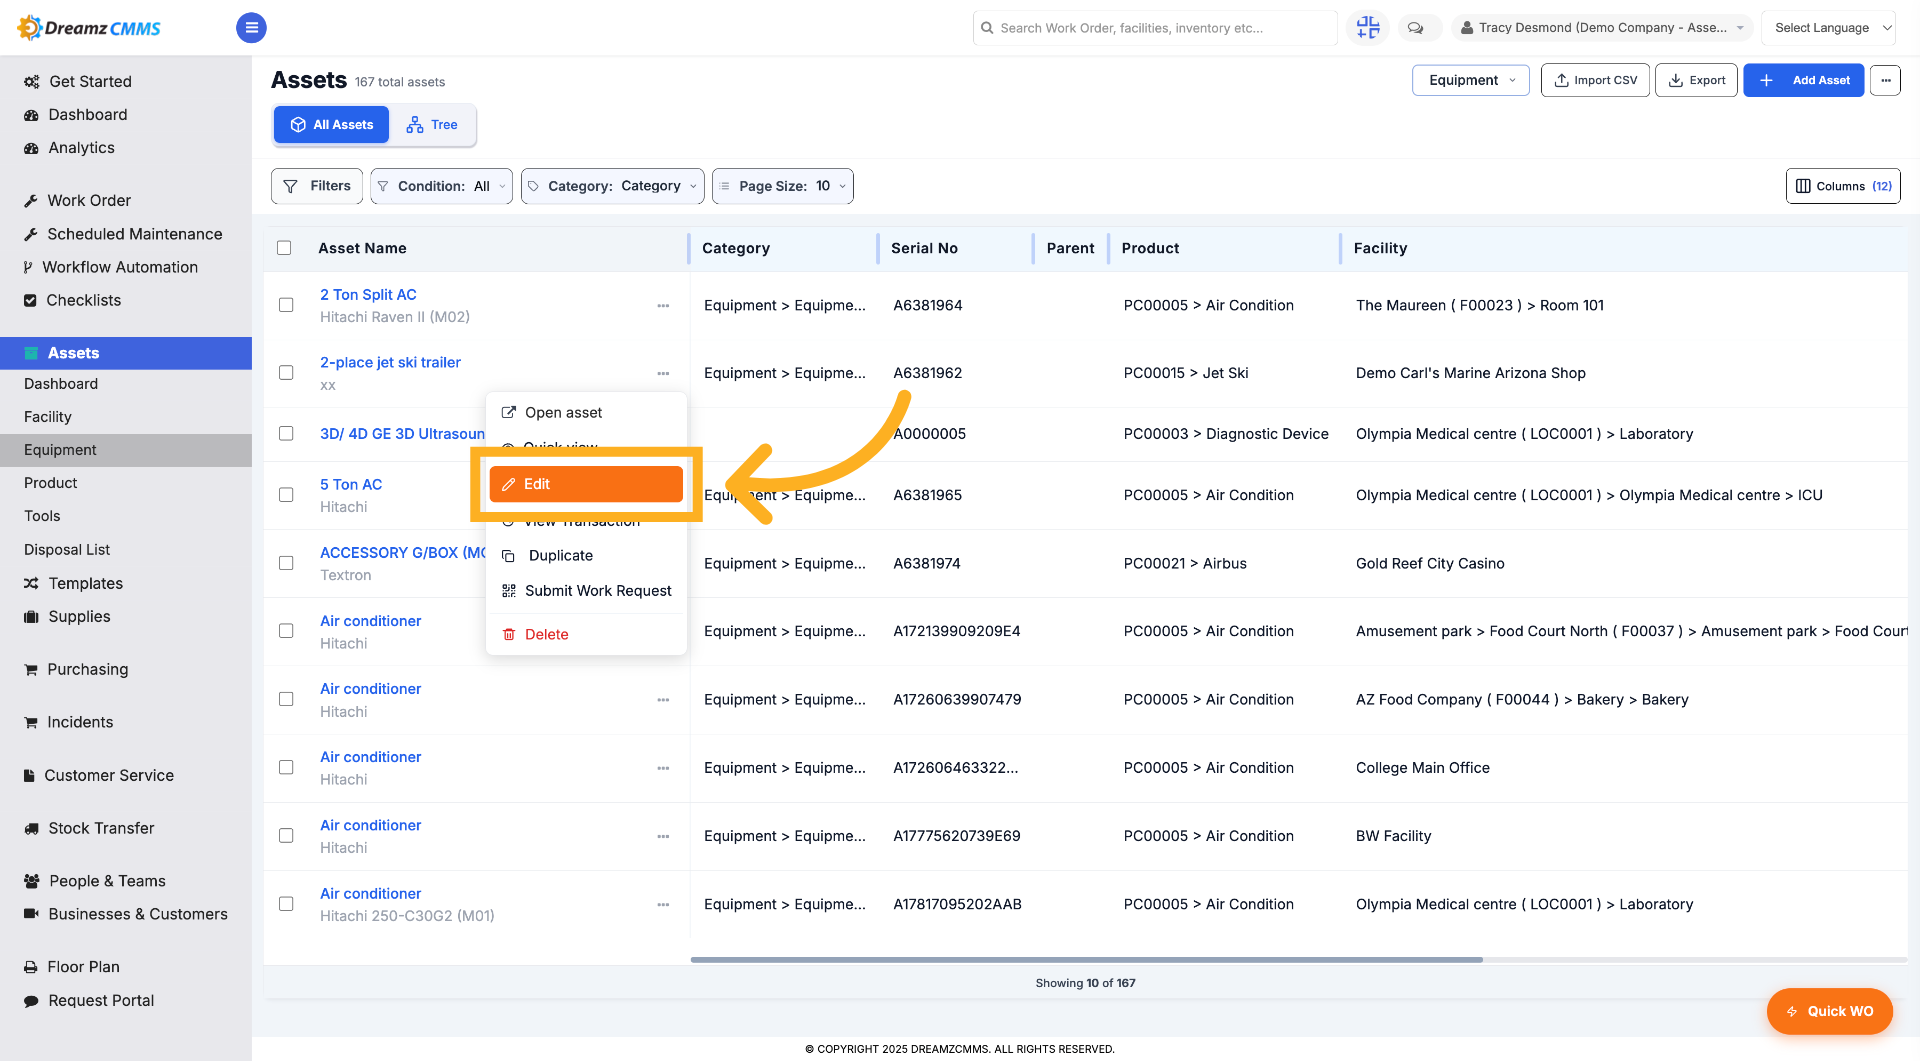
Step 3 – General Tab View
In the General tab, you can edit the general and mandatory fields like asset name, serial number, and product.
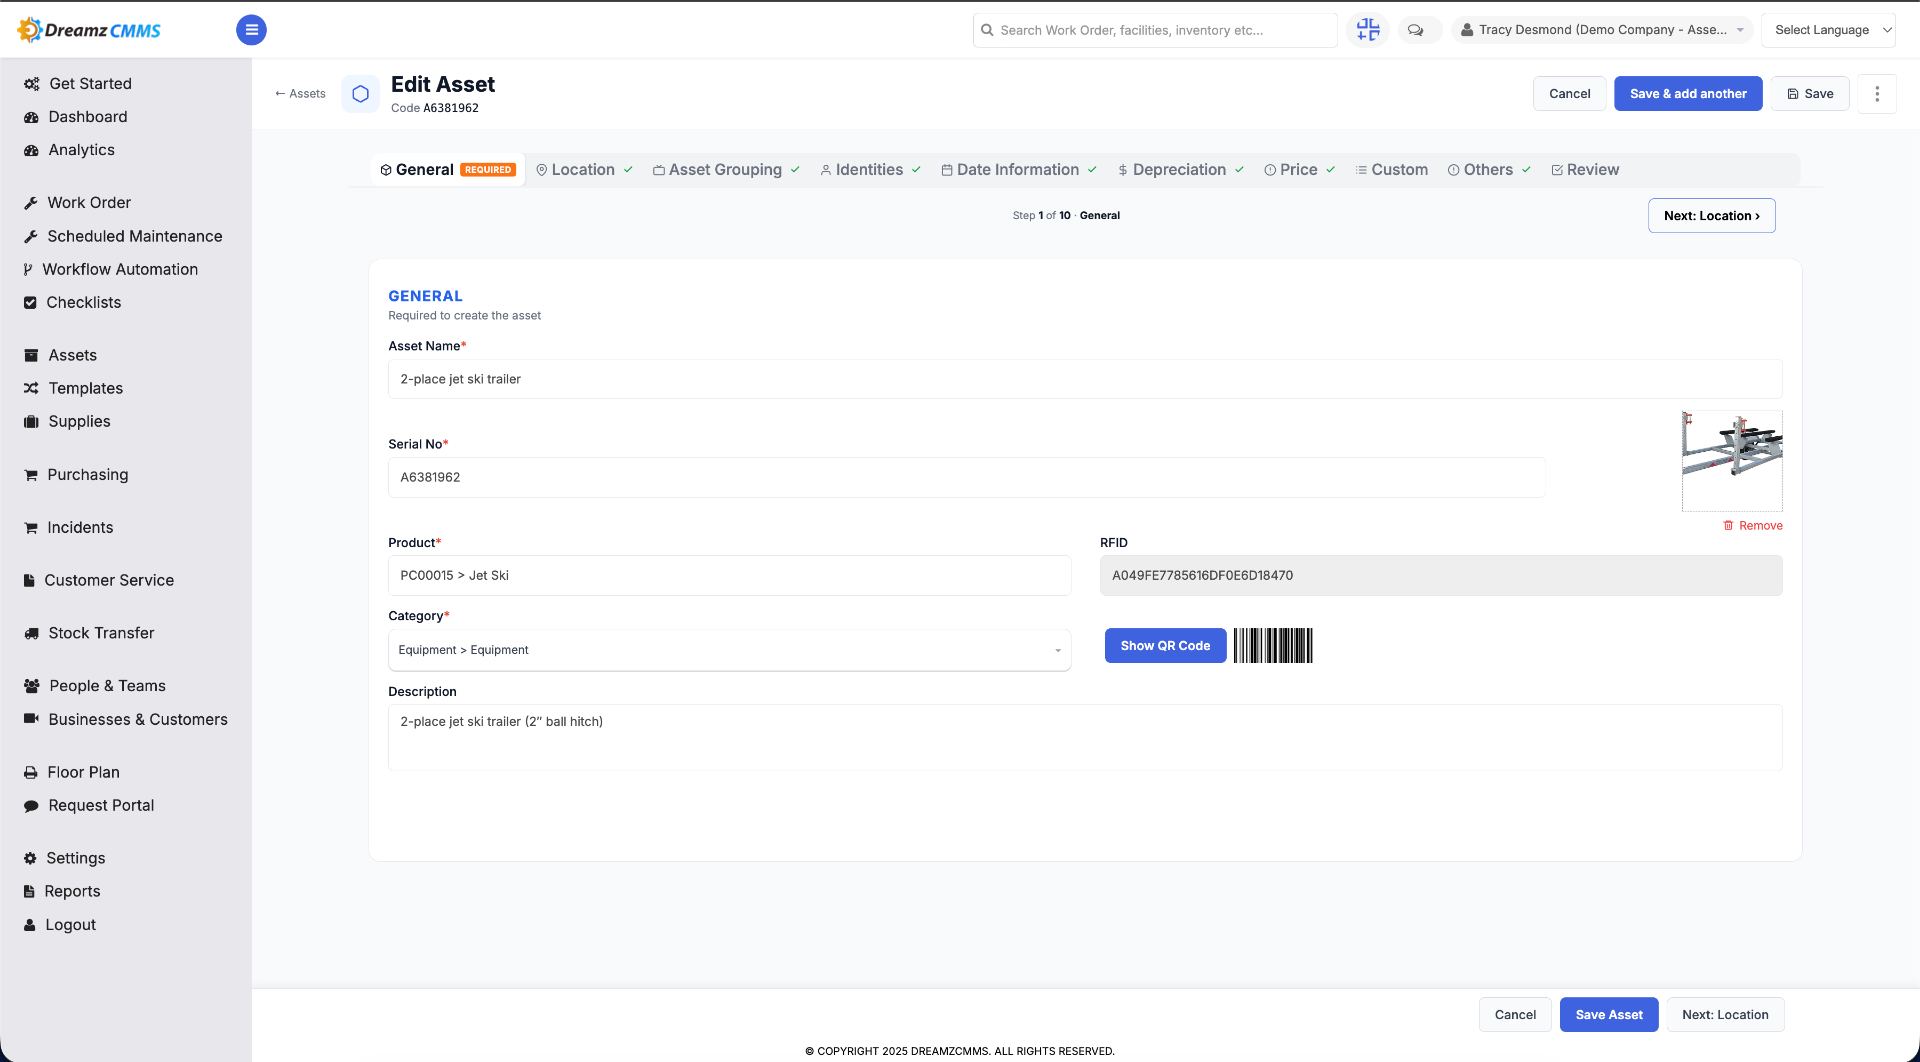
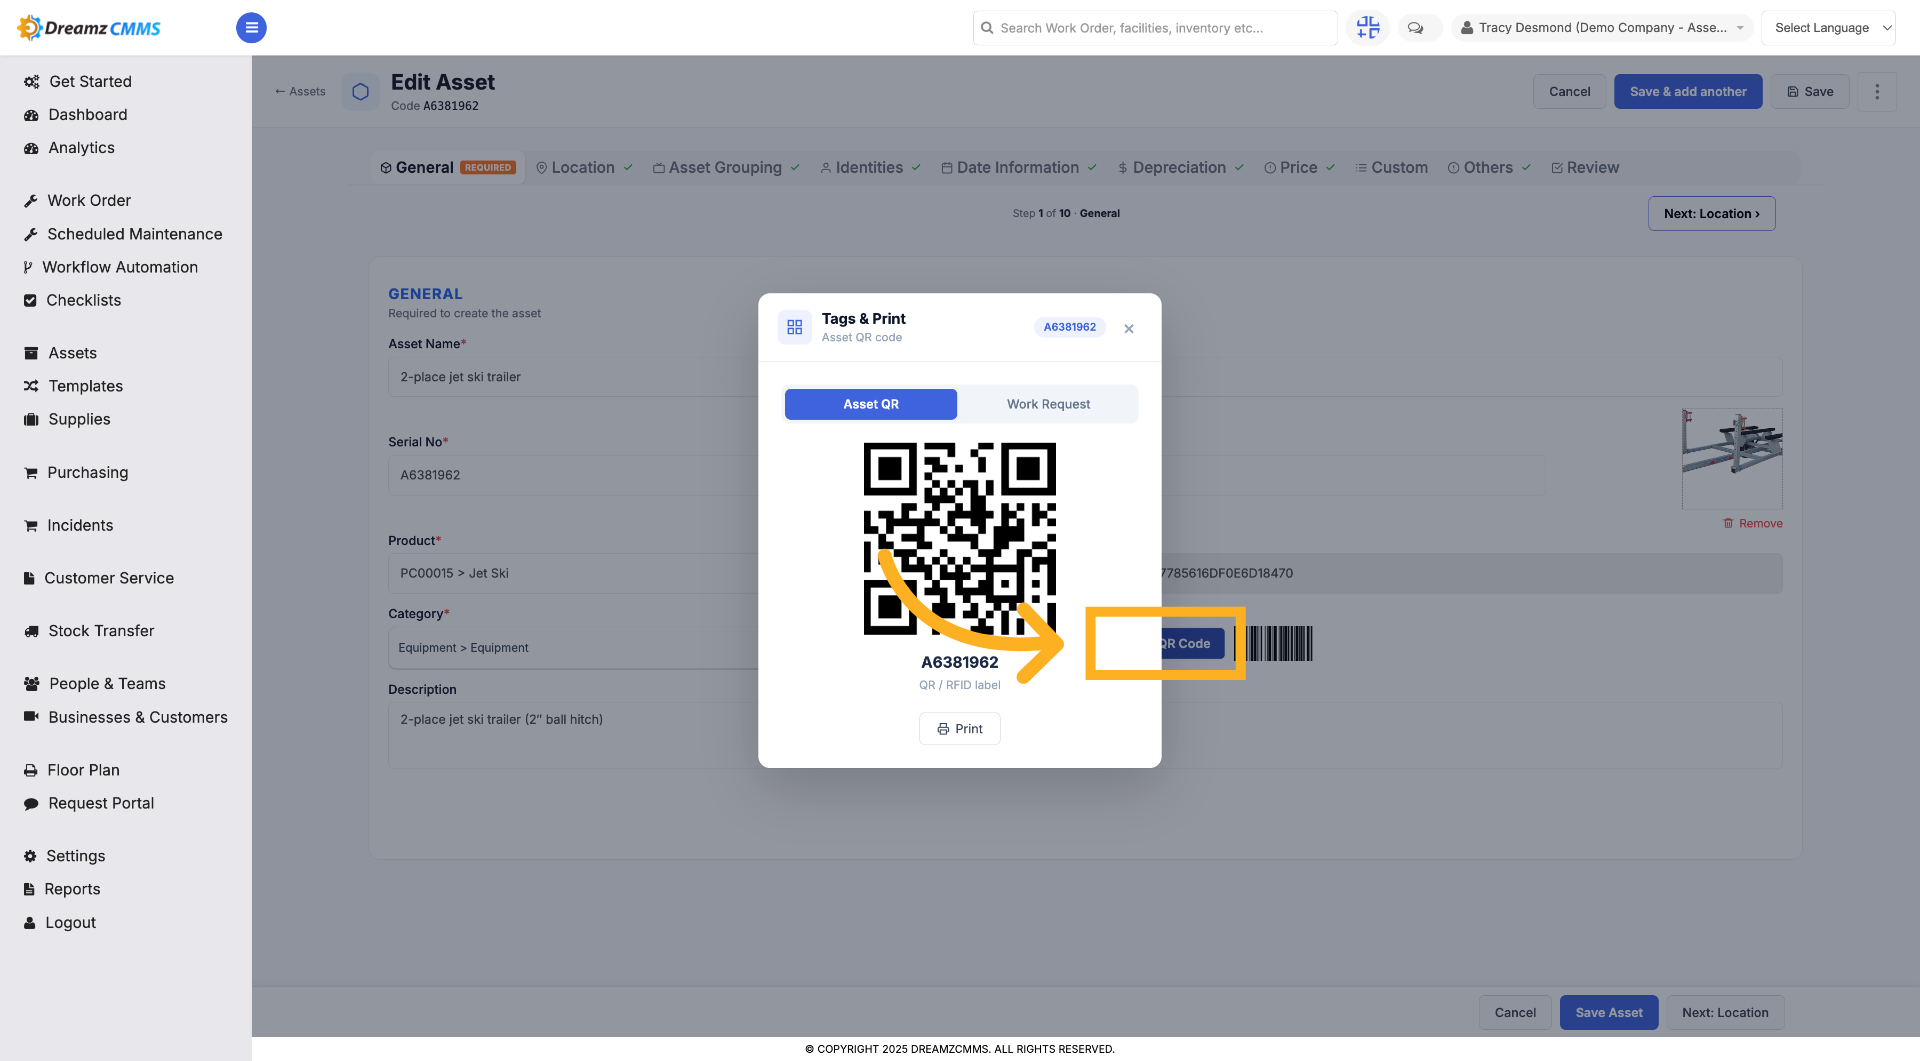
Step 4 – Display Asset QR Code
Click "Show QR Code" to view the asset's QR code for identification.
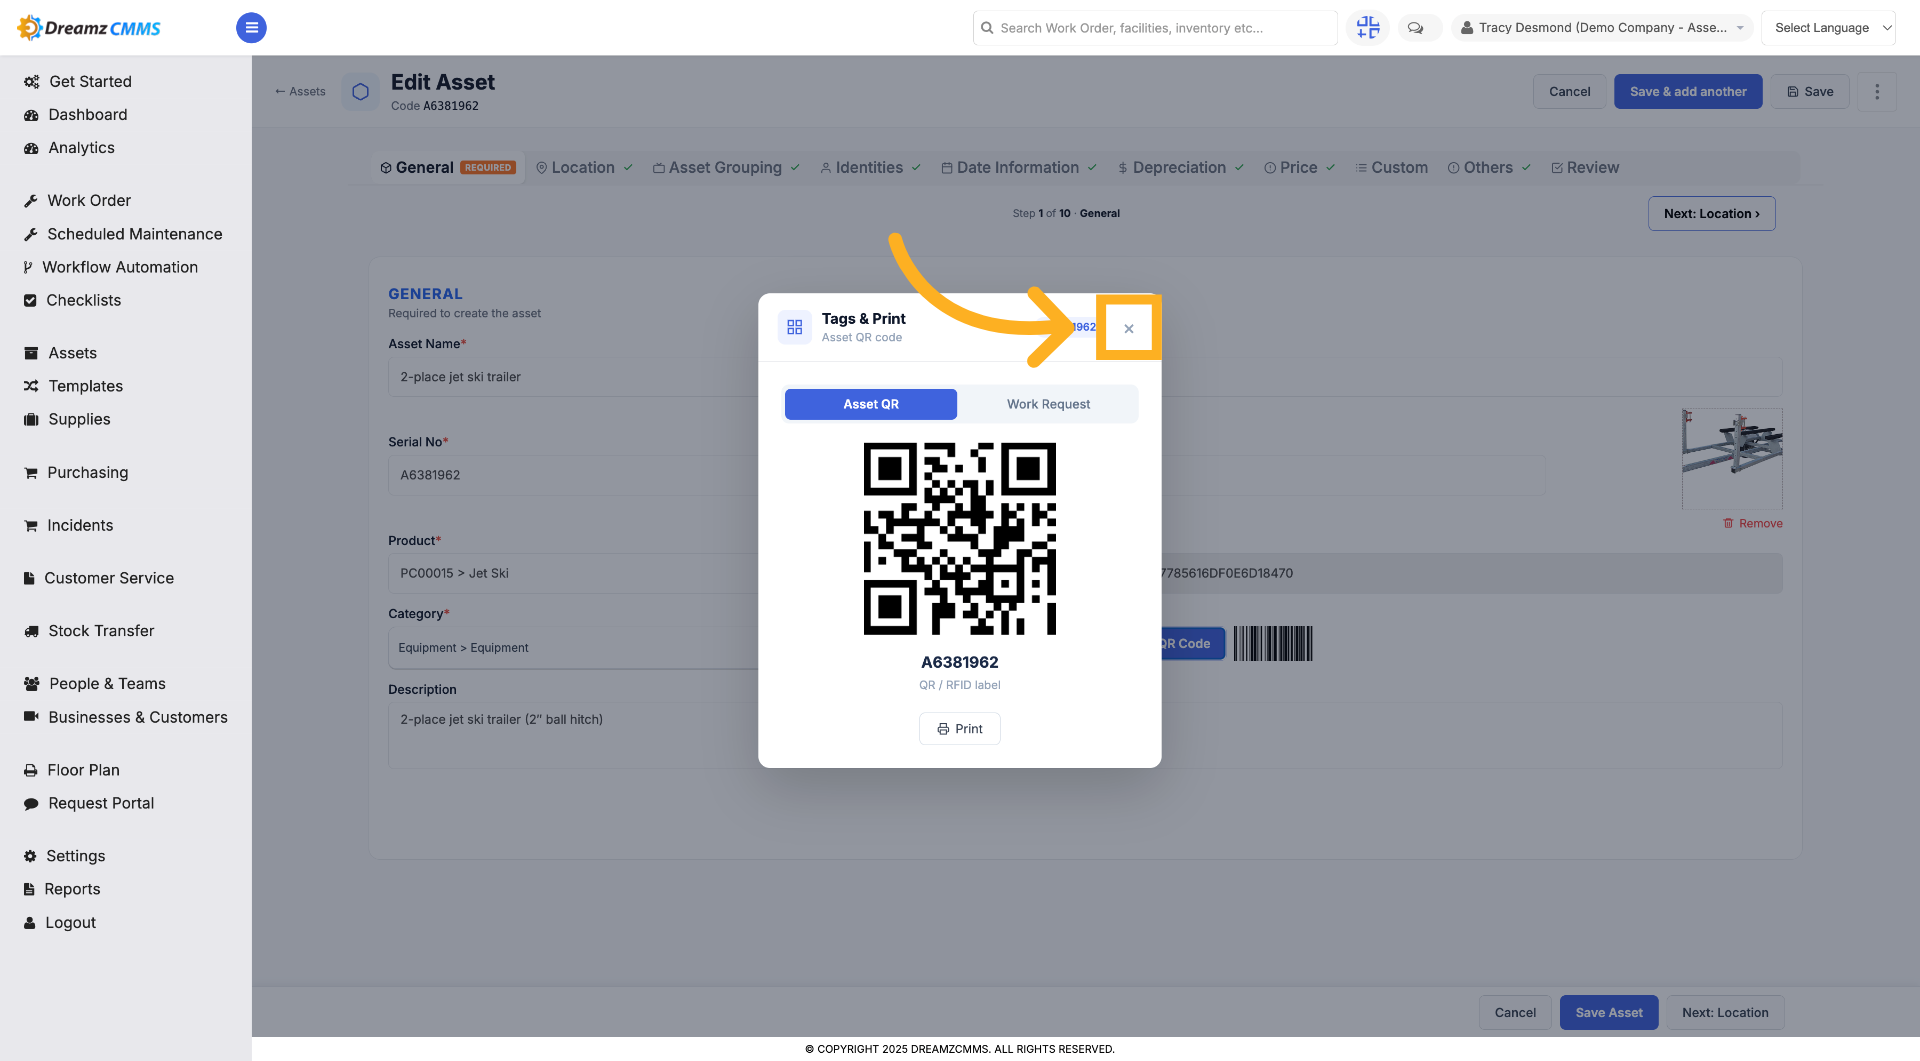
Step 5 – Close QR Code View
Click "×" to close the QR code display and return to editing.
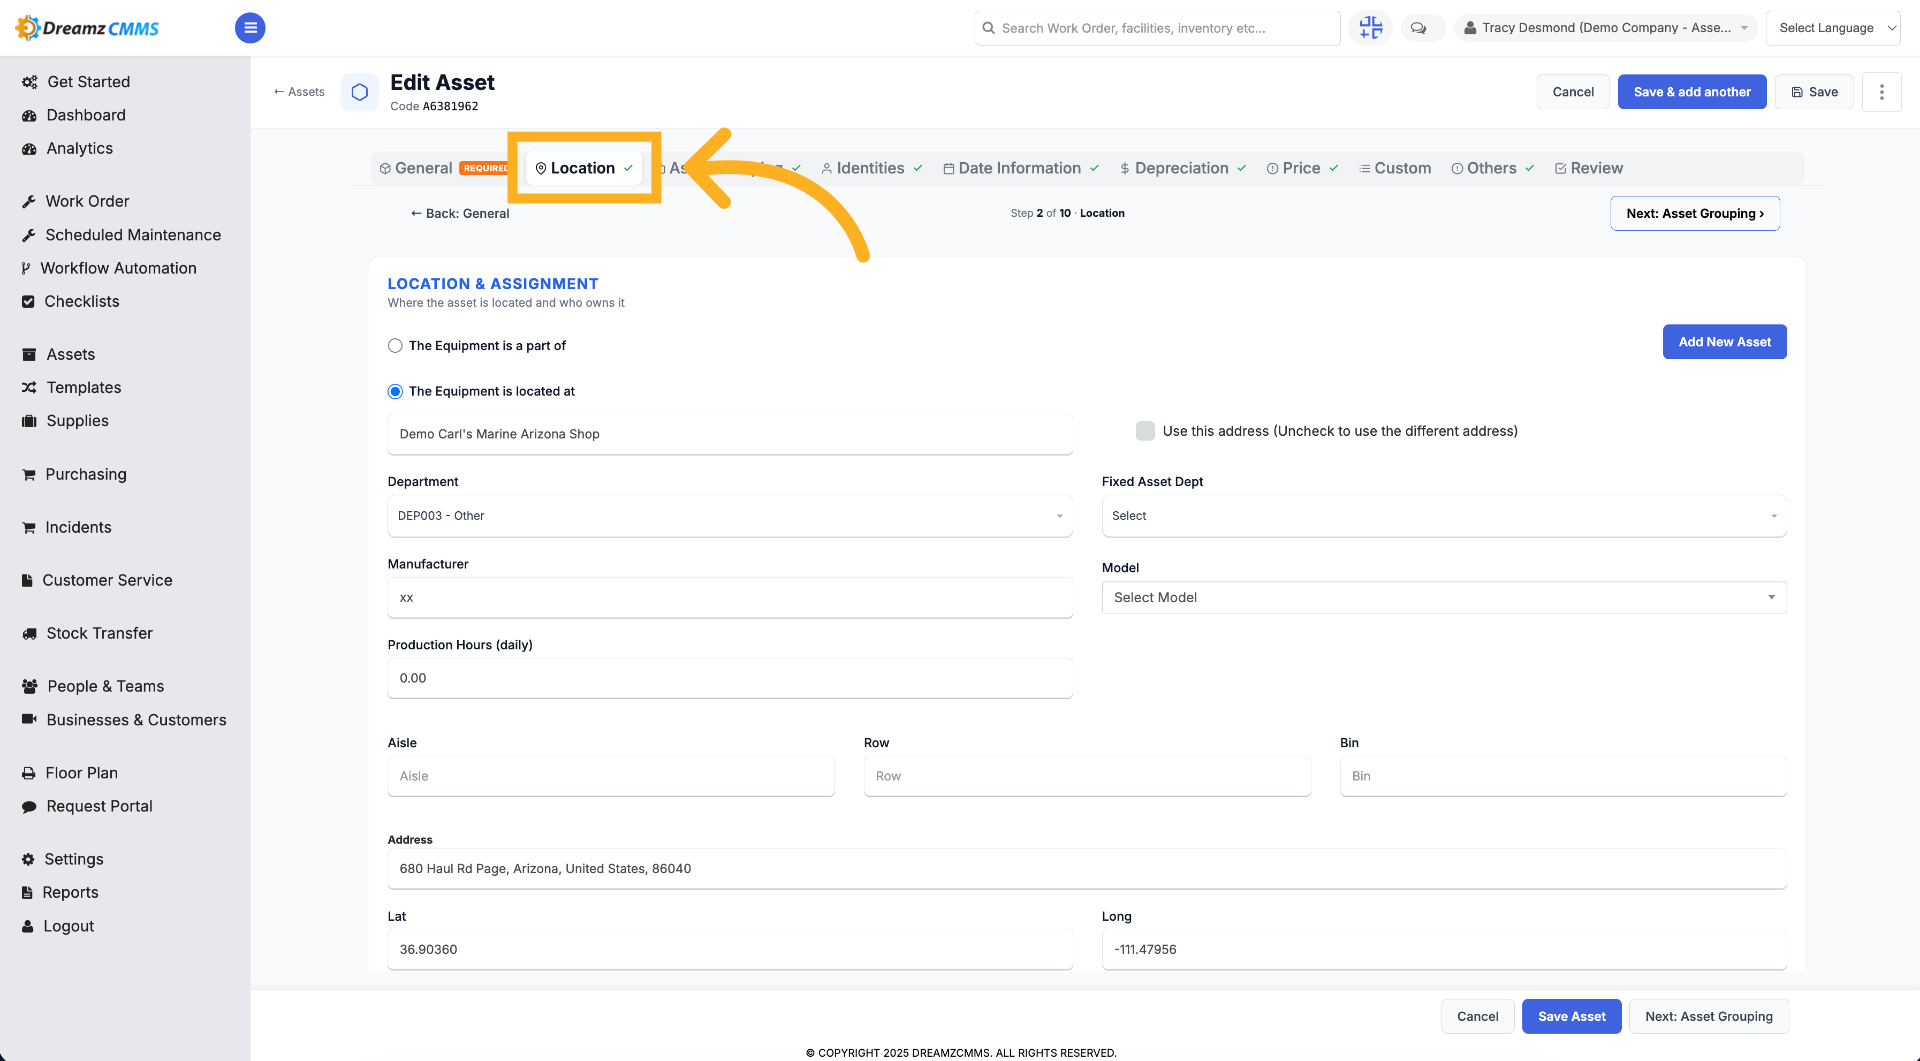
Step 6 – Access Location Settings
Click "Location" to view and edit the asset's location details.
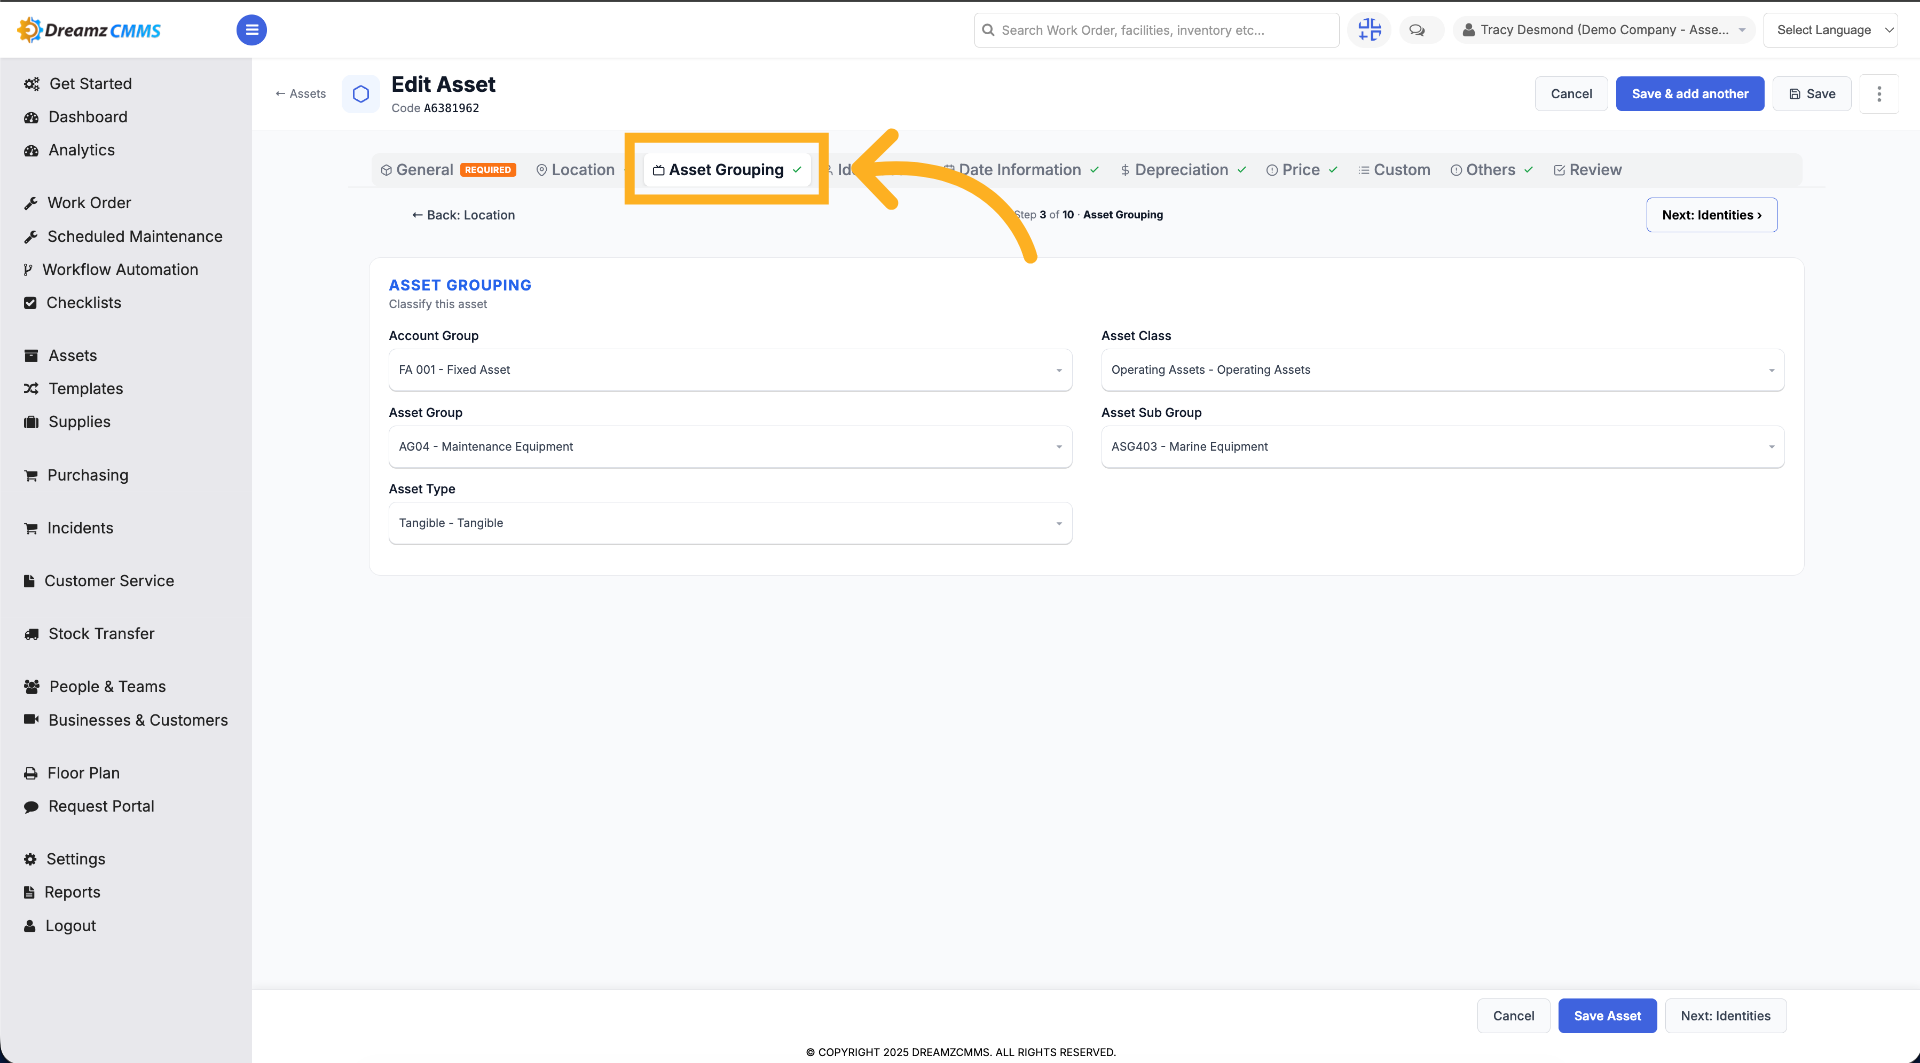
Step 7 – Open Asset Grouping
Click "Asset Grouping" to manage how the asset is categorized, such as asset group, asset class, and asset type.
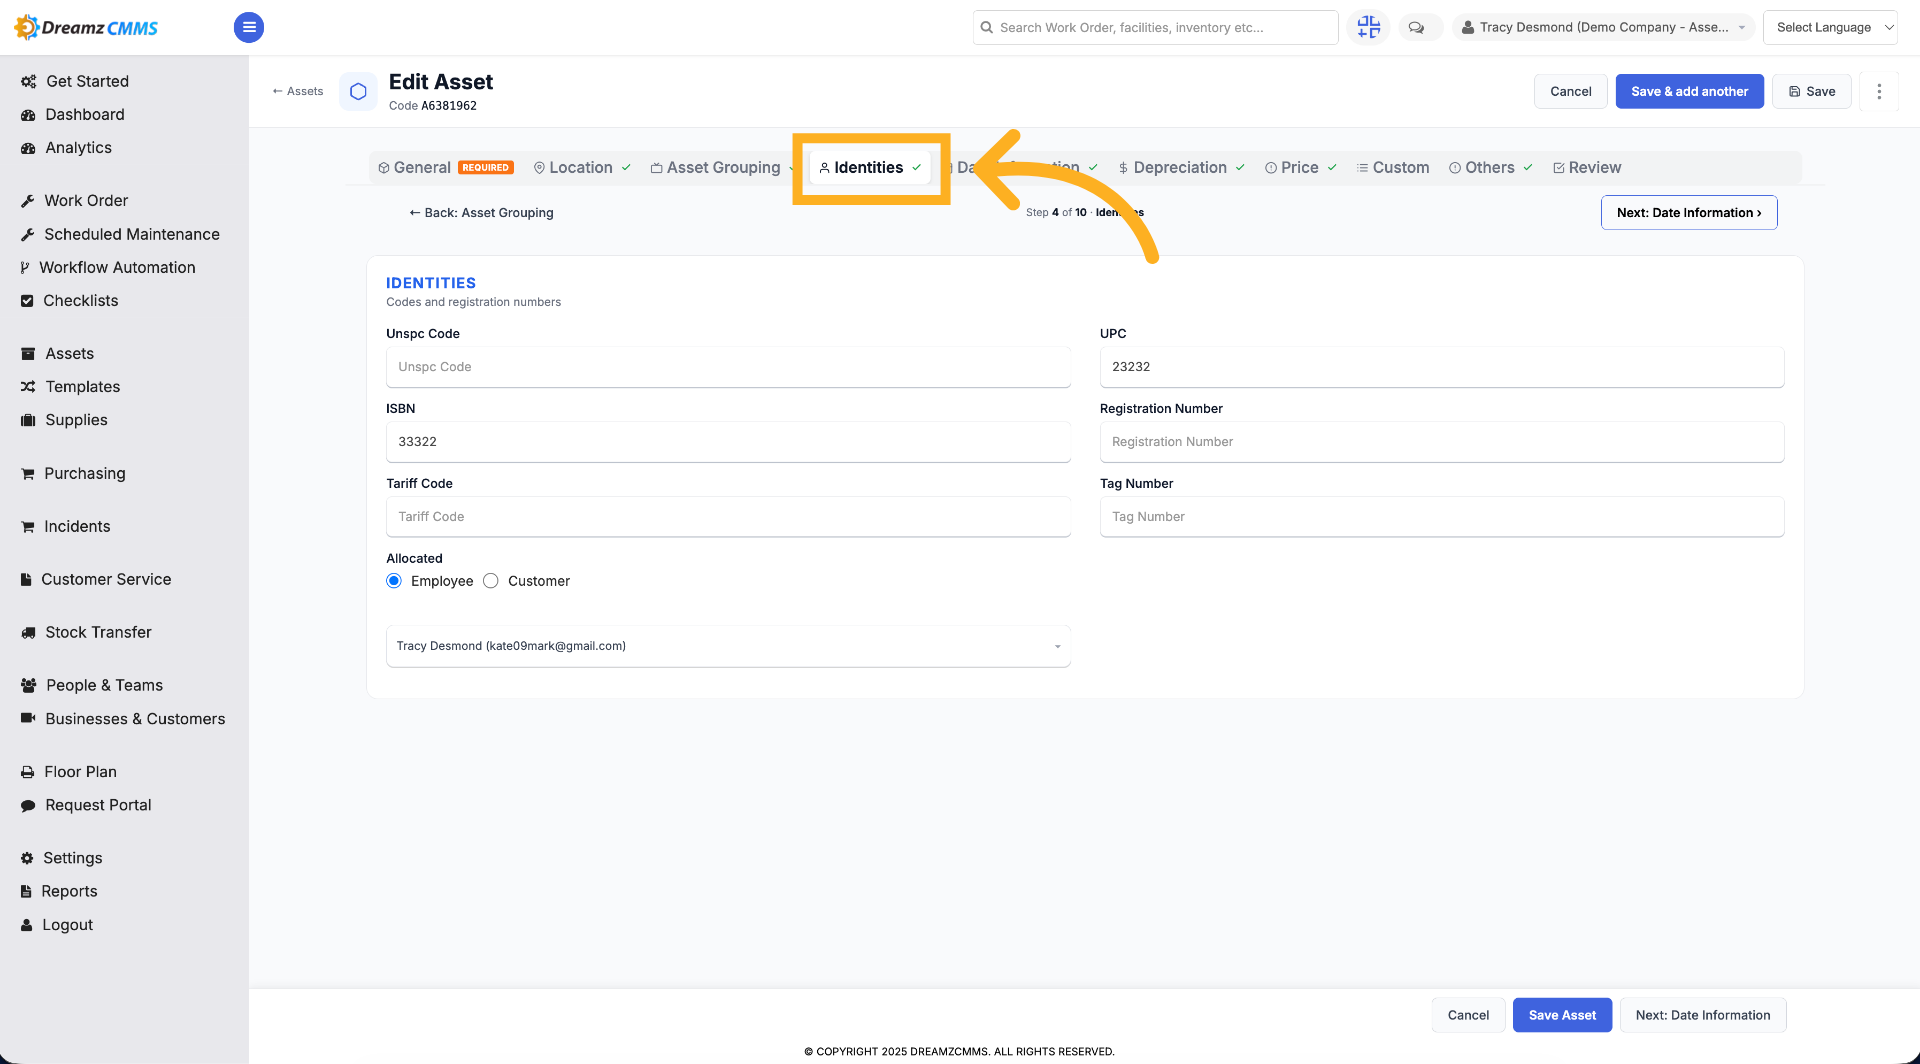
Step 8 – View Asset Identities
Click "Identities" to access identification information related to the asset.
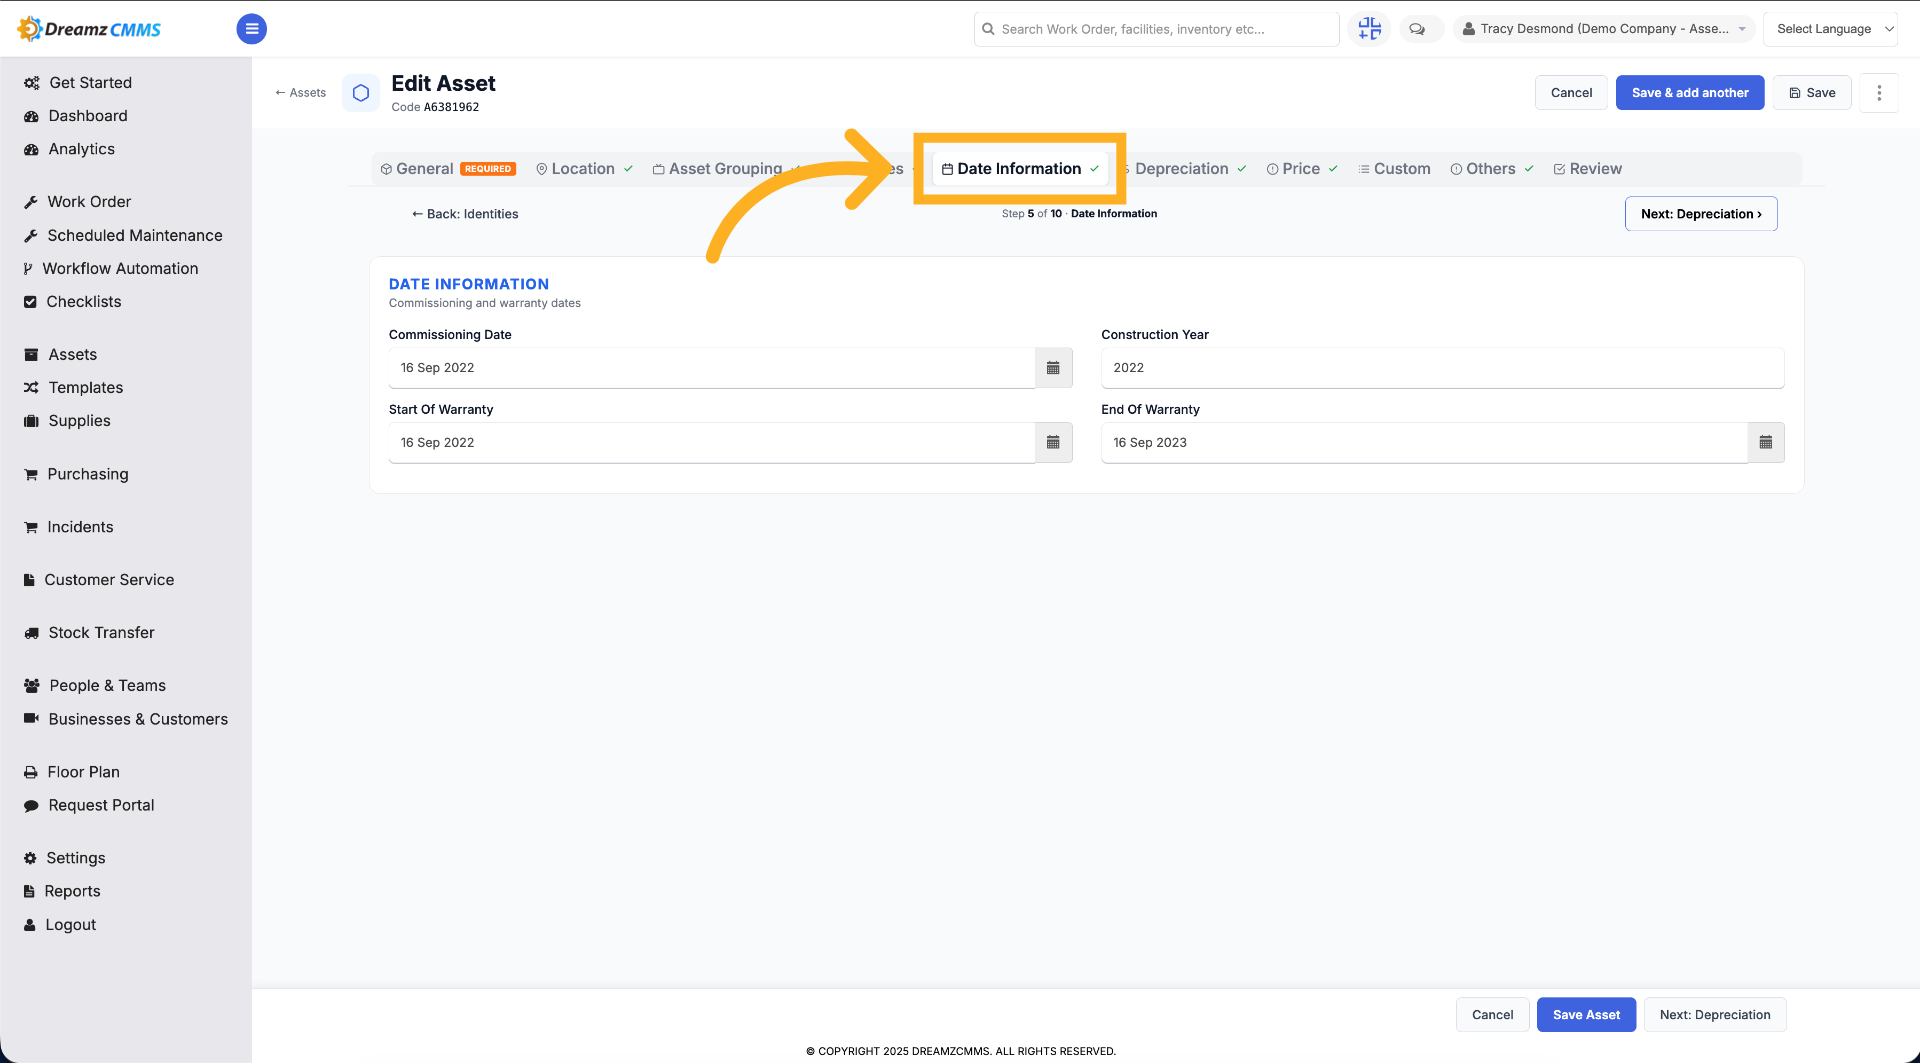
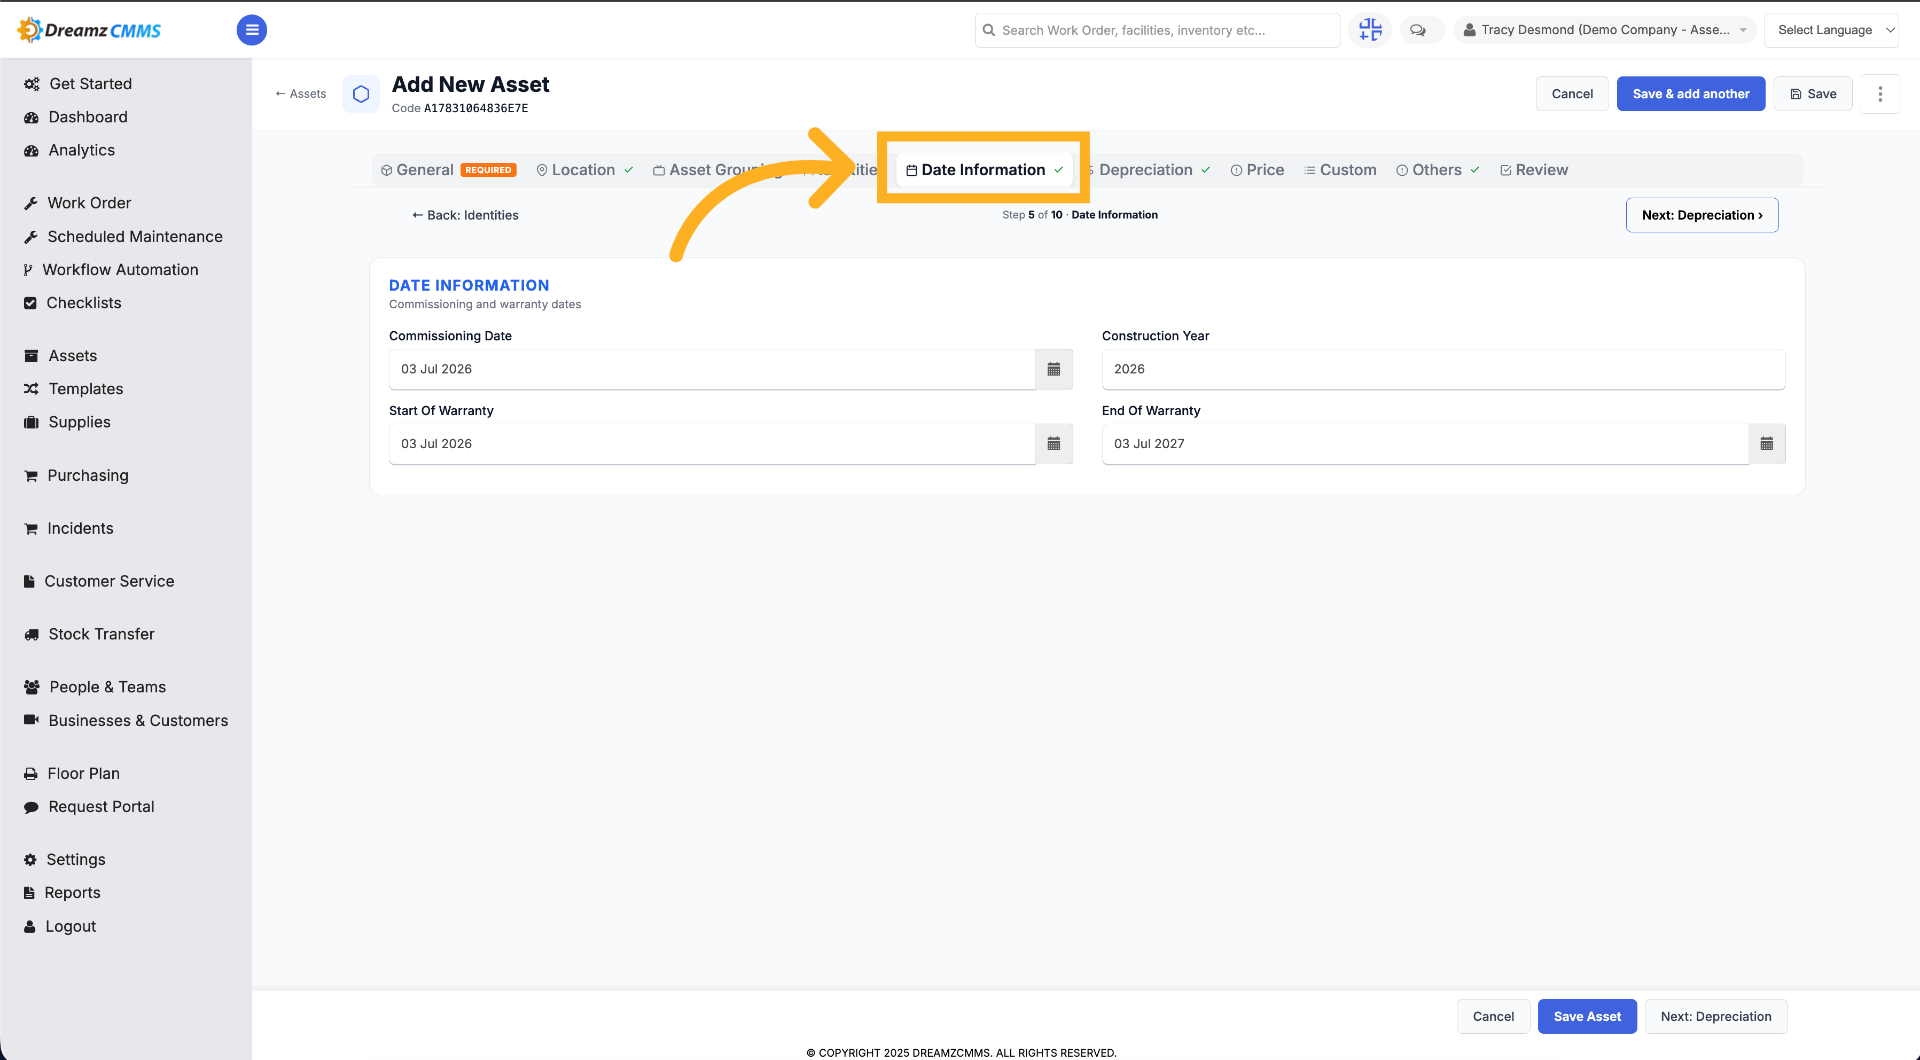
Step 9 – Edit Date Information
Click "Date Information" to update relevant dates associated with the asset.
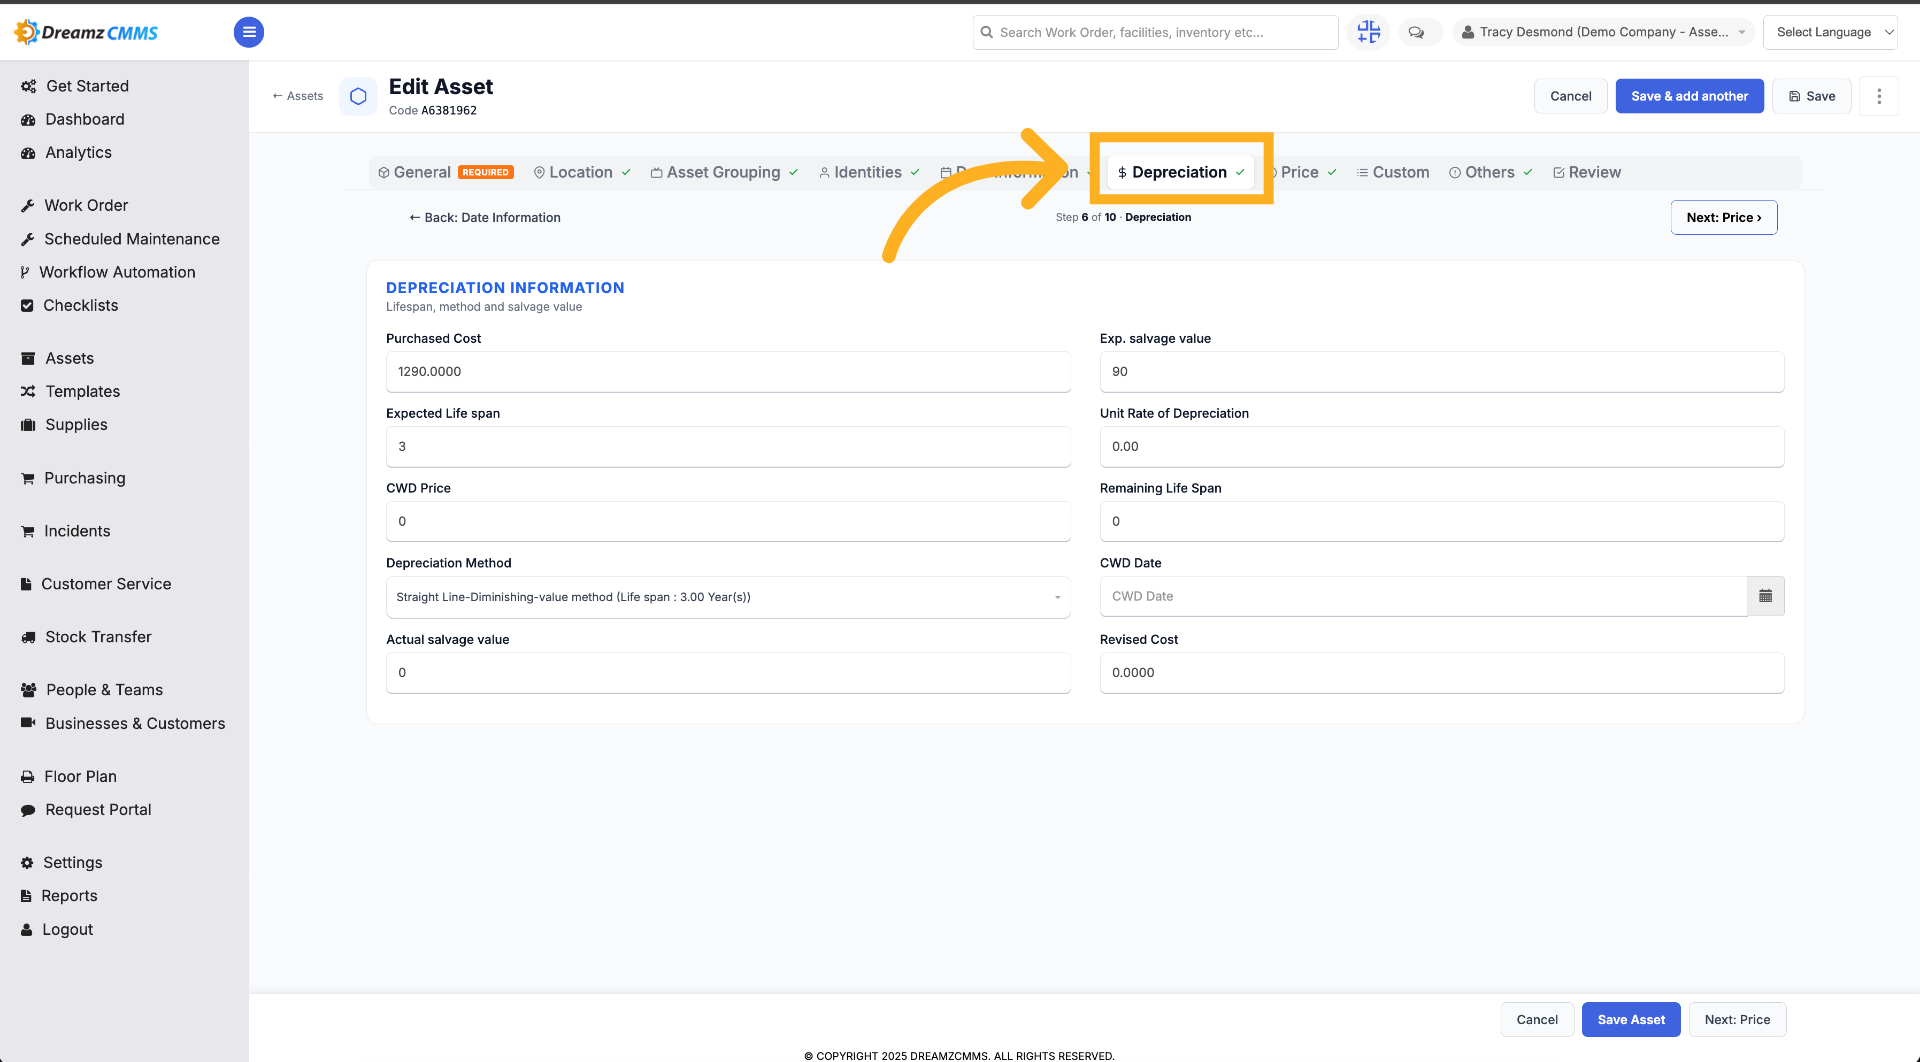
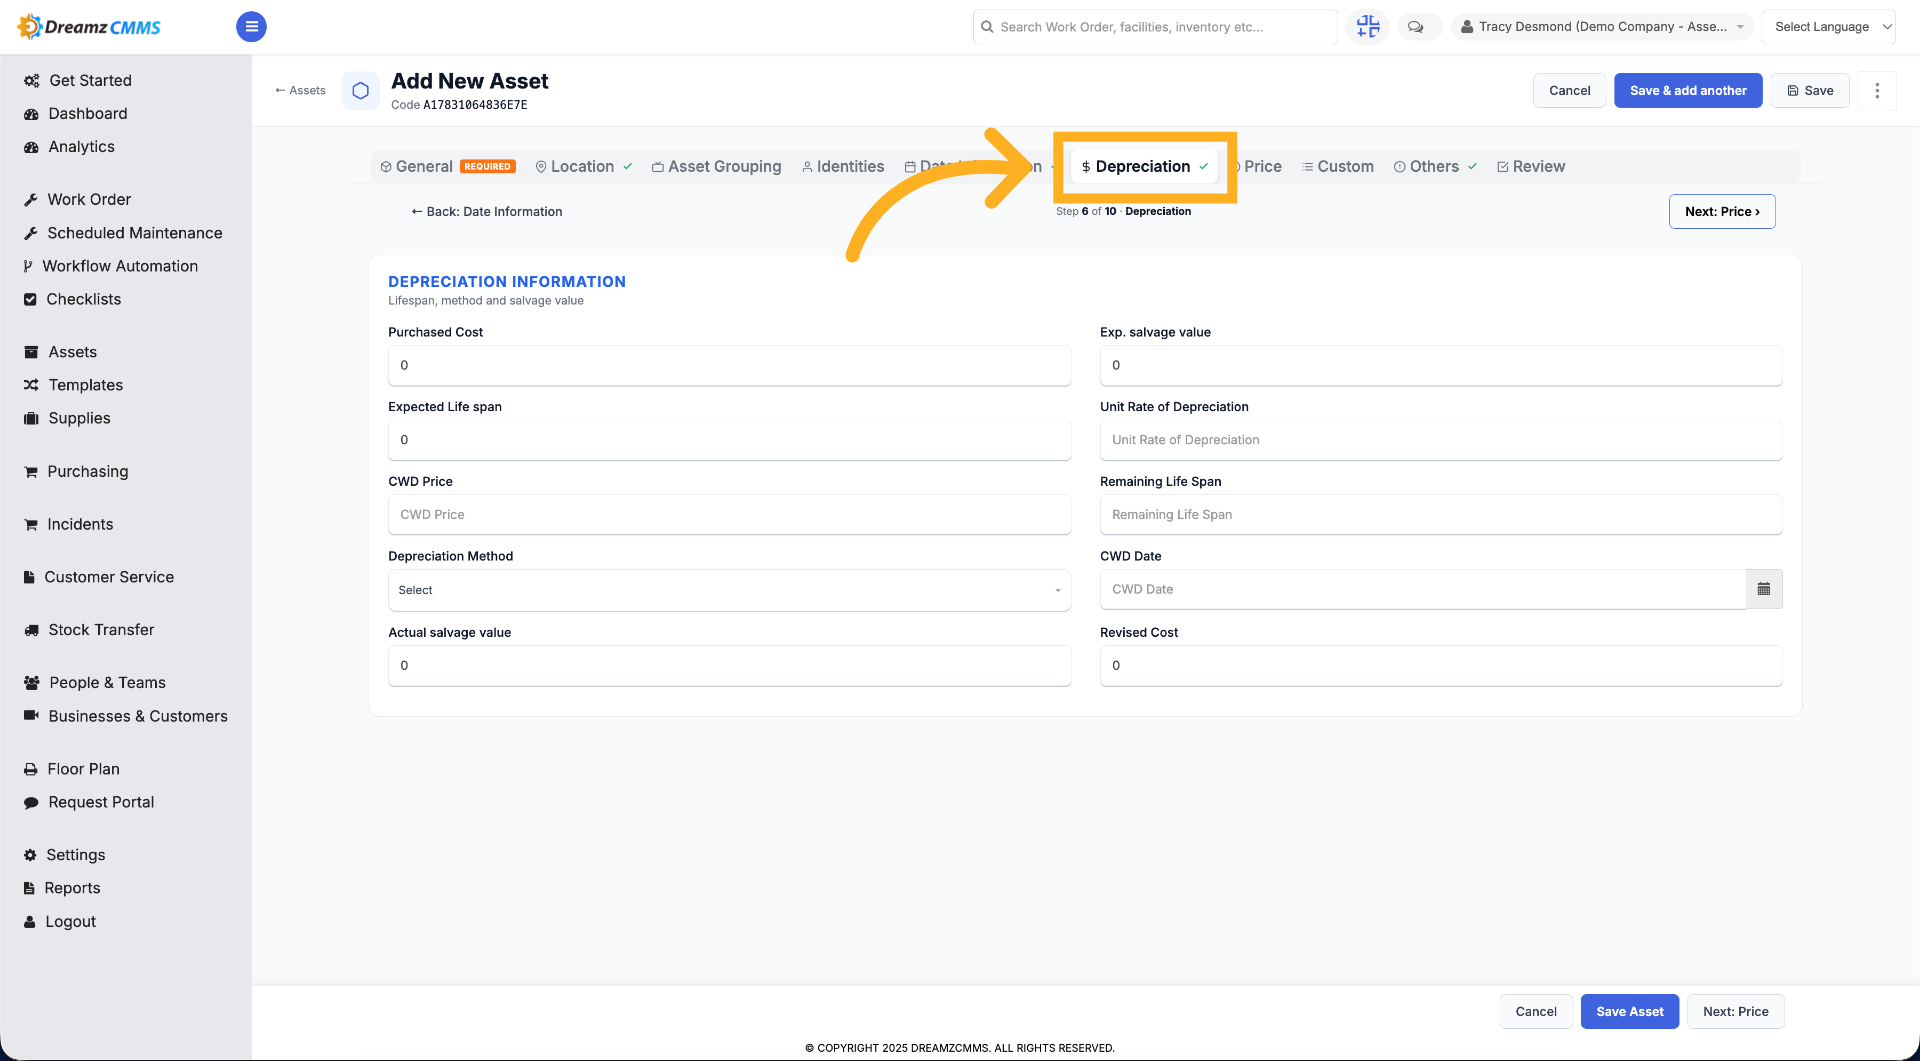
Step 10 – Modify Depreciation Details
Click "Depreciation" to adjust the asset's depreciation settings.
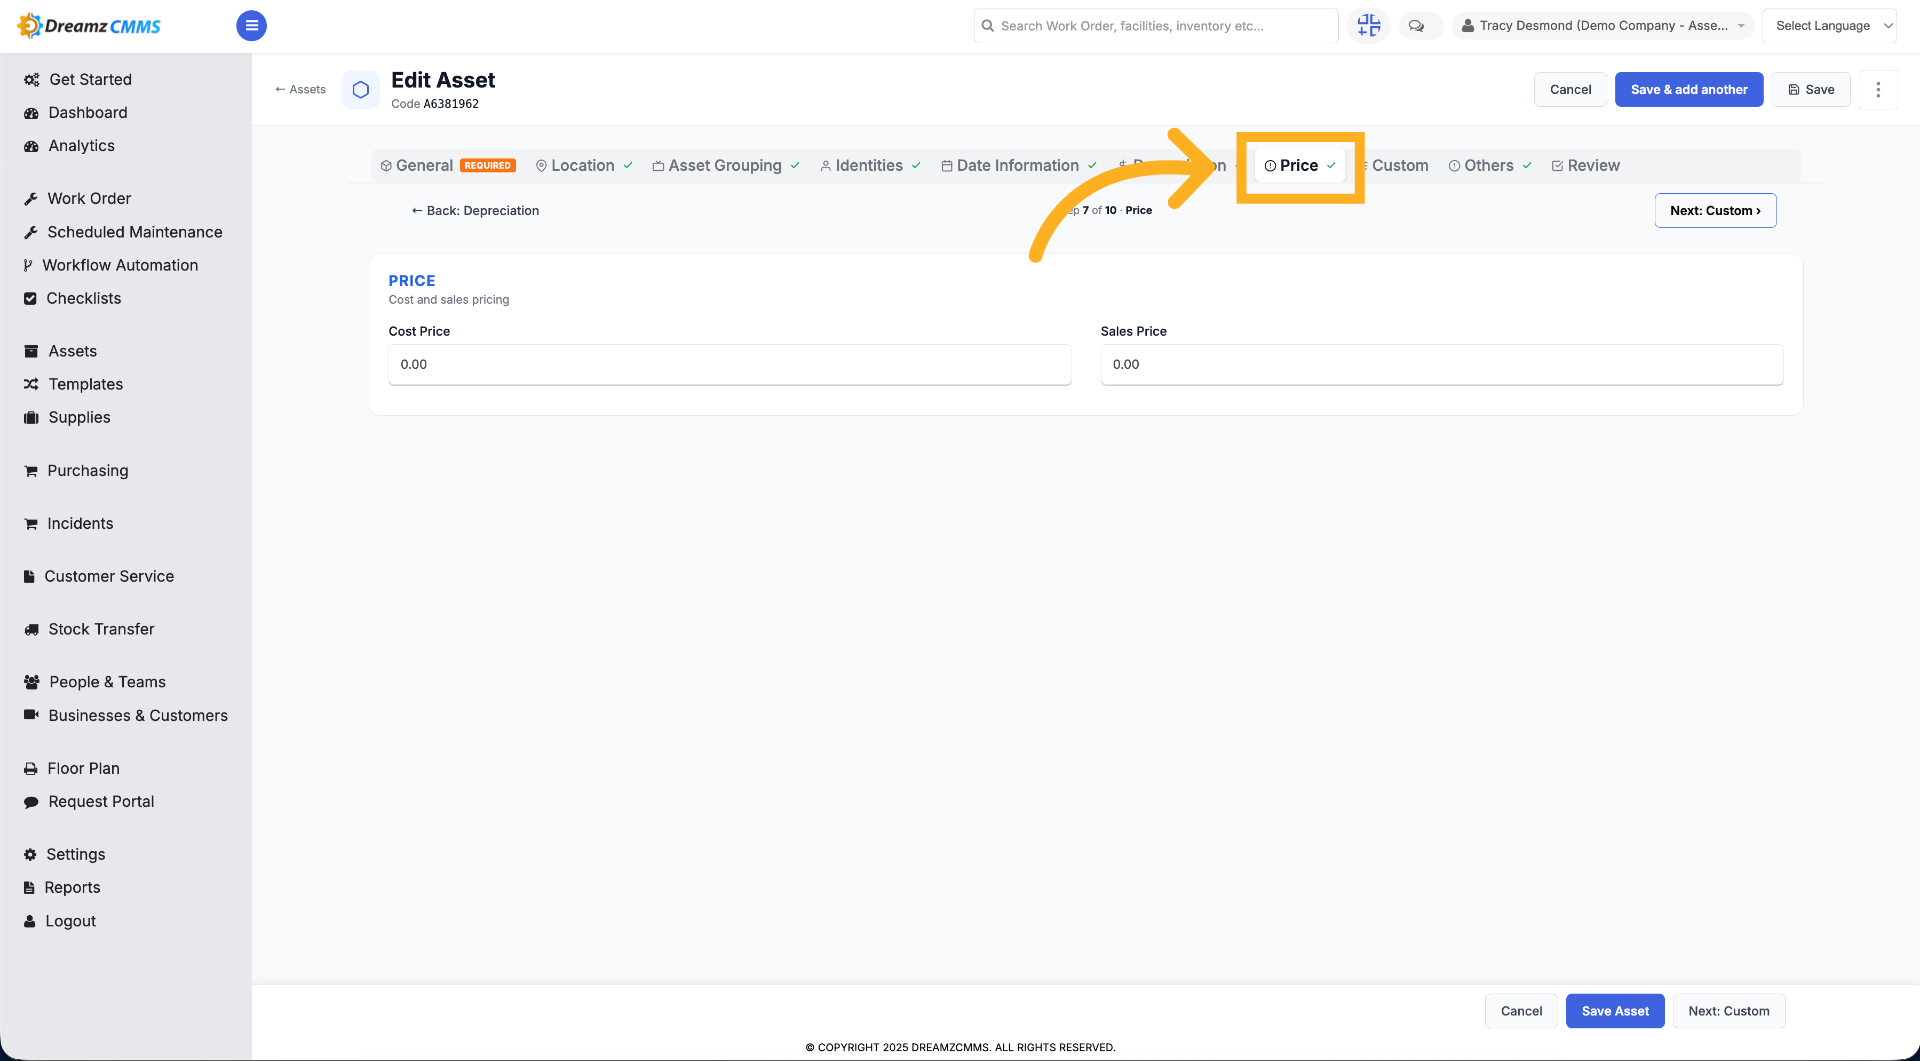
Step 11 – Update Price Information
Click "Price" to enter or change the asset's price details.
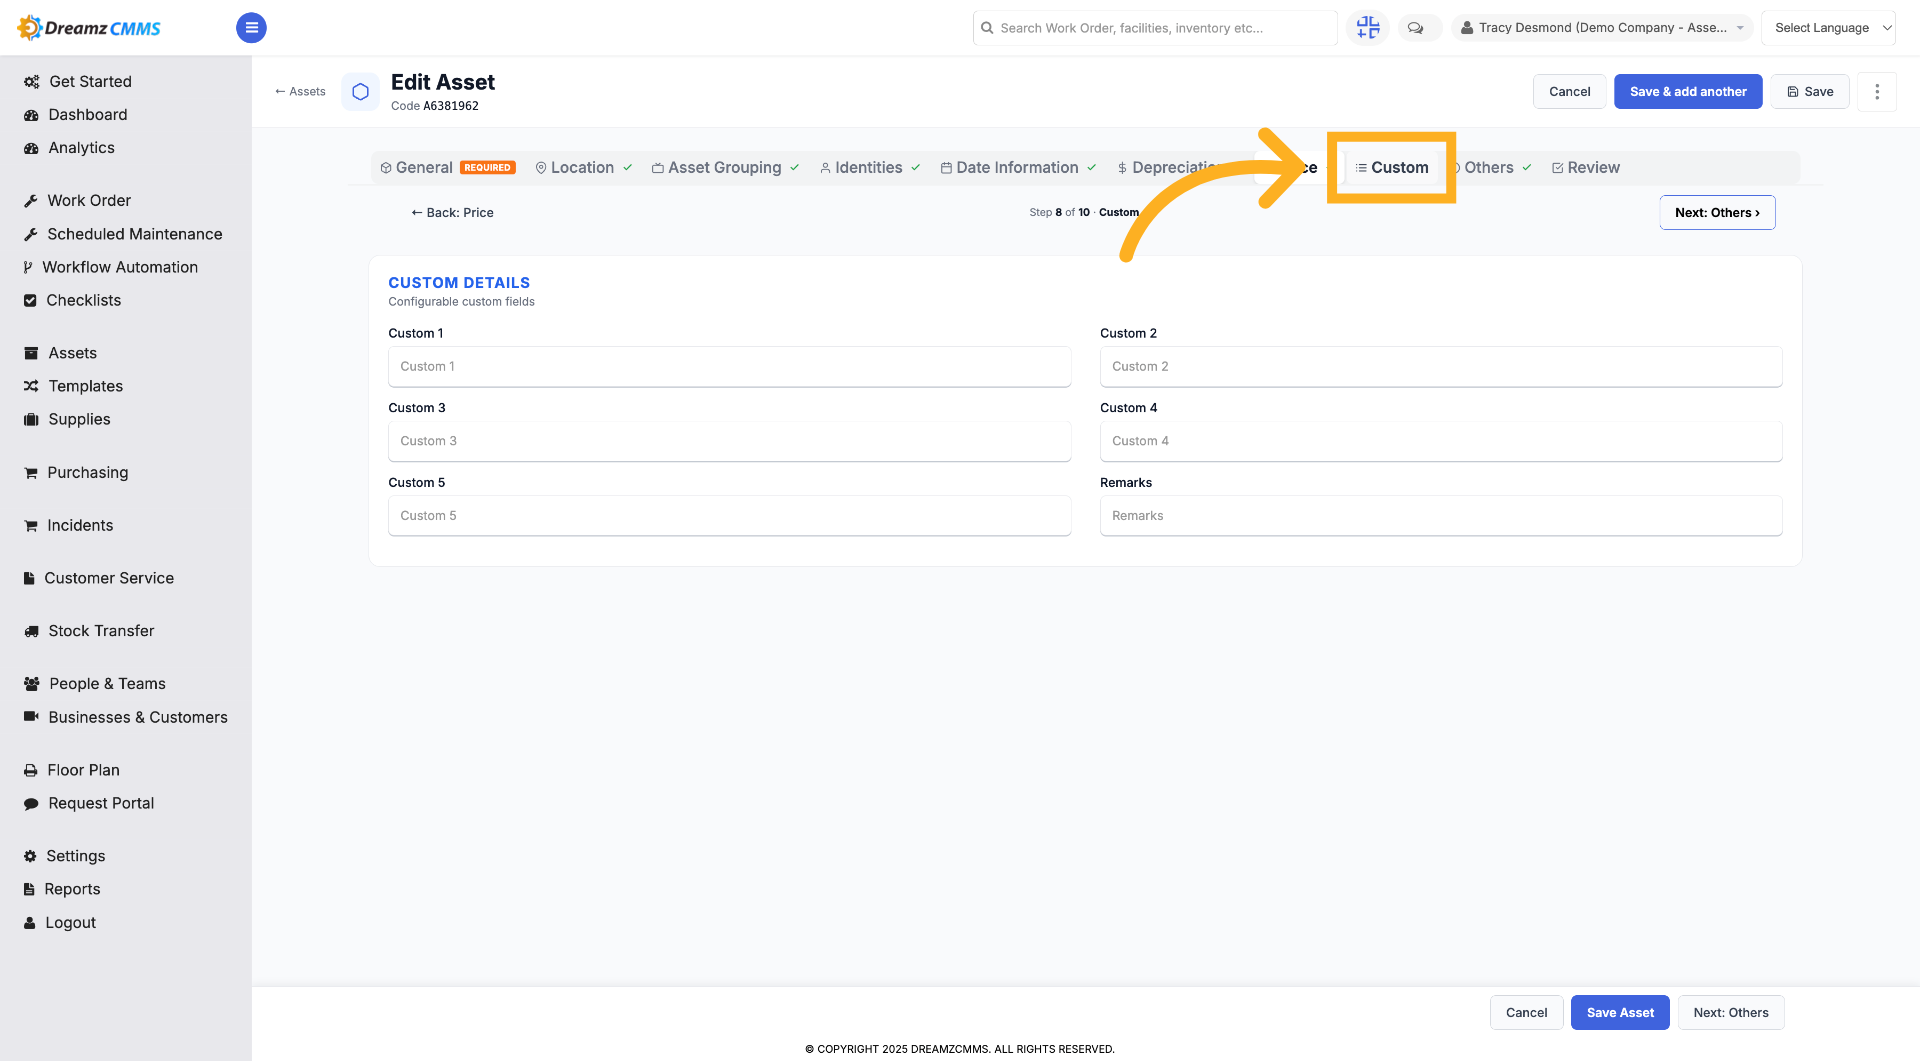
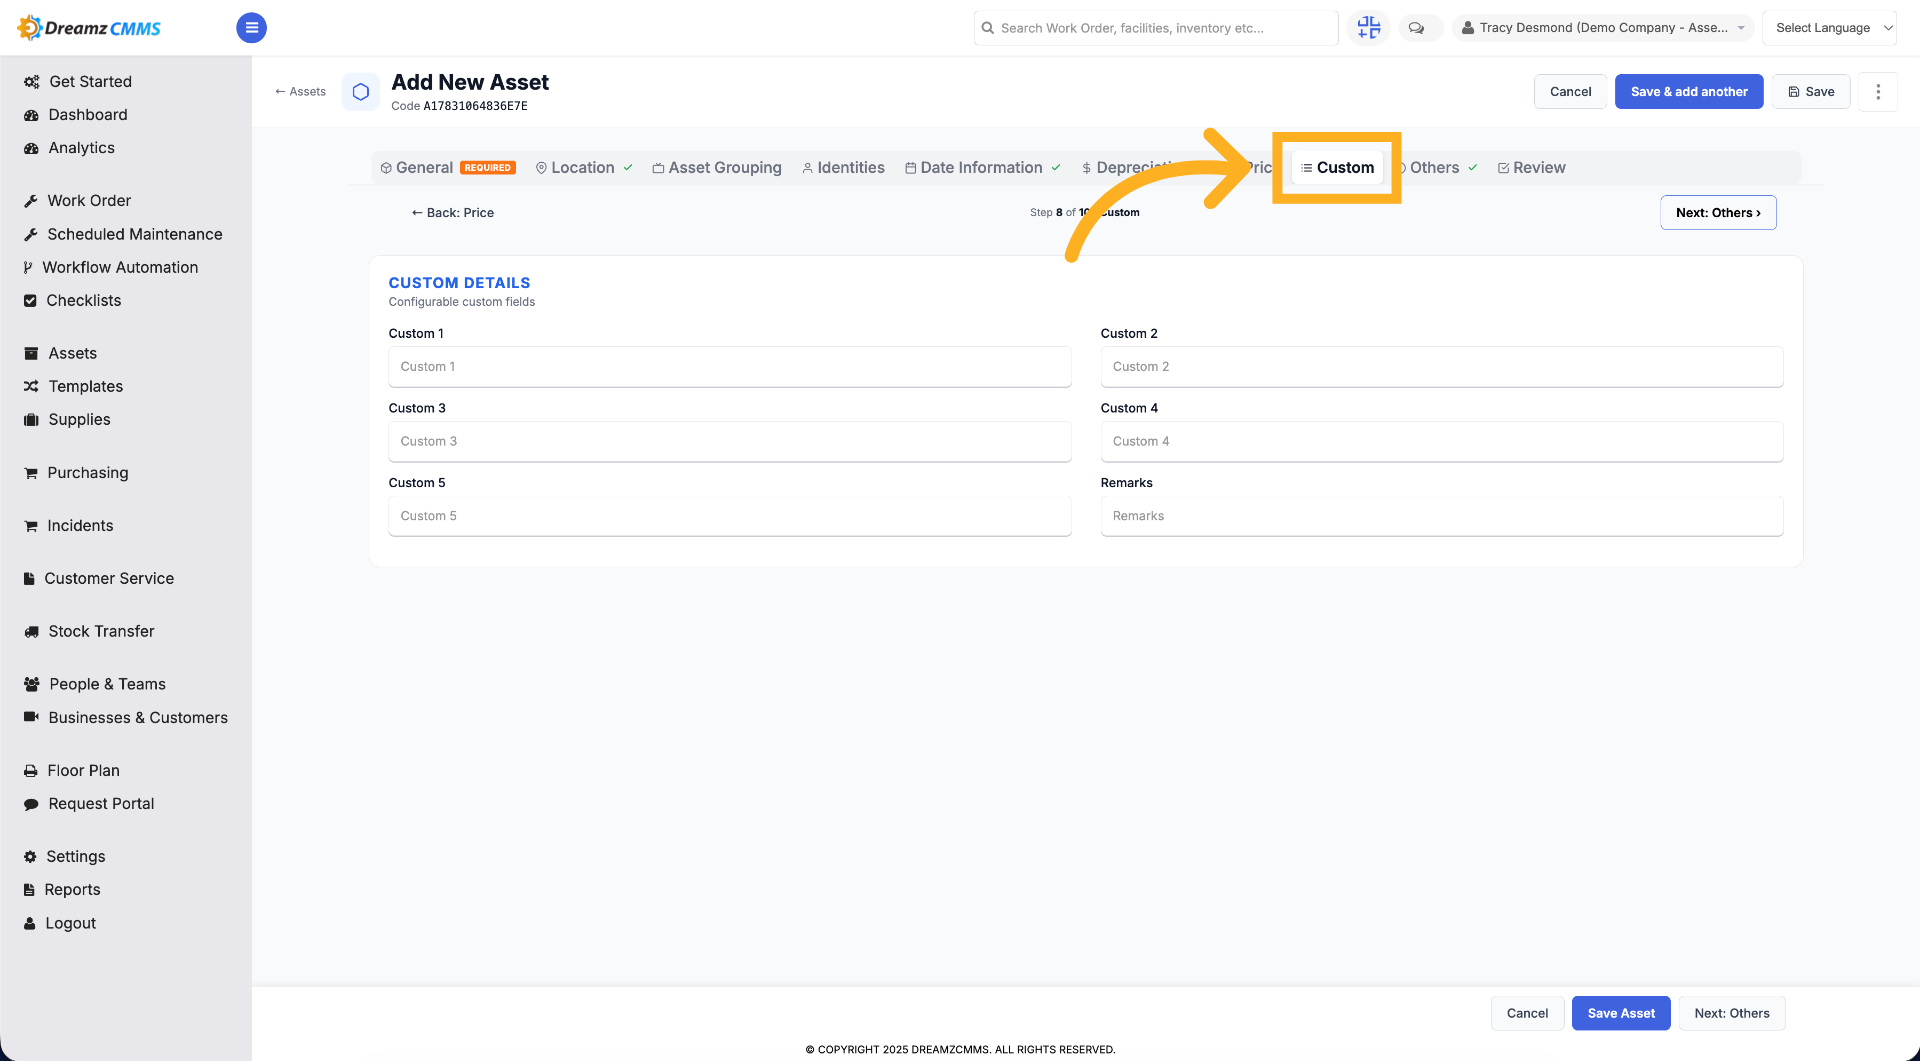
Step 12 – Access Custom Fields
Click "Custom" to manage custom attributes for the asset.
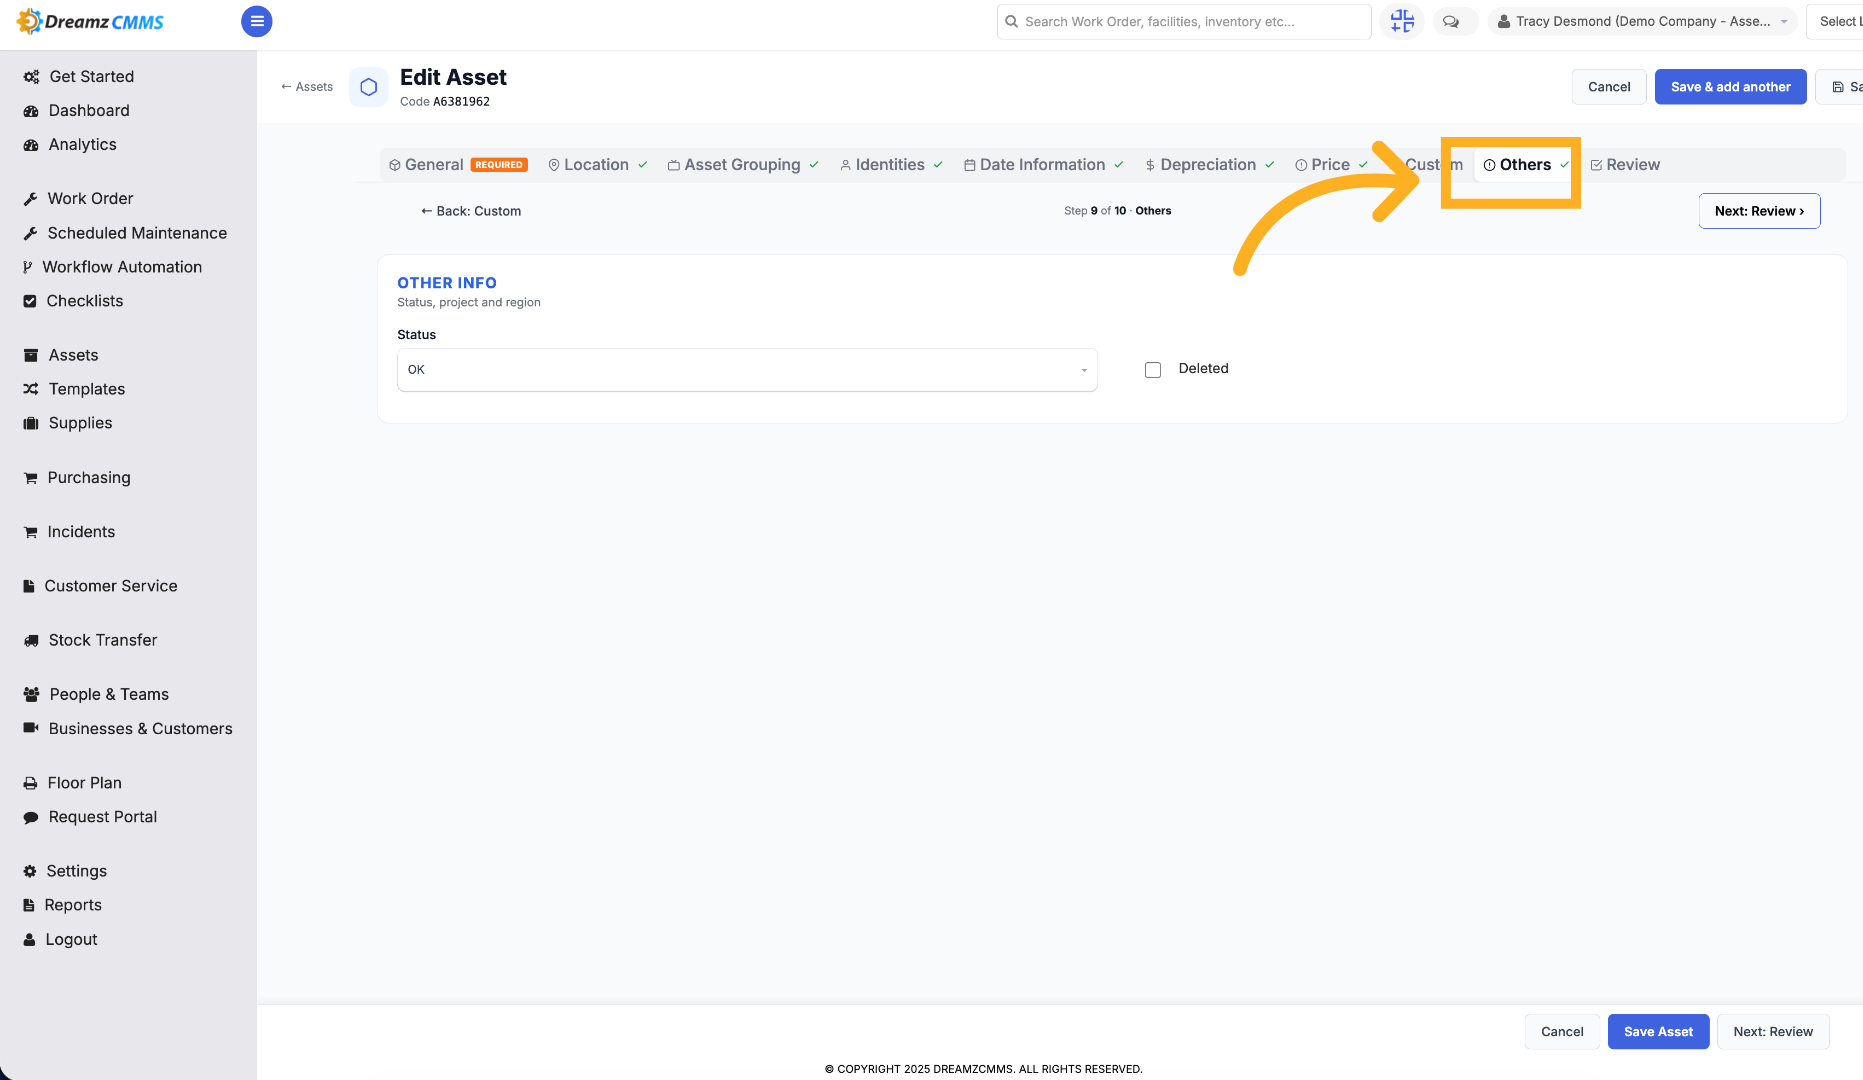
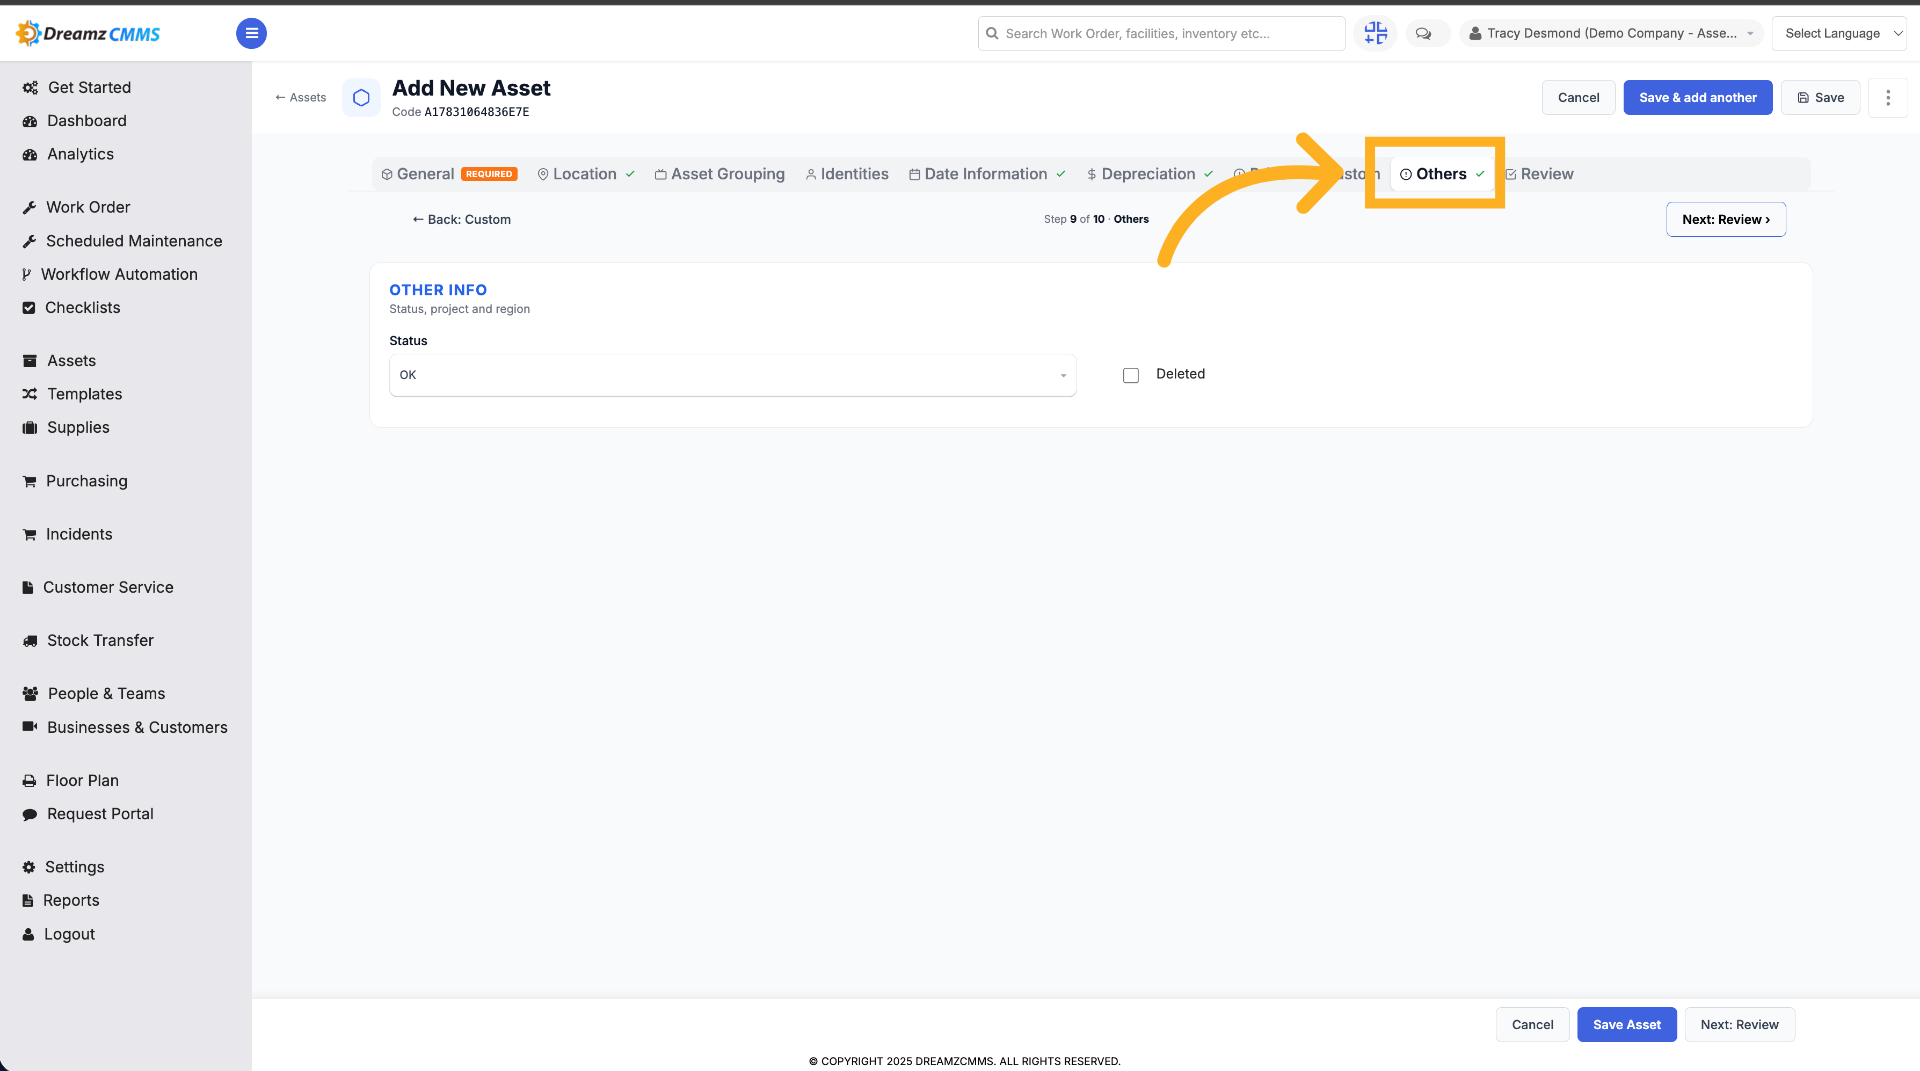
Step 13 – Open Other Settings
Click "Others" to view additional asset options and settings.
Step 14 – Review Asset Information
Click "Review" to examine the asset's details before saving.
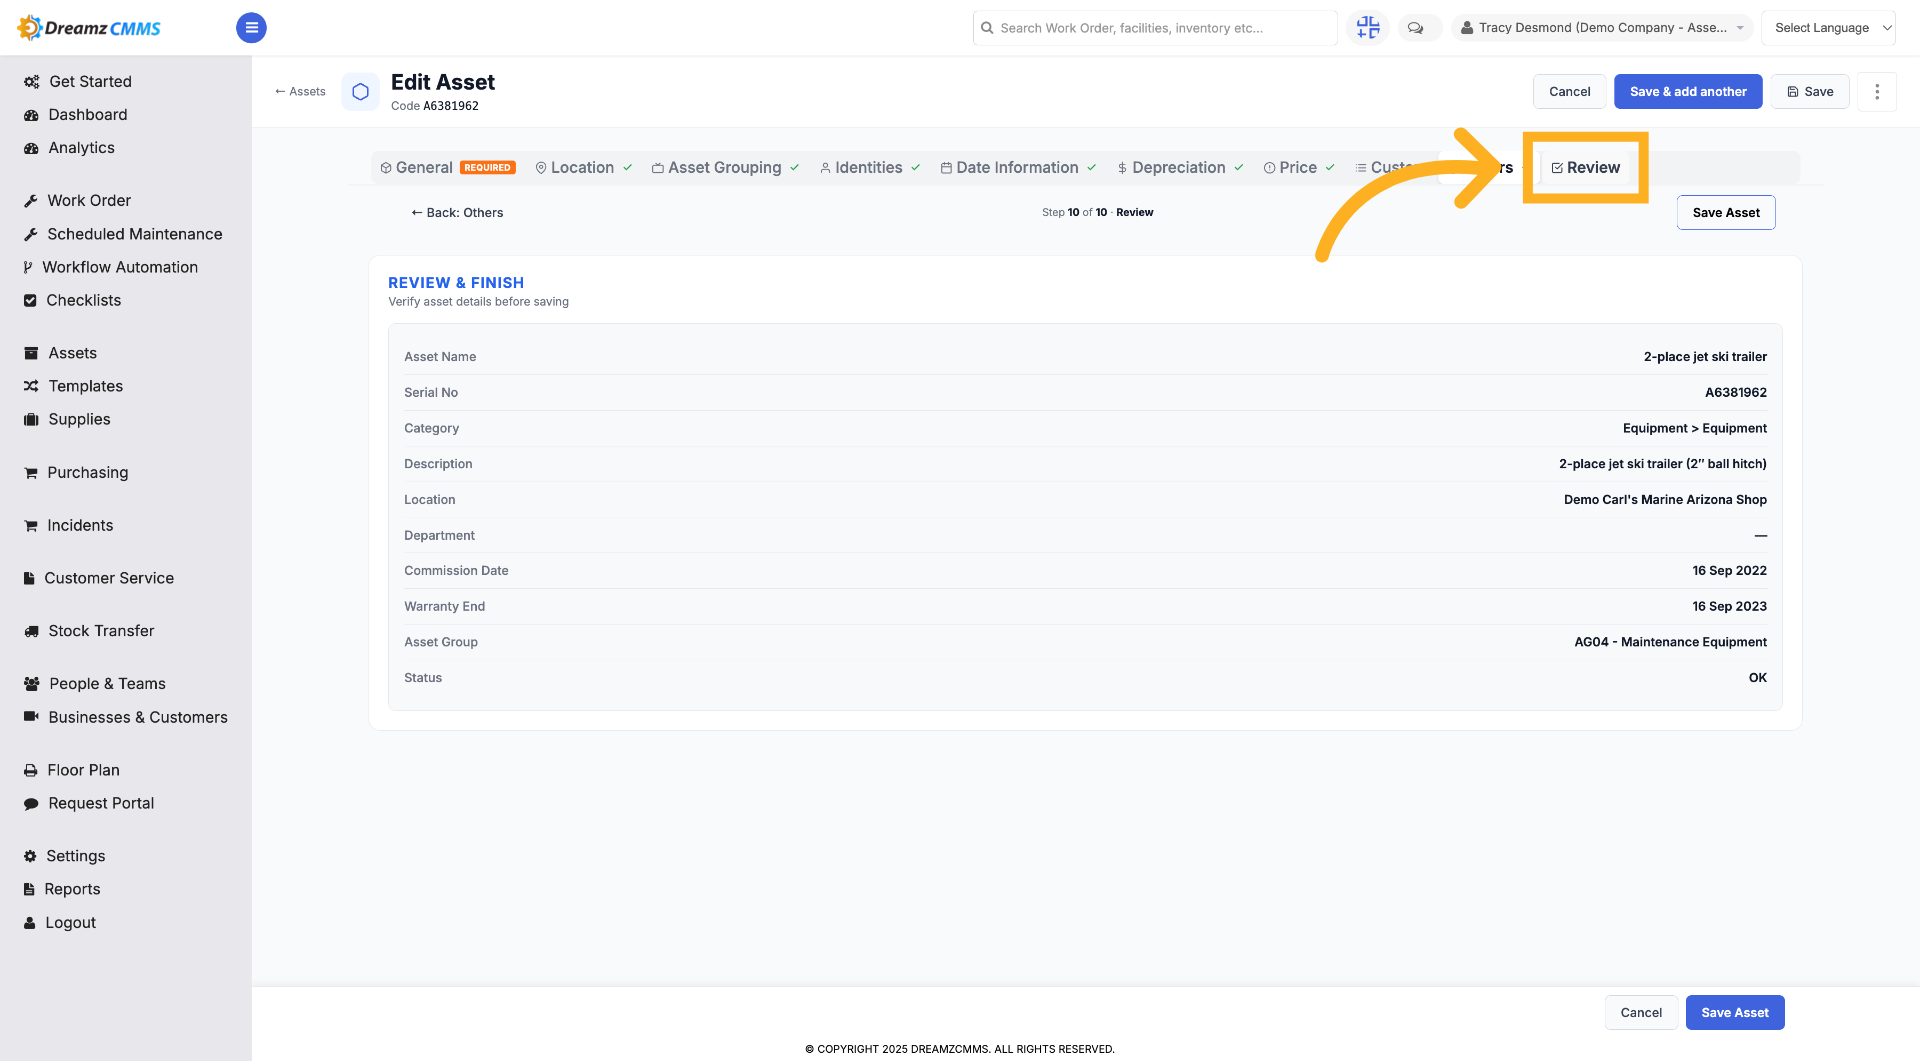
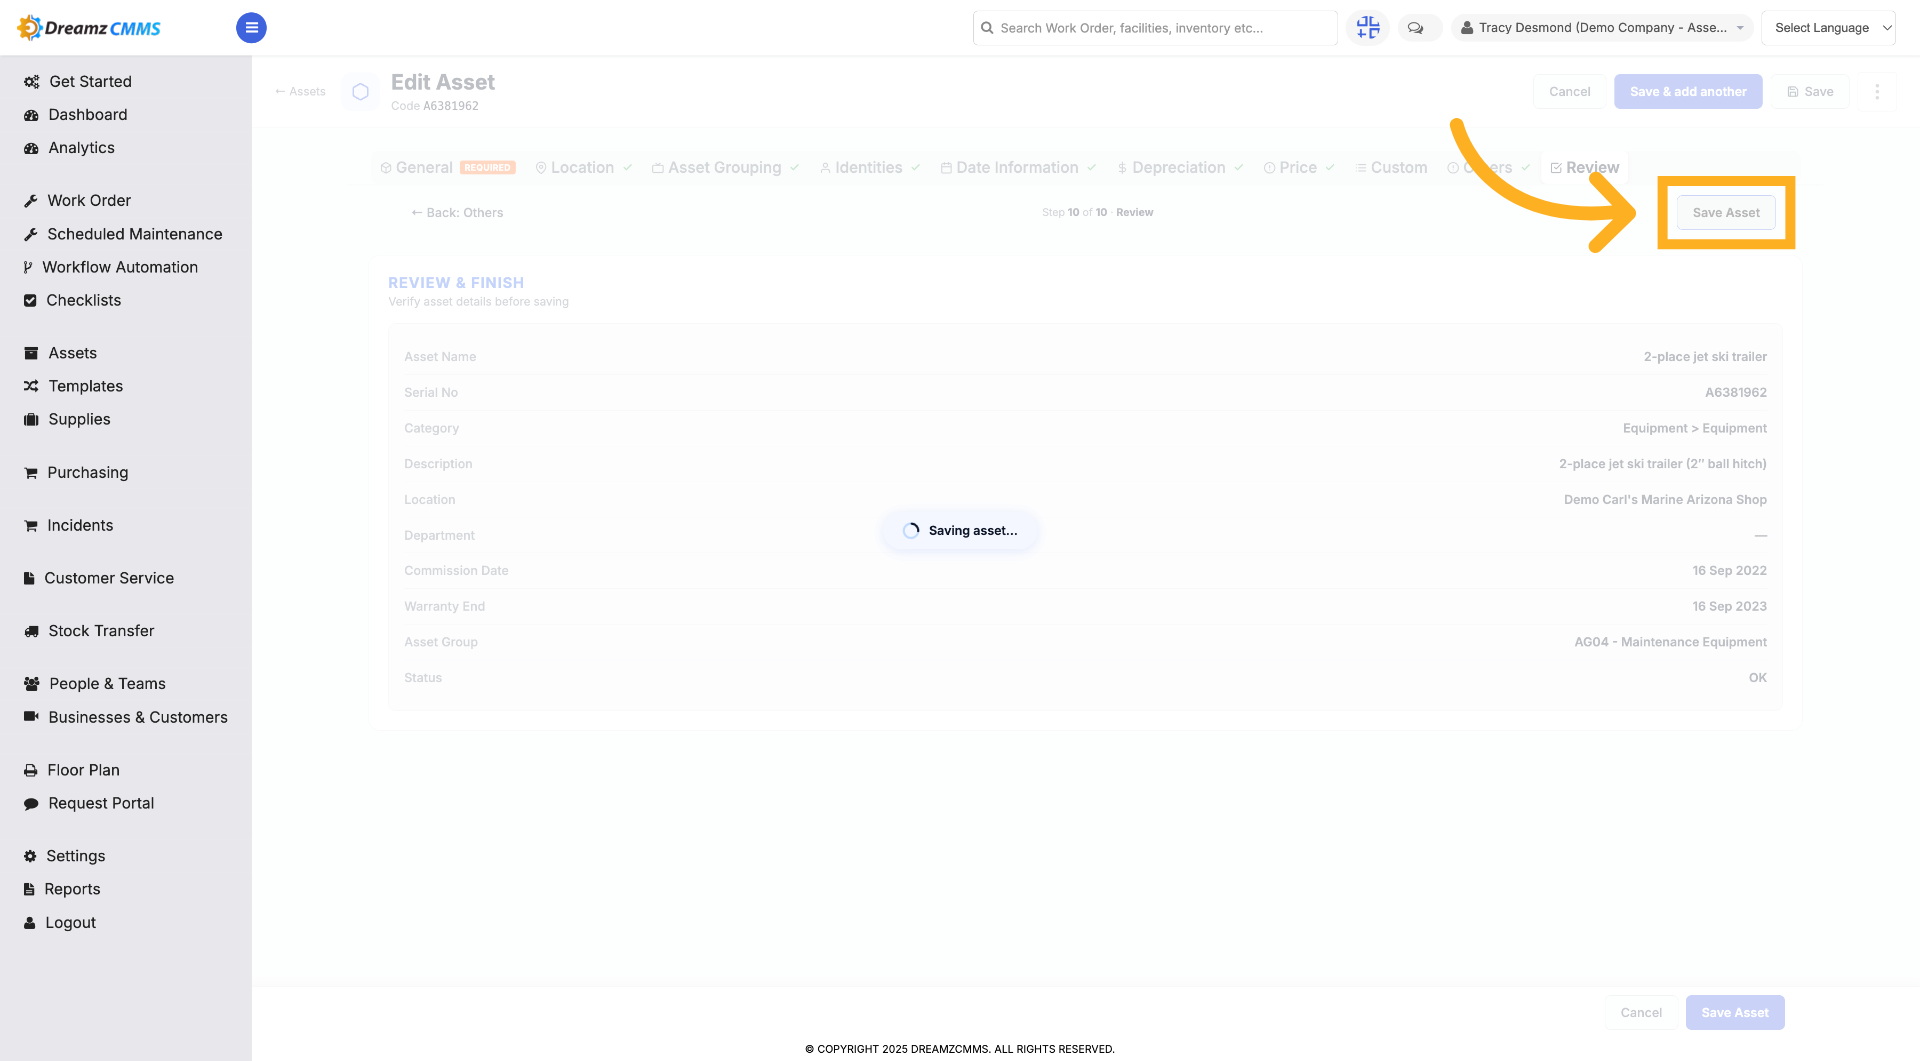
Step 15 – Save Asset Changes
Click "Save Asset" to save all modifications made to the asset.
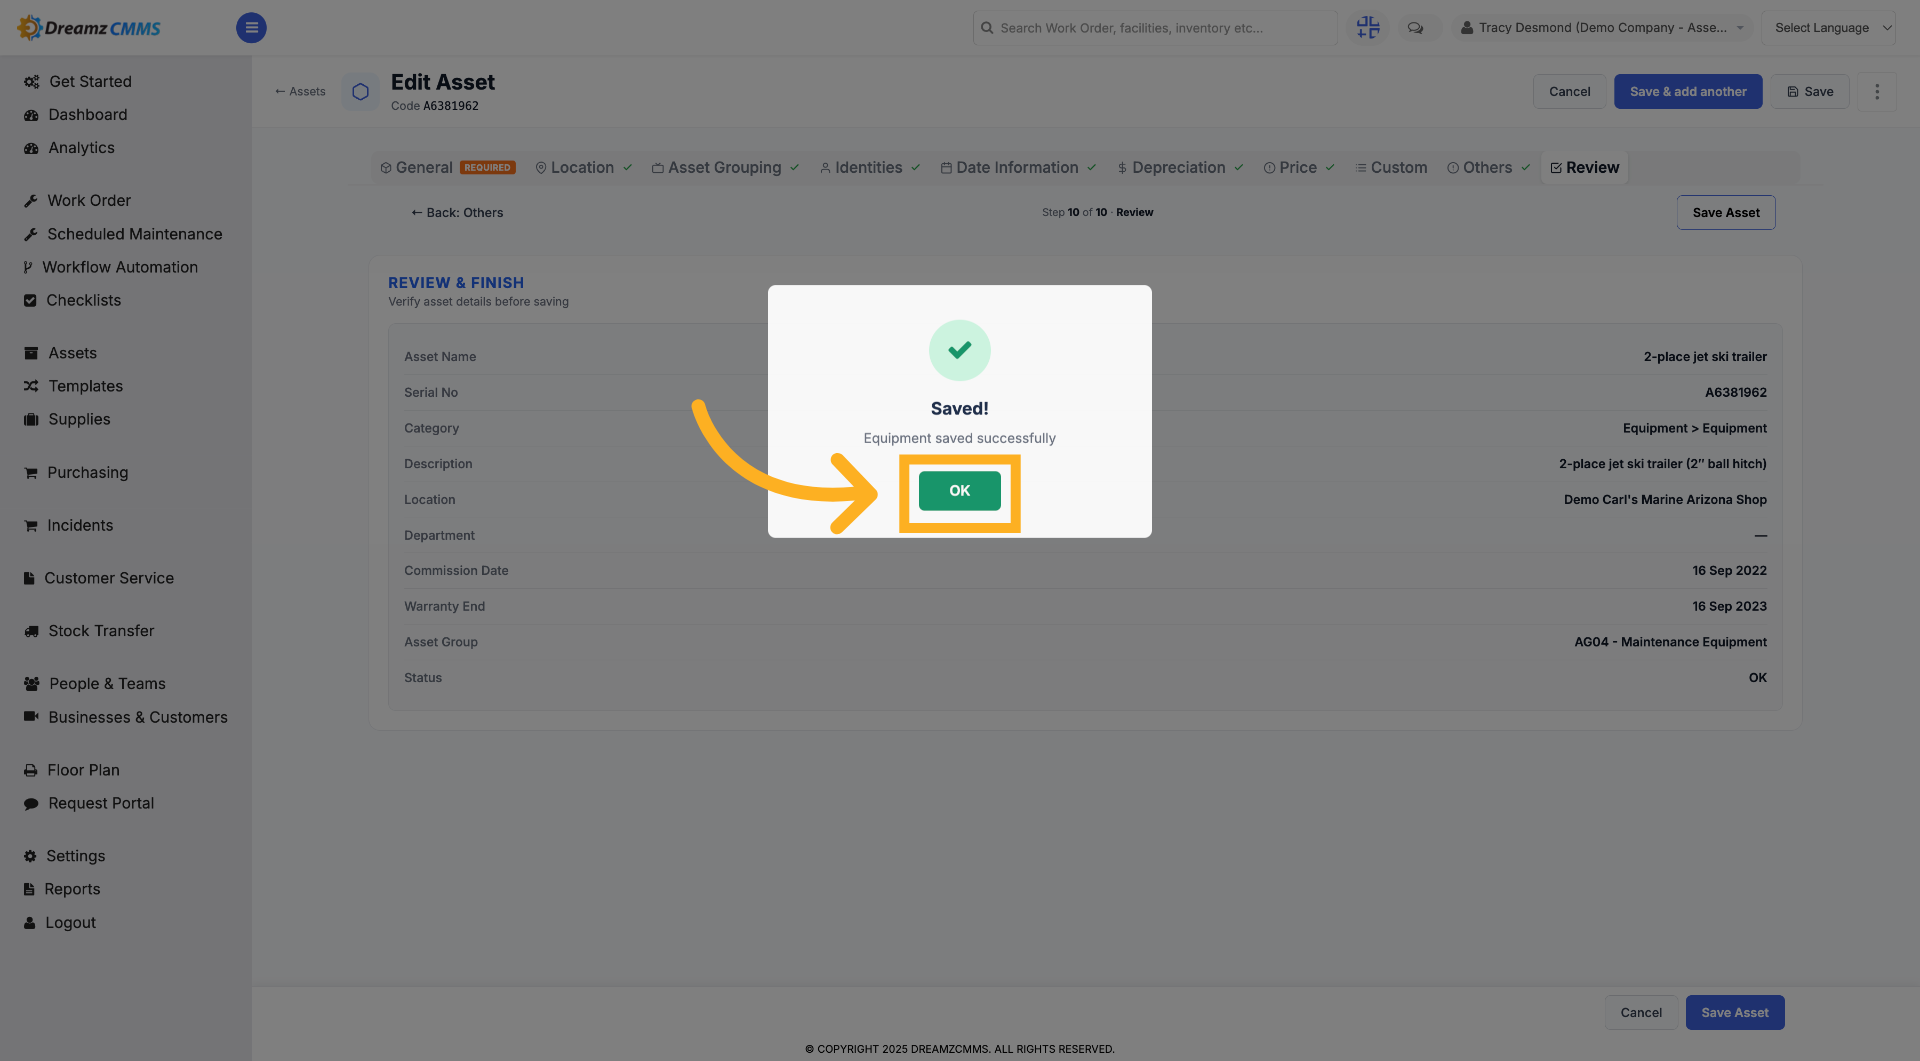
Step 16 – Confirm Save Action
Click "OK" to confirm that the asset changes have been saved successfully.
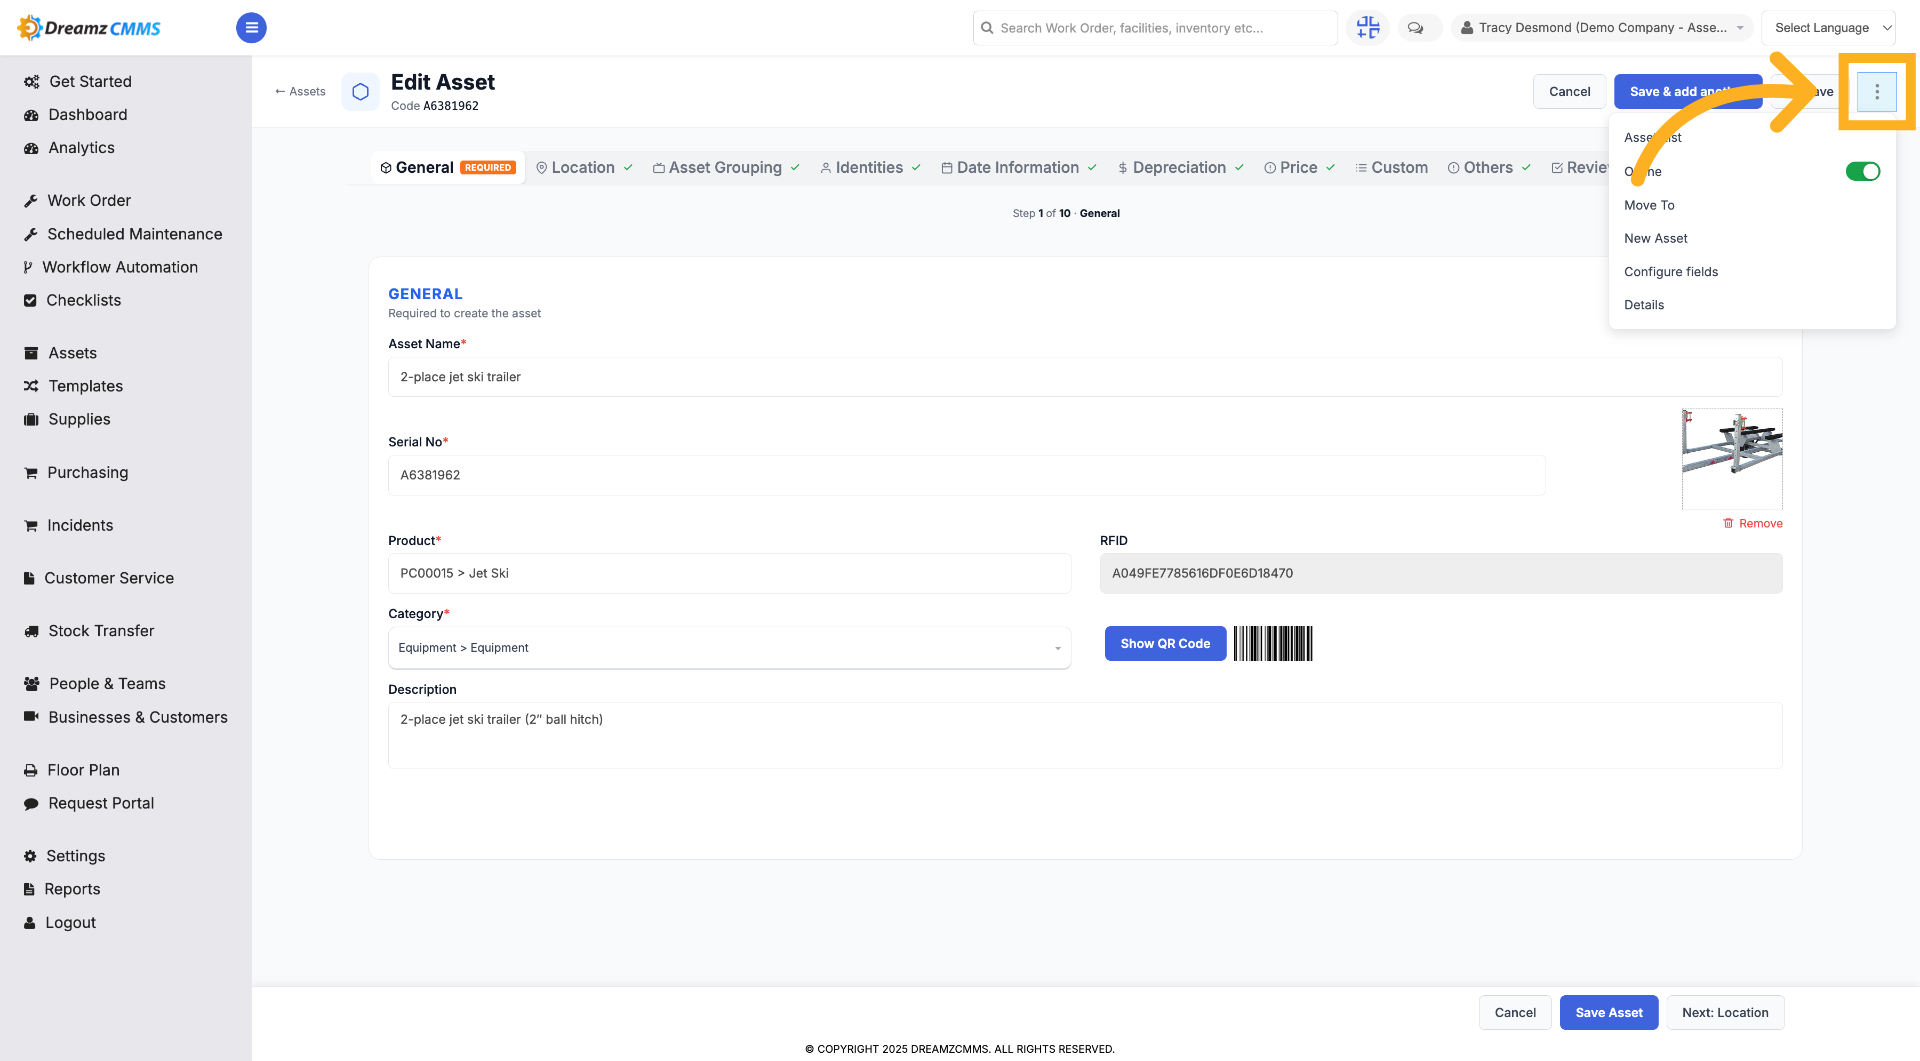
Step 17 – Return to Asset List
Click here to navigate back to the main asset list page.
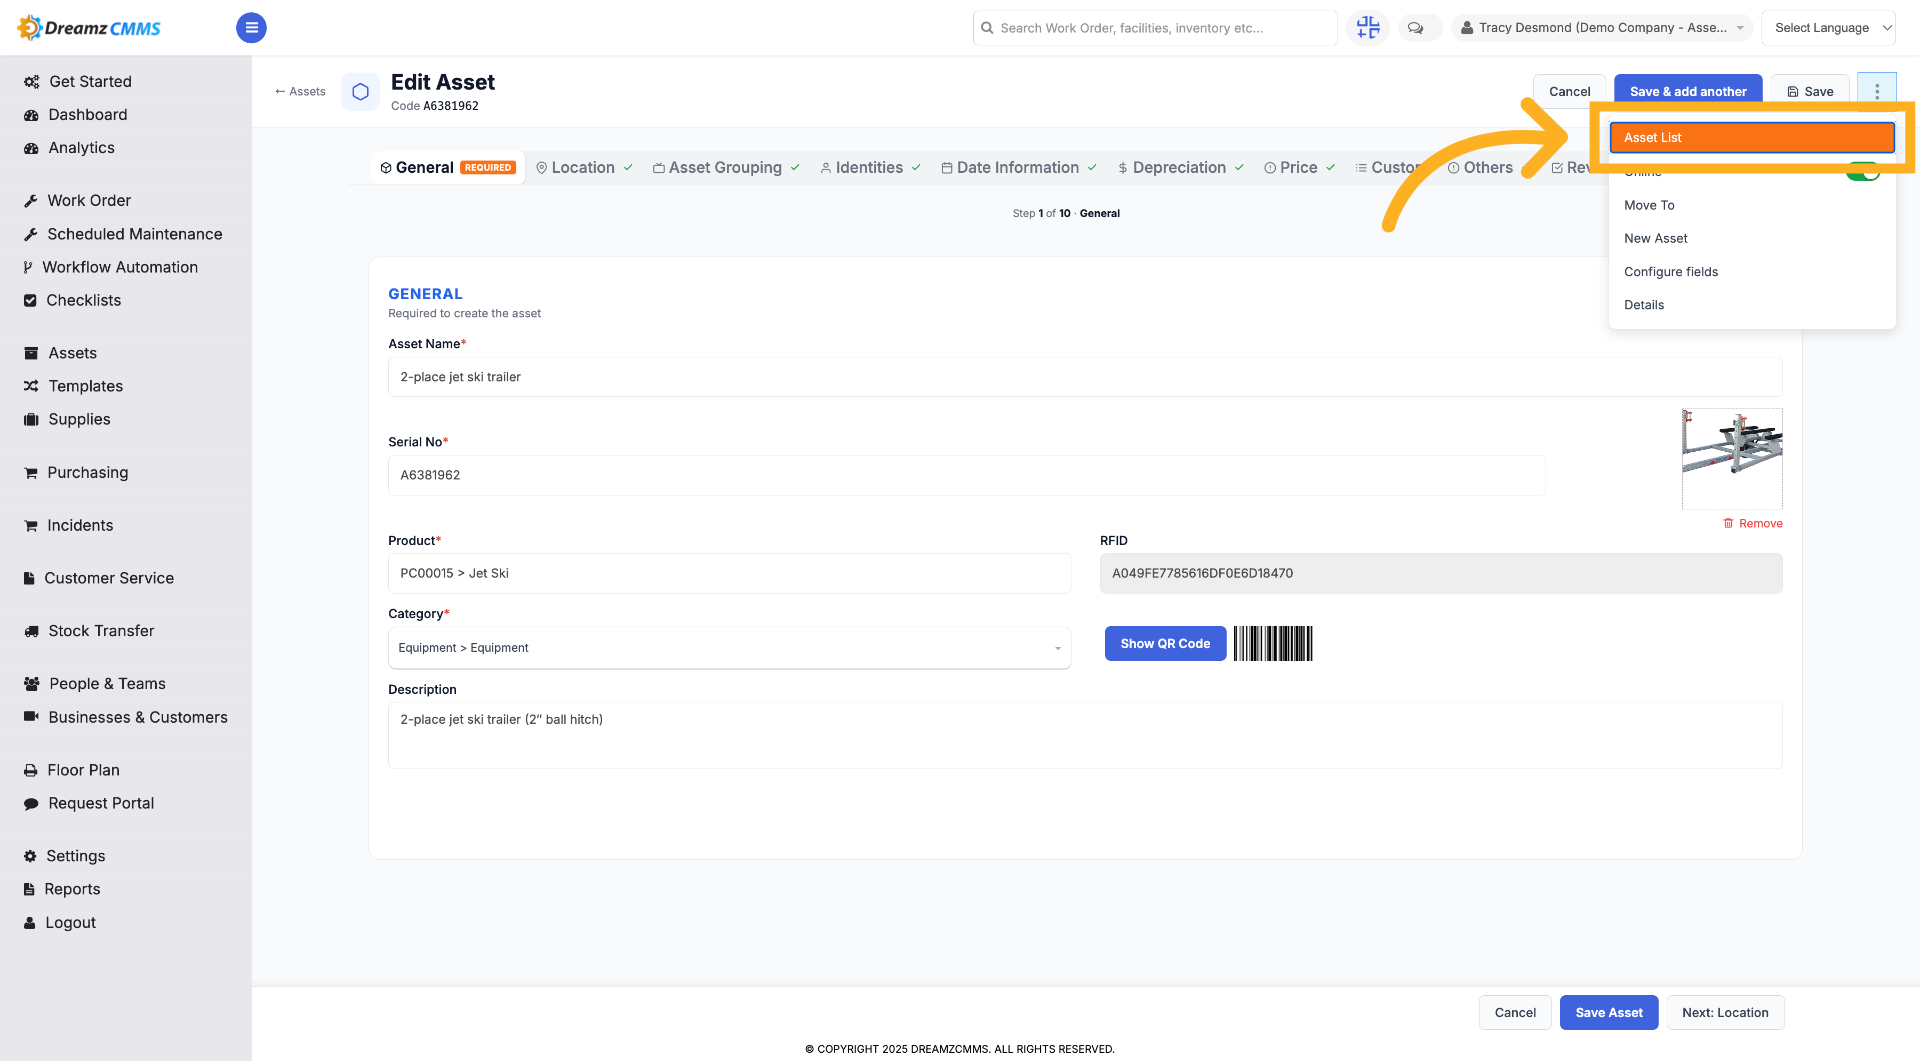
Step 18 – Open Asset List
Click "Asset List" to view all assets currently in the system.
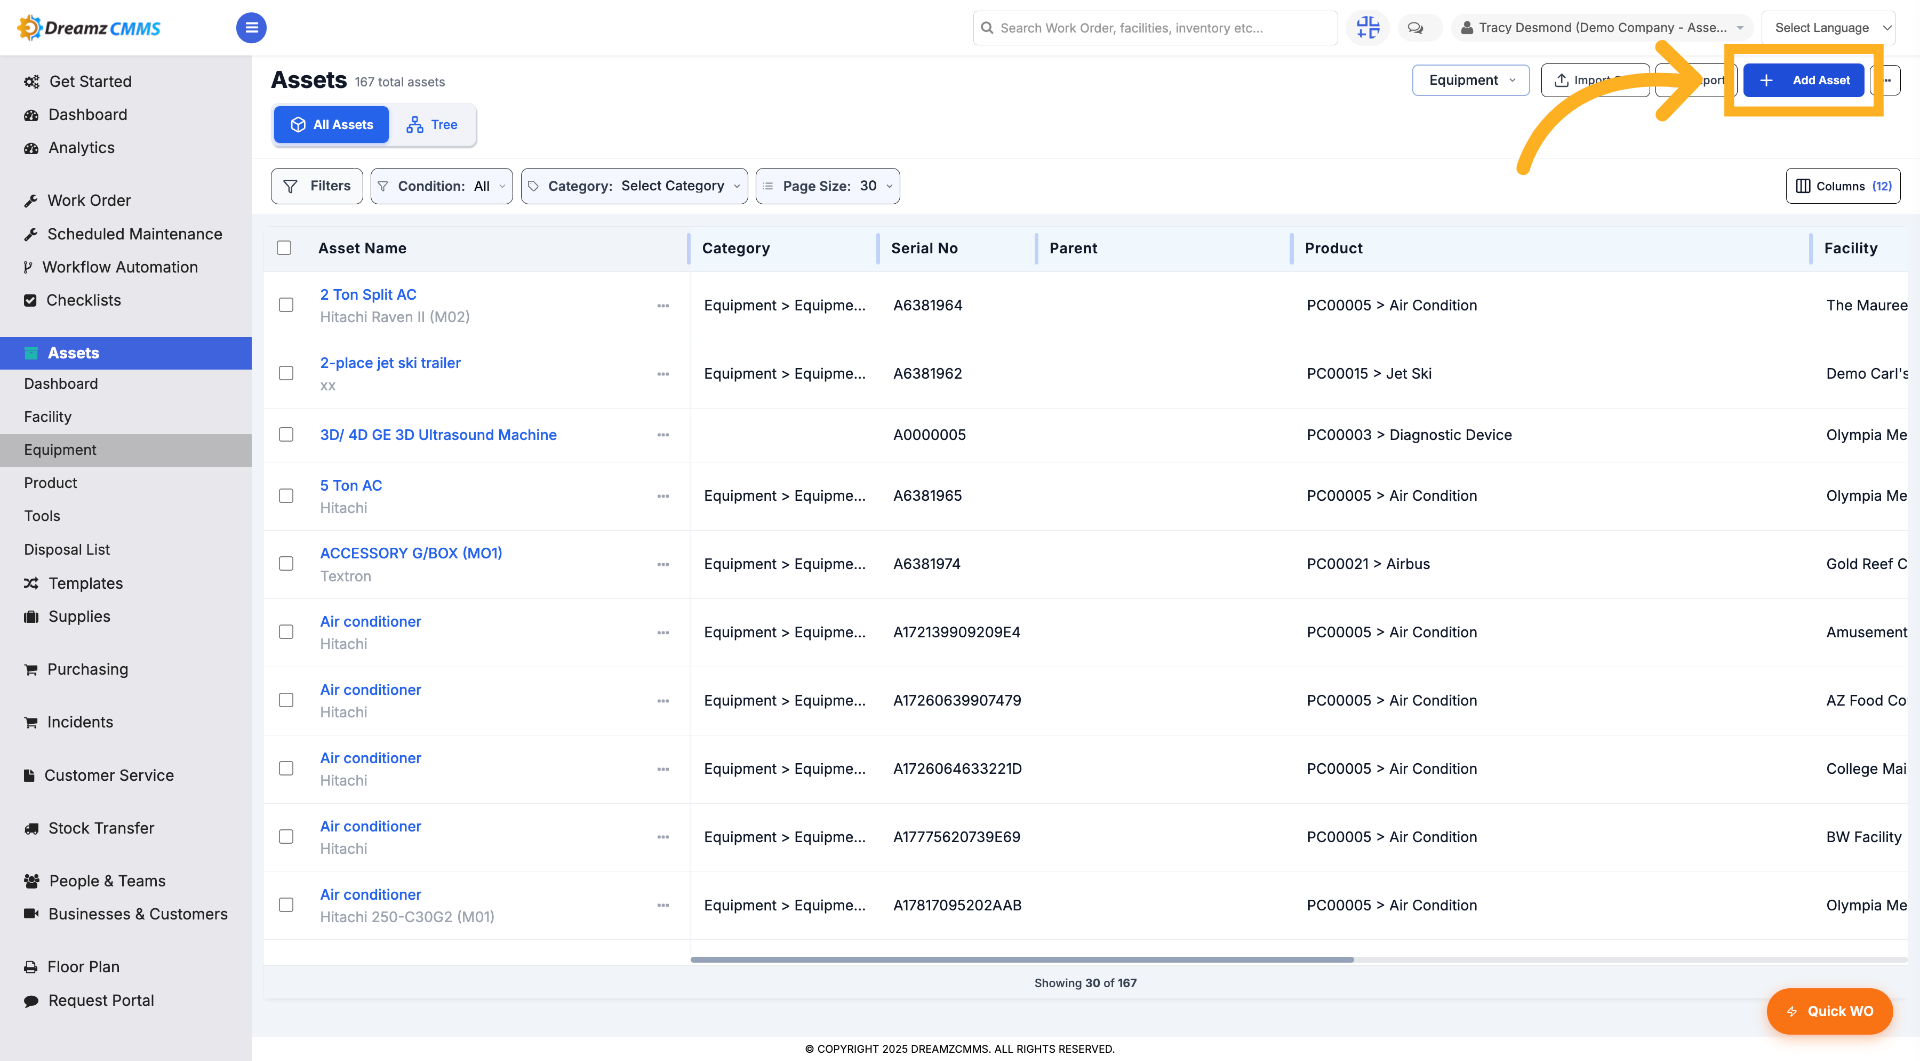
How to Add a New Asset
Step 1 – Initiate New Asset Addition
Click "Add Asset" to start adding a new asset to the system.
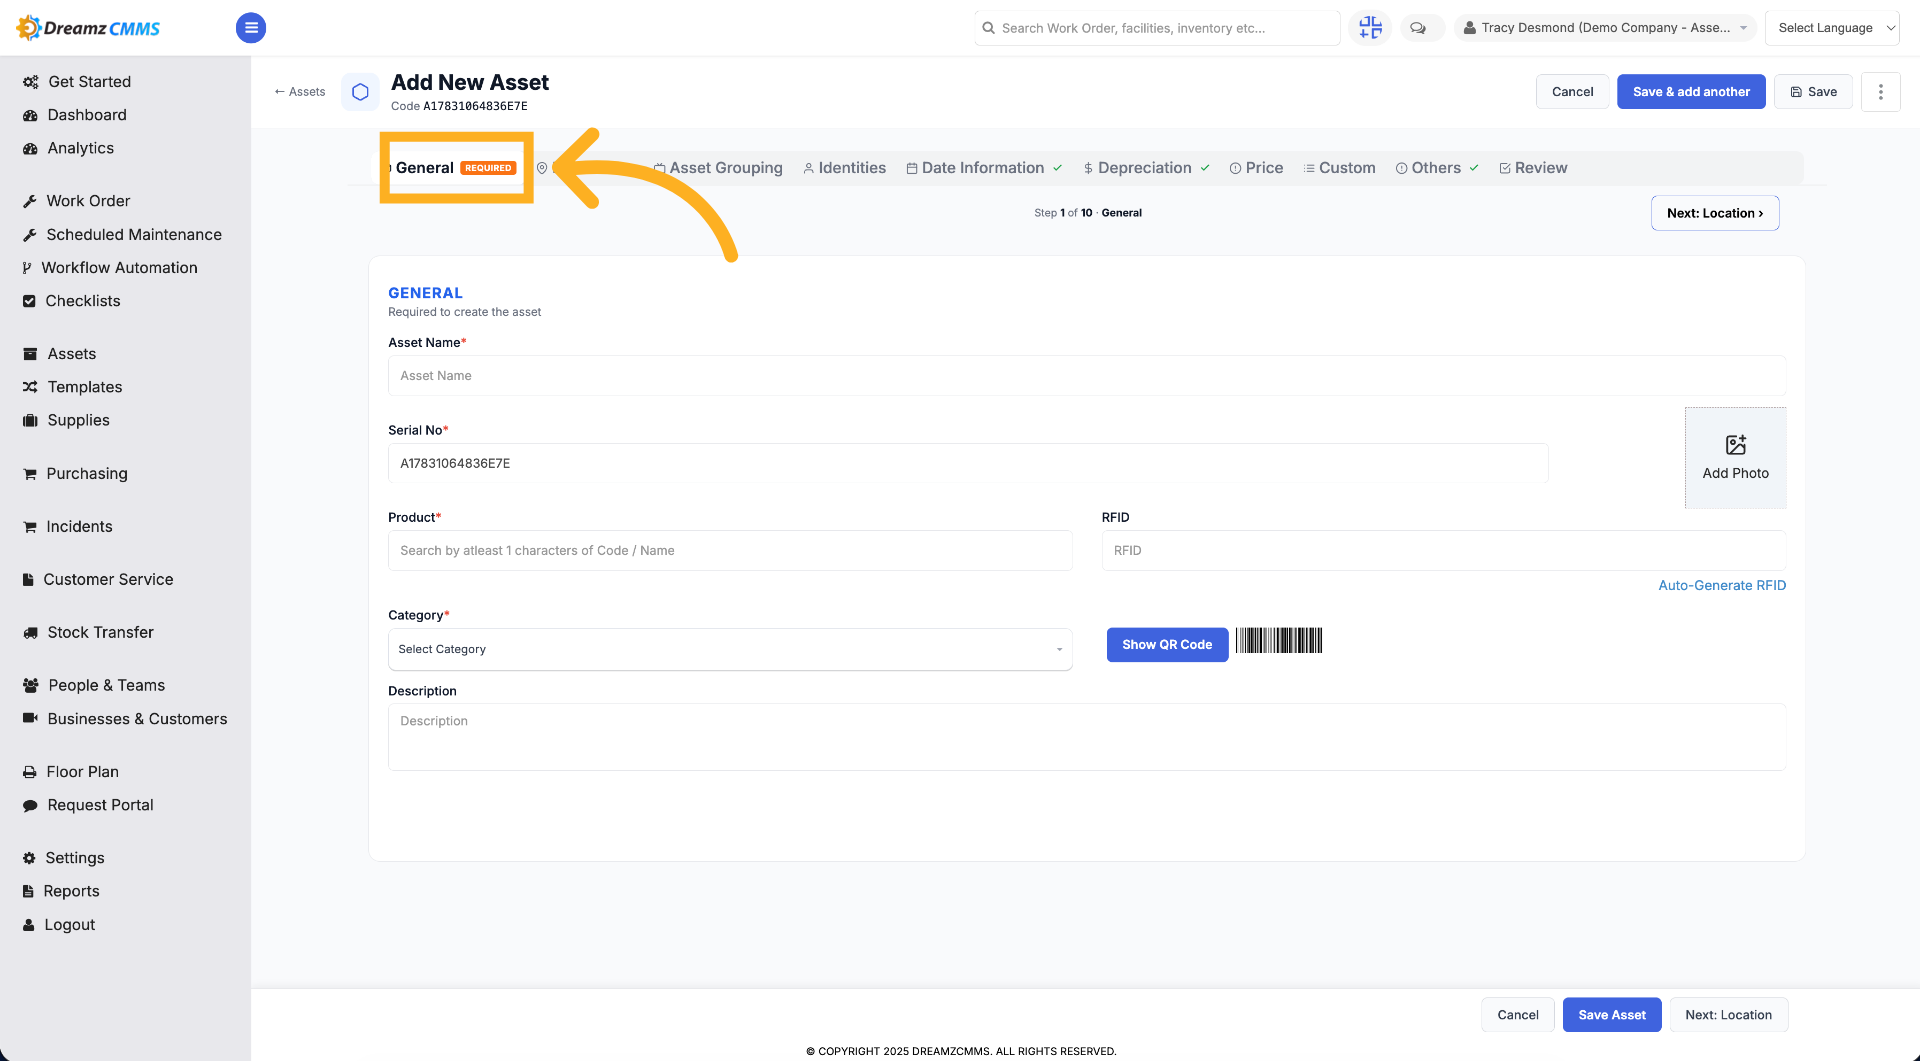
Step 2 – General Tab View
In the General tab, enter the mandatory fields like asset name, serial number, product, etc.
Step 3 – Set New Asset Location
Click "Location" to specify the location details for the new asset.

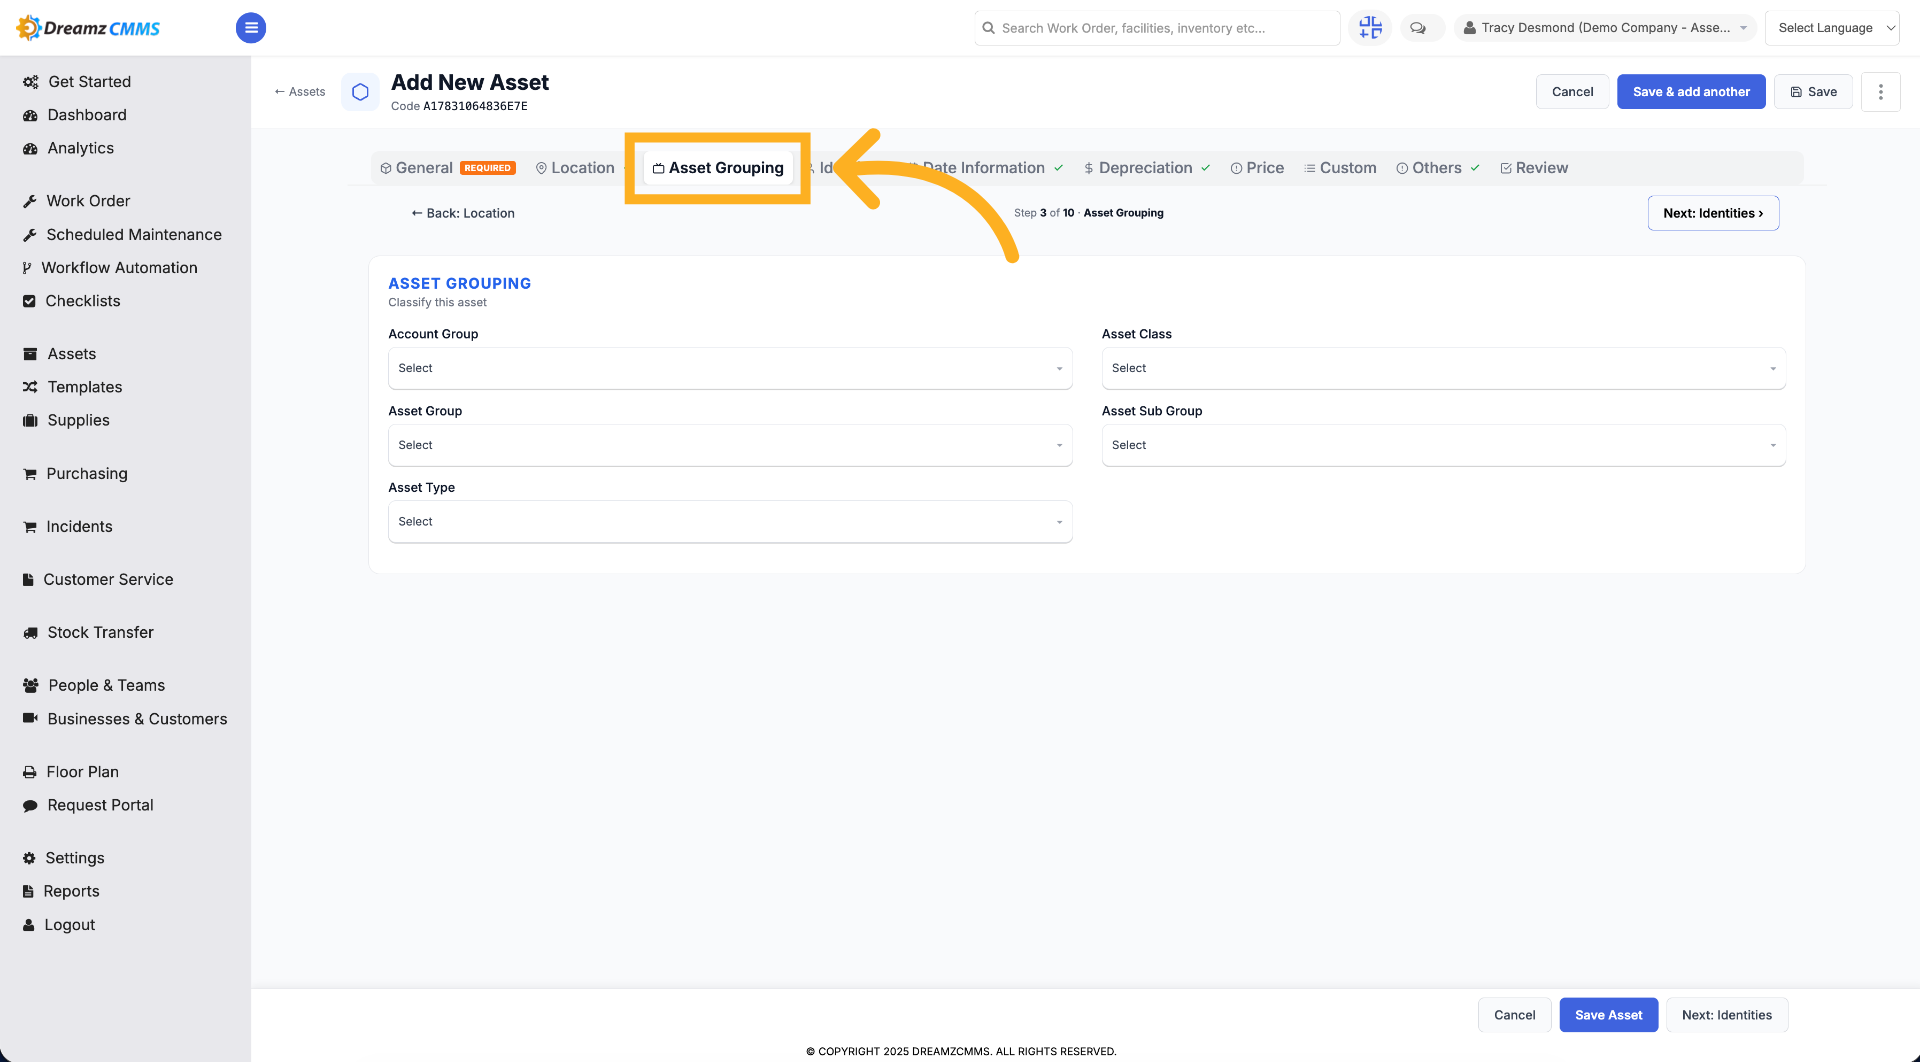
Step 4 – Define Asset Grouping
Click "Asset Grouping" to categorize the new asset appropriately.
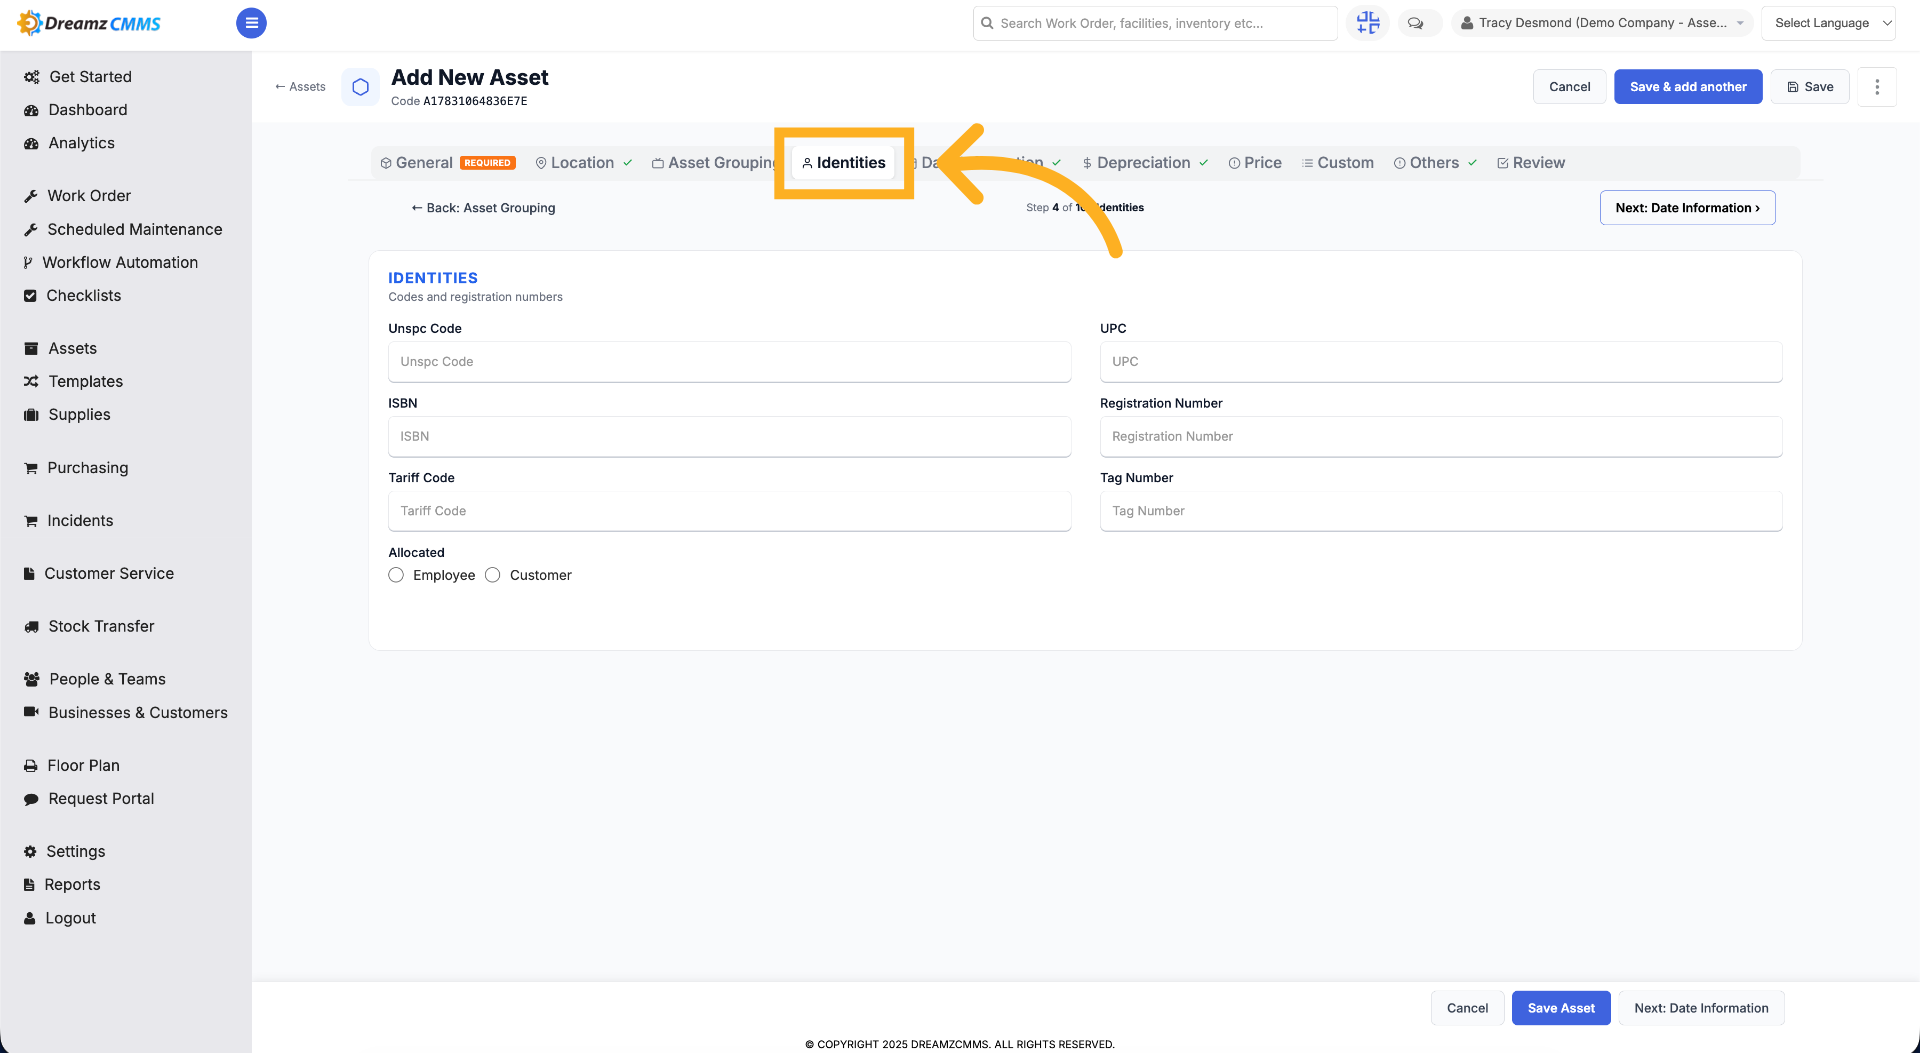
Step 5 – Enter Asset Identities
Click "Identities" to input identification information for the new asset.
Step 6 – Add Date Information
Click "Date Information" to provide relevant dates for the new asset.
Step 7 – Configure Depreciation
Click "Depreciation" to set depreciation parameters for the new asset.
Step 8 – Input Price Details
Click "Price" to enter the price information for the new asset.

Step 9 – Set Custom Attributes
Click "Custom" to add custom fields to the new asset's profile.
Step 10 – Access Additional Options
Click "Others" to configure other settings for the new asset.
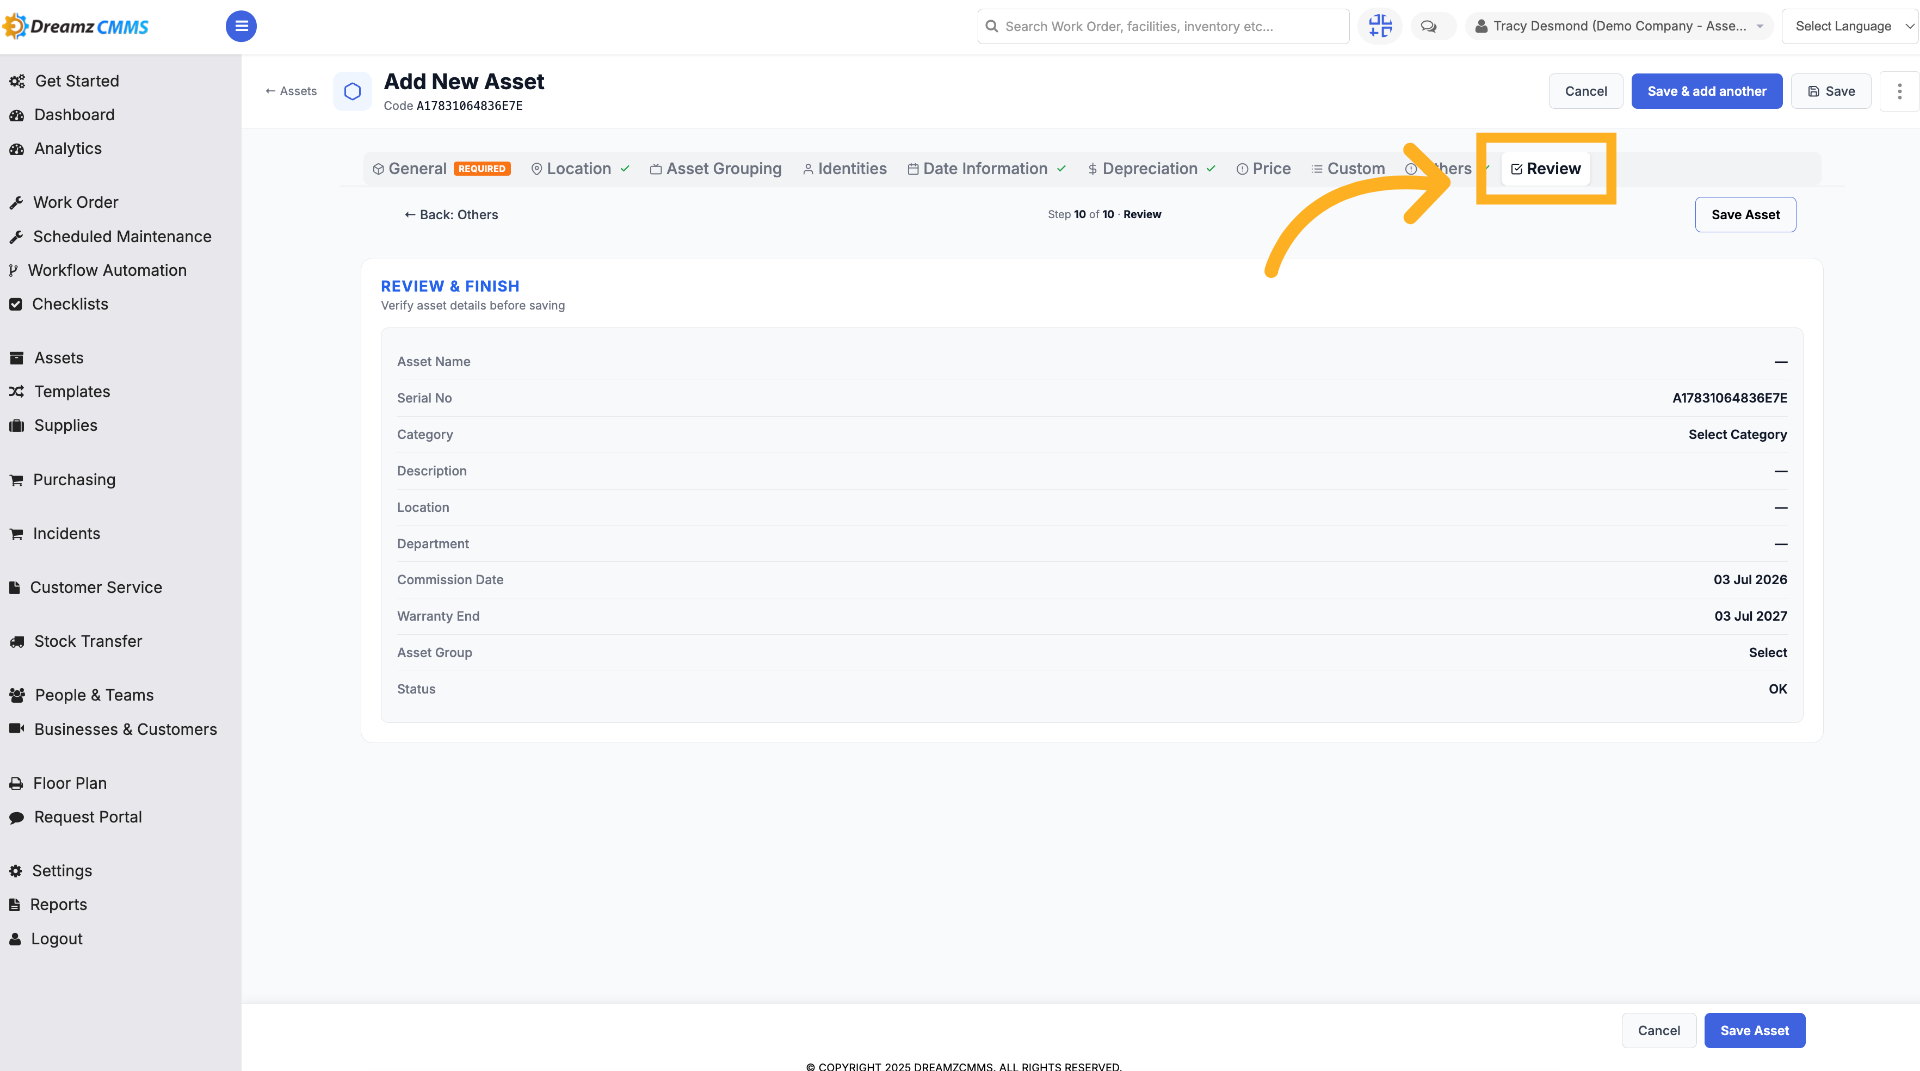
Step 11 – Review Asset Information
Click "Review" to examine the asset's details before saving.
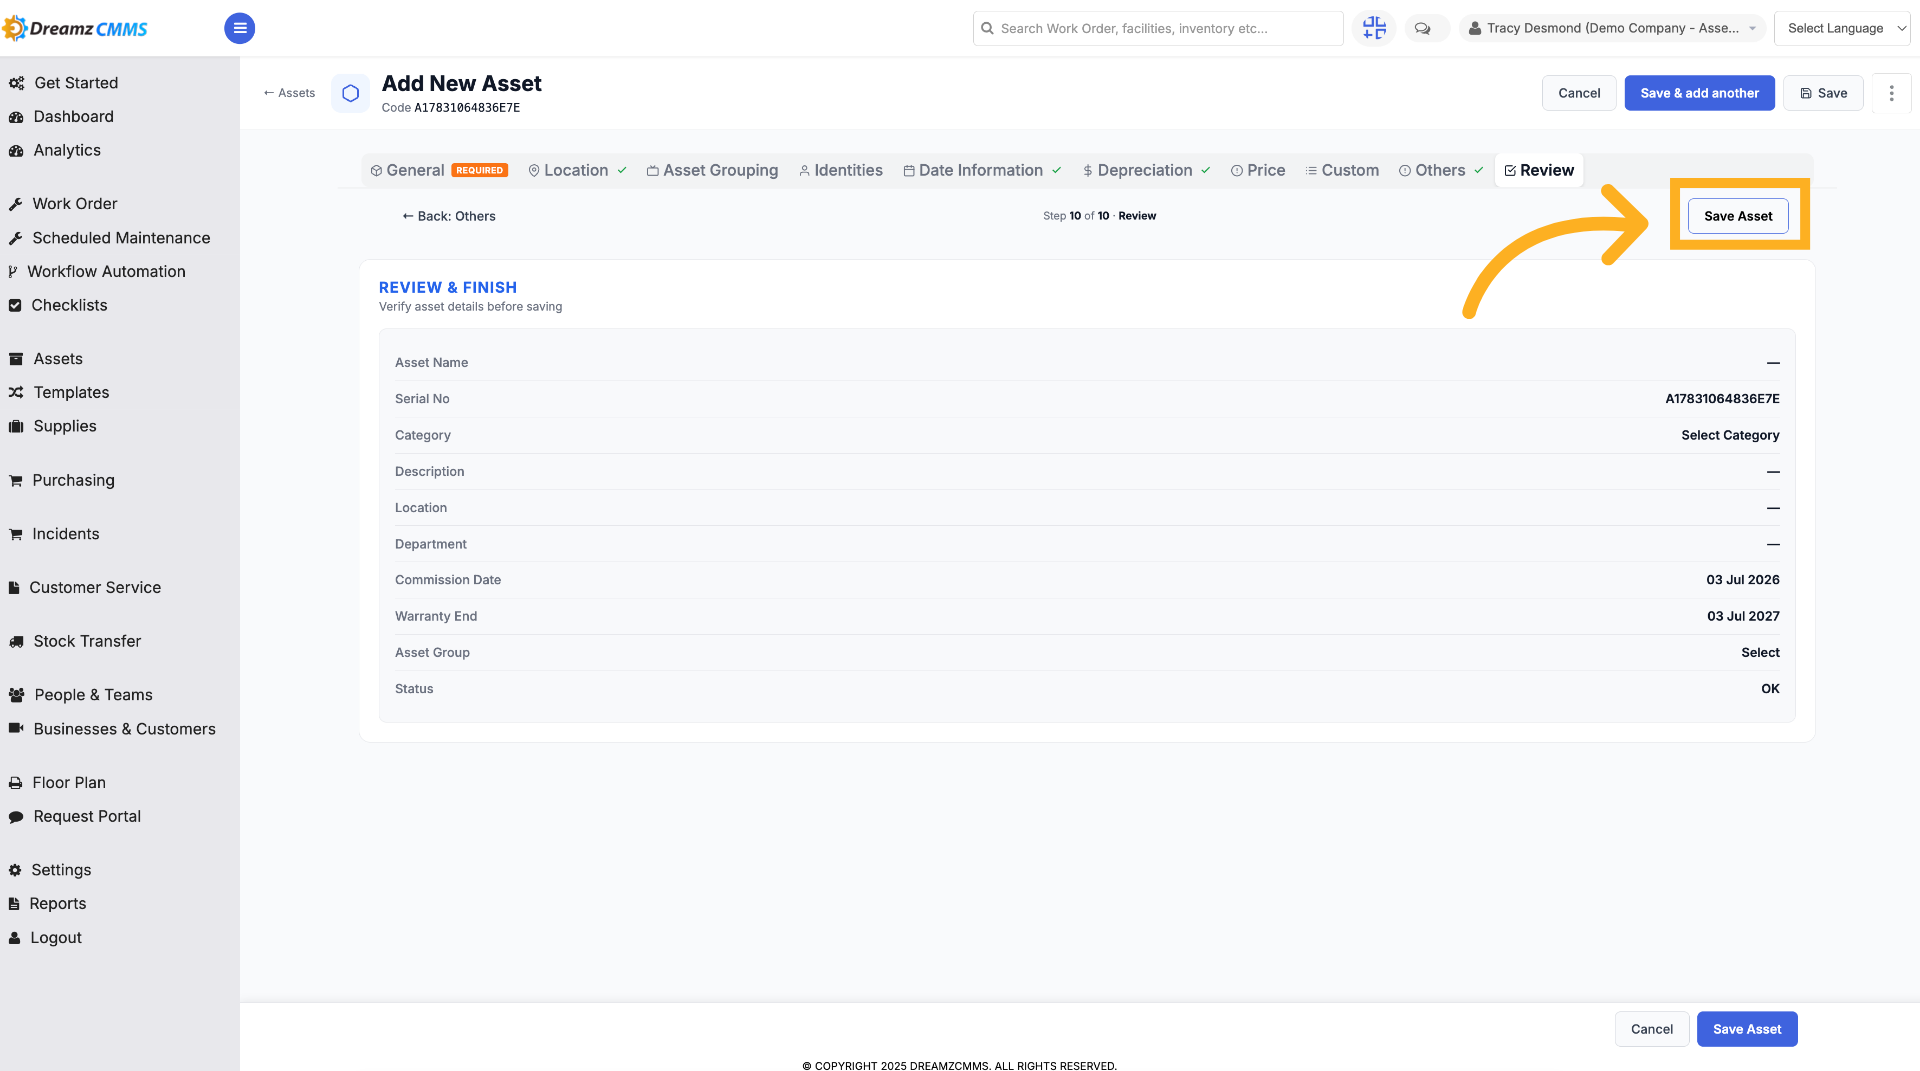
Step 12 – Save Asset Changes
Click "Save Asset" to save all modifications made to the asset.
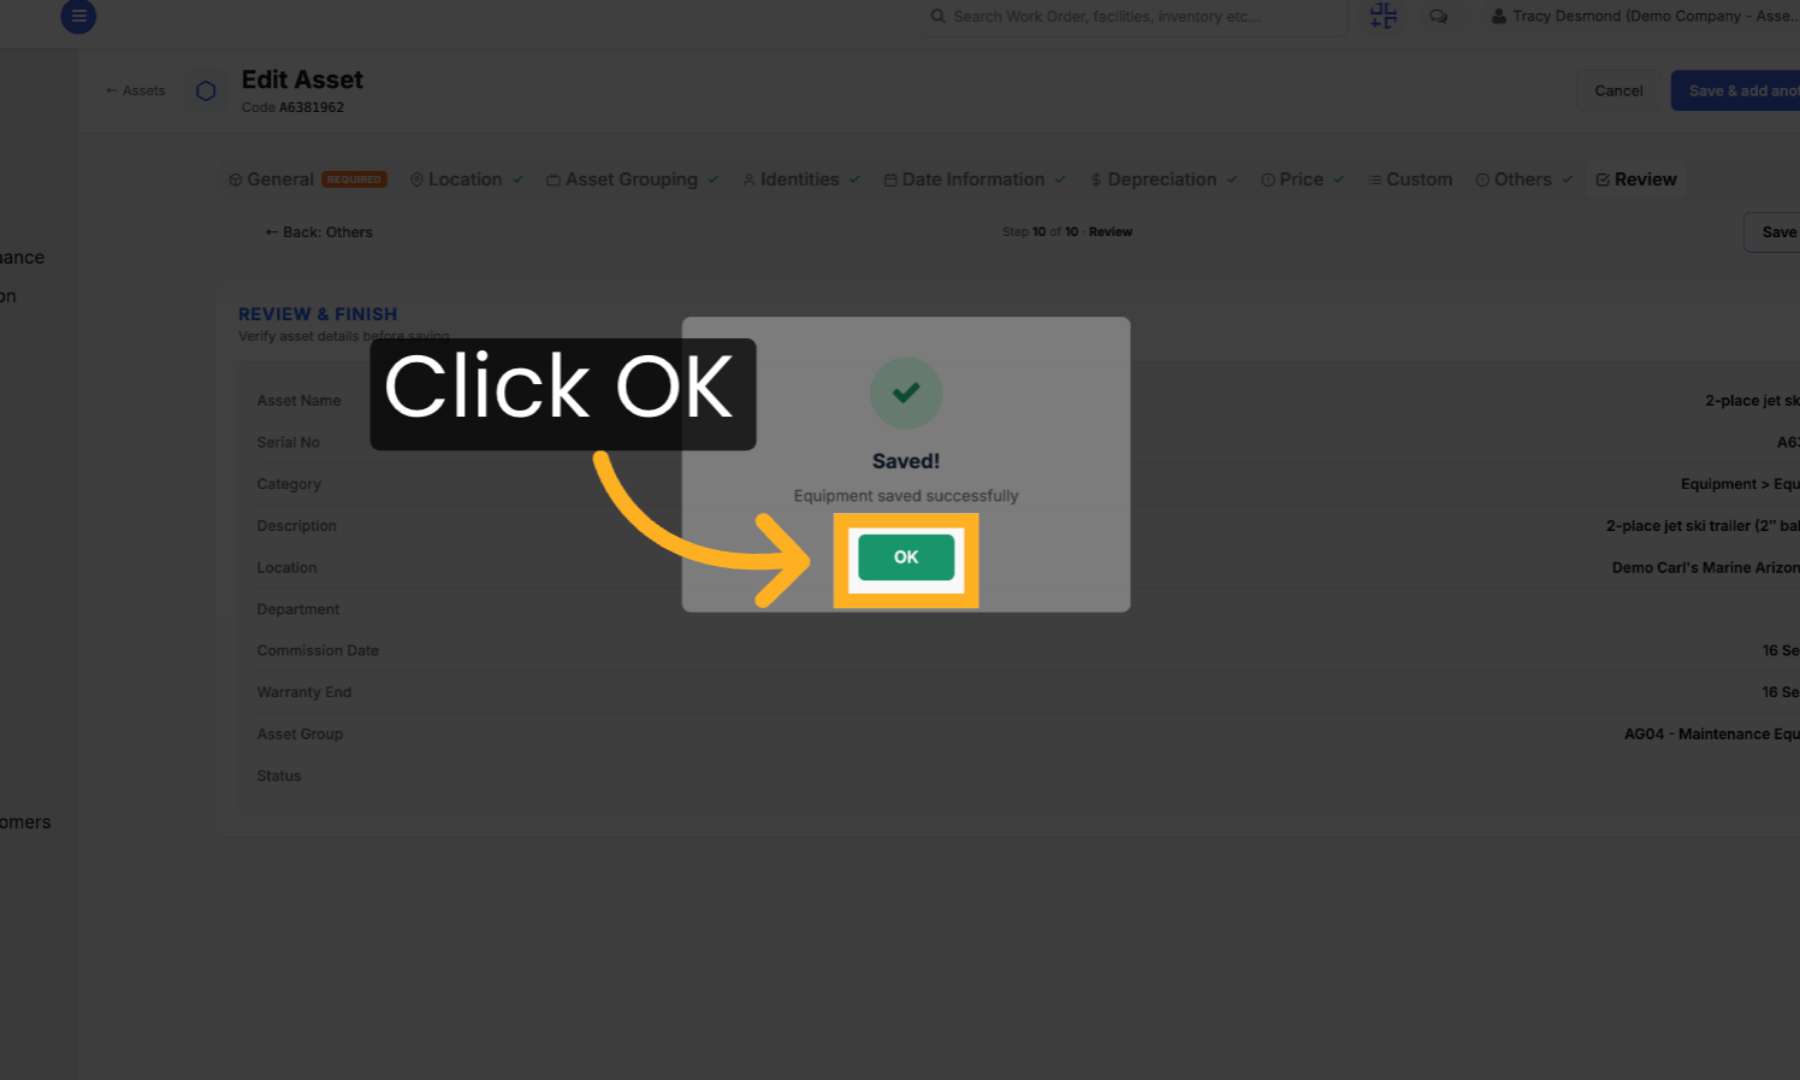
Step 13 – Save New Asset
Click "OK" to confirm that the newly added asset has been saved successfully.
Tips for Managing Assets
- Combine category and condition filters together for more precise results in the Asset List.
- Use the Reset Filters or Clear option whenever you want to start a fresh search rather than adjusting each filter individually.
- Increase the page size if you're reviewing a large inventory and want fewer page changes.
- Use bulk actions to save time when updating or managing multiple assets at once.
- Fill in Location, Asset Grouping, and Identities when creating an asset so it's easy to find and filter later.
Frequently Asked Questions
Can I apply more than one filter at a time?
Yes. You can combine filters such as category and condition, then click Apply to see the combined results.
What's the difference between Reset Filters and Clear?
Both remove applied filters and return the asset list to its full, unfiltered view.
Can I select multiple assets at once?
Yes. Select multiple assets from the list, then choose an action from the bulk actions menu to apply it to all of them.
How do I control how many assets are shown per page?
Use the Page Size option to choose 10, 20, or 30 assets per page.
Do I need to fill in every tab when adding a new asset?
Only the General tab's mandatory fields are required. Location, Asset Grouping, Identities, Date Information, Depreciation, Price, and Custom fields are optional but recommended for complete records.
Can I edit an asset after it has been saved?
Yes. Open the asset from the Asset List and click Edit to update any of its details.