Creating Purchase Orders after Finalizing RFQ
Once you finalize the winning RFQ in DreamzCMMS, the next step is converting it directly into a Purchase Order (PO). The system automatically pulls in the awarded supplier, items, quantities, agreed prices, taxes, and delivery terms — so you simply confirm the remaining details, submit for approval if required, and issue the PO to the vendor. The full PR → RFQ → PO link is maintained for a complete audit trail and easy receiving and invoicing later.
Overview
After finalizing an RFQ, DreamzCMMS gives you two ways to create a Purchase Order directly from the Purchase Request list — you can add a PO for a single vendor or create multiple POs at once for split-vendor orders. Once created, the PO goes through an approval workflow before being issued to the supplier.
Here is a reference video:
Before You Begin
- The RFQ must already be finalized before a Purchase Order can be created. See Create RFQ from an Approved Purchase Request if you haven't done this yet.
- Ensure the supplier's Business Reference Number is available before starting.
- You must have the appropriate permissions to create and approve Purchase Orders.
How to Create a Purchase Order from a Finalized RFQ
Step 1 – Go to the Purchase Request List
From the main menu, go to Purchasing → Purchase Requests. In the Purchase Request list, locate the finalized RFQ record. From here you have two options:
- Add PO — Create a Purchase Order for a single vendor.
- Create Multiple PO — Create separate Purchase Orders for multiple vendors at once, if items were split across suppliers during RFQ finalization.


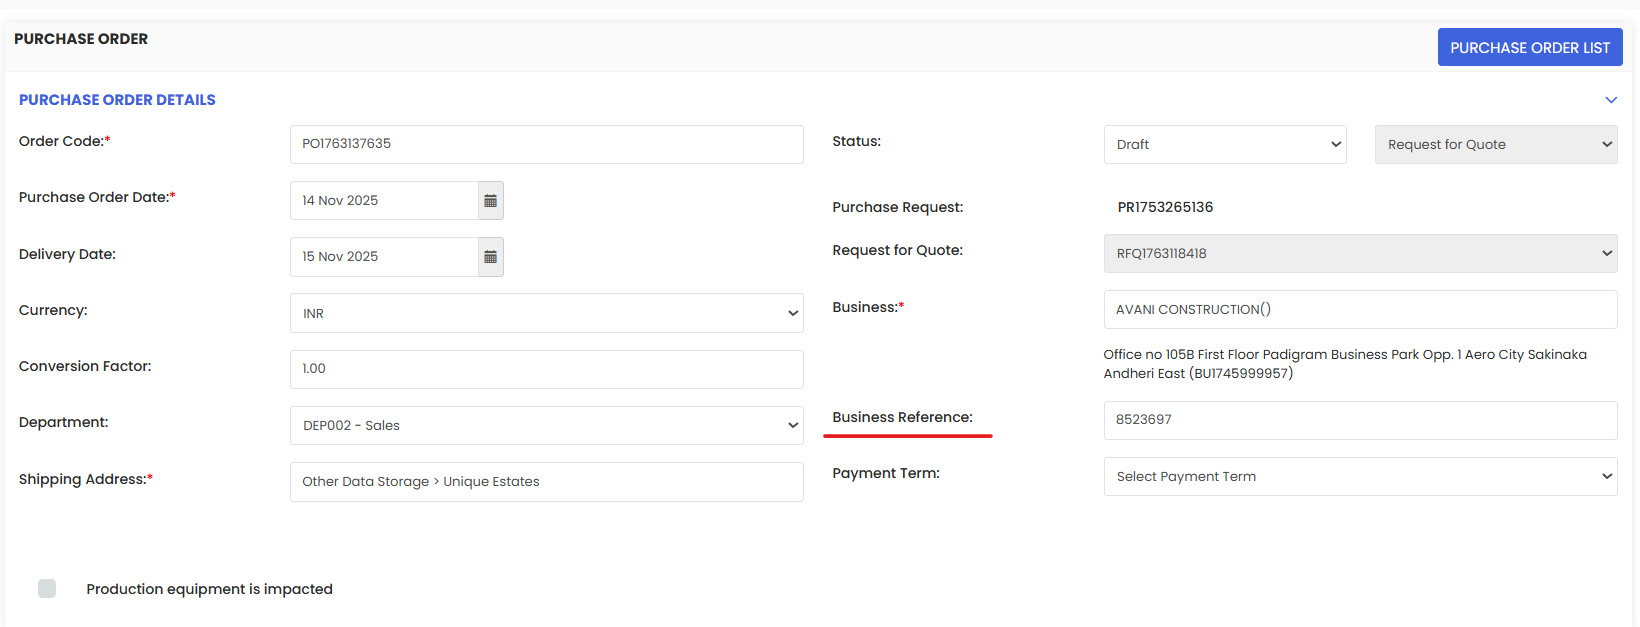
Step 2 – Click the + Icon and Add Business Reference Number
To create a Purchase Order from the RFQ, click the + icon on the record. Add the supplier's Business Reference Number in the field provided. This links the PO to the correct vendor and their agreed quote details.
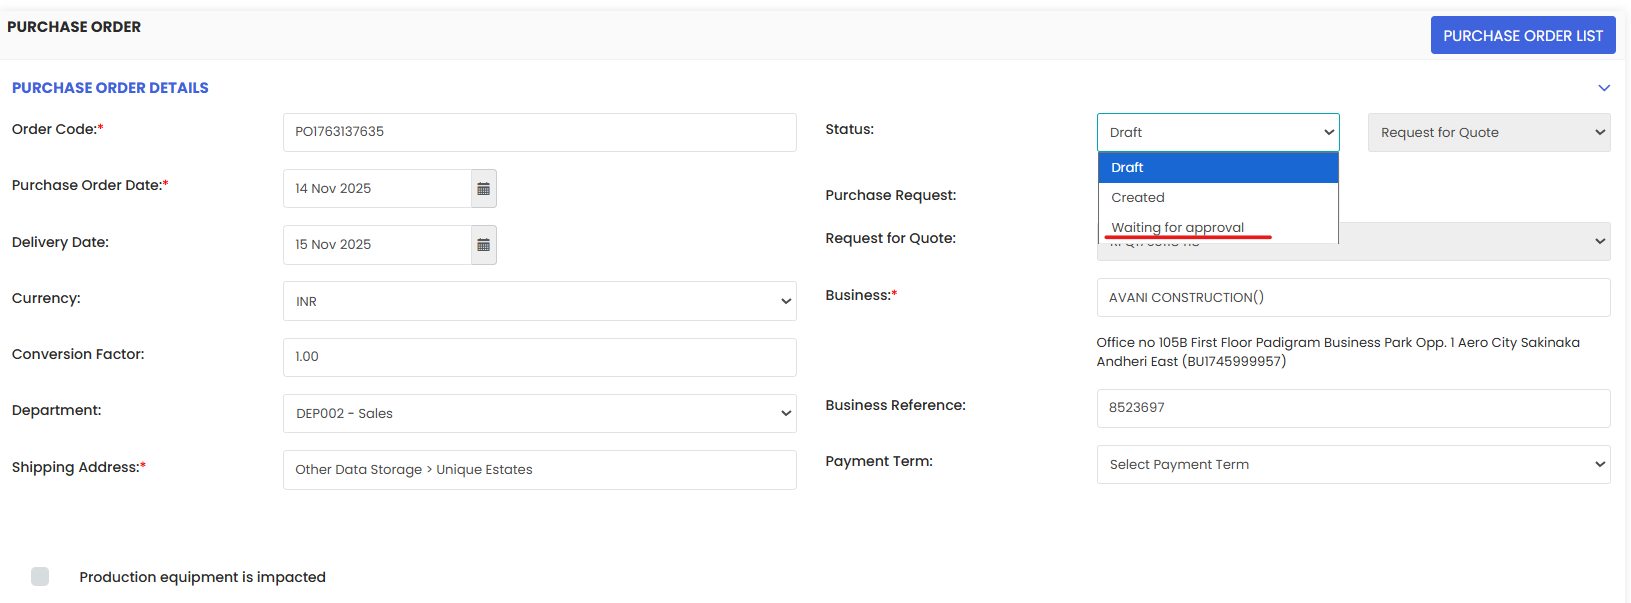
Step 3 – Change Status to "Waiting for Approval" and Submit
Change the PO status to Waiting for Approval and click Submit. The Purchase Order is now queued for review by the designated approver.
Step 4 – Click the Edit Icon to Approve
Once the PO has been submitted for approval, click the Edit icon on the Purchase Order record to open it for review and approval.

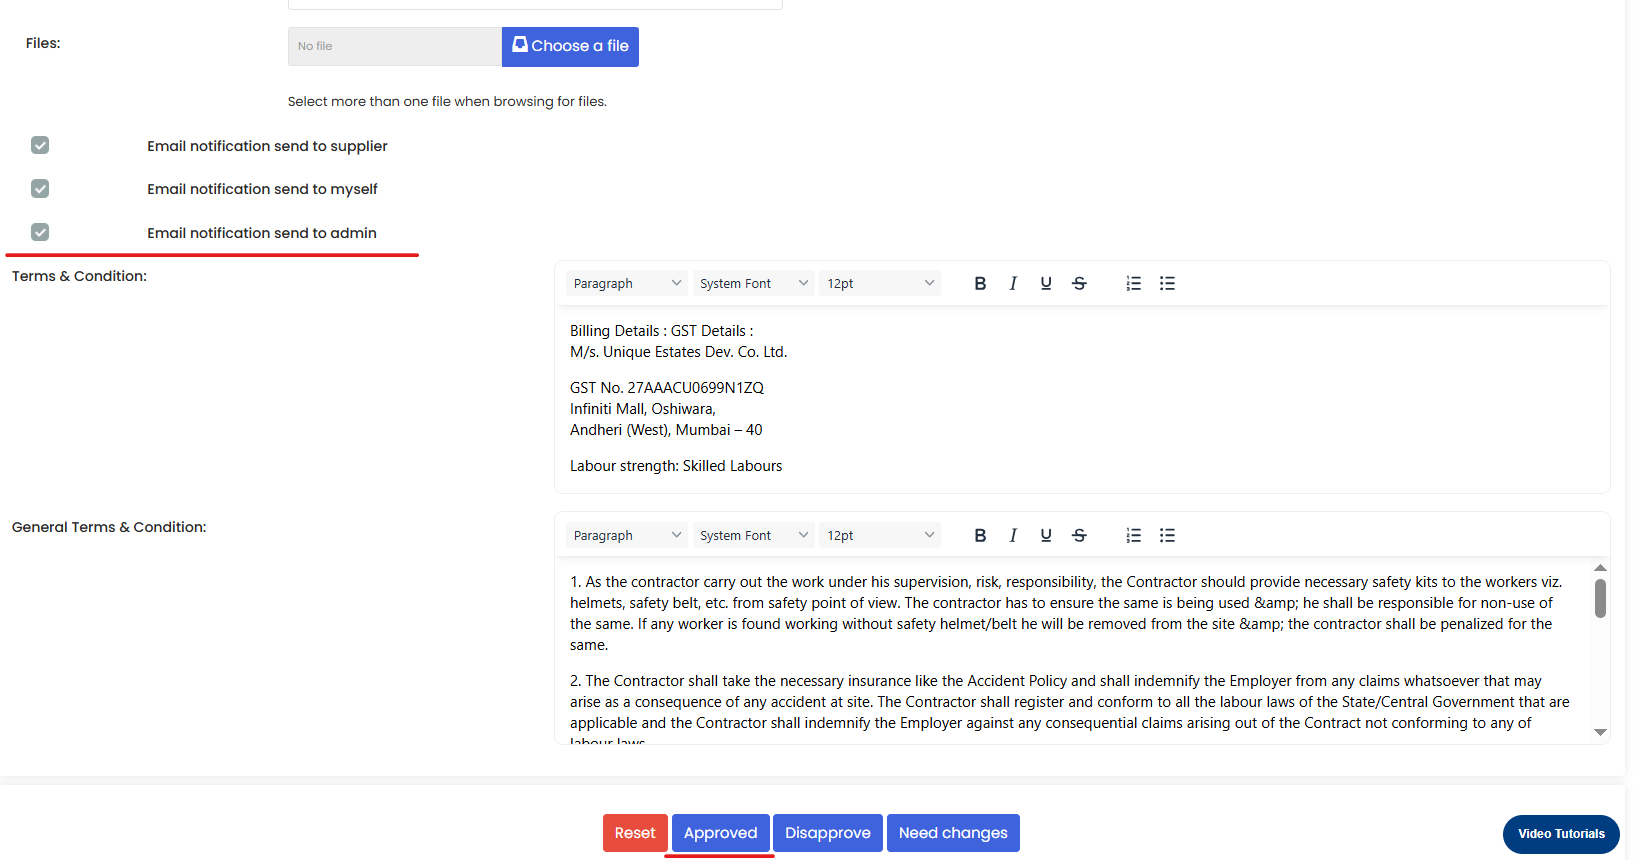
Step 5 – Approve and Notify the Supplier
In the approval form:
- Check the box to send a notification to the supplier so they are informed of the approved Purchase Order.
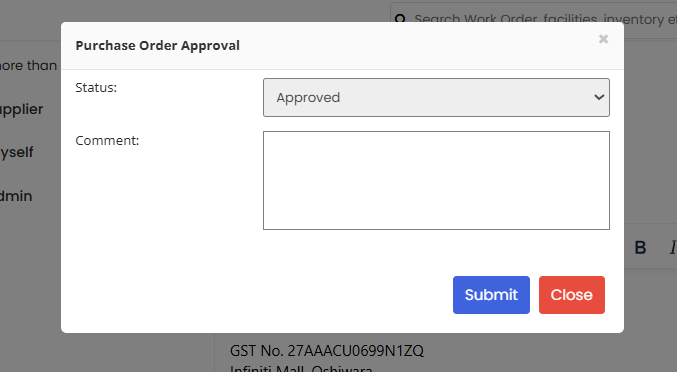
- Set the status to Approved.
- Enter any relevant comments for the approval record.
- Click Submit to finalise the approval.
Note: Enabling the supplier notification ensures the vendor receives the PO details directly, reducing delays and miscommunication in the fulfilment process.
The Purchase Order is now approved and issued. The PO status is updated in the listing and the full PR → RFQ → PO audit trail is recorded in the system.
After Creating the Purchase Order — What's Next?
- Track the PO status from the Purchase Orders listing page to monitor fulfilment progress.
- Record receipts when items arrive to update your inventory and confirm delivery against the PO — see Manage Receipts.
- Create a Purchase Invoice once goods are received to complete the procurement-to-payment cycle — see Purchase Invoices.
Tips for Managing Purchase Orders
- Always add the Business Reference Number accurately. This links the PO to the correct supplier agreement and prevents fulfilment errors.
- Enable supplier notifications when approving. This ensures vendors are informed promptly and can begin preparing the order without delays.
- Use Create Multiple PO when items are split across vendors to keep each supplier's order clean and separate.
- Add clear approval comments at each stage. These are recorded in the audit trail and are useful for future reference or dispute resolution.
Frequently Asked Questions
Can I create a Purchase Order without going through the RFQ process?
Yes. DreamzCMMS allows direct PO creation. However, using the RFQ process ensures competitive pricing and maintains a complete procurement audit trail.
What is the difference between "Add PO" and "Create Multiple PO"?
Add PO creates a single Purchase Order for one vendor. Create Multiple PO generates separate Purchase Orders simultaneously for cases where items from the same RFQ are split across different suppliers.
What happens if the approver rejects the Purchase Order?
The PO status will reflect the rejection. You can edit the PO to address the concerns raised in the approval comments and resubmit for approval.
Is the supplier notified automatically when the PO is approved?
Only if the notification checkbox is checked during the approval step. Always verify this is enabled if you want the supplier to receive the PO details immediately upon approval.
Related Articles
- Create RFQ from an Approved Purchase Request
- Create and Approve a Purchase Request
- Manage Receipts
- Purchase Invoices