Create a Checklist From Scratch
A checklist in DreamzCMMS is a structured set of tasks or steps used to ensure consistent execution of activities such as inspections, maintenance procedures, or compliance routines. Creating a checklist from scratch lets you define your own task flow tailored to your organization’s requirements.
Overview
Checklists help technicians and planners stay organized by presenting a standardized set of items that must be completed for a given process. Whether it’s preventive maintenance, safety inspections, or quality checks, custom checklists ensure no critical step is missed.
Here is a reference video:
Before You Begin
Ensure you have access to the Checklists section in DreamzCMMS.
Have clarity on the steps and structure you want to capture in your checklist — including headings, sub-tasks, sections, reference links, and attached documents.
How to Create a Checklist From Scratch
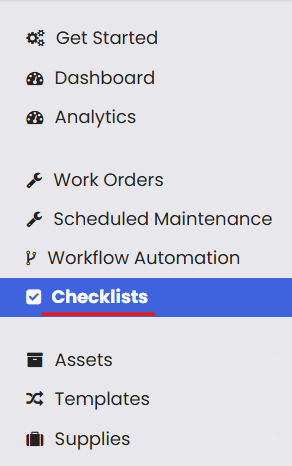
Step 1 — Open the Checklists Module
From the left navigation menu, click Checklists to open the checklist dashboard.
Step 2 — Start a Blank Checklist
Click on Blank Checklist to begin creating a new checklist from scratch.

Step 3 — Enter Checklist Details
Checklist Name — Give your checklist a meaningful title.
Industry — Select the industry or category the checklist applies to.
Checklist Type — Choose the appropriate category or use case for this checklist.
Click Save to proceed to the checklist editor.

Step 4 — Add Tasks and Sections
In the checklist editor:
Add Tasks — Click the + Field icon to add individual task items.
Task Type — Choose the task type from the dropdown; this controls how technicians interact with the item on mobile.
Add Heading — Insert a heading to group related tasks.
Add Section — Add full sections if the checklist needs larger subdivisions.

Step 5 — Enhance with Links and Documents
Reference URL — Click the link icon to add an external URL as a reference.
Document Attachment — Click the document icon to upload files (e.g., manuals, SOPs) related to the checklist.
Mandatory Fields — Use the checkbox to mark tasks that must be completed before the checklist can be closed.
Step 6 — Preview & Save
Once all items are added:
Click Preview to see how the checklist will look on mobile or in the task view.
Click Save to store the checklist and make it available for scheduling or attaching to work orders.
After Creating the Checklist
The checklist will now appear in your Checklist Library and can be used in preventive schedules or attached to work orders.
Assigned technicians will follow the defined sequence of tasks when performing jobs in the field.
You can edit or reuse the checklist whenever needed.
Tips for Effective Checklists
Be concise and clear — phrase tasks so technicians instantly understand what’s expected.
Group similar tasks under meaningful headings for better navigation.
Use mandatory flags for steps that must be completed, ensuring accountability.
Include reference documents or links when supplemental guidance is needed.
Frequently Asked Questions (FAQs)
1. Can I edit a checklist after it has been created?
Yes — you can update task items, headings, and attachments in any existing checklist anytime from the Checklists module.
2. How do task types affect technician responses?
Task types determine how technicians interact with checklist items on the mobile app — for example, selecting options, entering notes, or capturing signatures.
3. Can a checklist be attached to a work order?
Yes — once created, checklists can be attached to work orders or scheduled as part of preventive maintenance routines.
4. What’s the purpose of marking a task as mandatory?
Mandatory fields ensure that certain tasks must be completed before a technician can finish the checklist, improving compliance and task accountability.
Related Articles
- Import Asset Locations
- How to Add BOM to a Facility/Location
- How to Assign Personnel to a Location/Facility
- Create and Manage Work Orders